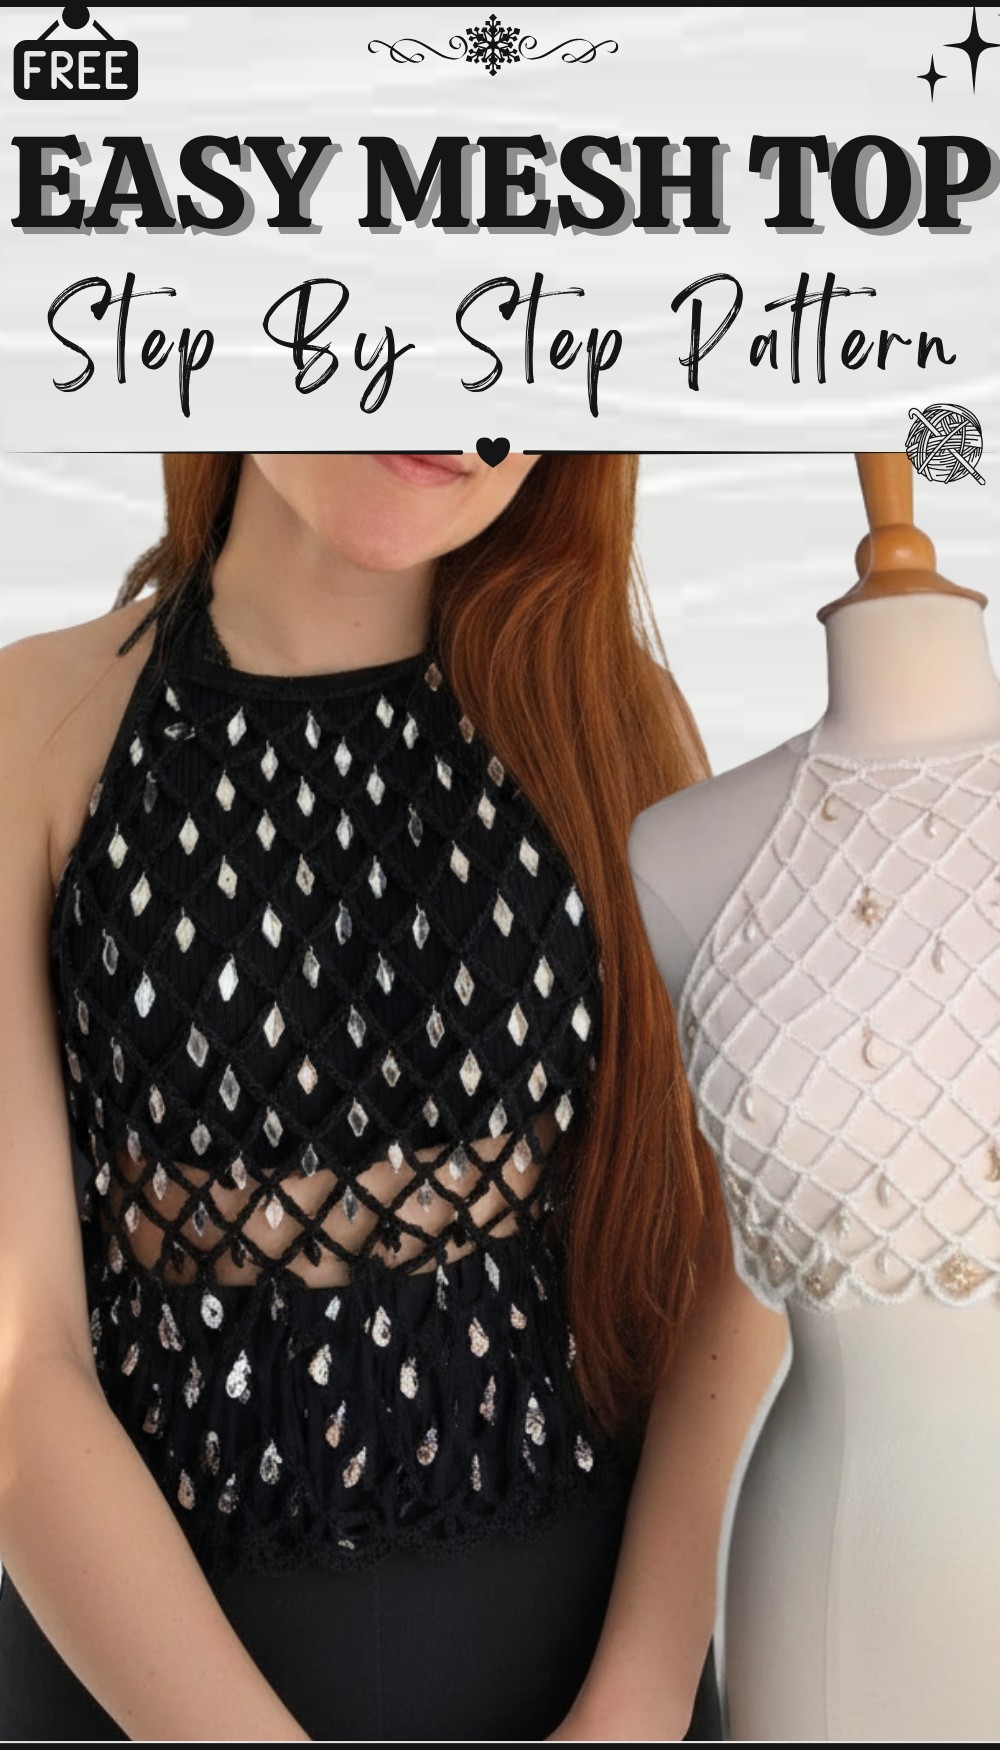
Minimalist Free Crochet Mesh Top Pattern for Classic Style
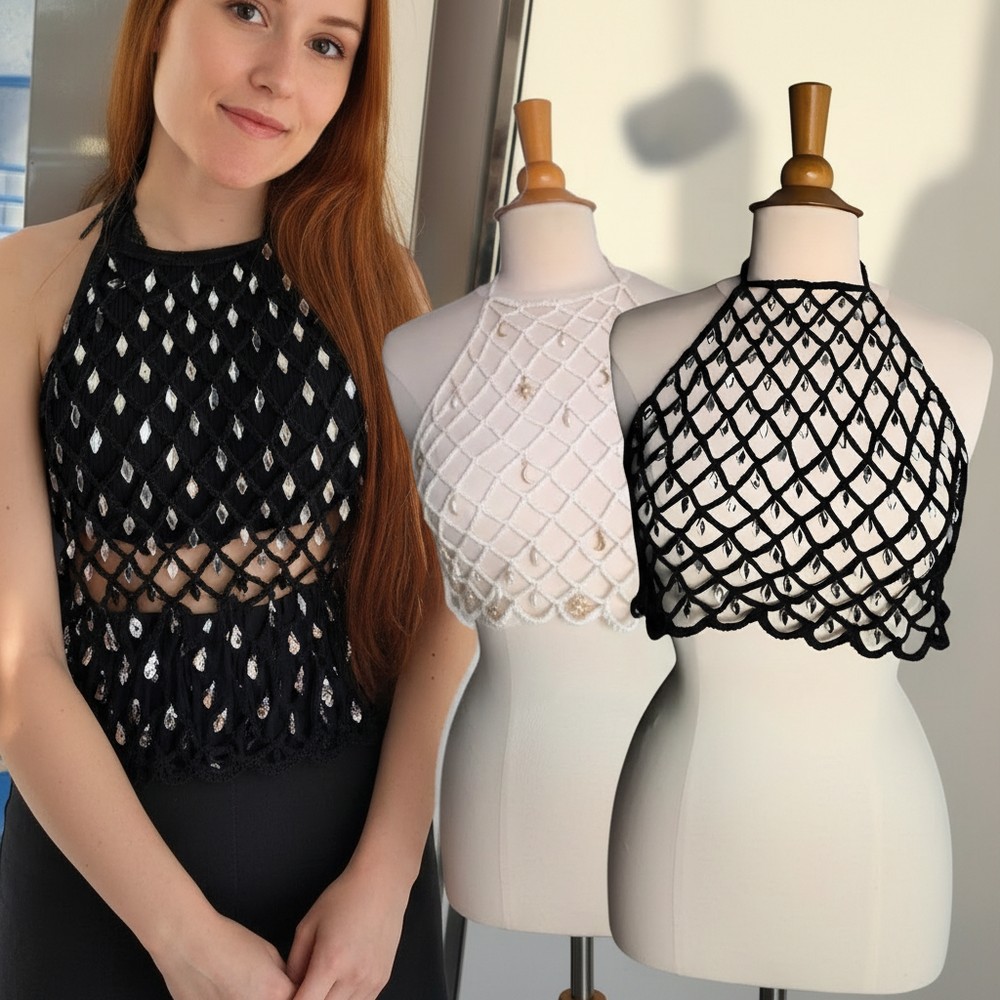
Relax with Free Crochet Mesh Top Pattern for an airy style that’s perfect for sunny day effortlessly blending comfort with everyday elegance.
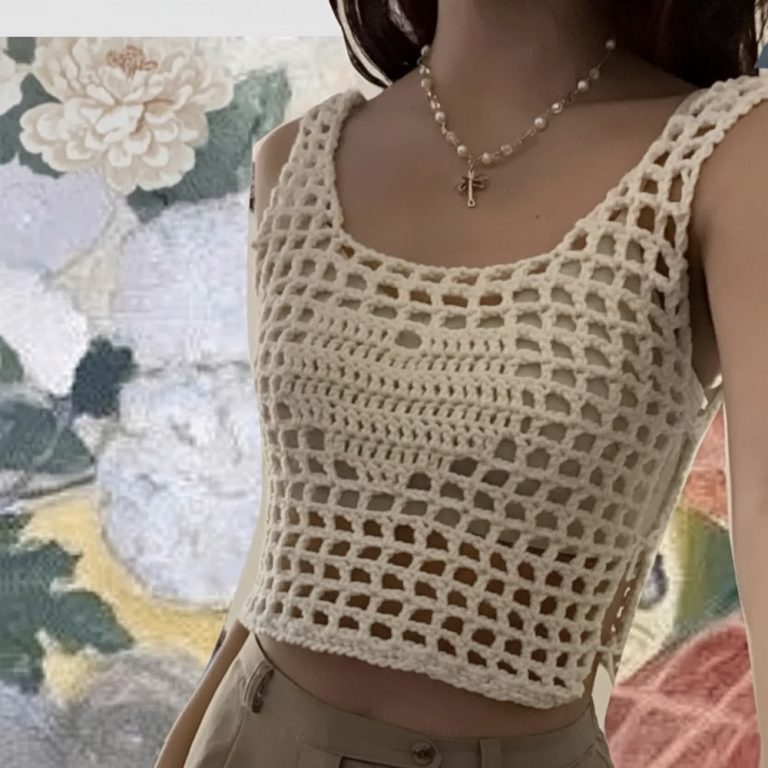
Openwork design adds instant charm by letting light play through the fabric while gentle yarn gives the piece a cozy feel. A crochet mesh top pattern brings together airy style with everyday comfort, turning simple stitches into a fashionable favorite for any season. The delicate mesh look offers breathability, making this top perfect for sunny days or layered looks when a little extra warmth is needed.
Refreshing Free Crochet Mesh Top Pattern for Sunny Days
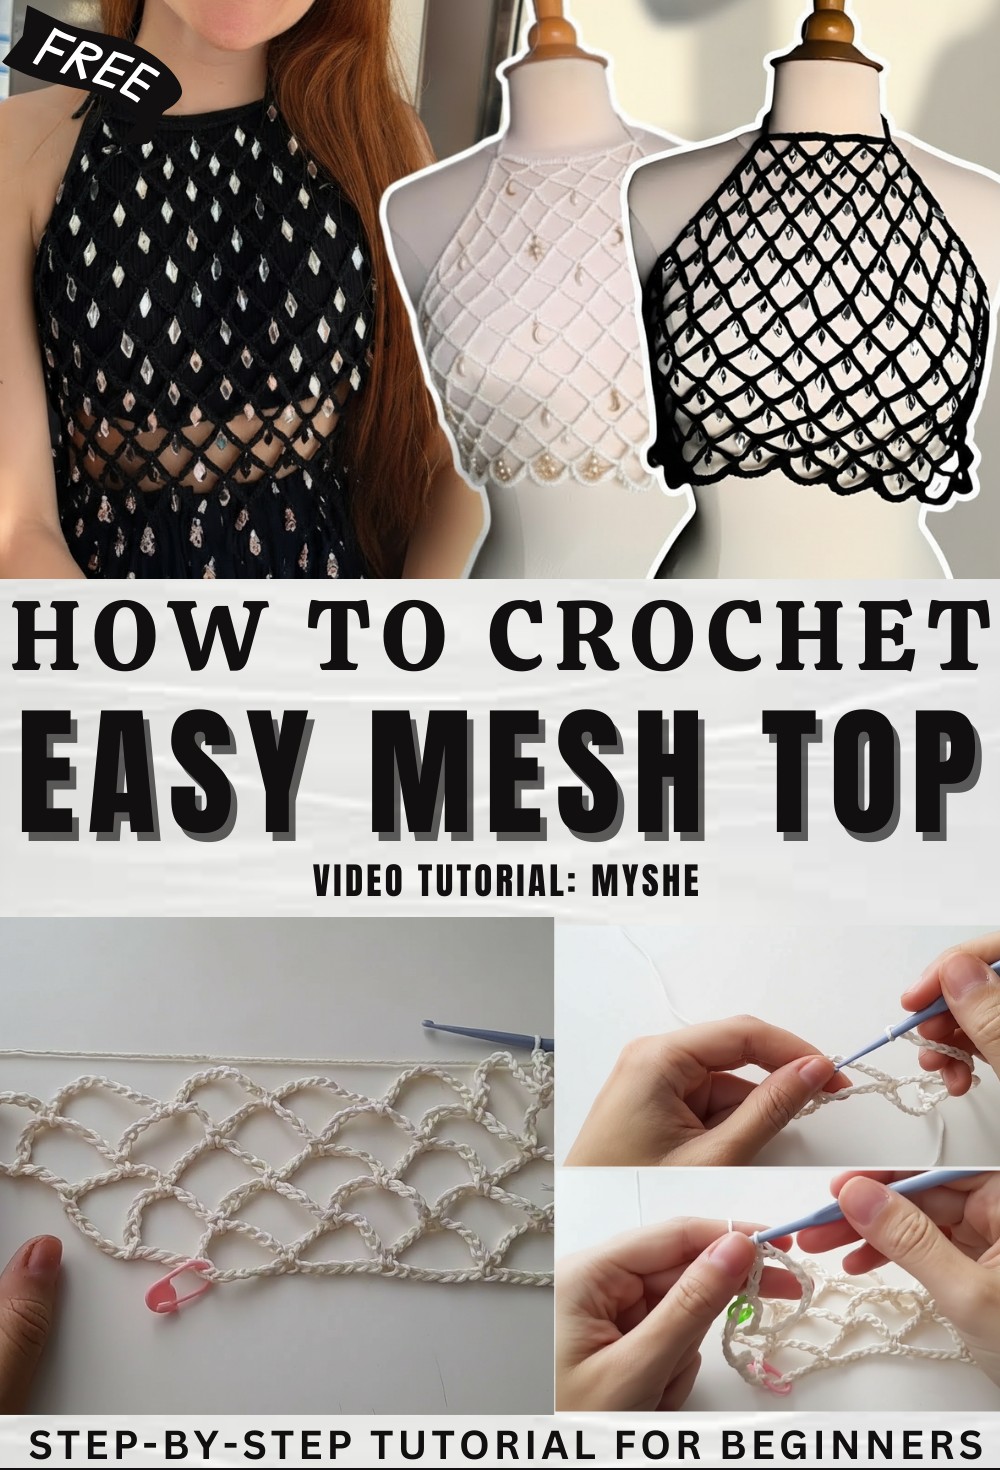
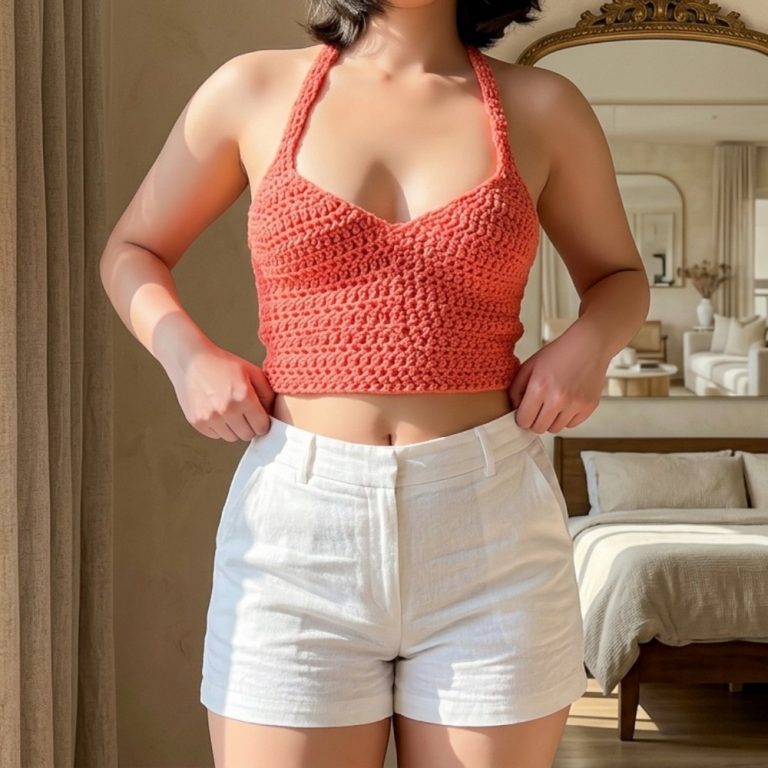
This pattern gives the top a touch of elegance, showing off beautiful stitching that flatters every shape. From pairing with jeans for a day out to wearing over swimwear at the beach, its uses are endless. A crochet mesh top pattern also lets you pick colors and yarns to match your own taste, resulting in a unique garment that feels truly special. With easy-to-wear vibes and endless possibilities, it fits perfectly in any wardrobe.
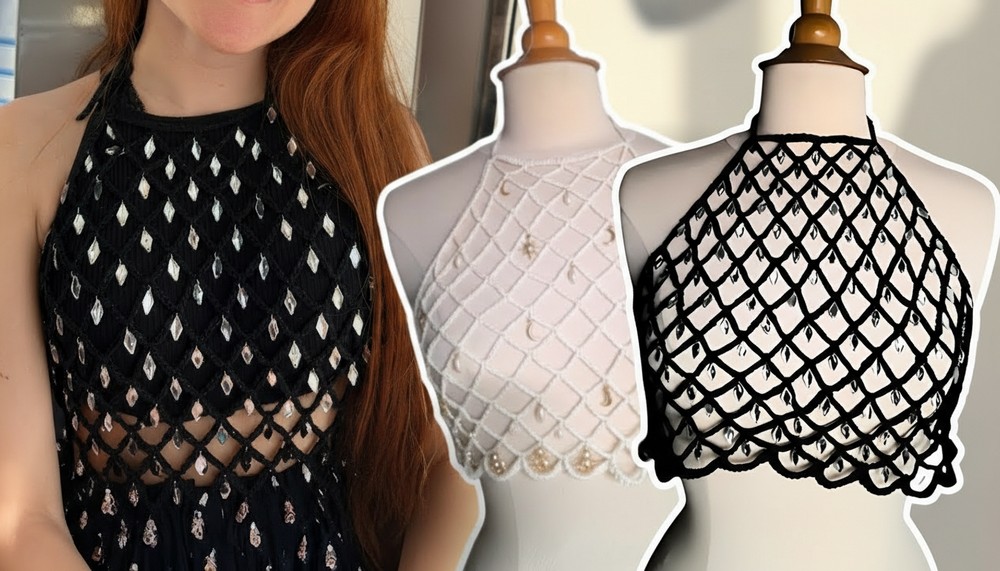
Free Crochet Mesh Top Pattern
Materials
- Yarn: Light/medium weight cotton or bamboo yarn (approx. 100–150g, adjust for desired length/width)
- Hook: Size recommended for yarn (commonly 3.0–4.0 mm)
- Notions:
- Stitch markers (essential for keeping track of row starts/bridge placement)
- Yarn needle (for weaving in ends)
- Scissors
Key Abbreviations (US Terms)
| Abbreviation | Meaning |
|---|---|
| ch | chain |
| st(s) | stitch(es) |
| sc | single crochet |
| tr | treble (triple) crochet |
| rep | repeat |
| sk | skip |
| PM | place marker |
Special Notes
- Sizing: The initial chain can be adapted for your body width, but the sample uses ch 29 for a typical crop/lacy top.
- Construction: The pattern consists of repeated rows of ch 10 bridges and sc anchors, building a stretchy mesh fabric.
- Fit: Mesh stretches—a snug fit when flat will open up when worn.
- Markers: Stitch markers are crucial for beginners to keep even spacing, especially in the first two rows.
Pattern
1. Foundation Row
- Make a slip knot and ch 29.
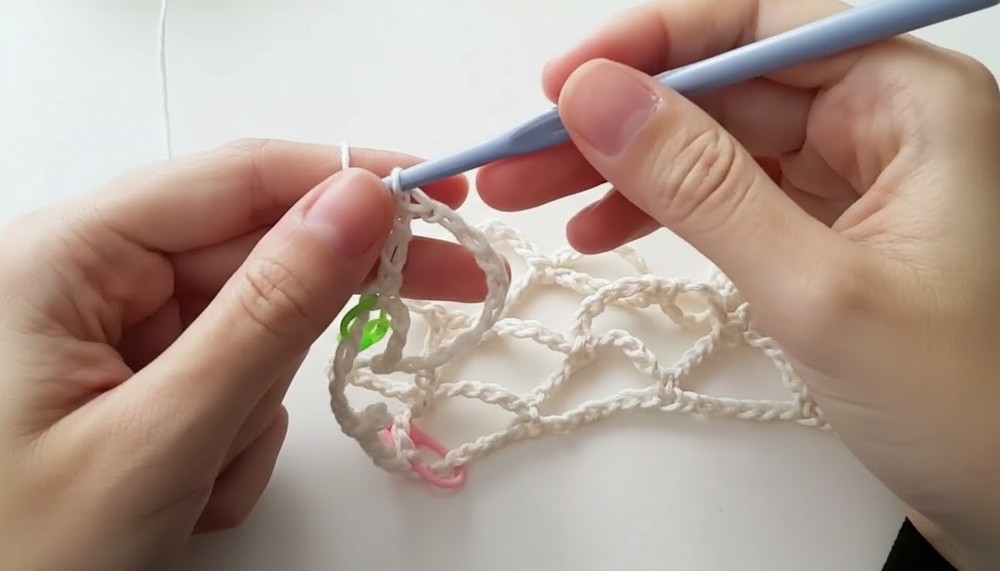
2. Marking and Setting Up Bridges
- PM at the end of your starting chain (stitch 29).
- Ch 10 more (creates the first lace bridge).
- From the last ch, count back 7 sts toward the foundation chain.
PM on the 7th st. - Repeat: Continue chaining 10, counting 7 sts along the foundation, and placing markers on every 7th st, until you reach the starting point.
Your last 7th st marked should coincide with the foundation’s first st.
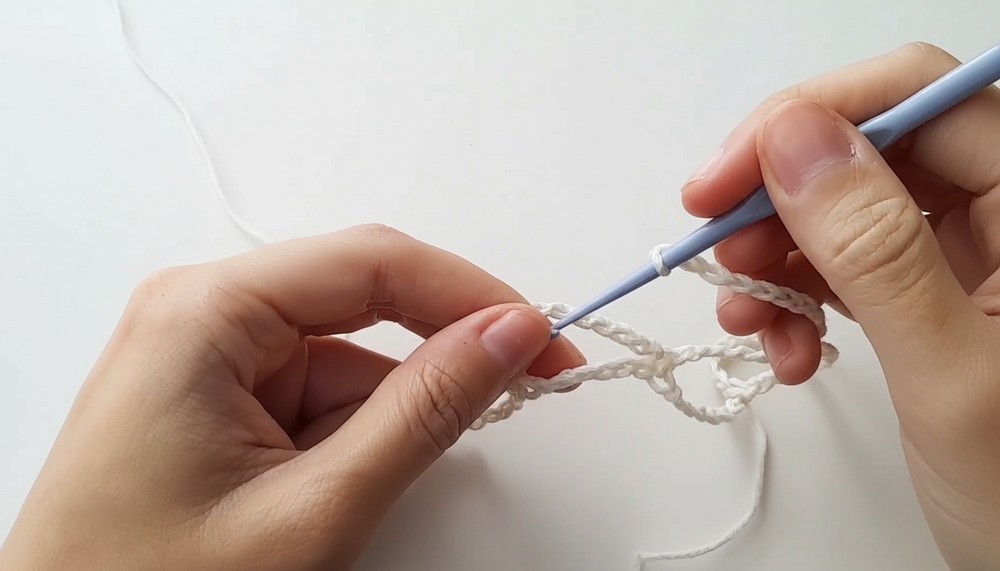
At the end, you should have a lacy setup with stitch markers spaced every 7 sts.
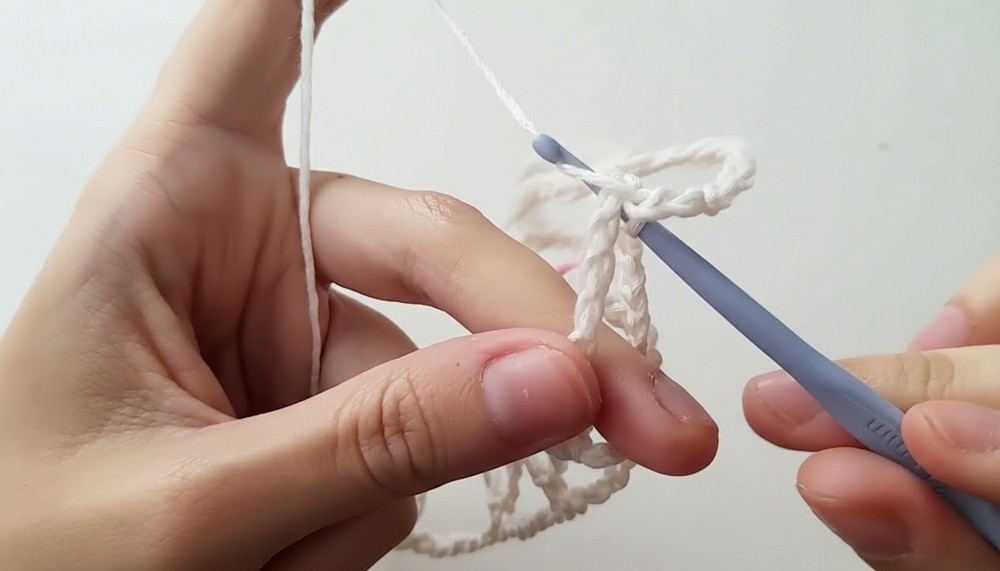
3. Anchoring Bridges with Single Crochet
- Begin working sc into each st marker along the foundation chain:
- Sc into the 2nd stitch marker (not the very last one).
- Ch 10.
- Sc into the next stitch marker.
- Repeat until you reach the end.
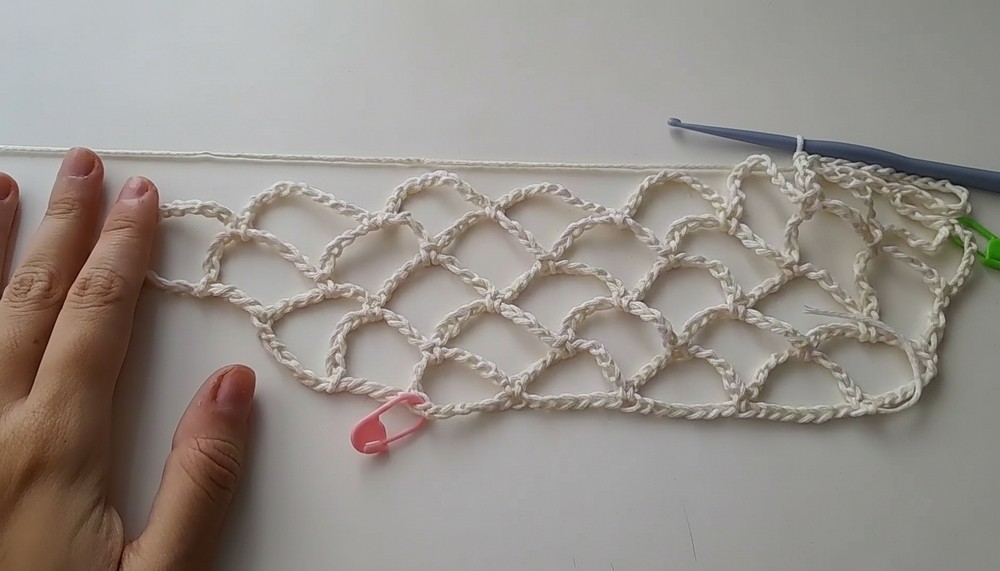
4. First Lace Row
- Ch 15 (forms turning bridge).
- Turn your work.
- Sc into the middle of the previous bridge’s loop (there is not a specific stitch—just insert into the middle of the ch-10 loop for a stable anchor).
- Ch 10, sc in the middle of the next loop.
Repeat like this across, always:- Ch 10,
- Sc in middle of the next arch/bridge formed in the prior row.
- At the end of the row, ch 10 and anchor using a tr (treble/triple crochet) in your first foundation marker (or, in successive rows, mark the 7th st on the edge and work the tr crochet into it).
5. Subsequent Rows
- Ch 15 at the start of each new row, turn.
- Sc in the middle of the first bridge from the previous row.
- Ch 10, sc in next bridge, repeat to the end.
- After the last repeated ch 10, tr crochet into the 7th edge stitch (PM first for accuracy if unsure).
Continue in this manner until you reach your desired length.
6. Sizing and Fit
- For most tops, 16 rows will give a cropped look (count and add rows for longer coverage).
- The mesh stretches to fit S/M and up due to its open structure. Adjust width by changing your foundation chain.
Conclusion
You now have the essentials to confidently start your crochet mesh top. This top is stretchy, breathable, and highly adjustable for most body sizes. After reaching your desired length with repeated mesh rows, return to the original tutorial for shaping, straps, and finishing.
Pattern Corrections
- Ensure you are consistently placing stitch markers every 7th stitch on both the base chain and subsequent rows for the mesh to lay flat.
- If your mesh arches start to skew, recount your anchors and chain spaces to maintain symmetry.
Tips
- Use a light-colored yarn in your first sample to easily see stitches and placement.
- Place stitch markers as soon as you finish each 7-st segment—do not wait until the end.
- For best appearance, block your finished top gently to smooth out any curling from the mesh pattern.
- The top stretches significantly; err on the side of a snug fit when measuring.
- Securely weave in ends and reinforce straps if the top will be worn frequently.