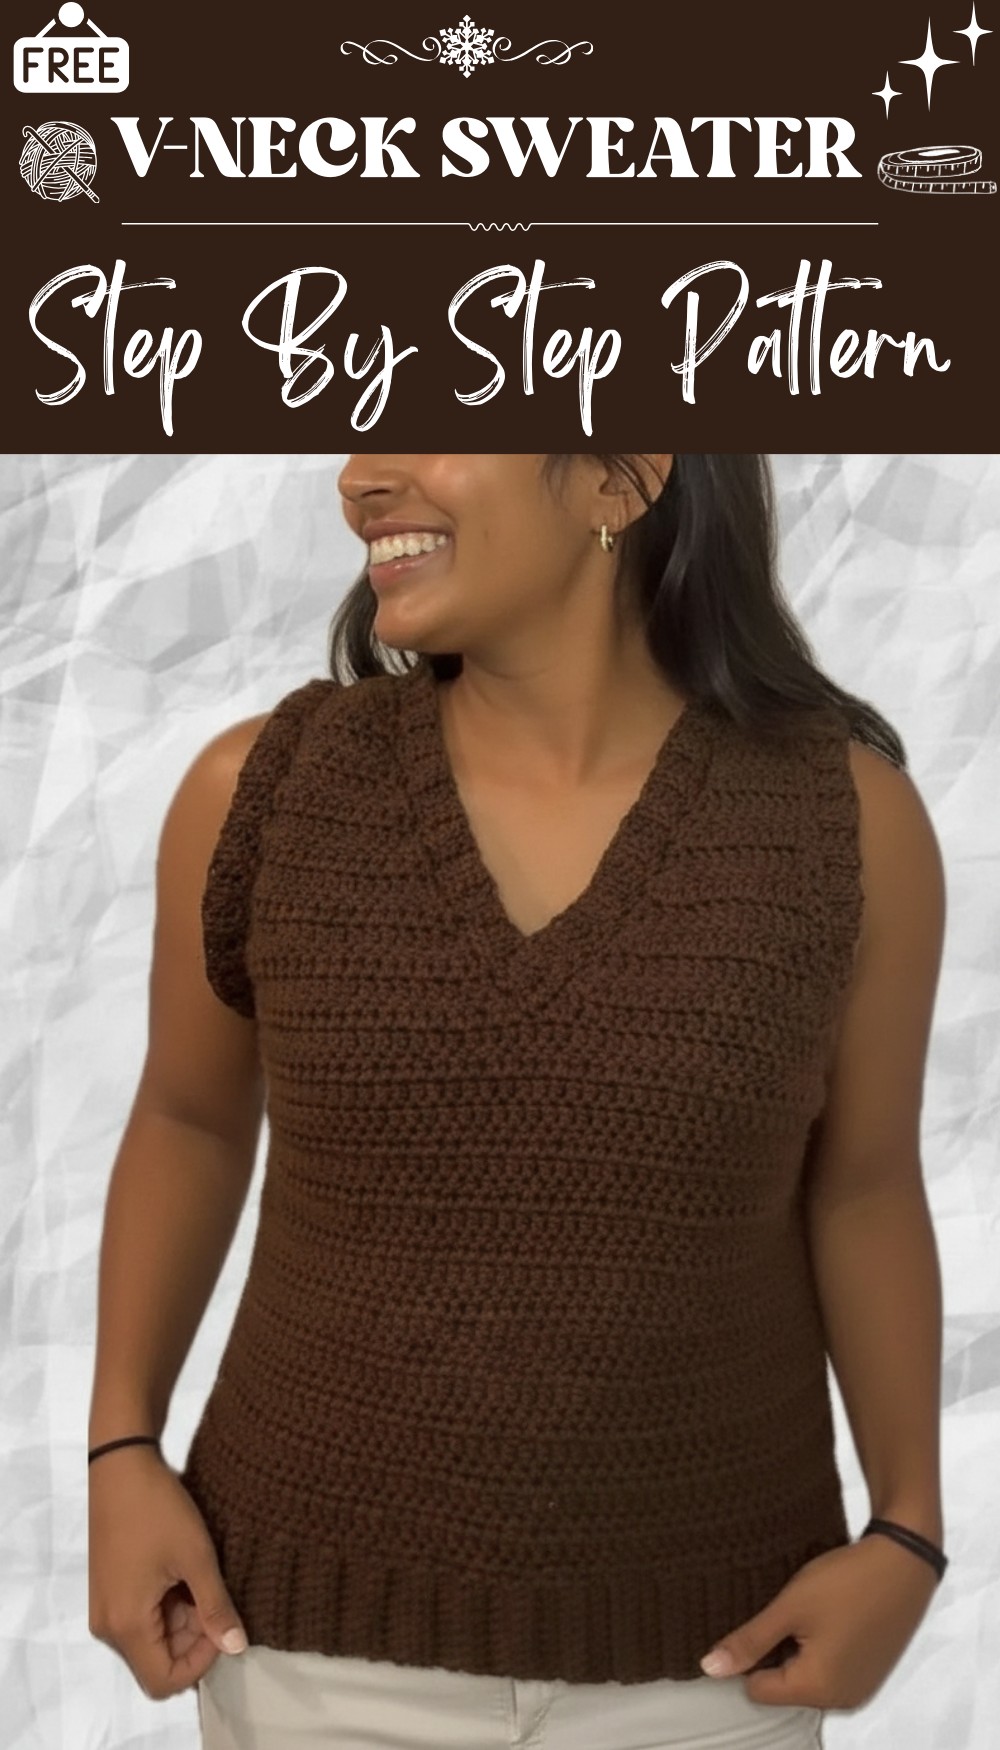
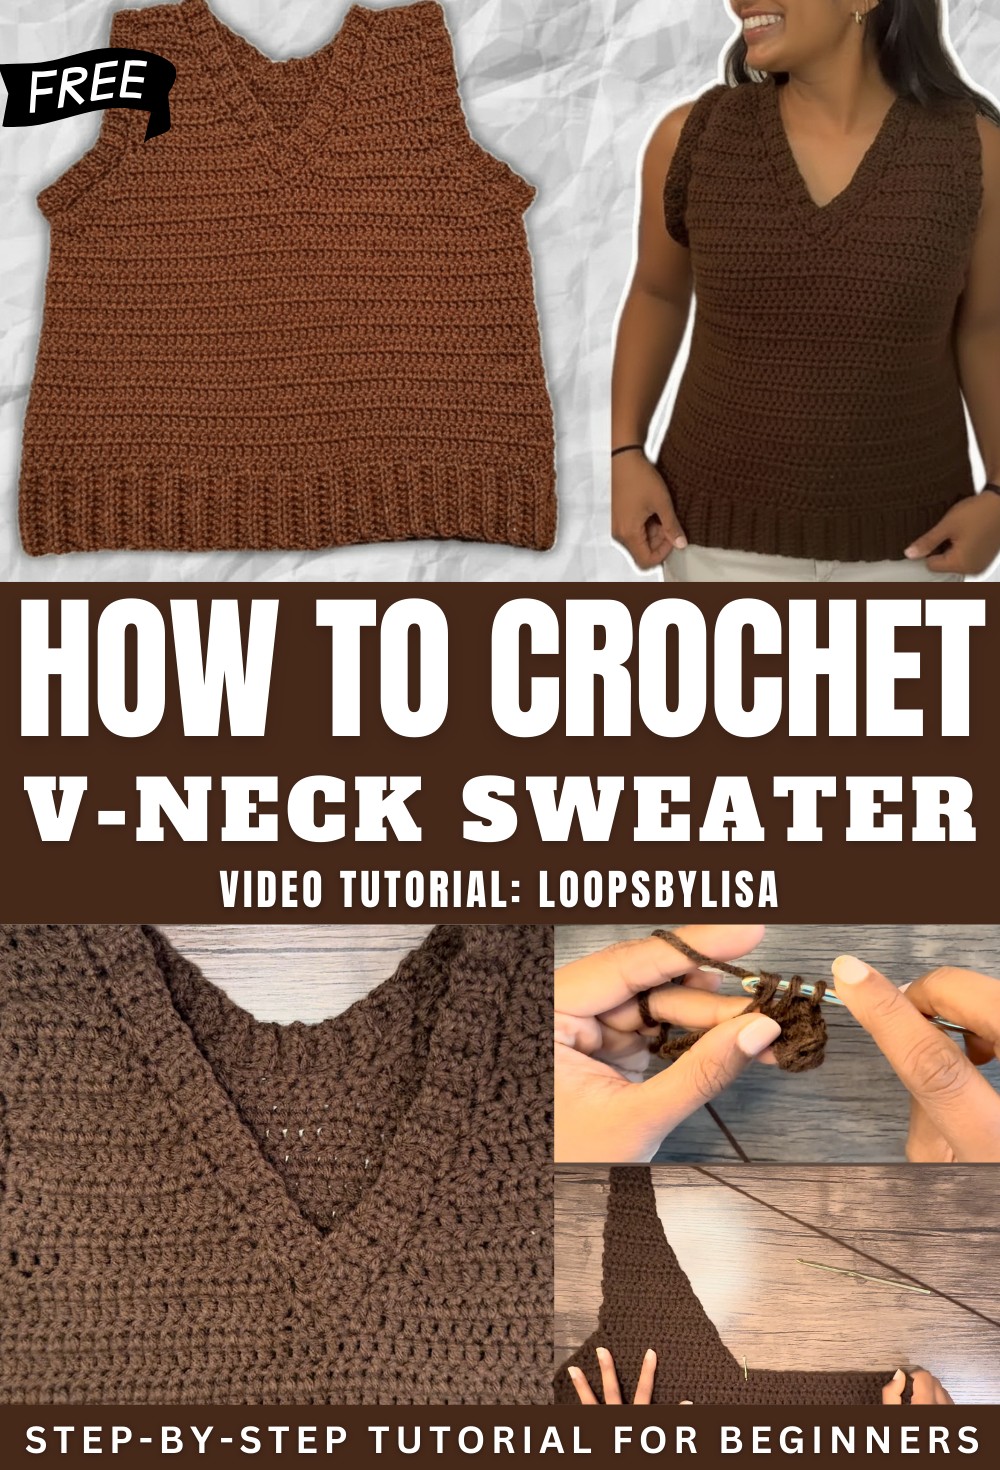
Free V-Neck Sweater Pattern for Crochet Fans

Refresh your style with free crochet V-neck sweater pattern that blends comfort and style for a stunning handmade look everyone will admire.
When you see a sweater with a shape like a big V at the front it brings a special kind of beauty and style to anyone wearing it. This shape makes the sweater look modern and easy to wear by showing a gentle opening around the neck which feels comfortable and looks neat. This simple design helps people stay warm while still feeling free to move because the V already gives plenty of space.
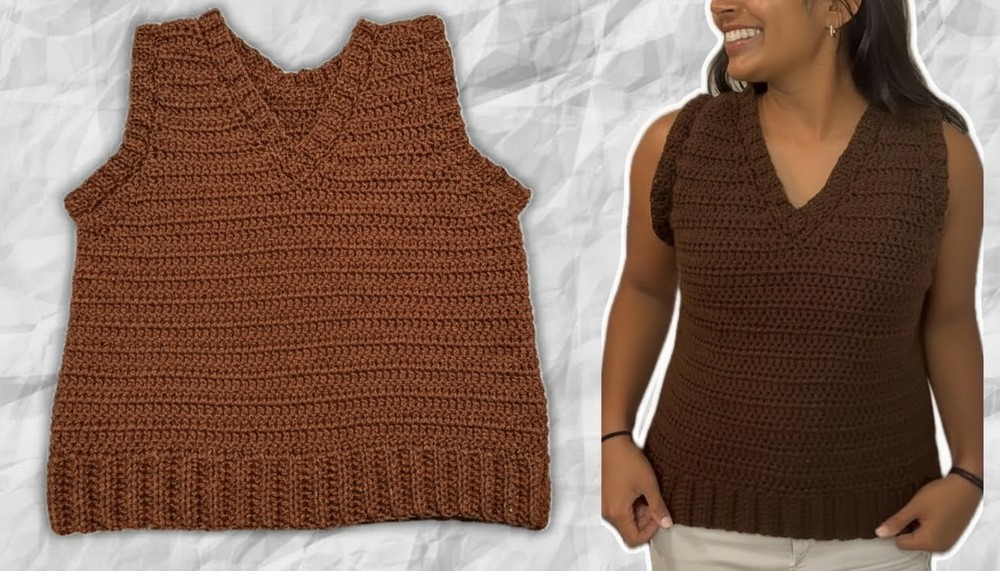
Crochet V-Neck Top Pattern : Free and Simple
Using the Crochet V-Neck Sweater pattern means you can make your own clothing that fits just right and matches your favorite colors. People love to use this kind of sweater for daily wear at home or outside because it looks great and is easy to layer over shirts and tops. The way crochet makes small loops in the fabric gives softness which feels good and the open neck makes it suitable for all ages and weather.
Chunky Crochet Sweater Vest Pattern
Materials
- Yarn: 250g Medium Weight (4) Acrylic Yarn
- Yardage: Approx. 500–600 yards
- Hook: 5 mm (H-8) crochet hook
- Yarn Needle: For seaming and weaving in ends
- Scissors
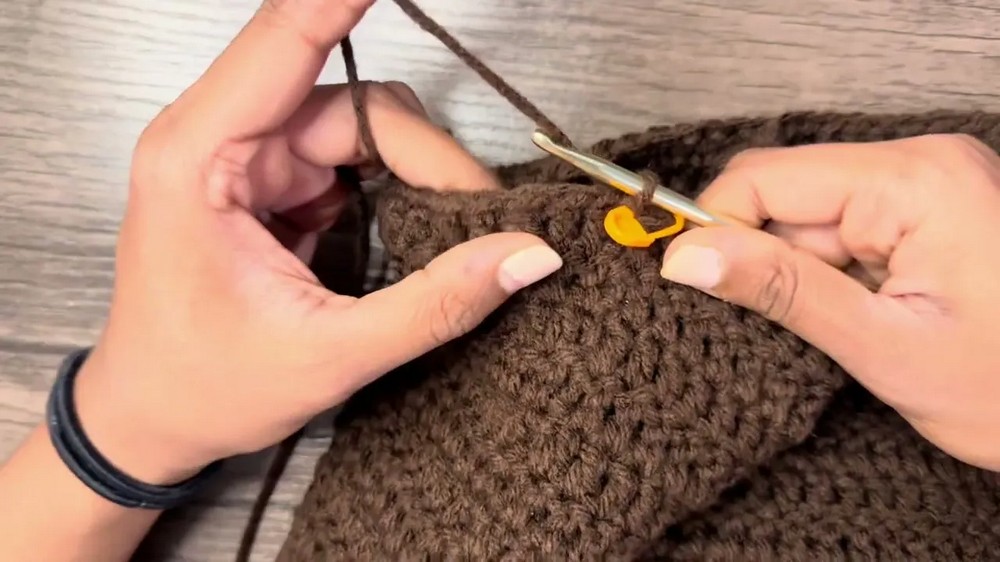
- Stitch Markers: Optional, for marking armhole and neckline points
- Measuring Tape: To check fit and ribbing length
Key Abbreviations
- ch = chain
- sc = single crochet
- hdc = half double crochet
- dc = double crochet
- sl st = slip stitch
- blo = back loop only
- rep = repeat
- st(s) = stitch(es)
Special Notes
- Pattern is written in US crochet terminology.
- Adjust fit: Add or reduce number of ribbing rows (should be divisible by 8).
- Ribbing and edgings are all worked using hdc (half double crochet) and sc (single crochet).
- Turn your work after every row/round to keep seams straight.
- The vest uses a multiple panel decrease for shaping armholes/necks.
Instructions
1. Ribbing (Bottom Band)
Foundation:
- Make a slip knot, then ch 10 (9 sts wide + 1 turning chain).
Row 1:
- Hdc in 2nd ch from hook, hdc in each ch across (9 hdc). Ch 1, turn.

Rows 2–X (Ribbing):
- Blo hdc in each st across (9 hdc). Ch 1, turn.
- Repeat until the ribbing strip fits fully around your body.
- For size small, make 80 rows (should be divisible by 8 for best fit, approx 66 cm/26″).
Join Ribbing:
- Fold ends together (no twisting).
- Sl st through top loop of both layers across to form a circle band.
- Do not fasten off.

2. Vest Body (Worked in Rounds)
Rotate ribbed band so the seam is at center back or underarm.
Round 1:
- Ch 2 (counts as first dc).
- Working into row ends on the top side of ribbing:
- Place 1 dc into the ridge, then 1 dc into each of the next 2 row ends, then 1 dc into the next ridge, then 1 dc into each of the next 2 row ends, rep around.
- Stitch count: 1.5 times the number of ribbing rows.
- (80 rows → 120 dc in round 1).
- Sl st to join to first real stitch (not the ch-2).
Round 2:
- Ch 2, turn.
- Dc in each st around.
- Skipping starting ch-2, sl st to top of first dc.
Repeat:
- Rep round 2 (ch 2, turn, dc in each st, sl st to top of first dc, NOT ch-2) until vest measures desired length to underarm/armhole.
- Sample: 18 total rounds (including the first round), about 22.5–23 cm including ribbing.
3. Shaping Armholes (Switch to Rows)
At armhole stop working in rounds, begin working in rows for the front/back split.
- Place a stitch marker at the midpoint (half the total stitches, e.g. at stitch 60 for 120 sts).
- Place a second marker to the left of the halfway point (for clear reference).

Front Armhole Shaping
Row 1:
- Ch 2, turn.
- Dc3tog over first 3 sts (see Special Stitch below).
- Dc in each st to 3 sts before marker, dc3tog over next 3.
- Ch 2, turn.
Rows 2-3:
- Rep Row 1 (dc3tog at start and end of each row).
- Repeat for a total of 3 decrease rows, or as many as needed for desired armhole depth before starting neckline.
4. Shaping V-Neck (Left Front Panel)
Find center front st (divide remaining sts evenly). Mark center with a stitch marker.
Row 1:
- Ch 2, turn.
- Dc3tog over first 3 sts.
- Dc up to 2 sts before V-neck marker, dc2tog.
- Ch 2, turn.
Row 2:
- Dc2tog at start,
- Dc across to last 3 sts,
- Dc3tog over last 3 sts.
- Ch 2, turn.
Rows 3-15 (or as many as needed):
- Continue dc2tog at neck edge each row, dc normally elsewhere.
- (When armhole shaping is deep enough, stop decreasing on armhole side and continue neck-side only.)
- Total: 13 rows of neck shaping after initial 3 armhole rows, or until you have just 2 sts left at the neck.
Fasten off.
5. V-Neck (Right Front Panel)
- Attach yarn to corner at armhole.
- Ch 2, turn.
- Dc3tog at start.
- Dc across to V-neck, dc2tog at neck split.
- Ch 2, turn.
- Rep for 2 more rows (dc3tog left, dc2tog right).
- Then work 13 rows of dc2tog only at neck edge, dc rest, until 2 sts remain.
6. Back Panel
- Attach yarn at marker for back panel.
- Ch 2, turn.
- Dc3tog at start/end of each row for 6 rows (to match front armhole decreases).
- Regular dc rows for 6 rows.
- Begin back neckline decrease: In each of 6 rows, dc in 11 sts, dc3tog (center), dc to end.
- Rep for other half of the back: Attach yarn at other edge, dc in 11 sts, dc3tog, finish row.
Fasten off.
7. Join Shoulders
- Align front and back panels at the shoulder.
- Using yarn tail and yarn needle, sew through top loops only of both panels for each shoulder seam.
- Tie a knot and weave in ends.
8. Neckline Ribbing
SC Border:
- Attach yarn at lower V, ch 1, sc evenly up one side, into the point, and up the other, and across the back.
- Sl st to start, fasten off.
Ribbing:
- For a 3-stitch rib: Attach yarn 3 sts from center. Ch 1.
- Hdc in next 3 sts across.
- Sl st to opposite side.
- Repeat: sl st 2 or 3 together to bring start point up, turn work, blo hdc into each hdc, ch 1, turn.
- Continue this sequence all around neckline.
- At finish, fasten off and sew last row to first row with yarn needle.
9. Armhole Ribbing
SC Border:
- With right side out, attach yarn at underarm, ch 1, sc evenly in each row end around.
- Sl st to join.

Ribbing:
- As for neckline, but ribbing depth can be customized (suggested: ch 4, 3 hdc per row).
- Attach at armhole edge, ch 4, hdc in 3 sts, sl st to base, slip st 2 together to move up, turn, blo hdc.
- Rep to full round, fasten off and whip stitch join.
10. Finishing
- Weave in all ends using a yarn needle.
- Block vest lightly if desired for a more even finish.
Special Stitches
- Back Loop Only (blo): Work hdc or dc into the back loop (the one furthest from you) of the stitch.
- Dc3tog (double crochet three together):
- [Yo, insert hook into next st, yo, pull through, yo, pull through two] x3 (do not finish last step until all 3 are made), yo, pull through all four loops on hook.
- Dc2tog (double crochet two together):
- [Yo, insert hook, yo, pull through, yo, pull through two] x2, yo, pull through all three loops on hook.
Conclusion
This bottom-up chunky sweater vest is cozy, modern, and customizable. The ribbed hem and arm/neck edging create a professional finish, and minimal seaming ensures it works up quickly. Adjust length, width, or neckline as you wish.
Pattern Corrections & Tips
Corrections:
- Always work in the back loop only for all ribbing.
- Make sure the number of ribbing rows is divisible by 8 for best seam alignment.
- When counting stitches for V-neck and armholes, recount after every few rows to ensure symmetry.
Tips:
- Try the body before dividing for the armholes to check fit.
- Leave extra yarn tails to make seaming easier.
- For a roomier or fitted vest, adjust the initial ribbing strip (more/less rows).
- Use stitch markers liberally for marking armholes, V-neck, and center back.