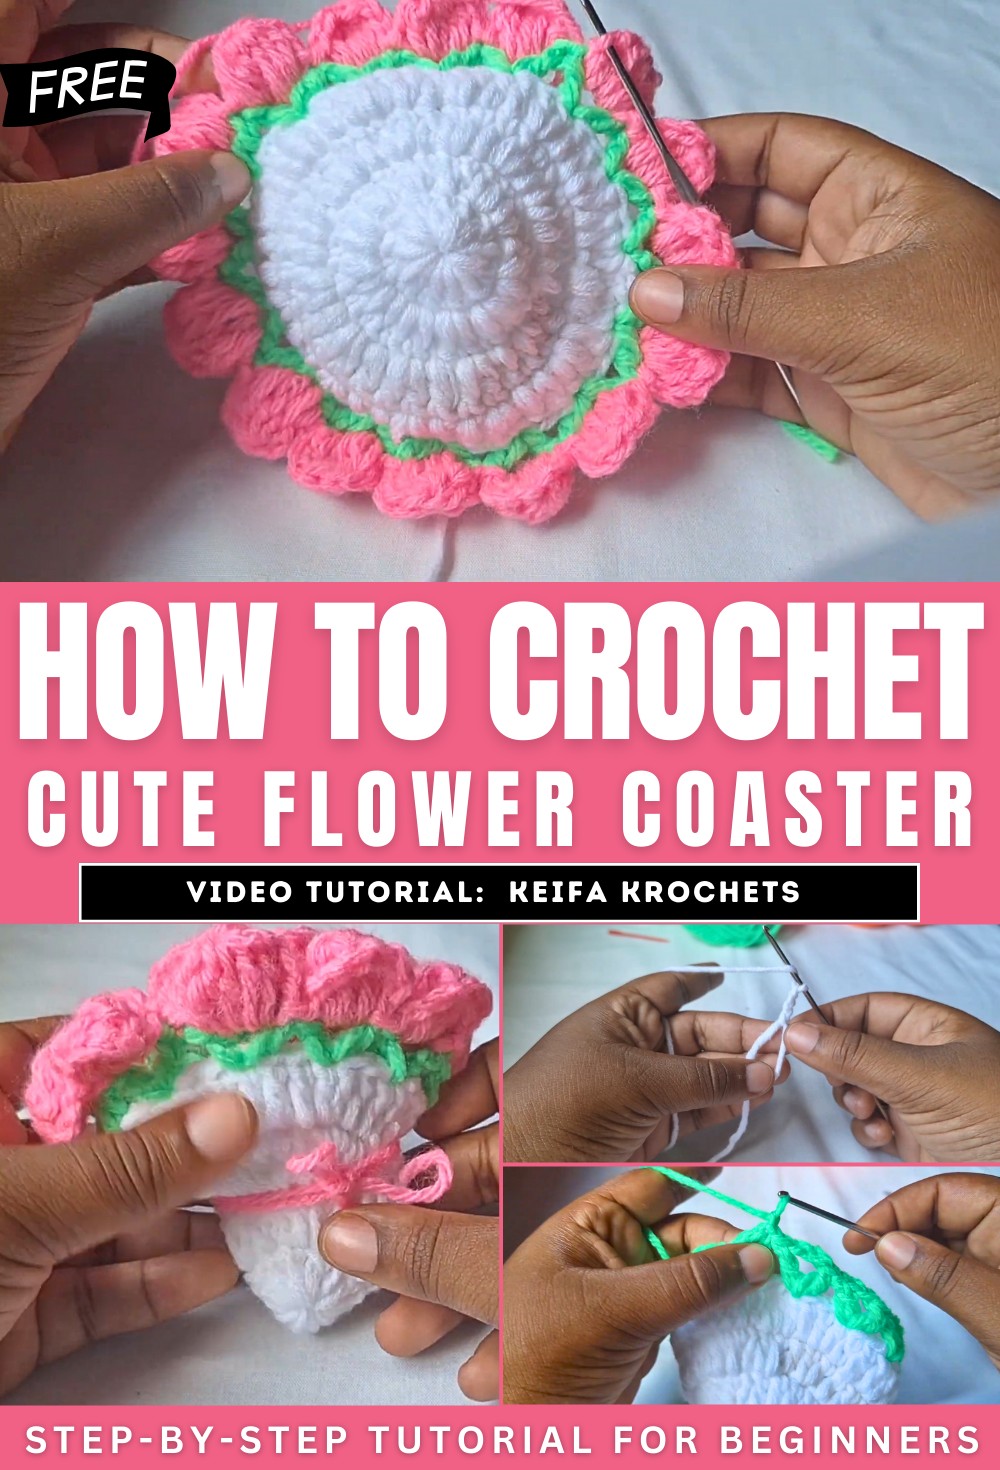
How to Crochet Flower Bouquet Coaster for Beginners

With a step-by-step tutorial, learn how to crochet a beautiful flower rose coaster, perfect for creating vibrant bouquets or colorful table decor. Using three yarn colors, a 2.5 mm crochet hook, a tapestry needle, and scissors, the project begins with a magic circle and builds through rows of double crochets and V-stitches. The final row involves crafting delicate flower petals in a color of your choice.
The step-by-step instructions ensure clarity for beginners and advanced crocheters alike. The finished product is a charming, functional piece that elevates any space while allowing for customization in colors and design. So, follow through with us for the complete tutorial.
Crochet Flower Coaster Tutorial
This tutorial provides detailed instructions for creating a beautiful crochet flower coaster. The finished design is versatile and can be used as a standalone decorative coaster or as part of a bouquet arrangement. The process involves creating multiple rows of stitches, adapting different colors, and forming intricate petals. Below is a step-by-step summary.
Materials Needed
- Yarn: Acrylic yarn (4 weight) in three different colors: white for the base, green for the leaves, and a color of your choice for the petals.
- Crochet Hook: A 2.5 mm crochet hook.
- Other Tools: A tapestry needle and scissors.
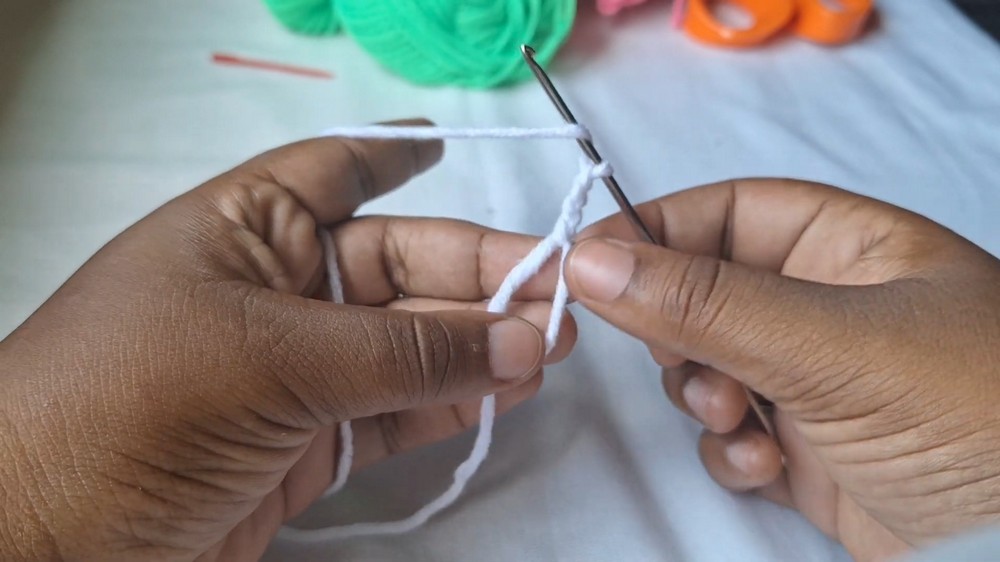
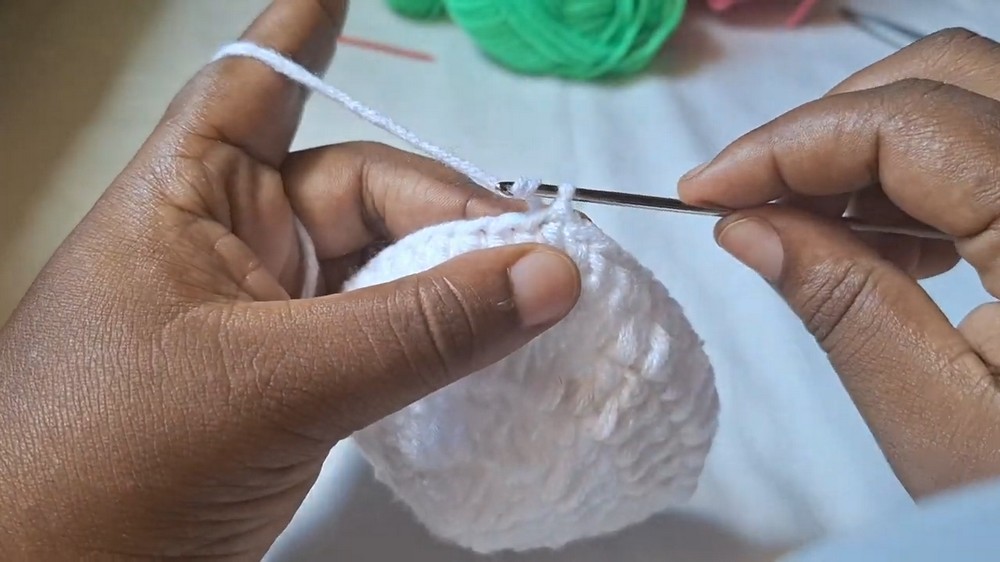
Step 1: Create the Base (Using White Yarn)
- Foundation Ring:
The project begins with the creation of a magic circle (or an optional slip knot and chain setup). This serves as the foundation for the coaster. - Rows of Double Crochets:
Several rows of double crochets are worked to expand the circular base. With each row, more stitches are added to increase the diameter proportionally. - Slip Stitch to Finish Each Row:
After completing each row, a slip stitch is used to join the round, creating a smooth and even foundation. - Fasten Off White Yarn:
Once the base has been completed, the white yarn is fastened off to prepare for the next stage.

Step 2: Add the Leaf Pattern (Using Green Yarn)
- Attach Green Yarn:
A slip knot is used to attach the new green yarn to the last stitch from the white base. - V-Stitch Formation:
The green row is dedicated to creating V-stitches. These are formed by skipping a certain number of stitches in the previous row and crocheting a pattern of double crochets and chains in the designated stitch. - Repeat Around the Circle:
The V-stitches are evenly spaced around the entire row, creating a beautiful framework that imitates the look of leaves. - Finish and Fasten Off:
Once the row is complete, the green yarn is fastened off.
Step 3: Form Flower Petals (Using Petal Yarn)
- Attach Petal Color Yarn:
A slip knot is used to attach a third yarn color of your choice (e.g., pink) to any V-stitch created in the previous row. - Create Petals:
Within each V-stitch, crochet a petal. This is done by chaining stitches, creating a cluster of double crochets, and slipping into the V-stitch to complete the petal.

- Repeat Until Full Circle:
The petal-formation process is repeated in each V-stitch, resulting in the flower taking shape. Each petal is identical, ensuring symmetry. - Fasten Off and Secure Ends:
After the final petal is completed, the yarn is fastened off. All loose ends from the project are woven in using the tapestry needle.
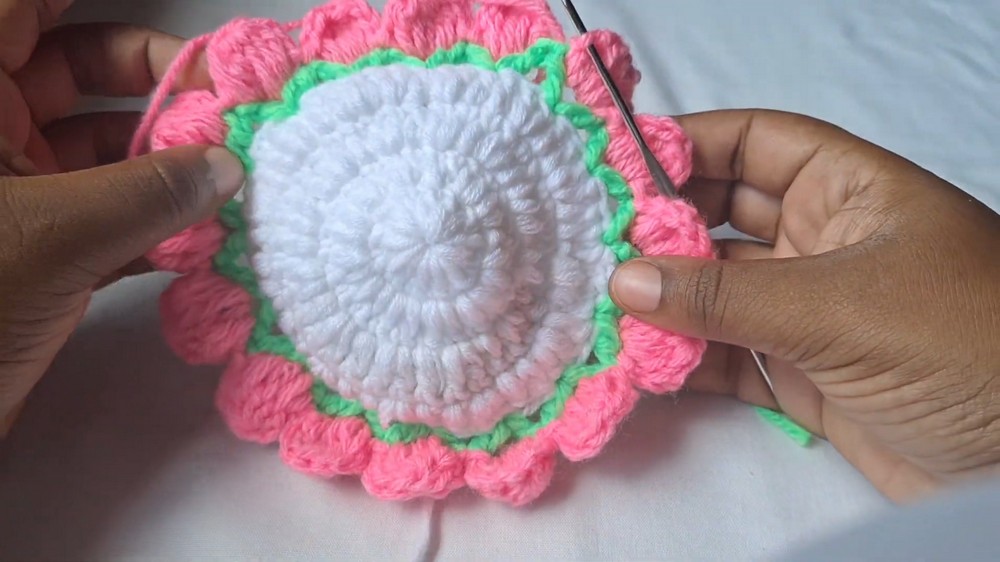
Completion of the Project
The completed coaster features a decorative circular base, leaf-like accents, and delicate flower-like petals. It’s an eye-catching, functional piece perfect for adding a handmade touch to your home or as a gift.
Conclusion
The tutorial is beginner-friendly and guides viewers through each step, from the foundation to the detailed petals. Using simple stitches like double crochets, chains, and slip stitches, anyone can recreate this beautiful flower coaster. The ability to customize the colors makes it a versatile and creative project for crochet enthusiasts of any level.