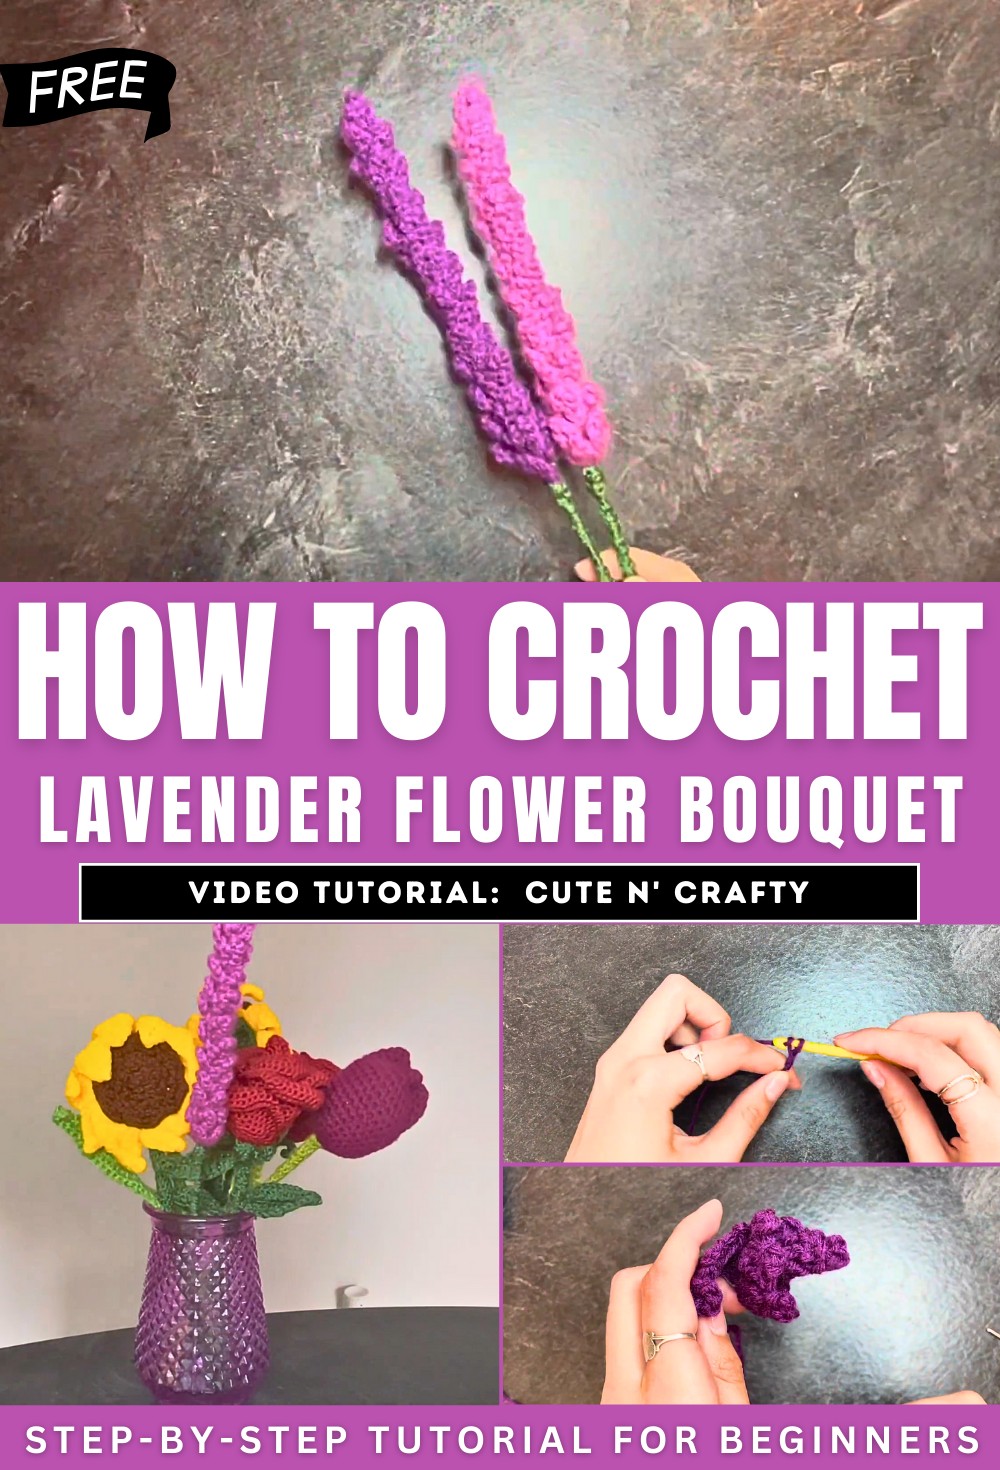
How to Crochet Flower Bouquet Series Lavender for Spring
Learn how to crochet a beautiful and realistic lavender flower for adding to your spring vase perfect for beginners. Using simple stitches like slip knots, double crochets, and chains, the instructor guides viewers step-by-step to crochet the flower’s intricate details. The process involves creating loops of varying sizes, twisting the lavender into shape, and assembling it with floral wire and hot glue for a polished finish.
The green stem is crocheted to maintain a cohesive, handmade appearance. The tutorial is straightforward, making it easy for beginners to follow, resulting in a delicate lavender that adds elegance and height to any crochet bouquet. So, follow through with us for the complete tutorial.
Crochet Lavender Tutorial
This beginner-friendly crochet tutorial guides viewers through the process of creating a delicate and realistic lavender flower, perfect for enhancing floral arrangements. The creator provides clear, step-by-step instructions and shares tips to ensure the final product looks polished and professional.
Introduction
- The tutorial begins with an overview of the project—a realistic crocheted lavender flower.
- The instructor emphasizes that this is a beginner-level project, making it accessible for those new to crochet.
- The lavender is described as beautiful, easy to make, and ideal for adding height and elegance to a crochet bouquet.
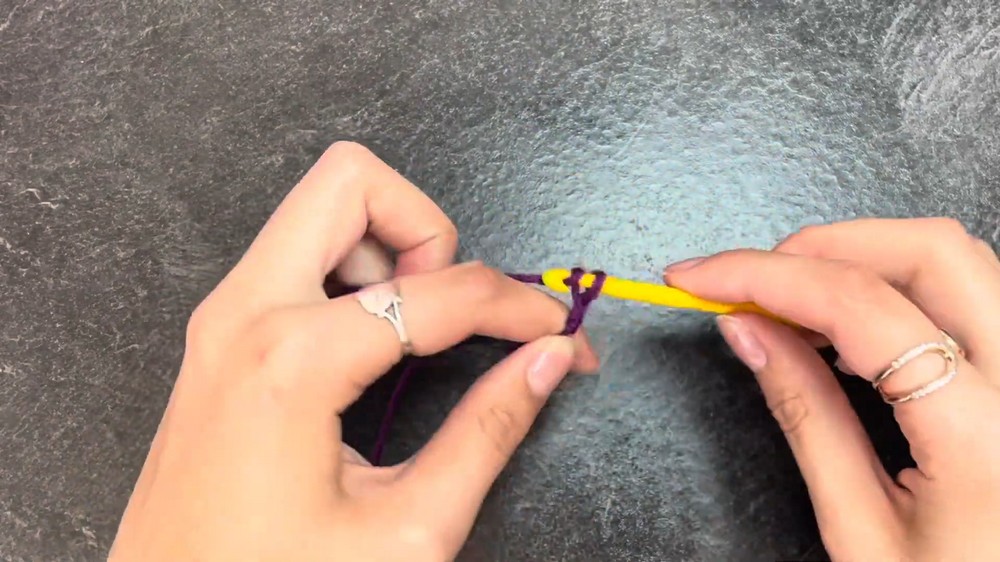
Creating the Lavender Loops
- The process starts by working with purple yarn to form loops that mimic the natural texture of lavender.
- The tutorial explains how to alternate between larger and smaller loops for the top and bottom sections of the flower.
- Varying the loop sizes ensures the lavender has a tapered effect, making the top narrower and the bottom fuller in appearance.
Adding Finishing Touches to the Lavender
- The instructor ties the yarn ends together to give the lavender a clean finish and leaves a long tail for assembly purposes.
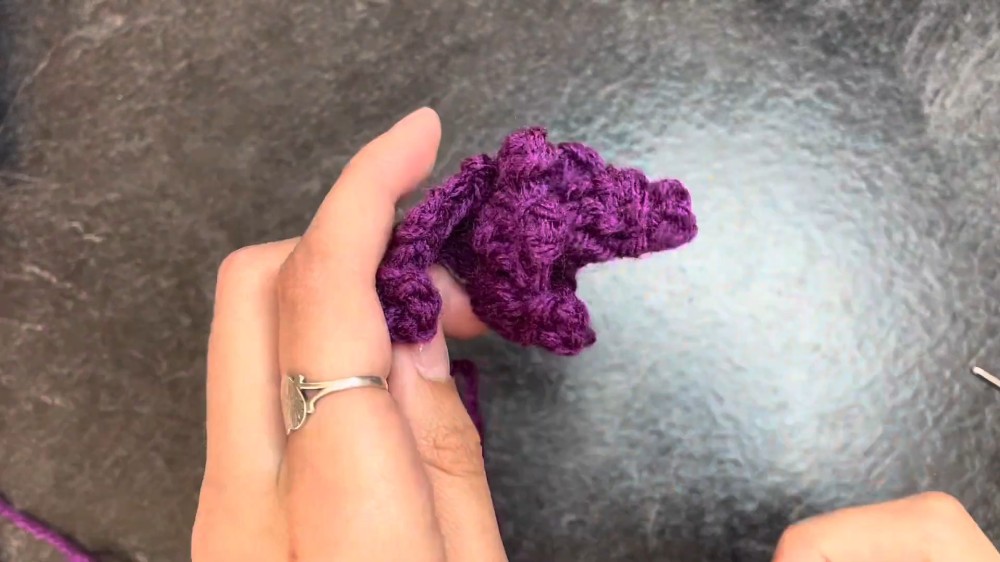
- The loops are twisted together to create the signature spiral shape of the lavender flower.
- The twisting process dramatically transforms the crochet work, bringing the lavender design to life.
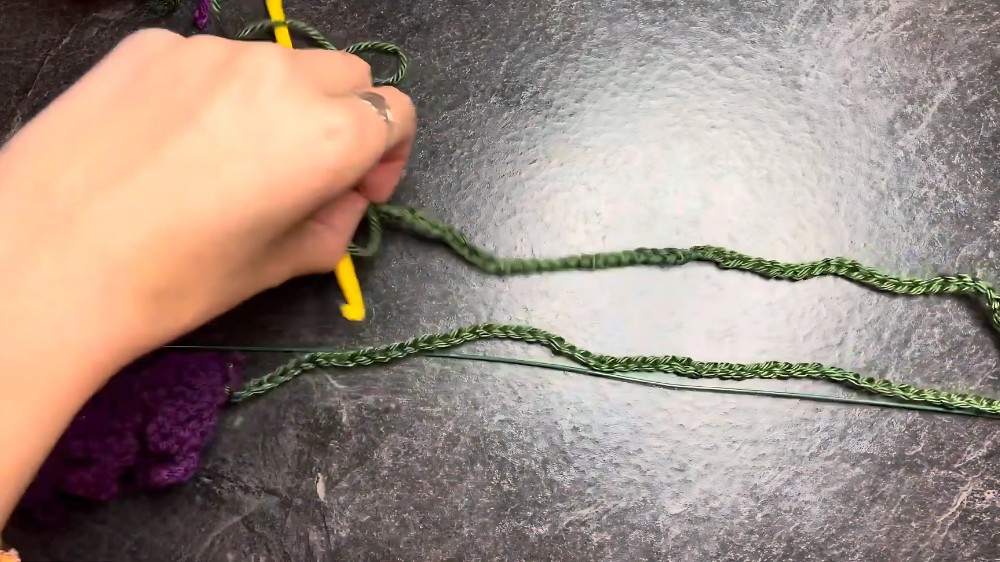
Creating the Green Stem
- Green yarn is introduced to crochet the stem of the lavender.
- The instructor provides tips on how to chain the stem for a fully crocheted appearance, rather than simply twisting yarn around the floral wire.
- This approach ensures that the entire project has a consistent handmade aesthetic.
Assembling the Lavender
- Floral wire is prepared using hot glue to secure the crocheted pieces.
- The lavender is slowly twisted around the wire, with the loops spaced out evenly for a realistic finish.
- The instructor adjusts the spacing to avoid visible gaps or exposed wire while maintaining the integrity of the design.
Securing the Ends
- Excess green chains are trimmed, and hot glue is used to firmly secure the loose ends, preventing unraveling.
- The instructor emphasizes creating a clean and neat finish at the bottom of the stem for a polished result.
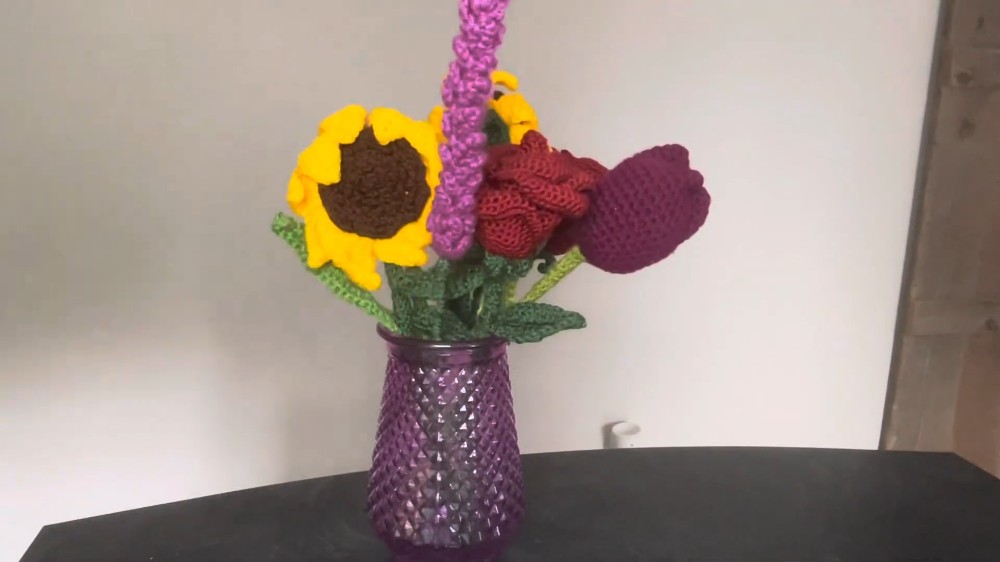
Final Result
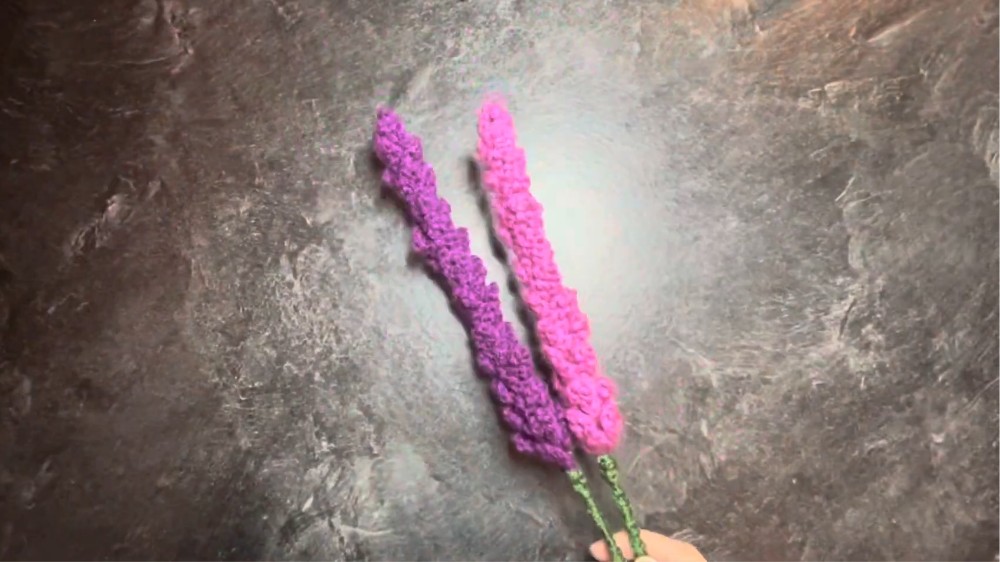
- Upon finishing, the lavender flower is presented as a stunning and lifelike piece.
- The instructor highlights its simplicity and suitability for bouquets, noting that the lavender adds height and elegance to floral arrangements.
Key Takeaways
This tutorial is excellent for beginners looking to explore delicate crochet designs. The step-by-step explanation ensures accessibility, while the use of floral wire and hot glue adds durability to the final piece. The finished lavender is versatile, beautiful, and serves as a unique handmade addition to any bouquet or decorative arrangement.