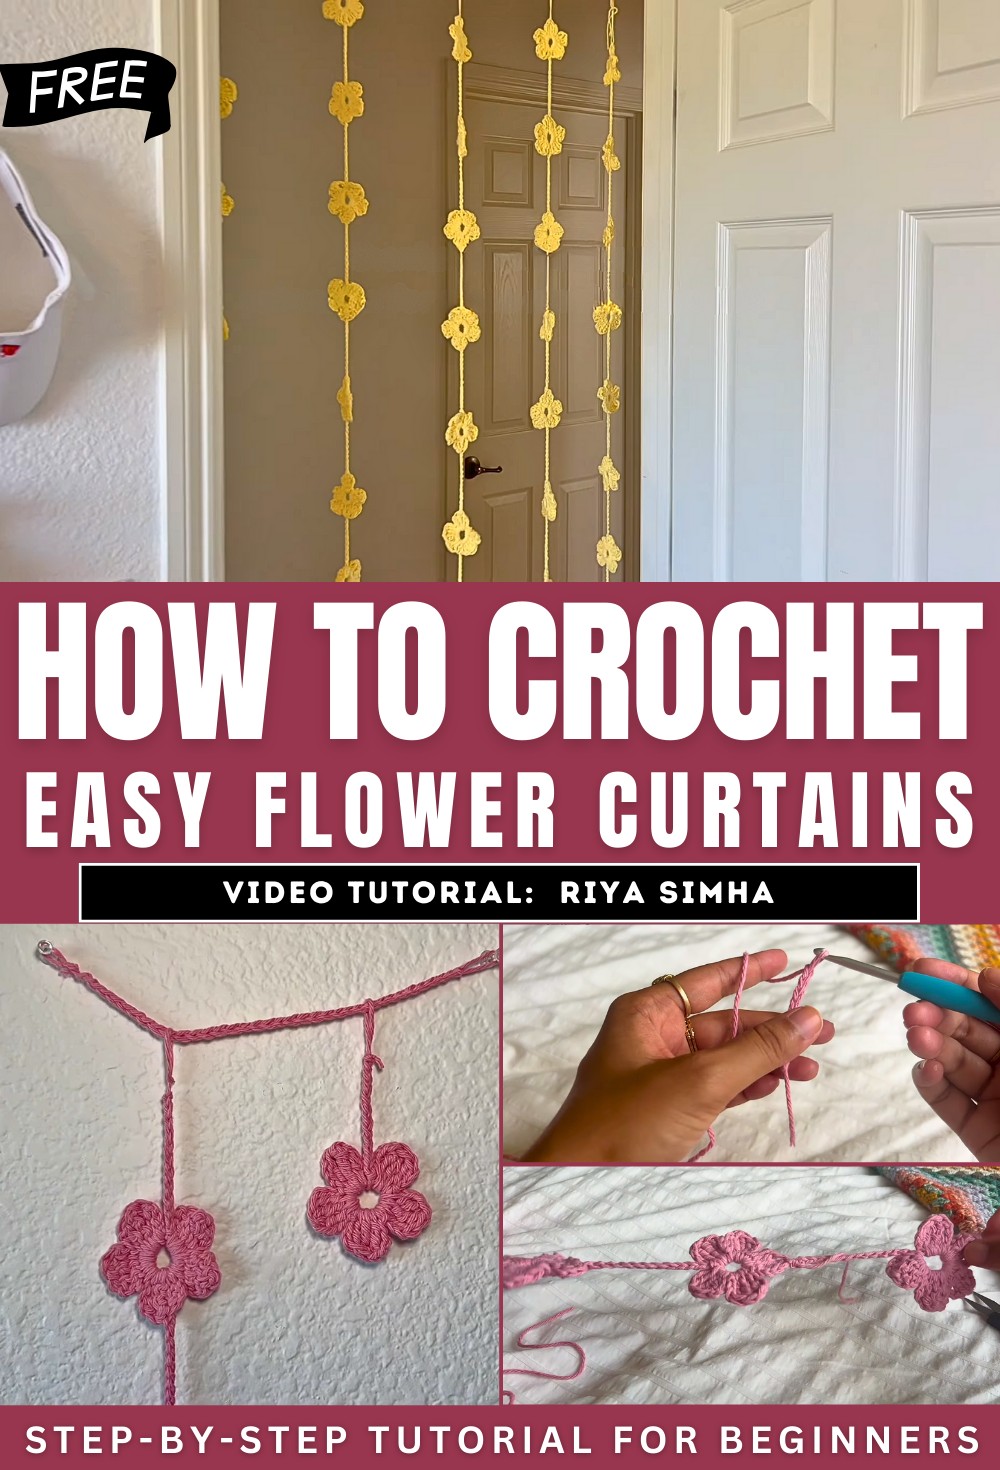
How to Crochet Flower Curtains for Beginners
Learn how to crochet a beautiful flower curtain using many strings with a step-by-step tutorial for beginners. Starting with a slip knot, the instructor demonstrates how to form a circular foundation with chain stitches and build each flower petal using treble crochets and yarn overs. After completing five petals, the tutorial covers chaining to form loops that allow the flowers to hang easily. Subsequent flowers are attached to one another seamlessly, creating a cascading design.
Finally, the curtain is assembled by attaching the flower chains to a larger chain. This easy-to-follow tutorial is perfect for crafting unique home décor items like curtain accents. So, follow through with us for the complete tutorial.
Crochet Flower Curtain Tutorial
This tutorial demonstrates how to crochet a flower curtain using simple techniques suitable for crocheters of all skill levels. The project results in a beautiful and decorative piece that can be used to enhance any space, from windows to doorways. The instructor provides clear, step-by-step instructions, explaining how to crochet individual flowers, connect multiple flowers, and assemble them into a curtain.
Materials Needed
- Yarn in your preferred colors
- Crochet hook of the appropriate size
- Scissors for cutting yarn
- Optional: A long chain for hanging the finished curtain
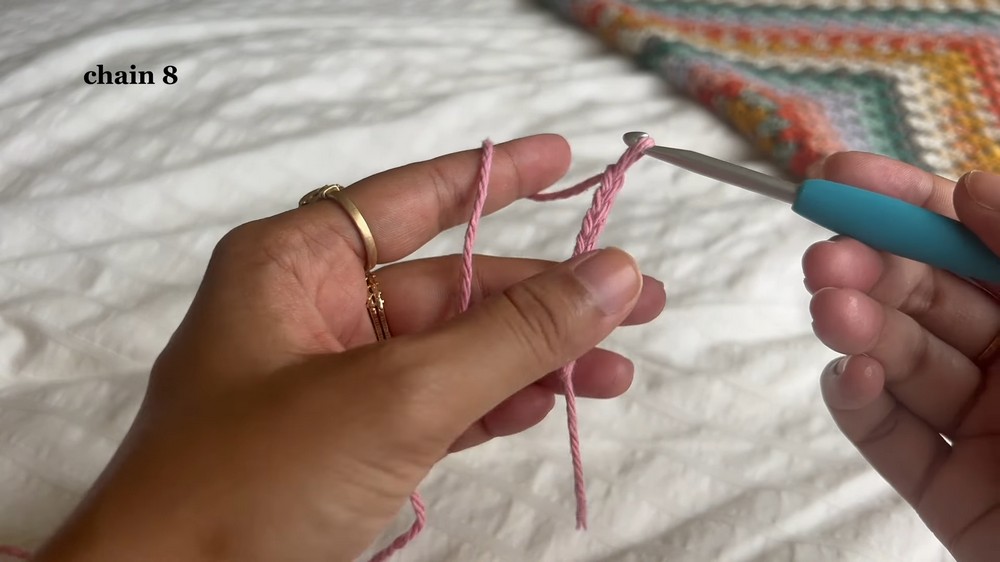
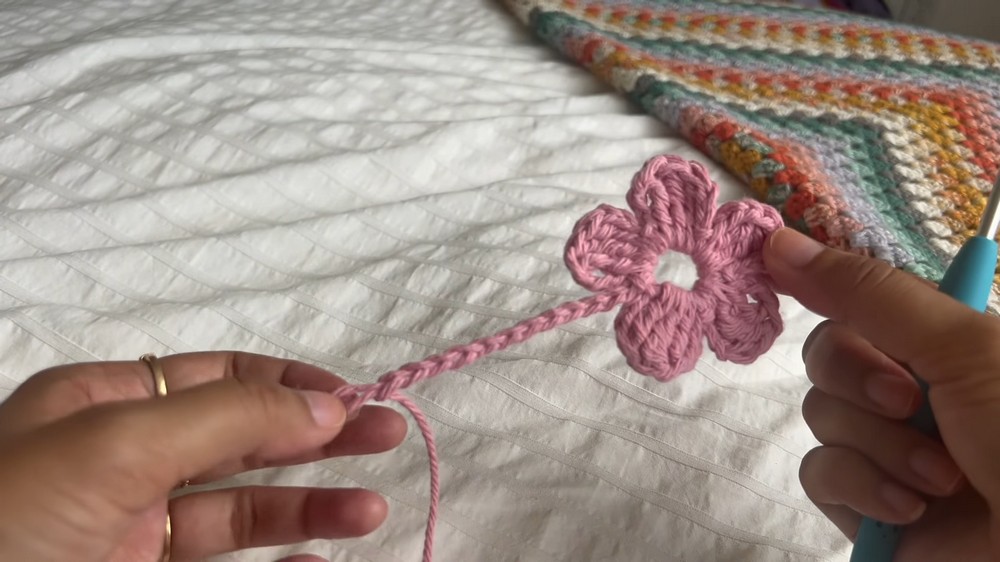
Step 1: Creating the First Flower
- Foundation Loop
- The tutorial begins with creating a slip knot and a foundation loop. The crocheted flower petals will be worked into this loop.
- Crocheting Flower Petals
- Each petal is formed using a sequence of chains and treble crochets. One unique taller stitch is introduced by yarning over three times for added dimension.
- After completing a petal, it is secured with a slip stitch into the foundation circle.
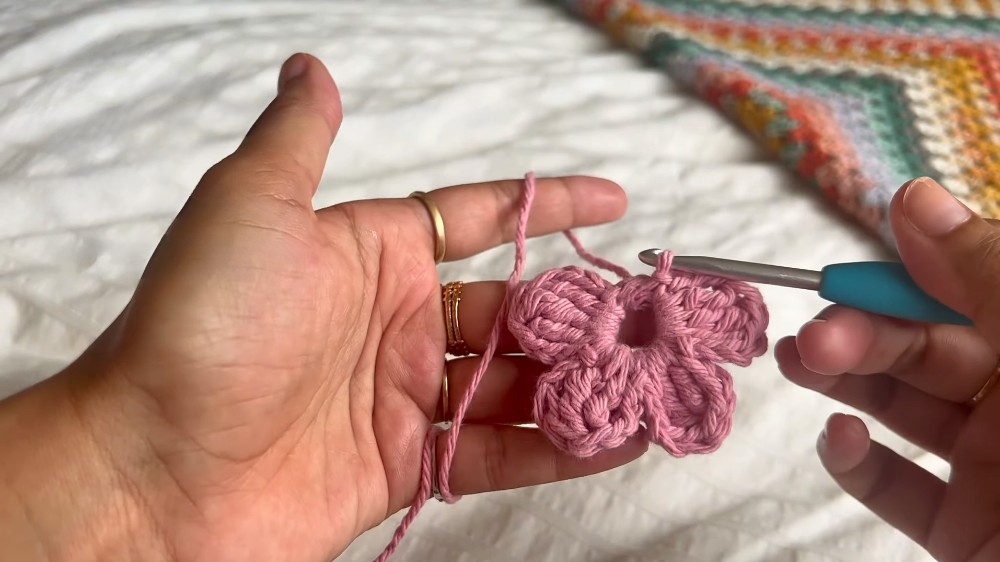
- Repeating for Five Petals
- The process is repeated until five petals are made, forming a complete flower.
- Adding the Chain for Hanging
- A chain is added to the finished flower to make it easier to attach to a base chain later.
- The yarn is cut at the end, and the loop is secured.
Step 2: Making Additional Flowers
- For subsequent flowers, the process of forming petals is repeated.
- Instead of cutting the yarn, the instructor advises keeping the yarn attached to make it easier to attach additional flowers together.
Step 3: Attaching Flowers Together
- Joining Two Flowers
- To connect flowers, the crochet hook is inserted into the tip of one flower, and the second flower is secured using a chain stitch.
- This process is repeated to create a line of connected flowers.
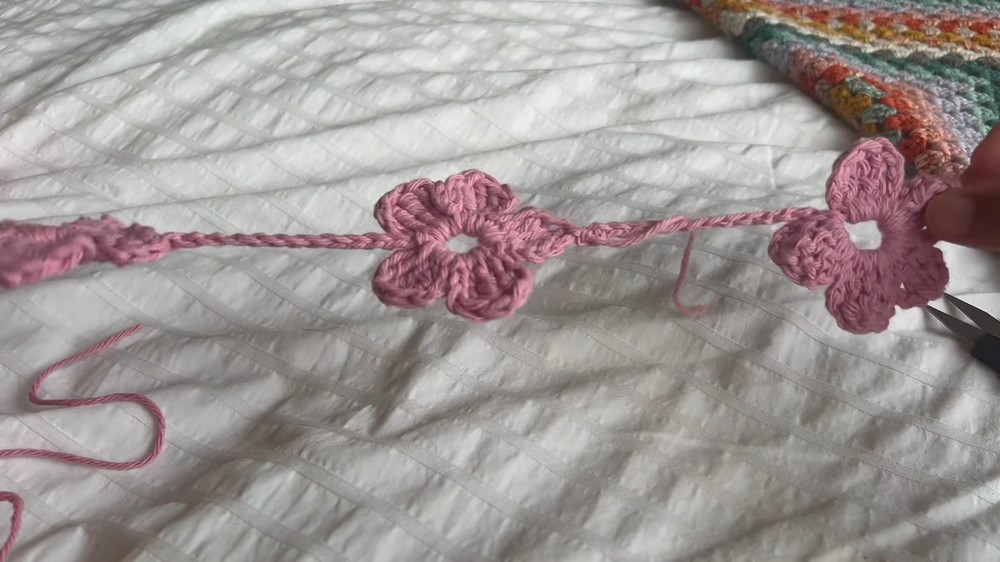
- Weaving in the Ends
- Loose ends can be woven in to give the connected flowers a neat and finished appearance.
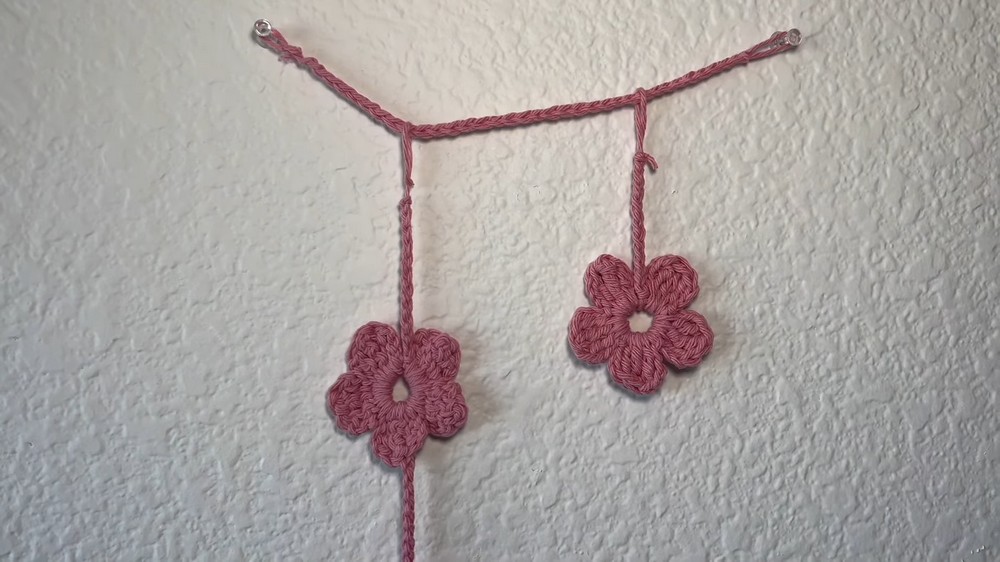
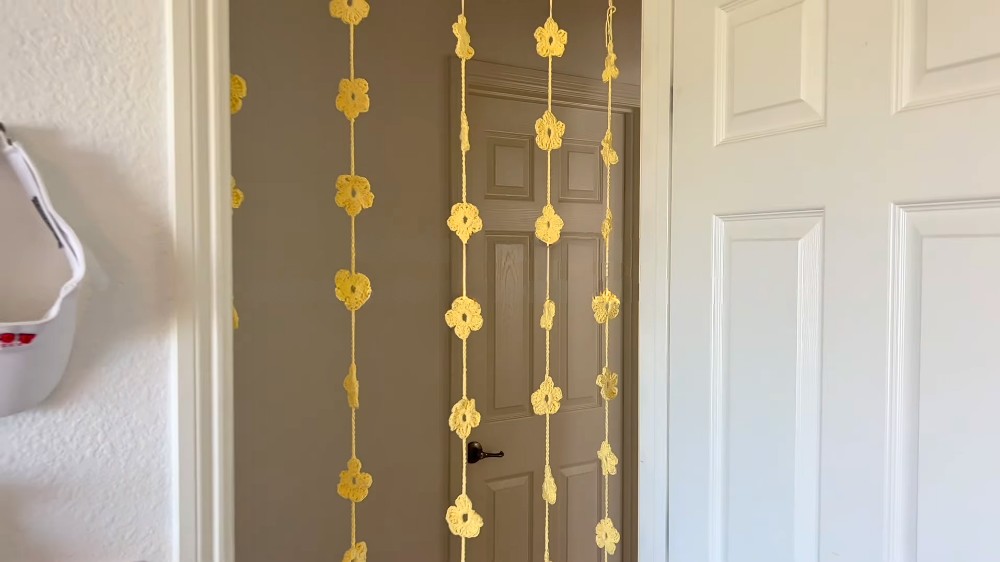
Step 4: Assembling the Curtain
- Creating the Hanging Base
- A chain is crocheted to serve as the base from which the line of flowers will hang. The length of the chain depends on how wide you want the curtain to be.
- Attaching Flower Chains to the Base
- Each line of connected flowers is hung onto the base chain by looping the flower chain onto it.
- Finishing Touches
- Adjustments are made to ensure the flowers are evenly spaced, and additional chains of flowers can be added to achieve the desired fullness.
Creative Tips and Variations
- Use different yarn colors to create a vibrant, multicolored curtain.
- Experiment with various yarn weights and hook sizes to achieve different textures.
- The flower curtain can be customized in size, making it suitable for a variety of decor needs, from larger window curtains to smaller doorway accents.
Conclusion
This crochet flower curtain is a versatile and elegant project that allows you to incorporate handmade, decorative elements into your space. The clearly explained steps in this tutorial make it accessible even to beginners, while experienced crocheters can explore creative variations. This project is not only functional but also offers a beautiful way to showcase your crochet skills.