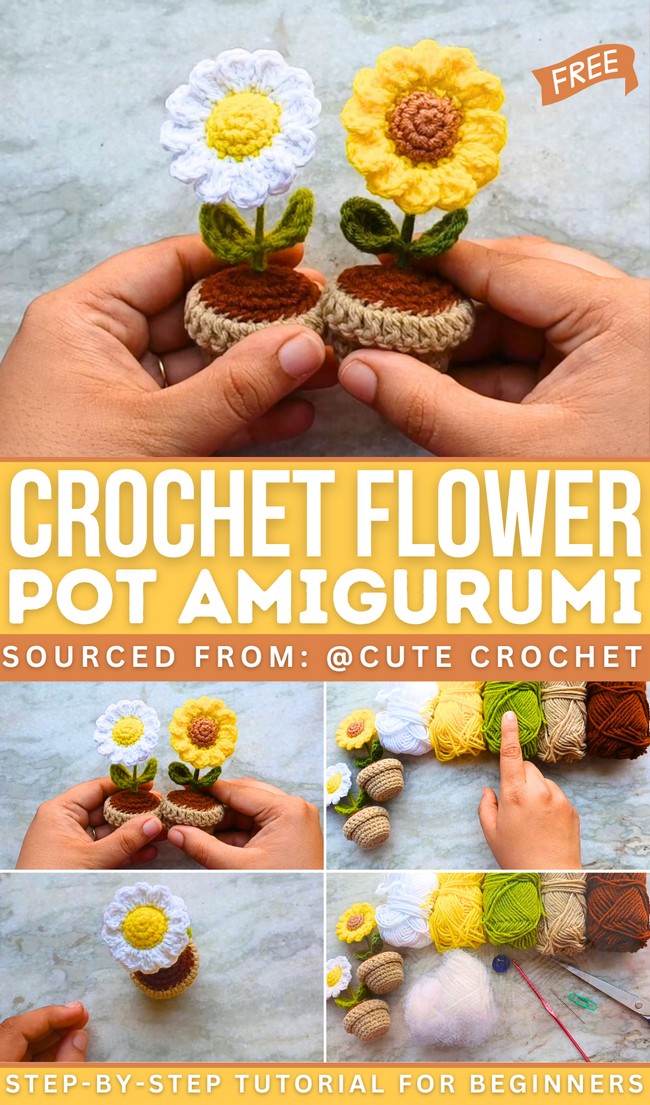
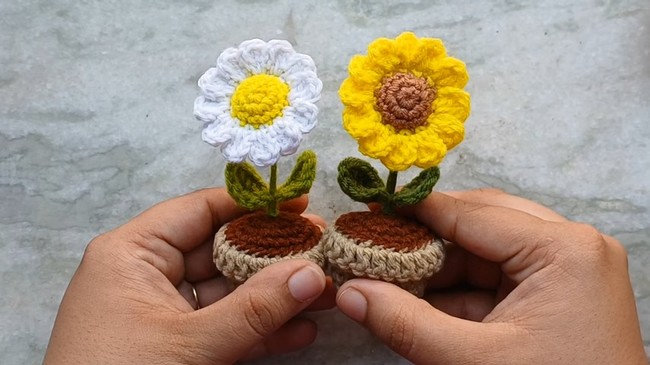
How to Crochet Flower Pot Amigurumi for Spring (Sunflower & Daisy)

In this post, you’ll learn how crochet two flower pot amigurumi including a sunflower and daisy flower pot both in one step-by-step tutorial for beginners. The finished flower pot stands on its own thanks to a clever use of pillow fluff and a glass bead for weight. This cute crochet decor makes a perfect gift for spring and summer and can be personalized by switching up the colors to create different flowers.
You will find the complete video guide at the end of this post. For getting deeper insights about this crochet flower pot amigurumi, follow through with us below.
Skills Used: Creating a magic circle, single crochets, and increases to shape the pot and soil. More advanced skills, such as working in back loops to form flat bases and crafting decorative elements like petals and leaves using double crochets, half double crochet and single crochet are introduced.
Changing colors, assembly techniques, such as sewing parts together and wrapping wire with yarn, ensure a sturdy and professional finish.
Guide Span: 36 Minutes Only
Personalization Tips: This crochet flower pot project is a canvas for many new and unique crochet flower projects. Popular colors that you can choose for the petal include, purple and pink, black and red (poppy), yellow and purple, etc. You can also add small details like embroidered faces and safety eyes on the flower center.
Crochet Flower Pot Tutorial
This tutorial is a comprehensive guide to crochet a beautiful flower pot without being much complex mainly for standalone decoration. The tutorial focuses more on the bending and shaping details making it great for many other amigurumi projects.
With its clear step-by-step instructions, it is accessible for beginners while providing enough detail to interest experienced crocheters. The tutor also inserts wire that will give flower pot a structure. Below we have presented a quick overview of this crochet flower pot amigurumi tutorial:
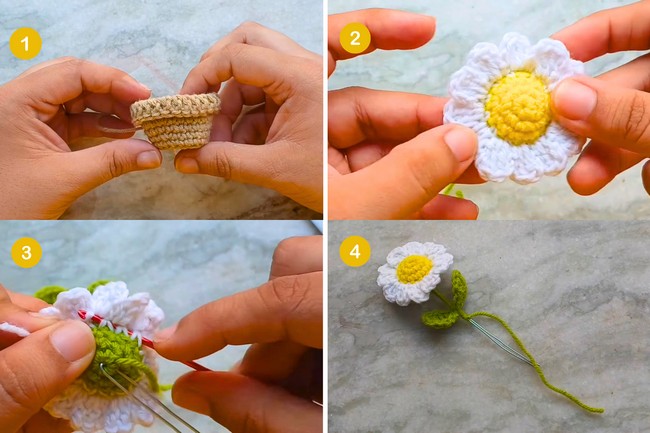
- Pot and Soil Construction: The pot is created using continuous rounds of single crochets, with increases for shaping and special techniques like working in back loops to create a flat bottom. The soil is crocheted to match the pot’s size for easy assembly.
- Flower Details: The stem is wrapped with green yarn over aluminum wire for stability. The petals and leaves are crocheted using chains, single crochets, and double crochets for intricate detailing.
- Assembly and Finishing: The flower, soil, and pot are sewn together. A bead is added to the pot for weight, ensuring it stands upright. Additional customization is encouraged with various flower types and colors.
Materials and Tools
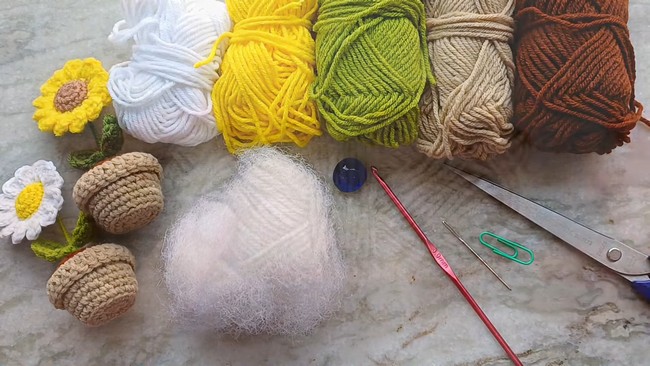
Following are the crochet supplies that the tutor recommends for crocheting these flower pot amigurumi:
- Yarn in various colors (green, brown, yellow, and flower-specific colors)
- 3mm crochet hook
- Aluminum wire (6 inches)
- Stuffing material (pillow fluff or polyester fiber)
- Glass bead (for weight)
- Scissors
- Yarn needle
- Stitch marker
What is the best yarn to use for Crochet Flower Pot?
The best yarn type for creating a Crochet Flower Pot Amigurumi is cotton yarn, as it provides a smooth, durable finish and helps maintain the shape of the amigurumi over time. Cotton yarn is also easy to work with and comes in a variety of vibrant colors, perfect for making detailed designs.
When using a 3mm crochet hook, a good yarn weight to choose is a DK (double knitting) weight yarn or light worsted weight yarn.

Crochet Stitches and Abbreviations
Following are the abbreviations and stitches that the tutor used for crocheting this flower pot amigurumi and one-line guide for crocheting each:
- sc (Single Crochet): Insert hook into stitch, yarn over, pull through, yarn over, pull through both loops on hook.
- dc (Double Crochet): Yarn over, insert hook into stitch, yarn over, pull through, yarn over, pull through two loops, yarn over, pull through remaining two loops.
- hdc (Half Double Crochet): Yarn over, insert hook into stitch, yarn over, pull through, yarn over, pull through all three loops on hook.
- inc (Increase): Make two stitches (e.g., two single crochets) in the same stitch to increase the stitch count.
- sl st (Slip Stitch): Insert hook into stitch, yarn over, pull through the stitch and the loop on your hook in one motion.
- ch (Chain): Yarn over and pull through the loop on your hook to create a new chain stitch.
Video Guide
https://youtu.be/aawWIzL2Blc