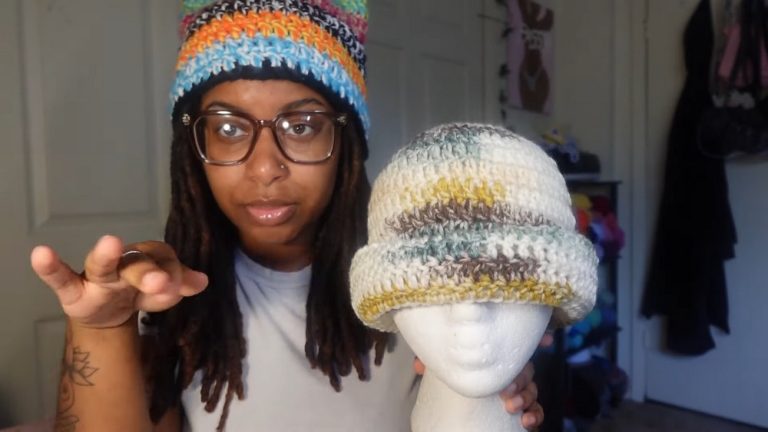
How to Crochet Glasses Holder Tutorial in 3 Mins
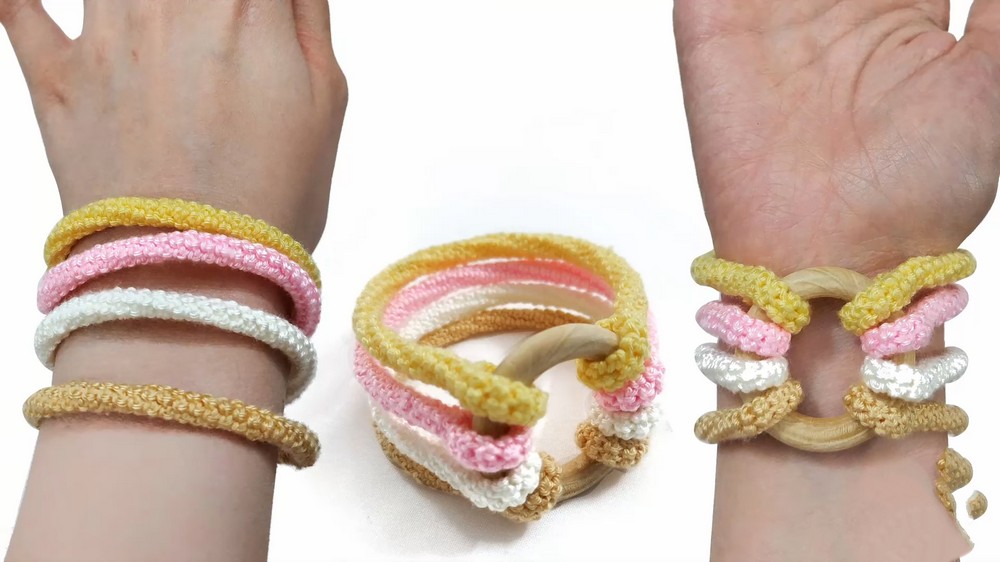
In this tutorial by Bonor’s channel, you’ll learn how to create a colorful and stylish crochet bangle or bracelet using simple techniques. The project starts with fine yarn and a 1.5 mm hook, though thick yarn is used in the tutorial for clarity. The process involves crafting single crochet stitches while focusing on the front loop for a neat design.
Once four cords are completed, they are sewn and attached to a large ring on both sides, creating the final accessory. This bracelet is customizable, comfortable to wear, and perfect for adding a pop of color to your outfit! So, follow through with us for the complete tutorial.
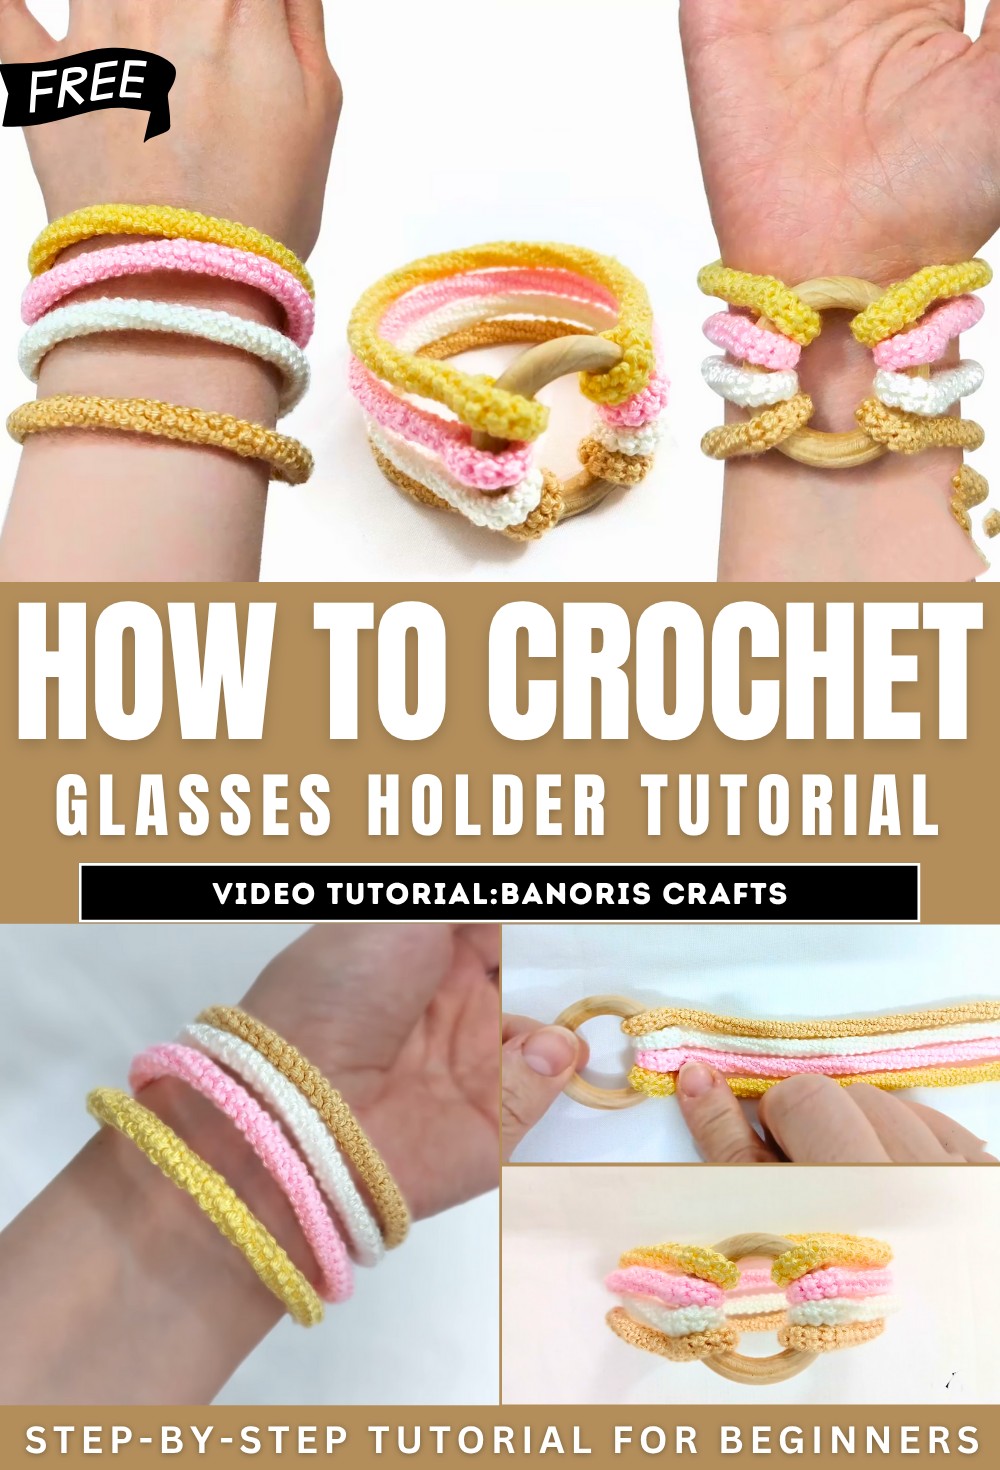
Crochet Bangle/Bracelet Tutorial
In this tutorial from Bonor’s channel, the instructor demonstrates how to make a beautiful and colorful crochet bangle or bracelet. The project is simple and accessible, designed for both beginners and experienced crocheters. Using basic crochet techniques, you can create a unique, comfortable, and stylish accessory. Below is a step-by-step summary of the tutorial.
Materials Needed
- Fine yarn for the finished bracelet (thicker yarn is used in the tutorial for better visibility).
- A 1.5 mm crochet hook.
- A large ring for assembling the bracelet.
- Scissors and a sewing needle for finishing.
Getting Started
- Leave some extra yarn before making your first stitch. This extra yarn will be useful for sewing and hiding knots after the cords are finished.
- Begin your work with a chain, which serves as the foundation for crafting single crochet stitches.
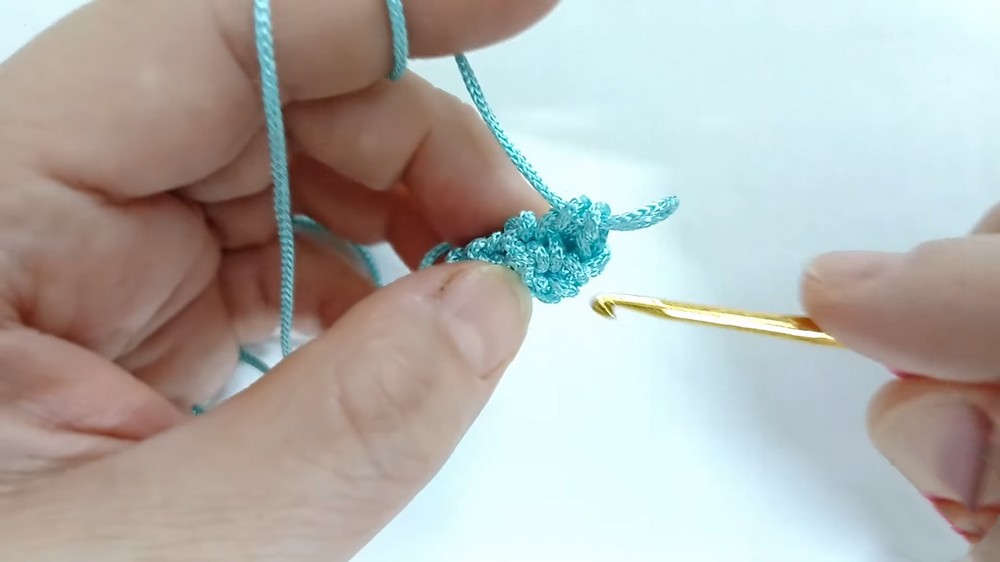
Crocheting the Cord
- The cords are created using basic single crochet stitches. The instructor emphasizes the importance of working exclusively into the front loop of each stitch.
- By consistently crocheting through the front loop, the cord develops a distinct and neat design. This method creates a rounded shape suitable for the bracelet.
- The finished cord is sleek and compact, and its width will depend on the thickness of the yarn used.
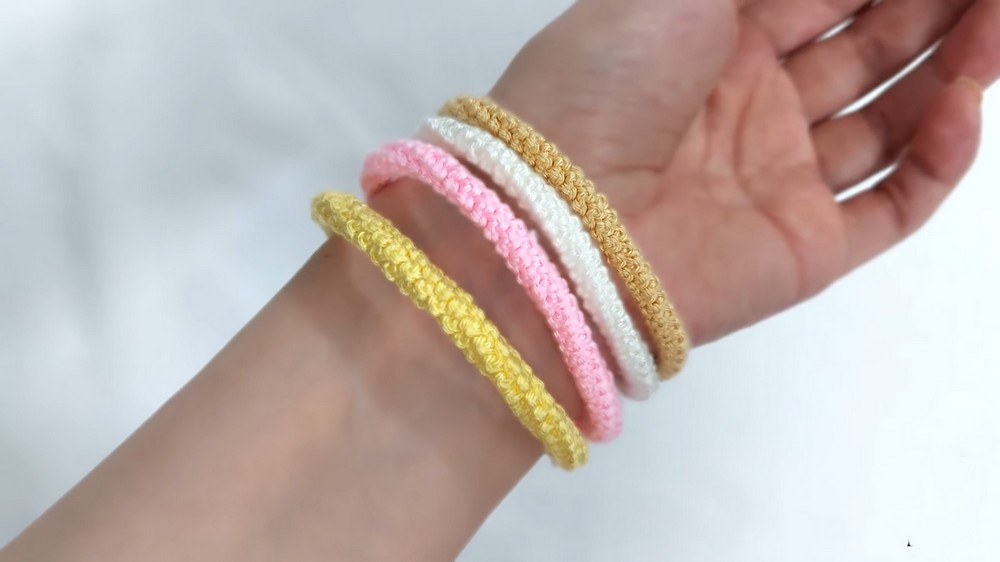
Making Multiple Cords
- For the bangle, four individual cords are needed. These cords will be sewn together and attached to the large ring to form the bracelet.
- After completing the cords, cut the yarn, leaving enough length to secure and tie the cords to the ring.
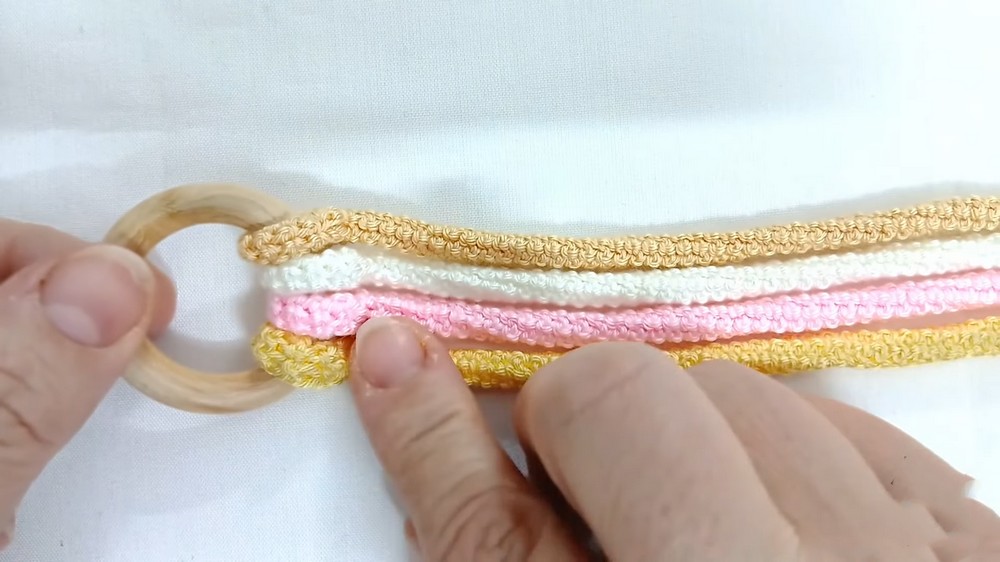
Assembling the Bracelet
- Attach one side of the cords to the large ring by sewing them securely in place. Carefully hide any extra yarn tails to achieve a clean look.
- Repeat the sewing process for the opposite side of the cords, attaching them to the other side of the large ring.
- Trim any remaining yarn ends to complete the assembly.
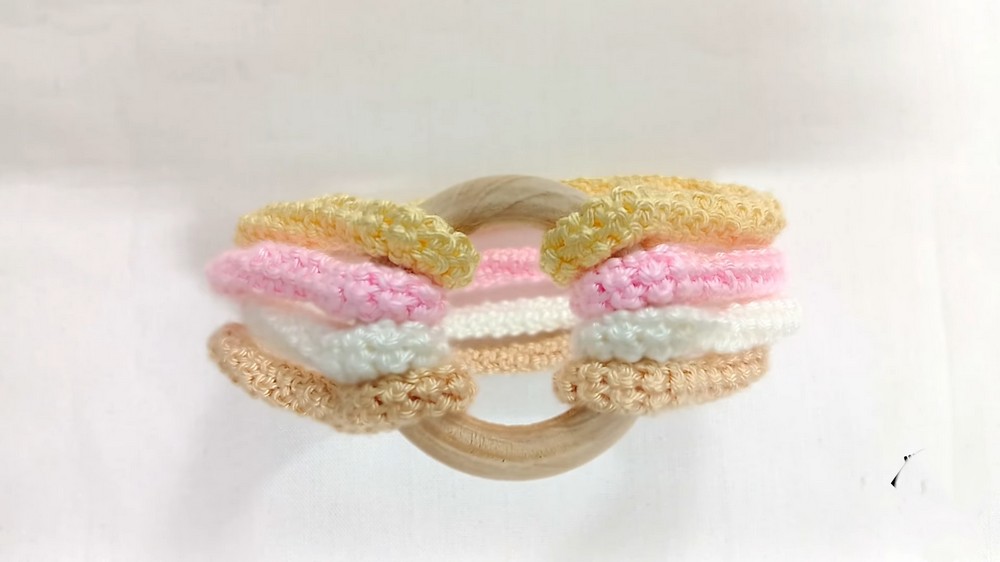
Final Touches
- Once assembled, the bracelet is ready to wear. You can make it as colorful or subtle as you’d like by using different yarn colors for the cords.
- The bracelet is versatile, stylish, and comfortable to wear, making it a perfect accessory for any occasion
Tips and Encouragement
The project is simple and fun, suitable for crocheters of all skill levels. The tutorial provides clear step-by-step instructions and demonstrates each technique for clarity. The design allows for customization, so feel free to experiment with different colors and materials to make the bracelet truly your own.
Video Guide