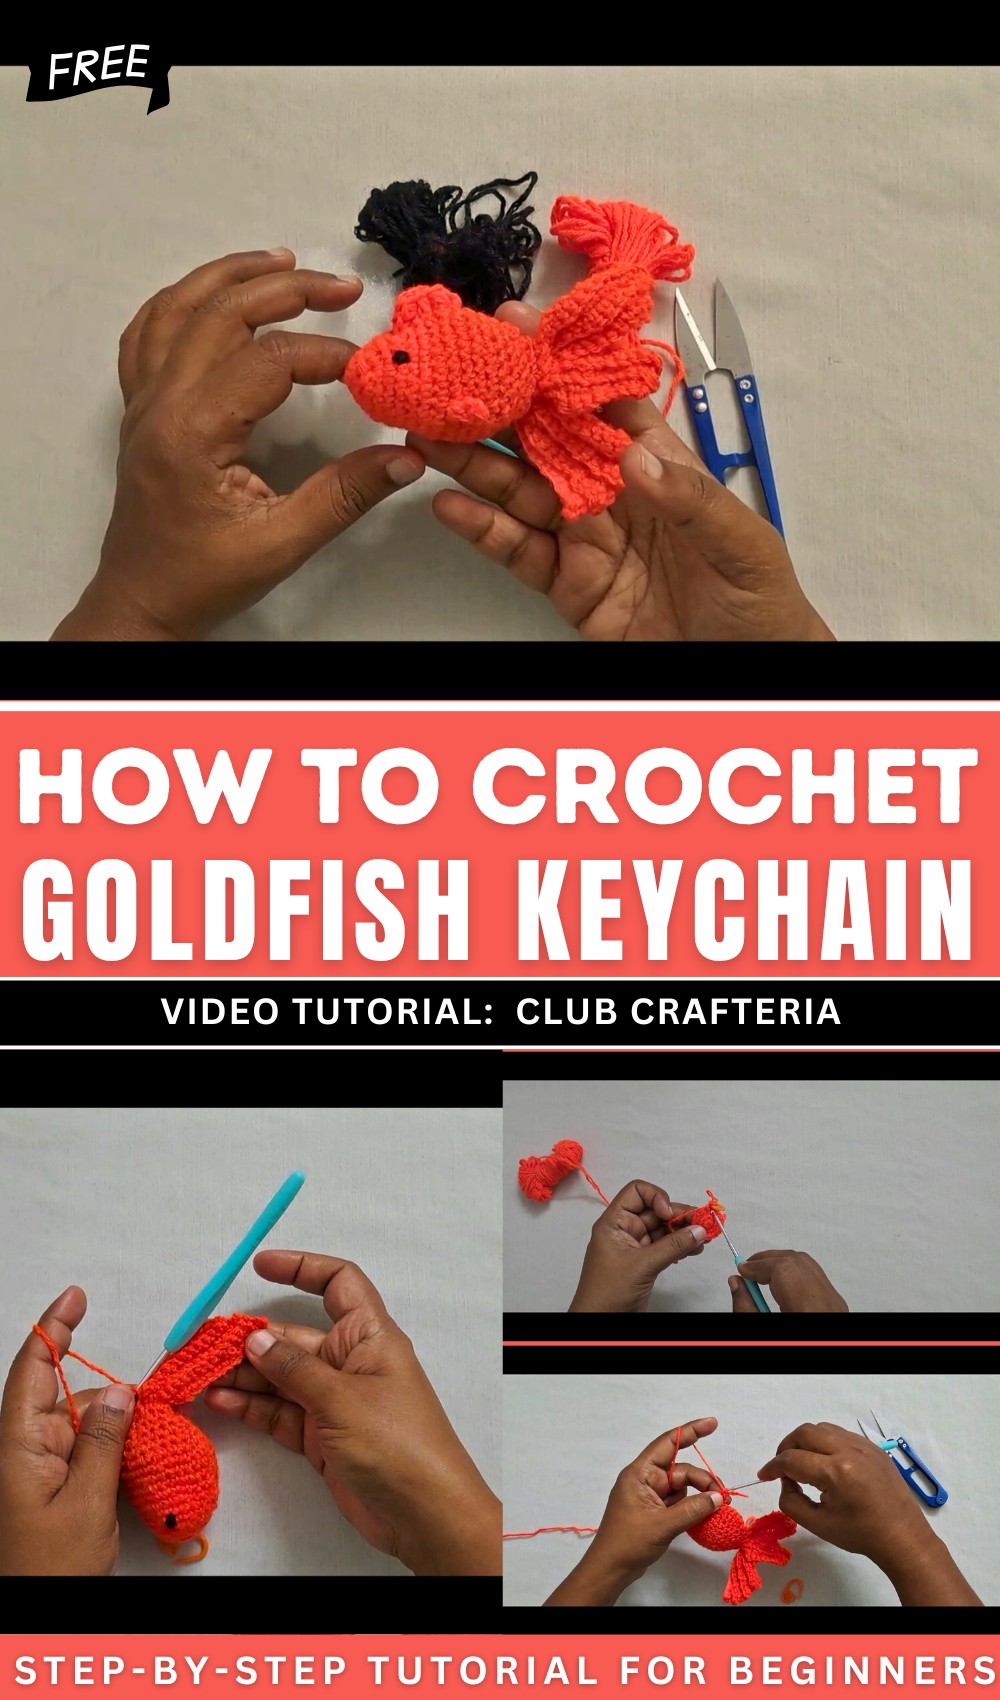
How to Crochet Goldfish Keychain for Kids
Learn how to crochet a beautiful goldfish keychain, perfect for beginners, following a step-by-step tutorial for all skill levels. The creator details the process to crochet the fish’s body, tail, fins, and flippers, making it easy to follow along and create a charming keychain. Follow through with us for the complete tutorial to crochet this goldfish!
Materials Required
- Two colors of yarn.
- Crochet hook.
- Cutter or scissors.
- Needle.
- Stitch marker.
- Stuffing material.
Overview of the Project
- The goldfish keychain is described as cute, beautiful, and easy to make, making it ideal for beginners.
- Familiarity with basic crochet stitches is required: magic circle, chain, single crochet, half double crochet, double crochet, and slip stitch.
- The tutorial is divided into steps for creating different parts of the goldfish: the body, tail, fins, and flippers.
Creating the Body
-
Starting with a Magic Circle:
- Yarn is looped into a magic circle to begin the body structure.
- Single crochet stitches are worked around the magic circle.
- The circle is pulled tight, and the round is completed with a slip stitch.
-
Building the Circular Body:
- Successive rounds involve increasing the number of single crochet stitches to shape the body.
- A stitch marker is used to track progress and ensure even stitching.
- The crochet pattern alternates between single crochet and increases to build the body of the goldfish.
- Several rounds are worked to expand the body until the desired size and shape are achieved.
-
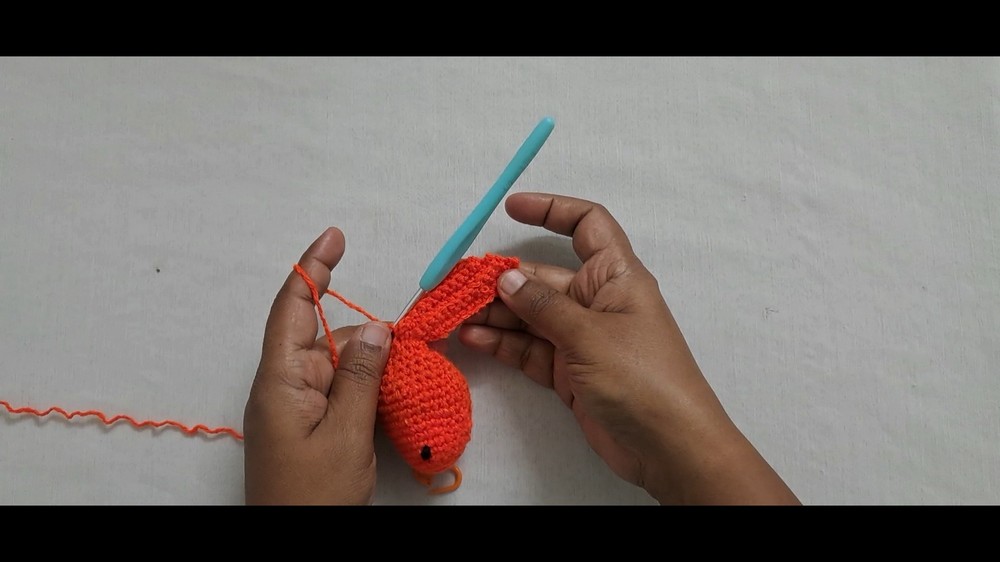
Adding Details:
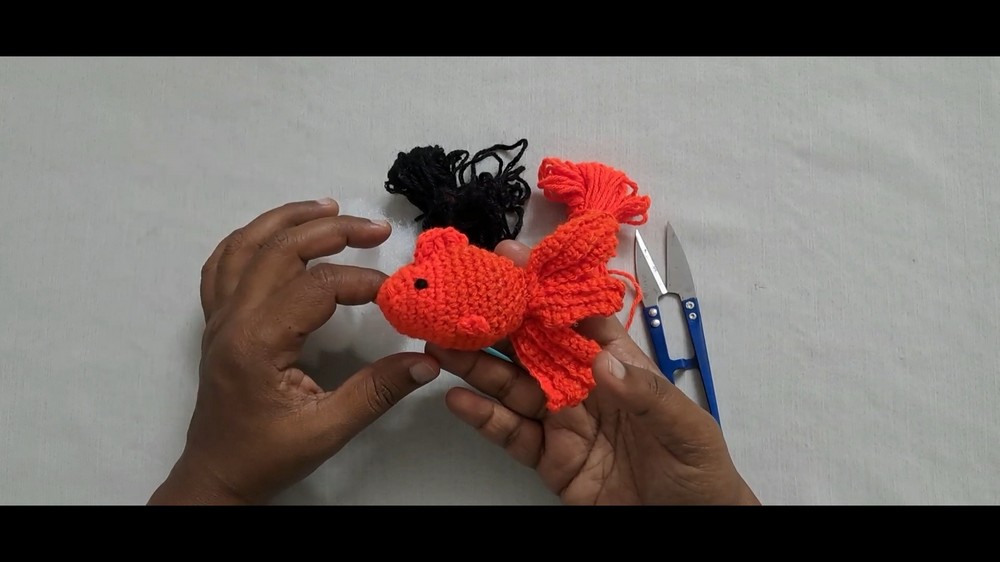
- The eyes are added once the majority of the body is completed.
- After completing the body structure, stuffing is added to give the fish a plump appearance.
Making the Tail
-
Chain Formation:
- A chain of stitches is created to form the basis of the tail.
- Work begins in the second chain from the hook and progresses with single crochet stitches.
-
Back Loop Technique:
- The tail is shaped by working exclusively in the back loops of the stitches.
- Rows are alternated by skipping the first or last stitches, gradually tapering the tail.
-
Final Touches:
- The tail is attached to the body using slip stitches to ensure a firm connection.
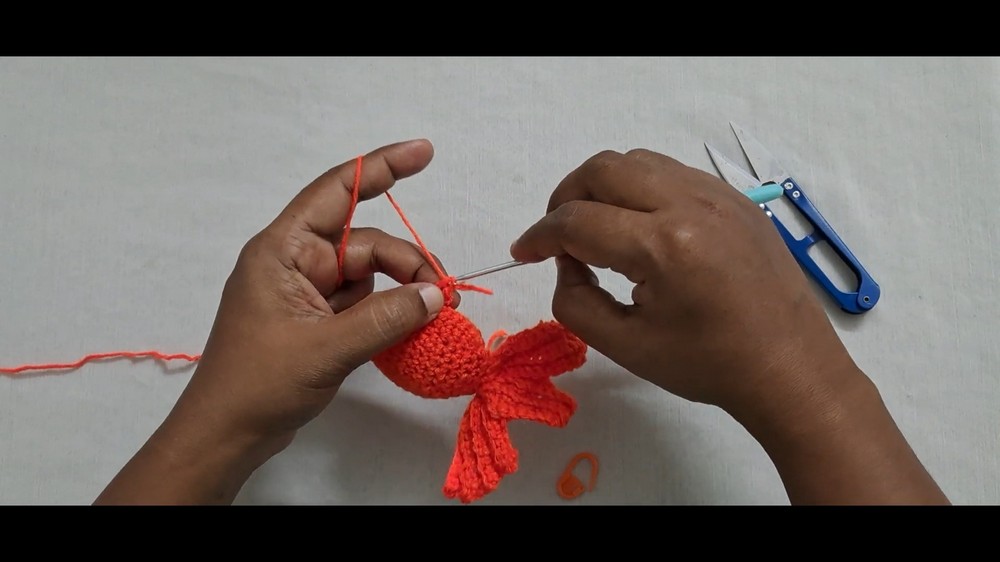
Creating the Fins
-
Attaching Yarn:
- Yarn is inserted at the designated middle points of the fish body where the fins will be located.
-
Building the Fin Structure:
- Half double crochet stitches are worked first to give the fins dimension.
- Double crochet stitches are added for variation and shape.
- Single crochet stitches finish the fin edges, creating a neat, complete look.
Adding the Flippers
-
Base Formation:
- Yarn is connected at the bottom part of the fish.
- Chain stitches are created to form the base of the flippers.
-
Finalizing Flippers:
- Double crochet stitches are added to shape the flippers.
- Slip stitches are used to secure the flipper structure.
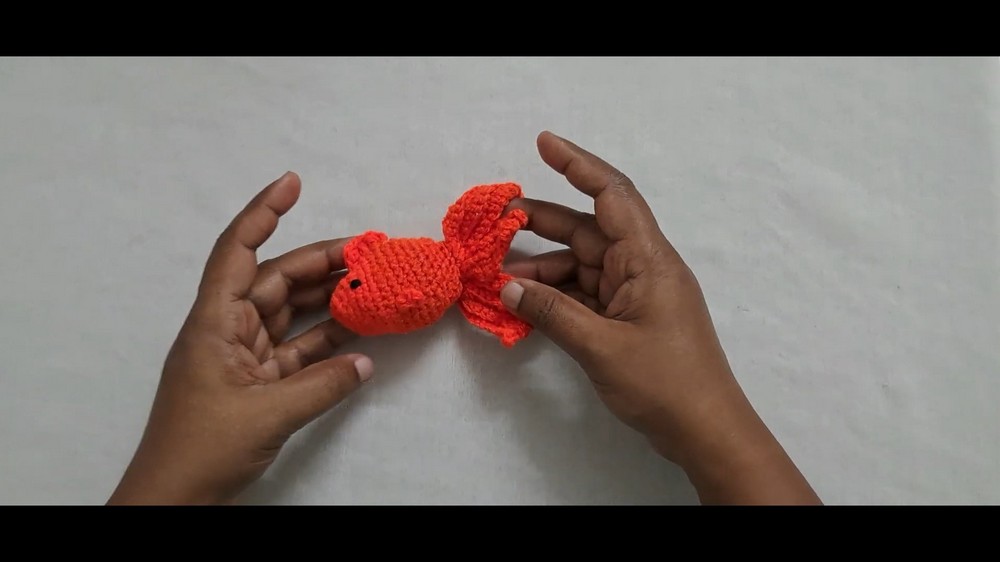
Weaving and Finishing
- Loose yarn ends are woven into the body of the goldfish for a professional, polished look.
- The completed goldfish keychain is displayed, highlighting its unique design and cute appearance.
This structured tutorial guides viewers step-by-step to create their own goldfish crochet keychain while honing key crochet techniques.