How to Crochet Granny Case for Airpods and Headphones

With a step-by-step guide, learn how to crochet a beautiful and functional crochet case for headphones or AirPods. Using the classic Granny Square technique, Karina demonstrates how to make this project, perfect for beginners and experienced crafters alike. The tutorial emphasizes simplicity, utilizing leftover yarn and basic crochet tools such as a 4mm hook, scissors, and a wool needle.
With clear instructions on creating Granny Squares, joining them, and adding finishing touches like closures, this quick and easy project is ideal for crafting a cute, practical storage solution.

Crochet AirPod/Headphone Case Using Granny Squares
Karina from the Crochet Nuts channel guides viewers through the process of creating an adorable and functional case for headphones or AirPods using the popular Granny Square crochet technique. This quick and easy project is perfect for beginners and ideal for using leftover yarn.
Project Overview
- The tutorial focuses on creating a small crocheted bag to store headphones or AirPods.
- The finished product includes a closure and a loop that allows the case to be attached to a bag or backpack.
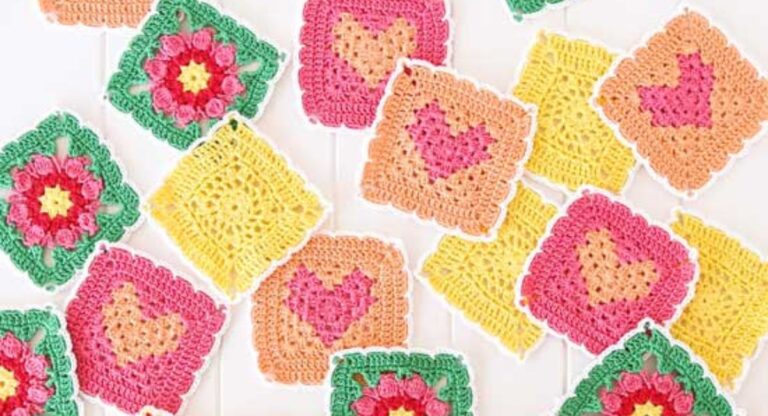
- The design utilizes the classic Granny Square pattern, which is simple and versatile.

Materials Needed
- Yarn: Three different colors of yarn are recommended. Medium-weight yarn works best, but finer yarn can be used. Ensure you have enough yarn to complete the project.
- Crochet Hook: A 4mm crochet hook.
- Extra Tools: Wool needle to hide strands and scissors for cutting yarn.

Steps to Create the Granny Square
- Starting the Square:
- Begin with a magic ring or an alternative of four chain stitches to form a ring.
- Start the first round by crocheting a series of double crochet stitches separated by chains to form corners.
- Finish the round by slip-stitching the last stitch to the starting chain and tightening the magic ring.
- Building Rounds:
- Add rounds to the square using a second and third color of yarn to create layers.
- Crochet corners with chains to expand the square and alternate colors for visual appeal.
- Hide tail strands by weaving them in as you work.

- Final Round:
- Add any additional spaces between corner groups of double crochets as the square grows.
- Crochet the strands neatly into the edges to keep the square clean and finished.
Assembling the Case
- Preparing the Squares:
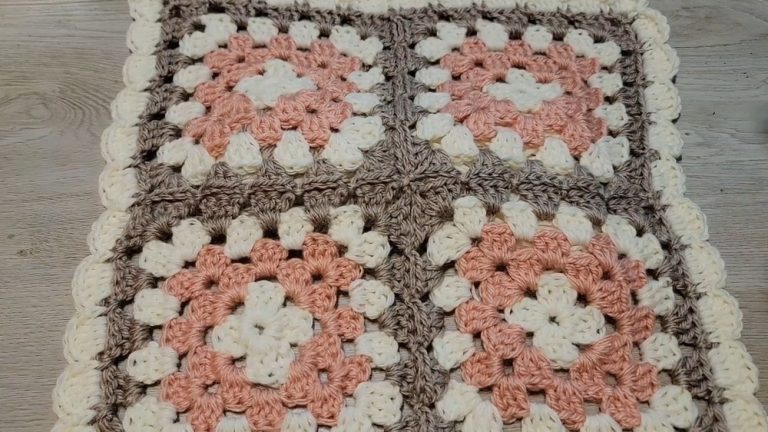
- Crochet two Granny Squares, ensuring they are identical in size and pattern.
- Hide stray strands from the completed squares using a wool needle.

- Joining Squares:
- Place squares together with the right sides facing outward.
- Using single crochet stitches, join three sides of the squares, creating an open pouch.
Adding Details
- Creating the Loop:
- On one of the top edges, crochet a small textured chain loop for hanging the pouch from a bag or backpack.
- Adding the Closure:
- Crochet a small ring on the opposite side to act as a clasp for securing the pouch.

Finishing Touches
- Trim any excess yarn strands and hide loose threads on the reverse side of the squares.
- Straighten the case and verify the closure works as intended.
Key Takeaways
- The project is quick, beginner-friendly, and fun to customize with different color combinations.
- Using the Granny Square technique gives the case a classic and versatile design.
- The case is practical and decorative, perfect for gifting or personal use.