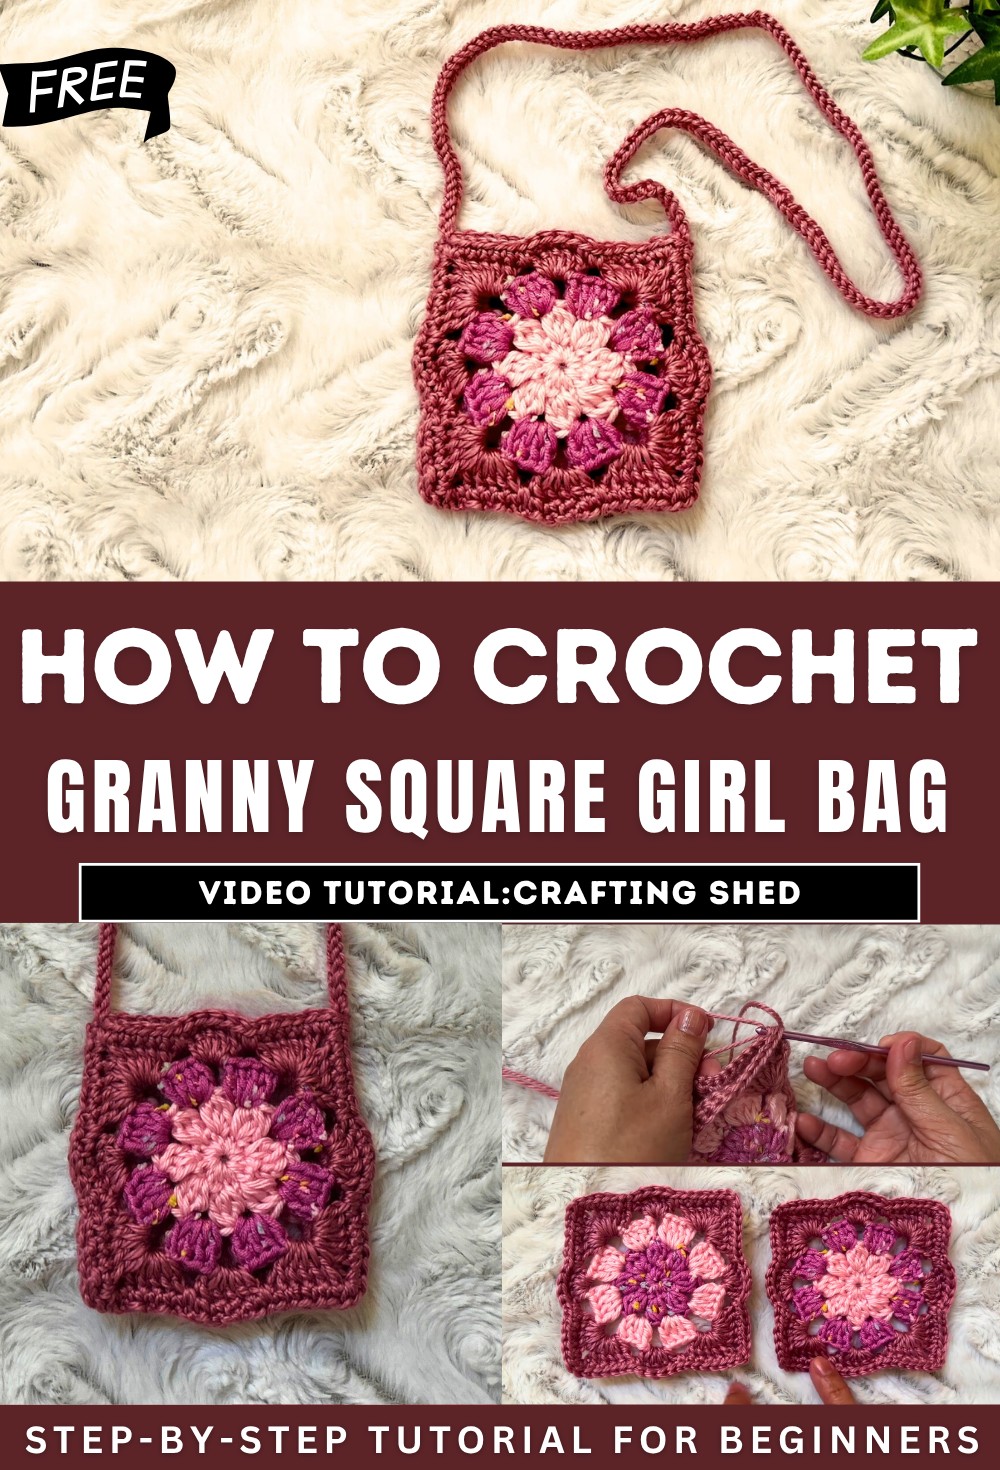
How to Crochet Granny Square Girl Bag for Beginners
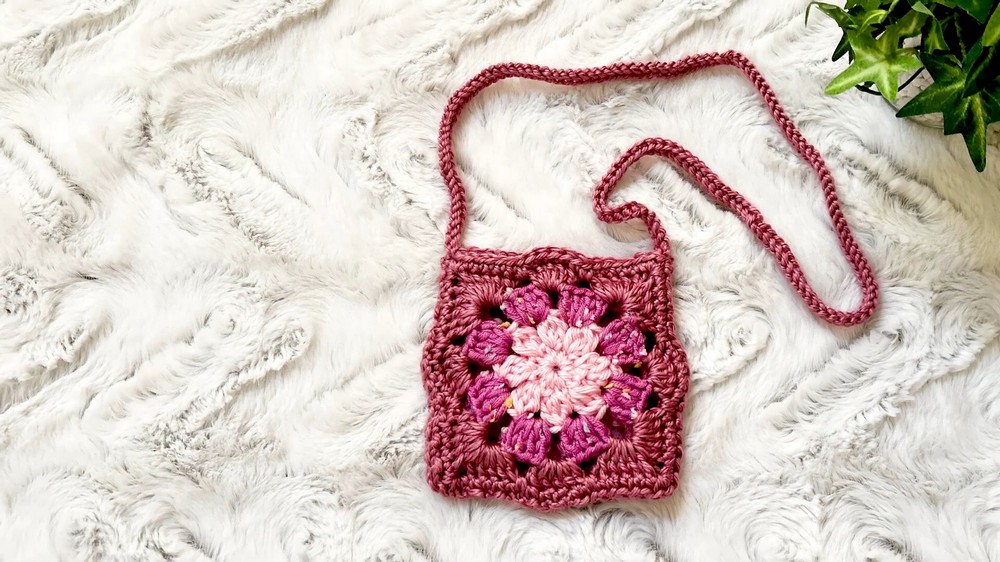
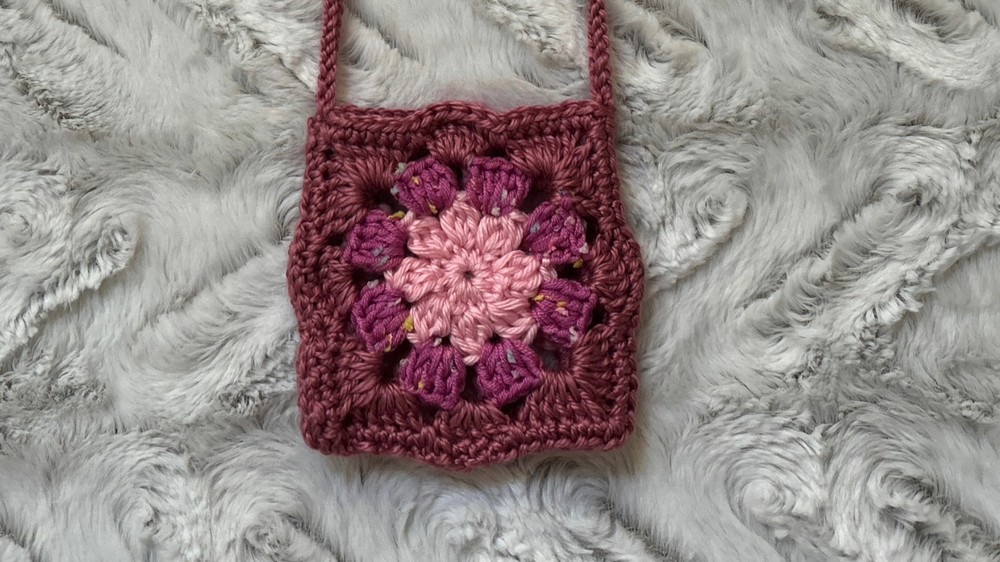
Learn how to crochet a cute little granny square girl’s bag, perfect as a gift, with a step-by-step tutorial for beginners. Using leftover yarn in three colors, the bag is made up of two crochet squares joined with a mattress stitch. The tutorial demonstrates how to attach a shoulder strap using a simple yarn-over technique. The finished bag is customizable in size and can be enhanced with a lining.
Simple Squares Sewn Together Tutorial
This provides a step-by-step tutorial for creating a cute crochet bag intended for a little girl, ideal as a birthday gift. Below is a structured summary covering all key aspects of the project:
Introduction and Inspiration
- The project is a handmade crochet bag, created as part of a birthday present for Cleop’s niece who turned one.
- Cleop shares her inspiration behind the project: while her niece may receive many toys and clothes, a unique handcrafted bag was a special and practical way to hold monetary gifts.
- The bag design is versatile, customizable, and a fun project for crochet enthusiasts of all skill levels.
Materials Needed
- Yarns: Three leftover yarns were used—one dark pink yarn from Loops and Threads, size 4 medium weight yarn—and two additional colors for variety.
- Tools:
- Crochet hook: Size G (4 mm).
- Blunt needle for sewing stitches.
-
- Scissors to cut yarn.
- Tape measure for determining dimensions.
Bag Construction Overview
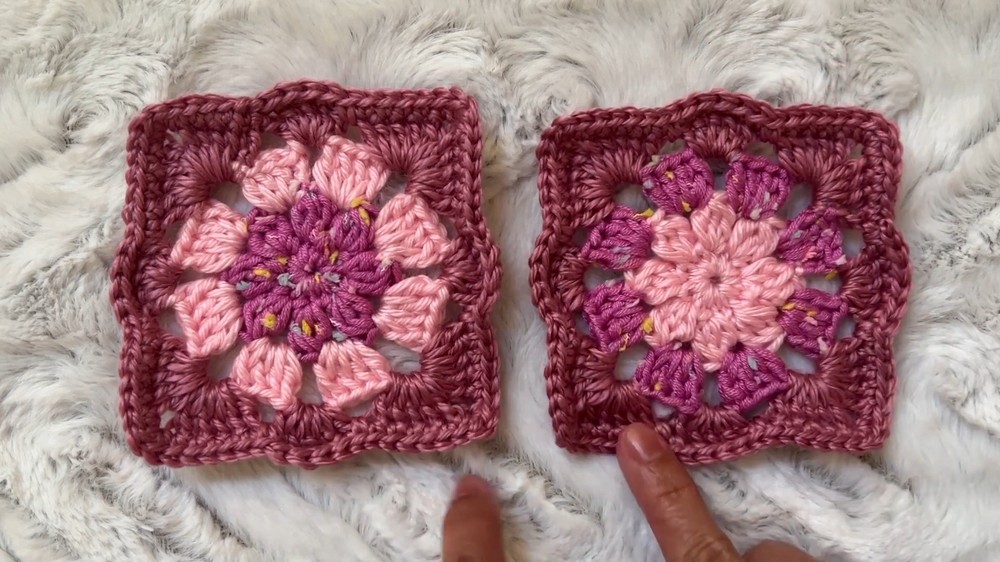
- The bag is made up of two crochet squares, worked in the same pattern but with color variations in the first three rounds.
- Both squares are seamlessly joined together to create space for the bag structure.
Creating the Squares
- The squares follow the same design pattern, inspired by a motif square challenge tutorial hosted by Cleop. She links the detailed tutorial in the video description for viewers to follow along.
- The colors of the squares are alternated to add a contrasting design, making each side of the bag unique.
Joining the Squares
- The squares are placed together like a sandwich, with the right sides facing outward.
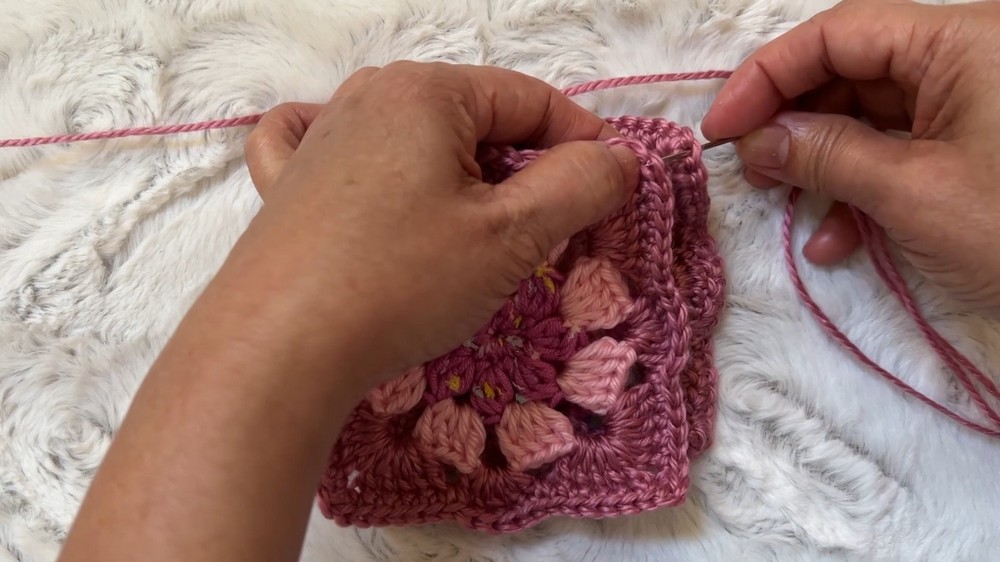
- The edges of the squares are closed using a mattress stitch technique:
- Insert the needle under stitches from both squares one at a time, alternating sides.
- Adjust the tension as you stitch to ensure the closure is not too tight or too loose.
- The process follows a consistent path: closing the top edge, moving down along one side, and finishing at the center bottom.

Creating the Shoulder Strap
- The strap is crocheted using leftover yarn with an easy-to-follow pattern:
- Two strands of yarn are used in alternating motions, creating a sturdy woven effect.
- Pull-through techniques result in consistent loops for durability.
- The strap length is customizable; in this tutorial, the finished strap measures 12 inches.
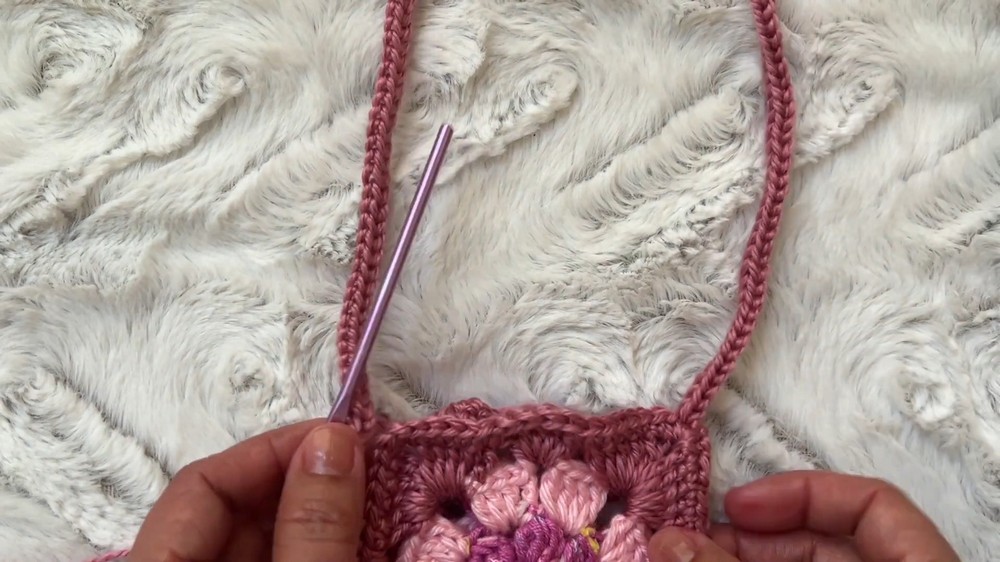
Attaching the Strap
- The strap’s two ends are tied securely to opposite corners of the bag squares:
- Individual strands are inserted into the top corners, tied tightly, and sewn together.
- The blunt needle and mattress stitch are used again for a clean and firm attachment.
Finishing Touches
- Once the bag is fully assembled and closed, Cleop demonstrates how to clean up loose ends and weave in tails.
- The interior can be lined with fabric for added durability and aesthetics, though it is optional.
- For larger bags, Cleop suggests using additional squares joined together to create a patterned, bigger design.