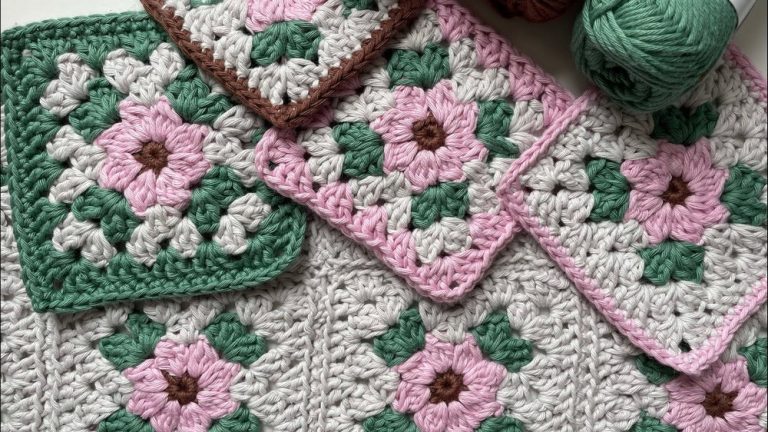
Crochet Granny Square Pocket Tutorial
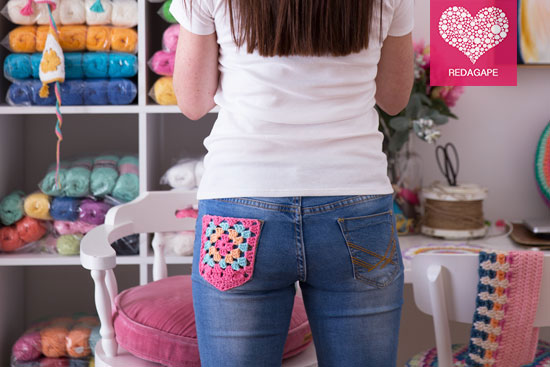
Charming Crochet granny square pocket will be a classical and functional touch to your simple clothing and accessories, whether a shirt, jeans, or bag making them extra appealing. To learn how to crochet a granny square pocket in a pretty color combination, follow this easy tutorial that is perfect for beginners and expert crocheters alike. You will love to hide treats and essentials in this lovely addition!
Crochet Granny Pocket
Granny squares are among my favorite crochet tasks and hold a dear spot in my heart! I deeply enjoy crocheting them in my spare time, loving their quick workup and basic stitches like double and chain stitches relaxation.
Experimenting with various color combinations is one pleasurable way to show creativity and bust my yarn stash. So I am excited to show you this granny pocket pattern that will embellish our everyday garments.
This charming little crochet pocket pattern, easy yet appealing, can be worked up in just a few minutes. This crochet granny pocket makes a wonderful addition to existing pockets or new bags.

Materials You Will Need
- Yarn – I’ve used Paintbox Yarn Cotton Aran in Bubblegum, Washed Teal, and Peach Orange
- Crochet Hook – 4.5mm hook
- Scissors
- Strong Needle

How To Measure your pocket
Knowing the correct measurements for a granny square pocket will ensure a great fit and not look strange on the bag or clothing. First, find who the receiver is, whether it will belong to a little one or an adult, and select the size accordingly If you want to add a new feature.
If you plan to add a charm to an existing pocket, just take a measuring tape and note the width and height, and bottom corners lengths.
To help you with the standard sizes, I’ve provided three pocket sizes with various crochet hook sizes and yarn weights. Regardless of size, the pattern instructions and stitch count will remain uniform across all options to ensure this guide will be best for all.
Note: the crochet granny pocket won’t be the same size as the original measurement. Granny squares have a little stretch, so gently stretch and pin it before sewing it onto your garment.
You can see below how the pocket can be stretched and pinned into place. Crochet Granny Pocket Tutorial

Techniques Used And Abbreviations
Okay! Here we go! These instructions are written in UK terms with the US terms at the end of the tutorial. Crochet Abbreviations –
UK Terms (US in brackets)
- ch = chain
- ss = slip stitch
- dc – double crochet (single crochet sc)
- tr = treble crochet (double crochet dc)
- htr = half treble (half double crochet hdc)
1- Crochet A Granny Square
tr3tog = treble three together (double crochet three together dc3tog) – Yarn over, insert hook into stitch, yarn over and pull up loop, yarn over, pull through 2 loops, 3 times (4 loops on hook), yarn over, pull through all loops on hook
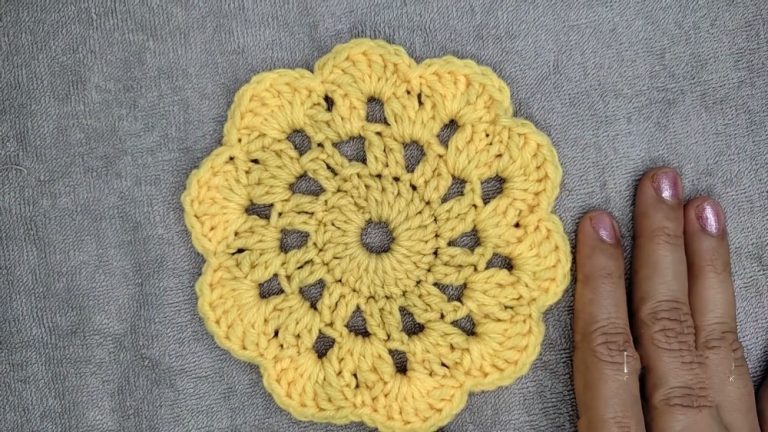
Begin with a 3-round granny square using the chart below –
Your finished three-round granny square will look like this.
2- Add The Border Around To Look Like Pocket

Round 4: start the fourth round in the top right corner, ch3 (counts as tr) 2tr in the same sp, ch1, (3tr, ch1) in the next two sps, *(3tr, ch3, 3tr) in the corner sp, ch1, (3tr, ch1) in the next two sps, rep from * twice more, (3tr, ch1) in the last corner, ss into top of beg ch3. Round 4 complete!
Row 1 of pocket bottom: ch3, tr3tog into the following 3tr, ch1, tr in each of the next 3sts, ch1, tr in each of the next 3 sts, ch1, tr3tog into the next 3tr, ch3, ss into corner sp of round 4, turn your work.


Row 2: ch4, ss into ch-1 sp, ch3, ss into ch-1 sp, ch3, ss into ch-1 sp, ch4, ss into corner sp of round 4, turn your work. (you may need to ss after turning so your yarn is on the correct side)

Row 3: 3dc into first ch sp, (2htr, tr) in the next ch sp, (tr, 2htr) in the following sp, 3dc in the last sp, ss into corner sp of round 4.
Row 4: dc in each of the next 5sts, htr in the following, ch2, htr in the next, dc in the last 5 sts, ss into corner sp of round 4 and fasten off!
US Instructions –
Begin: Make a three round granny square with 3ch at the corners and 1 ch in between dc clusters at the sides.
Row 1 of pocket bottom: ch3, dc3tog into the following 3dc, ch1, dc in each of the next 3sts, ch1, dc in each of the next 3 sts, ch1, dc3tog into the next 3dc, ch3, ss into corner sp of round 4, turn your work.
Row 2: ch4, ss into ch-1 sp, ch3, ss into ch-1 sp, ch3, ss into ch-1 sp, ch4, ss into corner sp of round 4, turn your work. (you may need to ss after turning so your yarn is on the correct side)
Row 3: 3sc into first ch sp, (2hdc, dc) in the next ch sp, (dc, 2hdc) in the following sp, 3sc in the last sp, ss into corner sp of round 4.
Row 4: sc in each of the next 5sts, hdc in the following, ch2, hdc in the next, sc in the last 5 sts, ss into corner sp of round 4 and fasten off!
Your finished pocket!!
Okay the fun is officially over (unless you love hand sewing).
Step 1 –
Pin your crochet pocket firmly into place.
Step 2 –
Thread your final round yarn colour through a needle (make sure your needle is strong and sharp) and tie a knot at the bottom.
Step Three
Starting from the inside, push the needle through from back to front and pull through until the knot locks into place. Backstitch your pocket into position, making sure you come out under the two loops of each stitch and return the same way. This is the tidiest way to sew your pocket on. Work your way around the pocket, removing pins as you go and fasten off the end. Hooray!!! Finished.
Now you’re ready to show off your mad crochet skills! Wear with pride!! And don’t forget to tag #redagapecrochetpocket on social media so I can check them out! I will share some here….a crochet pocket fashion show! Hooray!!