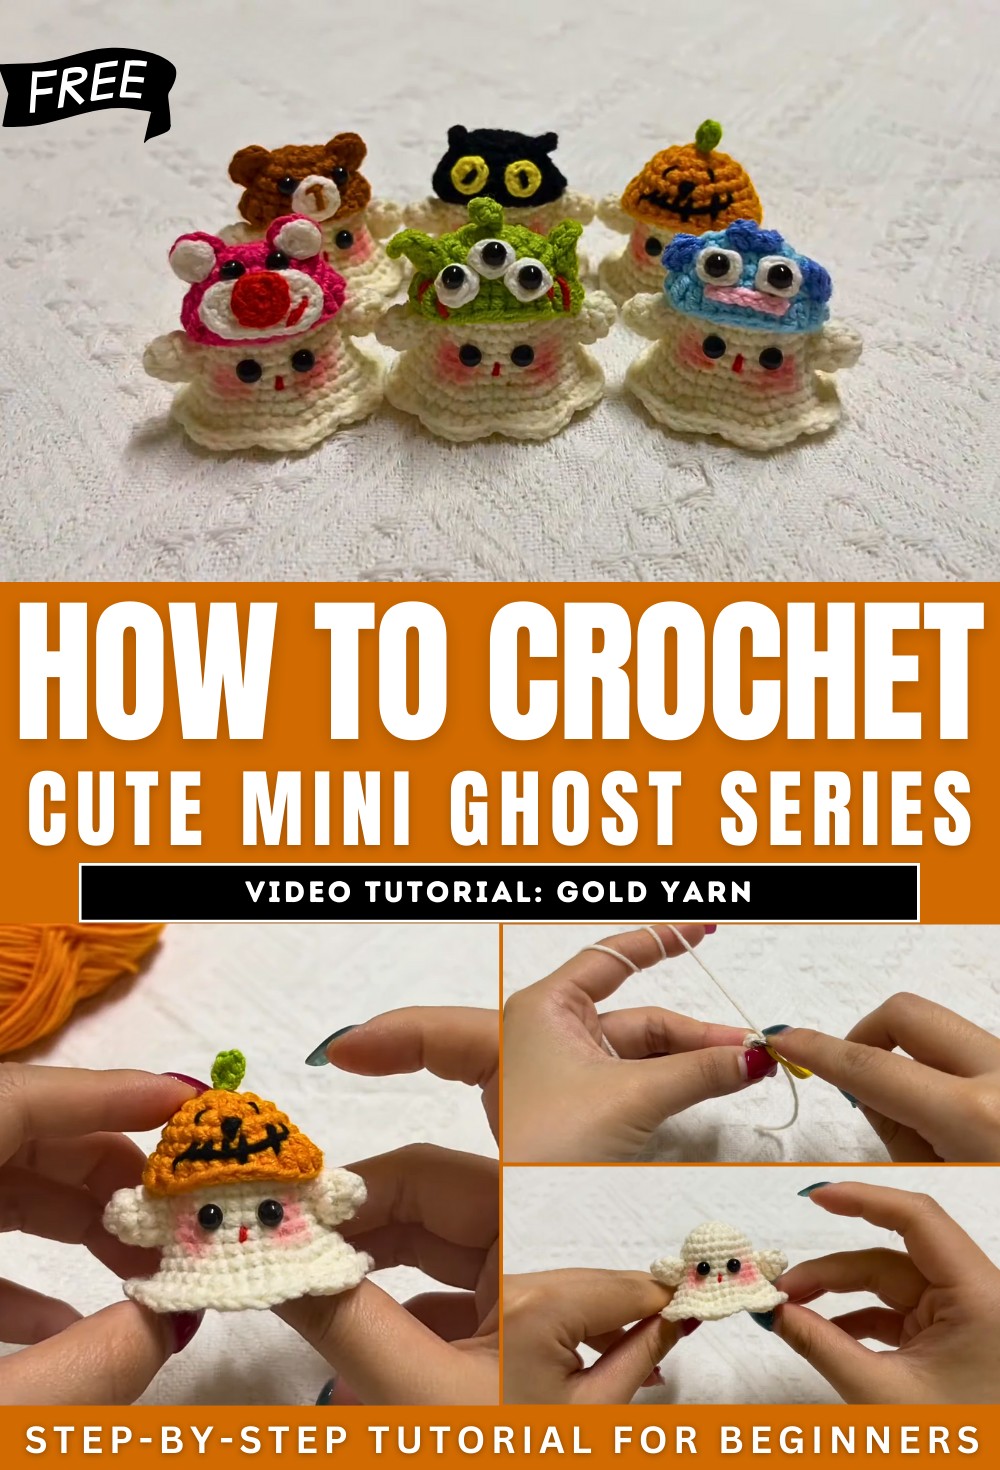
How to Crochet Halloween Ghosts Amigurumi for Kids
In this post, you’ll learn how to crochet a cute and easy mini ghost, perfect for Halloween, beginners, or creating fun accessories like keychains and magnets. The step-by-step guide walks through crafting the ghost’s body, hands, and embellishments, using basic crochet techniques such as single crochets, magic rings, and increases. It also demonstrates creative customization by adding hats like pumpkin, black cat, bear, alien, and more, with detailed sewing and assembly instructions.
The host provides clear explanations and encourages experimentation, making this an enjoyable project for crochet enthusiasts of all skill levels.
Mini Ghost Crochet Tutorial
This detailed video tutorial from the Gold Yarn Channel walks viewers through creating a charming mini ghost crochet project. Designed for beginners, the mini ghosts are perfect for Halloween decorations and can be customized into keychains, magnets, or headband adornments. Additional adorable accessories, such as pumpkin hats, black cat designs, and more, are also demonstrated to enhance the ghosts’ look. Below is an organized summary of the tutorial, categorizing the steps for crafting the ghost, its accessories, and assembling the final product.
Materials and Tools
The video begins by introducing the materials needed for the project:
- White yarn (for the ghost’s body and hands).
- Orange, green, and black yarn (for hats and accessories).
- A 2.5 mm crochet hook.
- Stitch markers.
- Red yarn for mouth detailing.
- Glue for attaching eyes.
- A darning needle for sewing components.
The presenter also provides a quick overview of crochet abbreviations and stitches used throughout the tutorial.
Crafting the Mini Ghost
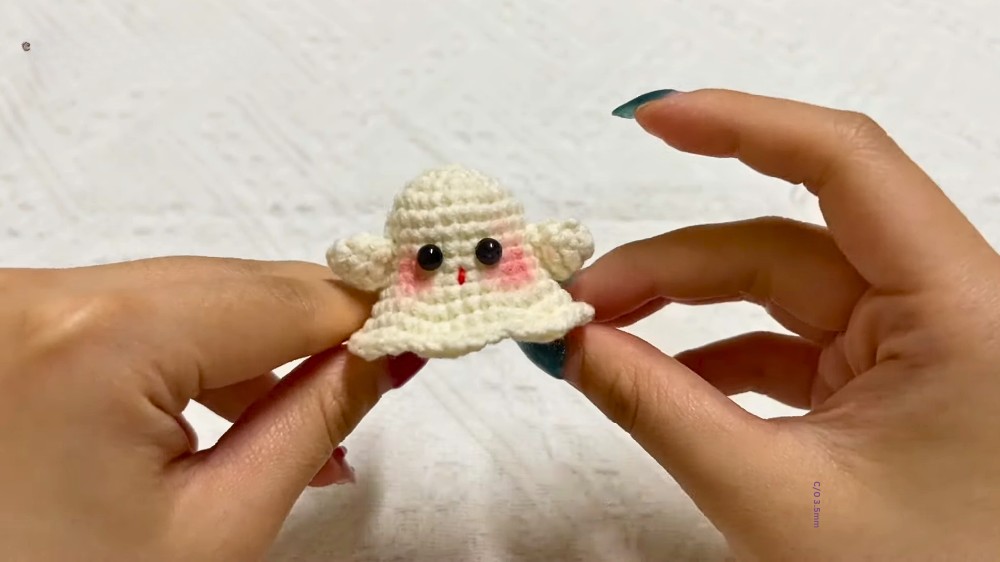
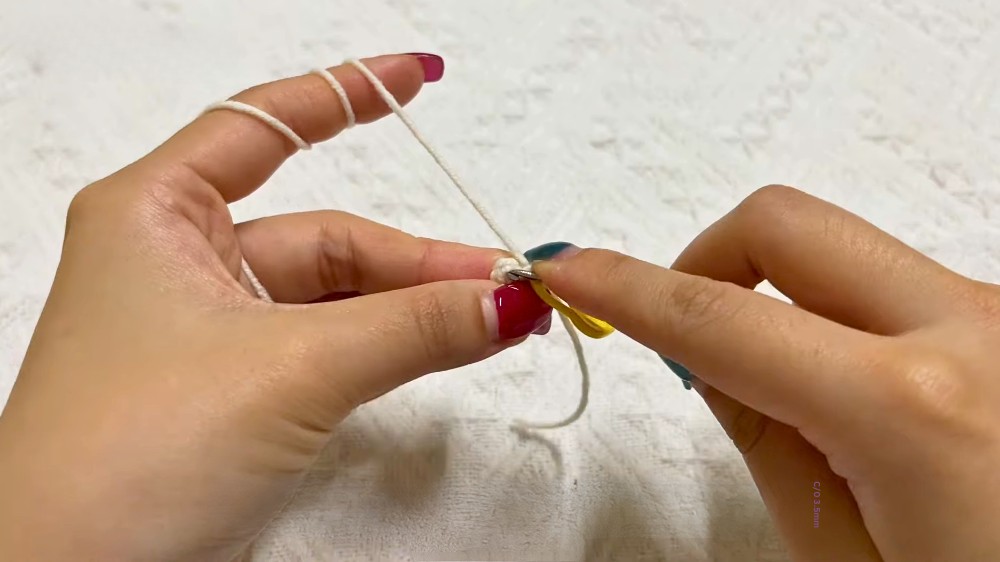
1. Creating the Ghost’s Body:
- Start with a magic ring and single crochet stitches to build the circular base.
- Progress through several rounds with increasing and single crochet stitches to shape the ghost’s cylindrical body.
- Finish with slip stitches, cut the yarn, and hide excess yarn.
2. Making the Ghost’s Hands:
- Create a magic ring and single crochet stitches to form the small, rounded hands of the ghost.
- Repeat the process for the second hand before sewing them onto the body.
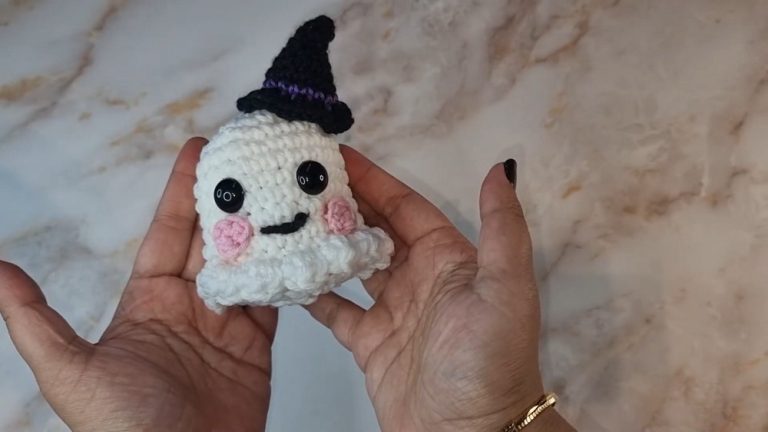
3. Adding Facial Features:
- Use red yarn to sew the ghost’s smiling mouth.
- Glue small craft eyes to the face.
- Optionally, apply blush below the eyes to give the ghost an extra cute appearance.
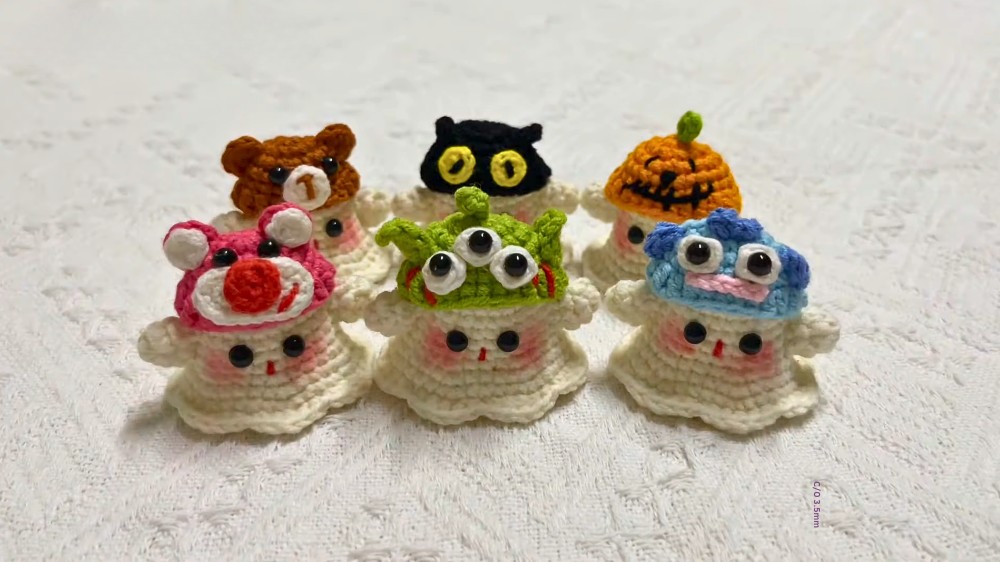
Customizing with Halloween Hats
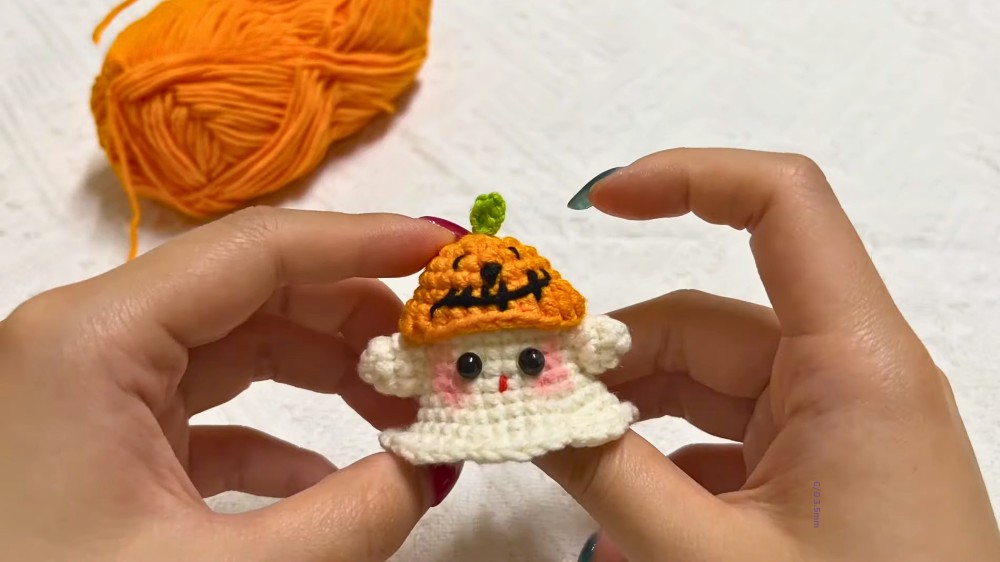
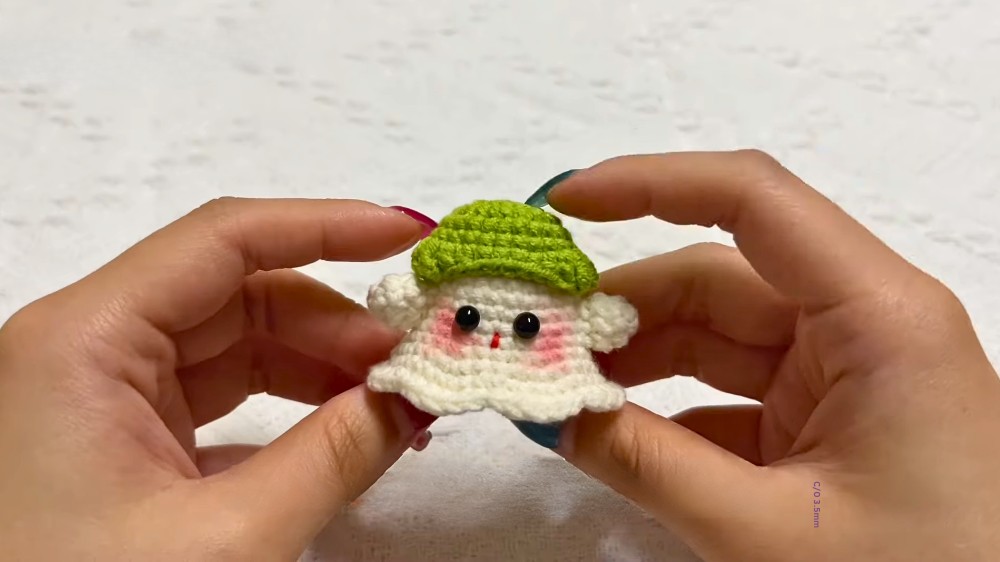
1. Pumpkin Hat:
- Use orange yarn to crochet the rounded shape of the hat.
- Add a green stem to the top by creating a chain and sewing it onto the hat.
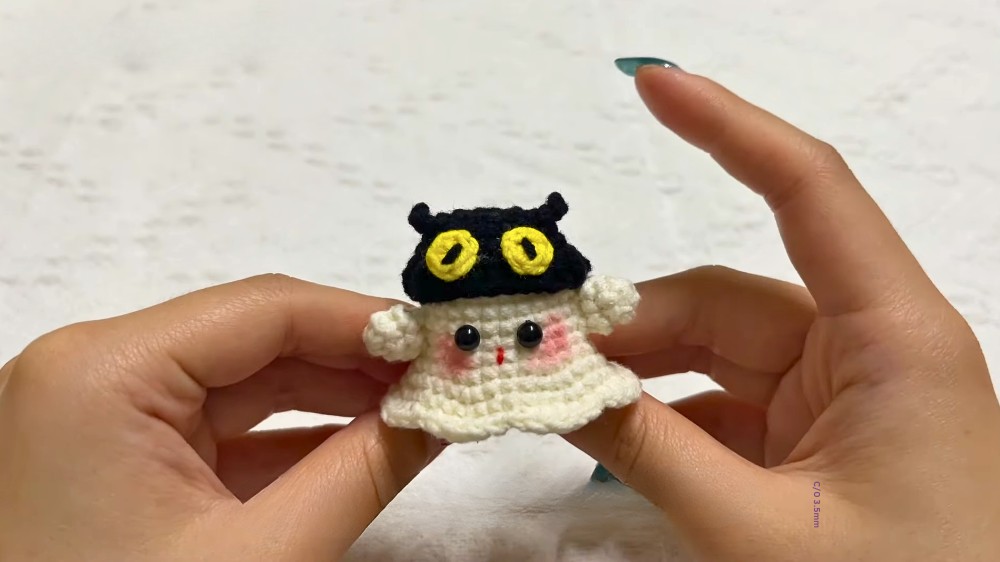
2. Black Cat Hat:
- Crochet small triangular ears using black yarn for the base and yellow yarn for the eyes.
- Assemble and sew the pieces together before placing the hat on the ghost.
3. Alien Headband:
- Crochet antennae with various stitch combinations and sew them onto the ghost’s head.
- Add small side eyes to complete the extraterrestrial look.
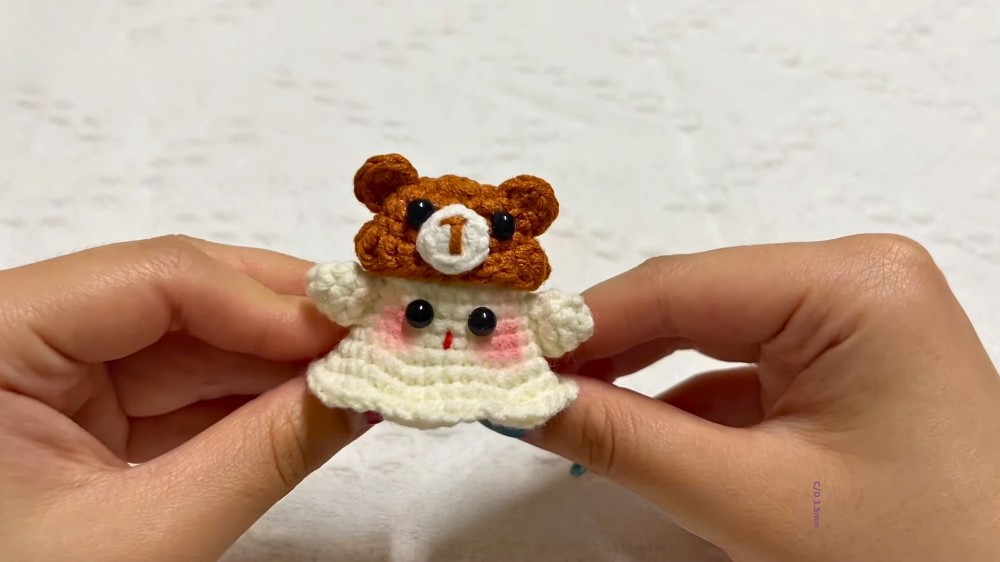
4. Bear Hat:
- Create ears and a small nose using brown yarn.
- Assemble and sew all pieces onto the ghost.
5. Other Designs:
- Additional hats, such as the “Loto Hat,” are explained with similar steps for ears, nose, and assembly, using pink and white yarns.
Assembly and Final Touches
- After crafting and sewing all the accessories, the hats are placed on the ghost for a fun, whimsical look.
- The presenter encourages creativity, inviting viewers to mix and match hat designs for variety.
Conclusion
The tutorial concludes with a showcase of the finished ghosts and their custom hats. The presenter hopes the viewers enjoy the process and create their own adorable crochet ghosts. She signs off by thanking the audience and encouraging subscription to the channel for more crochet content.
This tutorial provides a fun, detailed introduction to crocheting Halloween-themed mini ghosts while encouraging creativity and personal style.