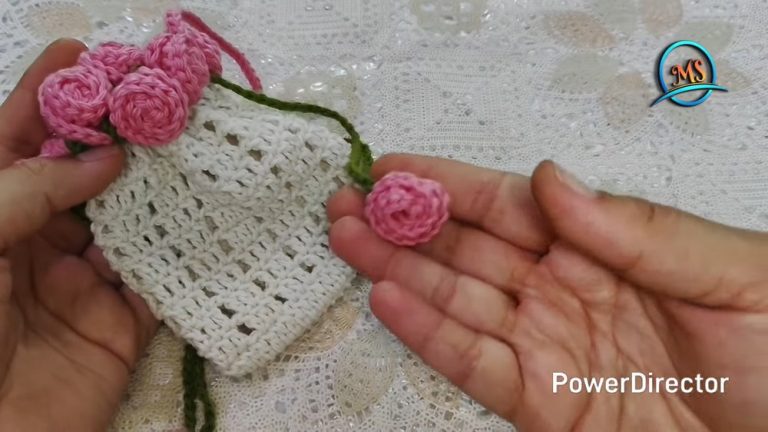
How to Crochet Keroppi Drawstring Bag for Sanrio Fans

In this post, you’ll learn how to crochet a Keroppi drawstring bag for all Sanrios lovers with a step-by-step tutorial from Chorshan. This pouch can hold small items from toys, and cosmetics, to other personal belongings. It features an ordinary drawstring bag but in Kerropi colors and its facial features are attached in front.
It will be a perfect gift for a Sanrio fan and can be finished within half an hour. The complete video guide for crocheting the Keroppi drawstring bag will be available at the end of this post. You can also learn more about the project below.

Skills Used: Making a slip knot, chaining, and executing double and single crochet stitches. How to use the magic ring to create circular shapes, particularly useful for the eyes and blush. Additionally, the tutorial covers assembling and attaching different crochet elements securely, demonstrating the use of a hot glue gun and needlework for sewing.
Guide Span: 17 Minutes Only
Personalization Tips: This drawstring pouch is just an inspiration, you can choose other Sanrio characters like Hello Kitty, My Melody, and others by adding the signature details and colors to the drawstring bag. Crocheting a bag in smaller or larger size is also an option by adjusting the number of chain lengths.

Crochet Keroppi Drawstring Bag Tutorial
Keroppi is a very unique and cute character from Sanrios and this crochet keroppi drawstring bag tutorial will help you catch its features onto a functional crochet bag:
- Creating the Body of the Bag: Start with a slip knot and chain a series of stitches.
Continue by making double crochets over multiple rows, creating the main body of the bag.
On the last functional row, add chains to create spaces, then complete with a final crochet row and secure the yarn. - Creating the Drawstring: Make a slip knot, chain a predetermined length, and finish to form the bag’s drawstring.
- Making the Decorative Balls: Use a magic ring and single crochets to gradually increase the stitch count, crafting small decorative balls for the drawstring ends.
- Making the Ribbon: Start with a magic ring, turn it into a series of double crochets, forming a bow shape, and secure the yarn.
- Making the Eyes and Blush: Use a magic ring with single crochets to increase stitch count, crafting two eyes and two blush pieces.
- Assembling the Bag: Attach facial features using a hot glue gun, securing the drawn parts on the bag.
Ensure the drawstring and knots fit neatly, then assemble all components securely, hiding any loose ends.

Supplies Used
Gather these crochet supplies to recreate this quick and easy keroppi drawstring bag:
- 4ply Cotton Yarn in Pink, Red, White, Green, Army Green and Yellow
- 3mm Crochet hook
- Scissors
- Black yarn and needle for sewing
- Hot glue gun for assembling pieces

Stitches and Abbreviations
Following are the stitches and abbreviations you will see to refer to the techniques used in the crochet Keroppi drawstring bag:
- ch (chain): Yarn over, pull through the loop on the hook.
- dc (double crochet): Yarn over, insert hook into stitch, yarn over, pull through stitch, yarn over, pull through first two loops, yarn over, pull through remaining two loops.
- sc (single crochet): Insert hook into stitch, yarn over, pull through stitch, yarn over, pull through both loops on the hook.
- sl st (slip stitch): Insert hook into stitch, yarn over, pull through both the stitch and the loop on the hook.
- Ch-Sp (Chain Space): The gap or space formed by a chain (ch) stitch in a previous round or row.

Video Guide
https://youtu.be/oxyVLXDRUDo