How to Crochet Lady’s Headband for Beginners
Learn how to crochet a stylish and comfortable lady’s headband using wool and nylon yarn with a step-by-step tutorial for beginners. With clear instructions, the creator explains how to form the stitches, including single crochet, double crochet, and pattern repetitions, to achieve a beautiful design.
The tutorial is beginner-friendly and outlines the materials needed, such as a 4.0mm crochet hook, scissors, and a sewing needle. Perfect for crocheting headbands for all ages, the video emphasizes both functionality and elegance in the final product.
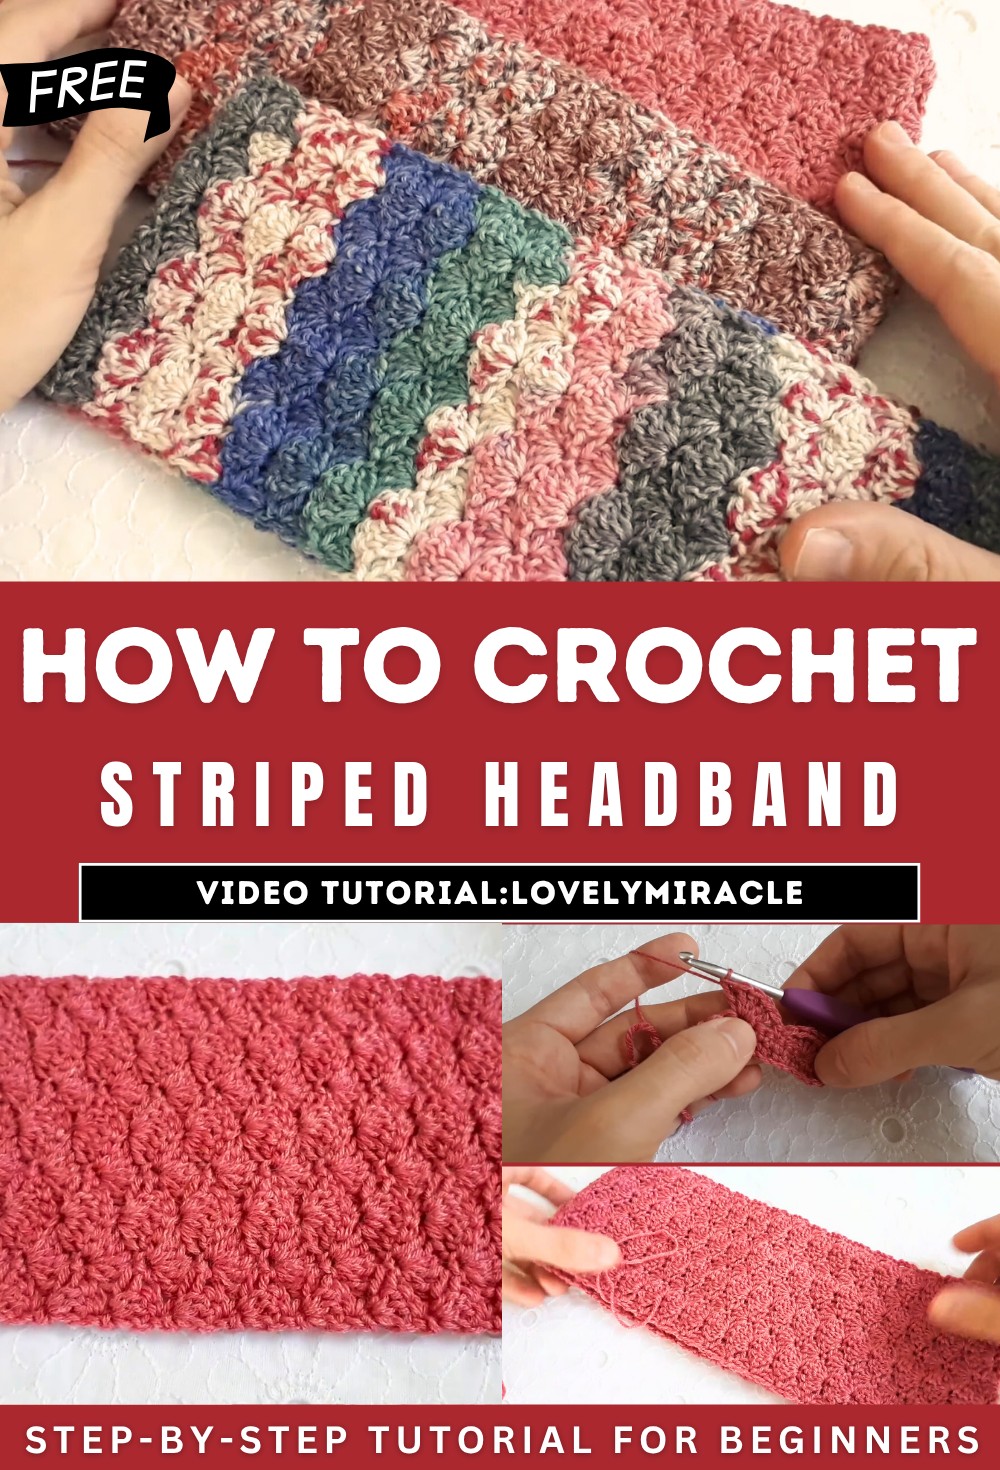
Crochet Striped Headband Tutorial
The YouTube tutorial demonstrates the process of crocheting a lady’s headband with detailed step-by-step instructions. Below, the process and instructions are summarized under specific headings.
Introduction
- The video begins with a warm welcome and introduces the goal of the tutorial: crocheting a lady’s headband.
- The creator highlights the versatility of the yarn, which is a blend of 75% wool and 25% nylon, typically used for projects such as socks but also suitable for headbands, gloves, and other accessories.
- The yarn is favored for being lightweight, warm, stretchy, and soft, making it ideal for a cozy headband.
Materials Needed
- Yarn: Wool and nylon blend (described as soft and sturdy).
- Crochet hook: Size G (4.0 mm).
- Scissors: For trimming the yarn.
- Sewing needle: To weave in the ends.
- Measuring tape: To measure the desired length.
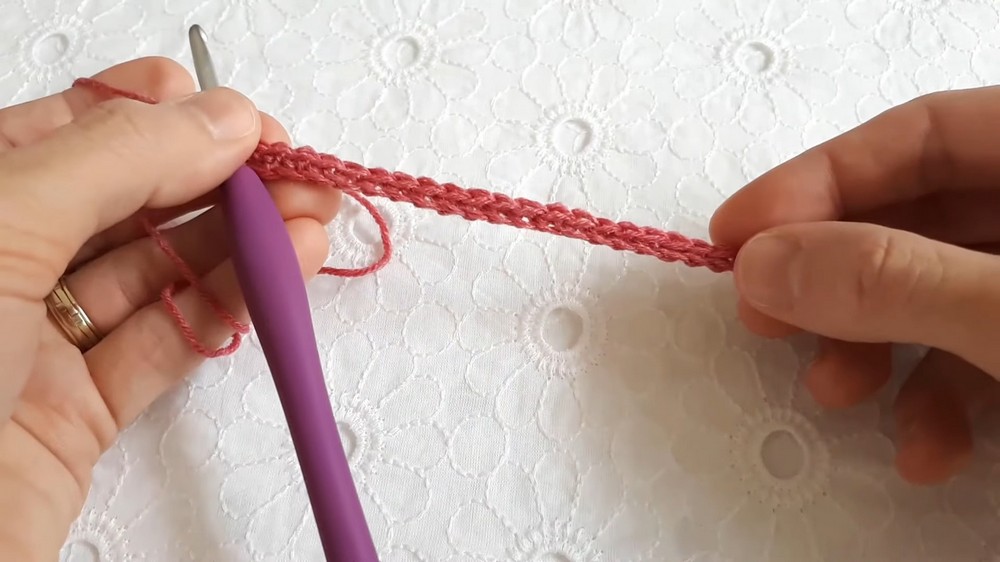
Starting the Project
- Chain stitches are created after beginning with a slip knot.
- The crafting of the headband begins with a series of single crochets.
- The first round involves working single crochets into each stitch, and successive rounds build on this foundation.
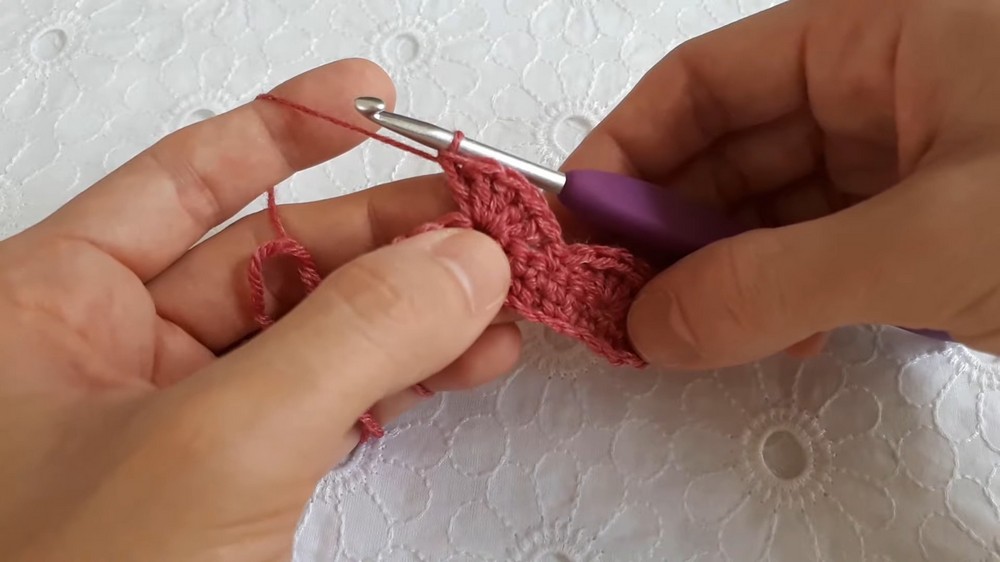
Creating the Pattern
- The tutorial explains a simple repeating pattern:
- Single crochets: Used at specific points in the initial rounds.
- Double crochets: Used to create a textured and decorative look.
- The design involves skipping specific stitches and working combinations such as clusters of double crochets and alternating single crochets.
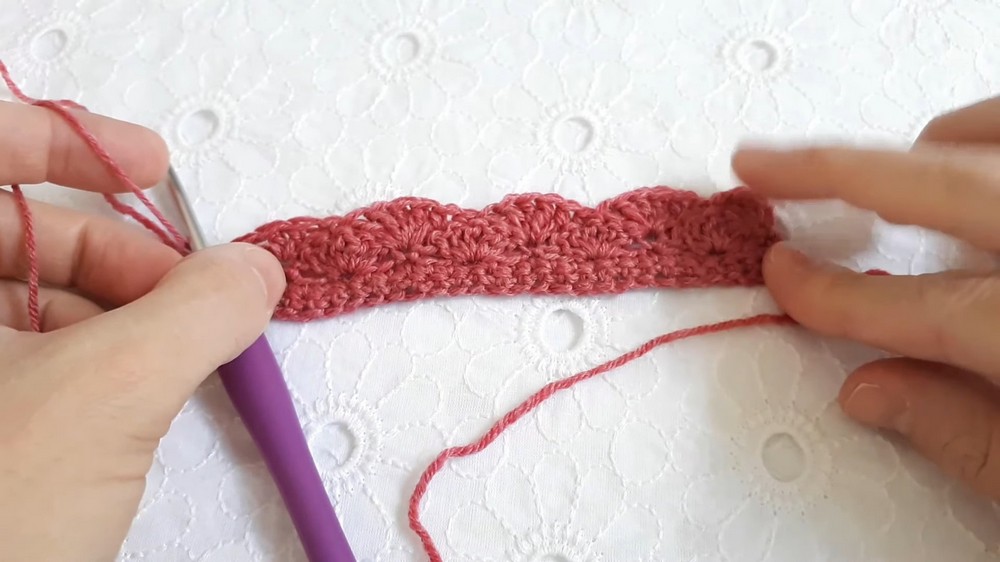
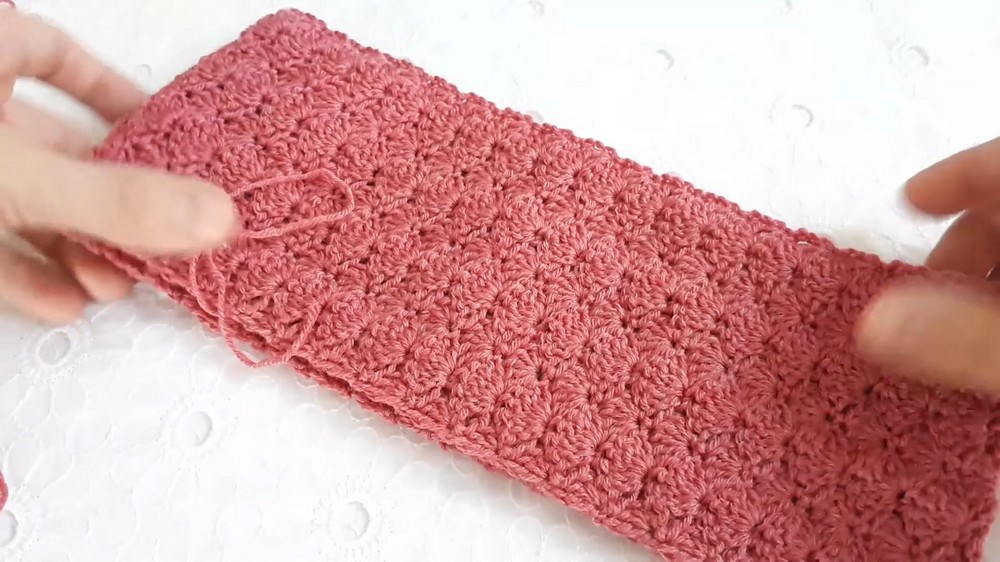
Building the Texture
- The pattern for the headband alternates between two core rounds:
- Round 3 introduces the decorative design with clusters of double crochets.
- Round 4 involves working into the previous round’s petals and clusters, creating a layered and elegant texture.
- The process is repeated in cycles (Round 3 and Round 4) to achieve the desired length.
Completing the Crochet Work
- The headband length is customized based on the wearer, suitable for children, teenagers, or adults.
- Once the length is completed, the edges of the headband are sewn together using the sewing needle and thread.
Securing the Headband
- The creator demonstrates how to use single crochet stitches to securely join the edges of the headband.
- A second row of stitches is added along the seam for extra durability, ensuring the headband doesn’t come undone during use.
Final Touches
- After the edges are securely joined, the excess yarn is trimmed, and loose ends are woven into the work.
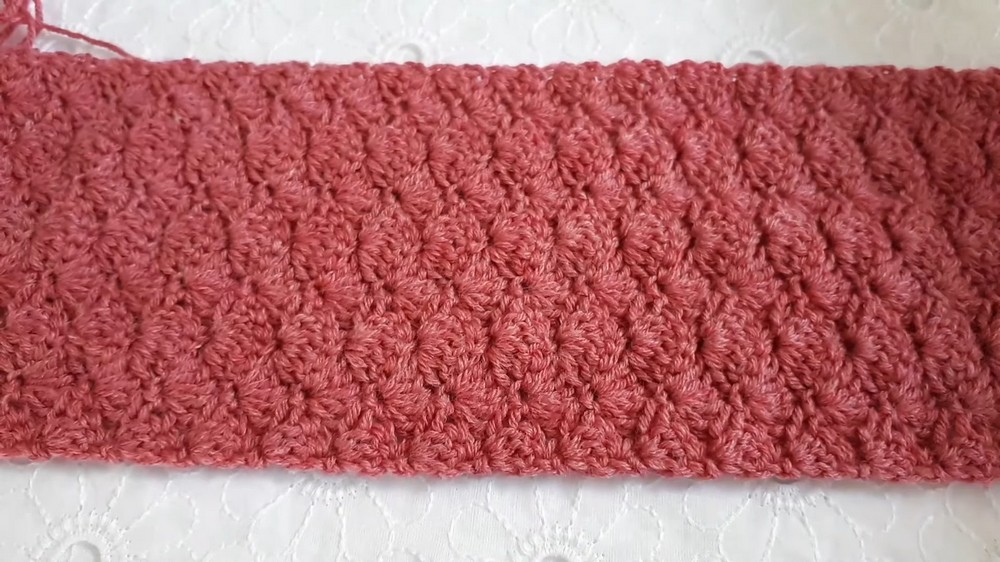
- The headband is reversible, with no significant difference between the front and back, making it versatile and elegant.
Additional Notes
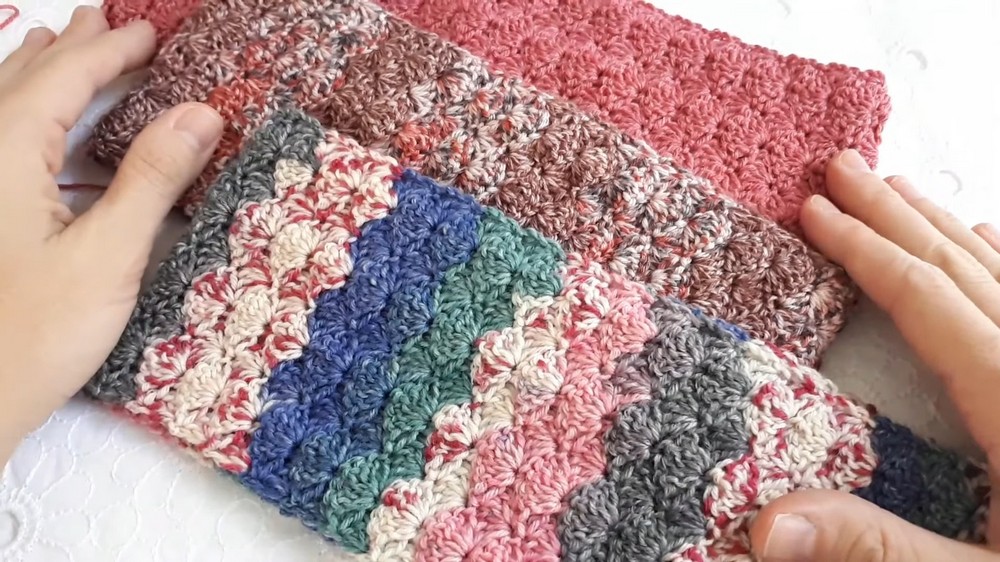
- The creator shows examples of finished headbands, highlighting how different colors can enhance the design.
- The thickness of the headband is kept lightweight to ensure comfort while maintaining a stylish look.
Conclusion
- The tutorial ends with the creator thanking viewers and encouraging them to experiment with sizes and colors for various age groups and preferences.