Crochet Market Bag Free Pattern for Reusable Style
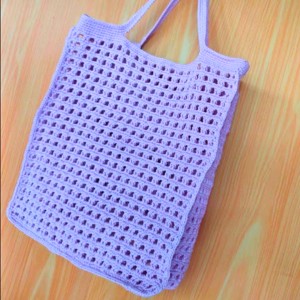
Carry groceries stylishly by following this free crochet market bag pattern that blends durability and charm for practical shopping trips.
Support: Rajutan Whita
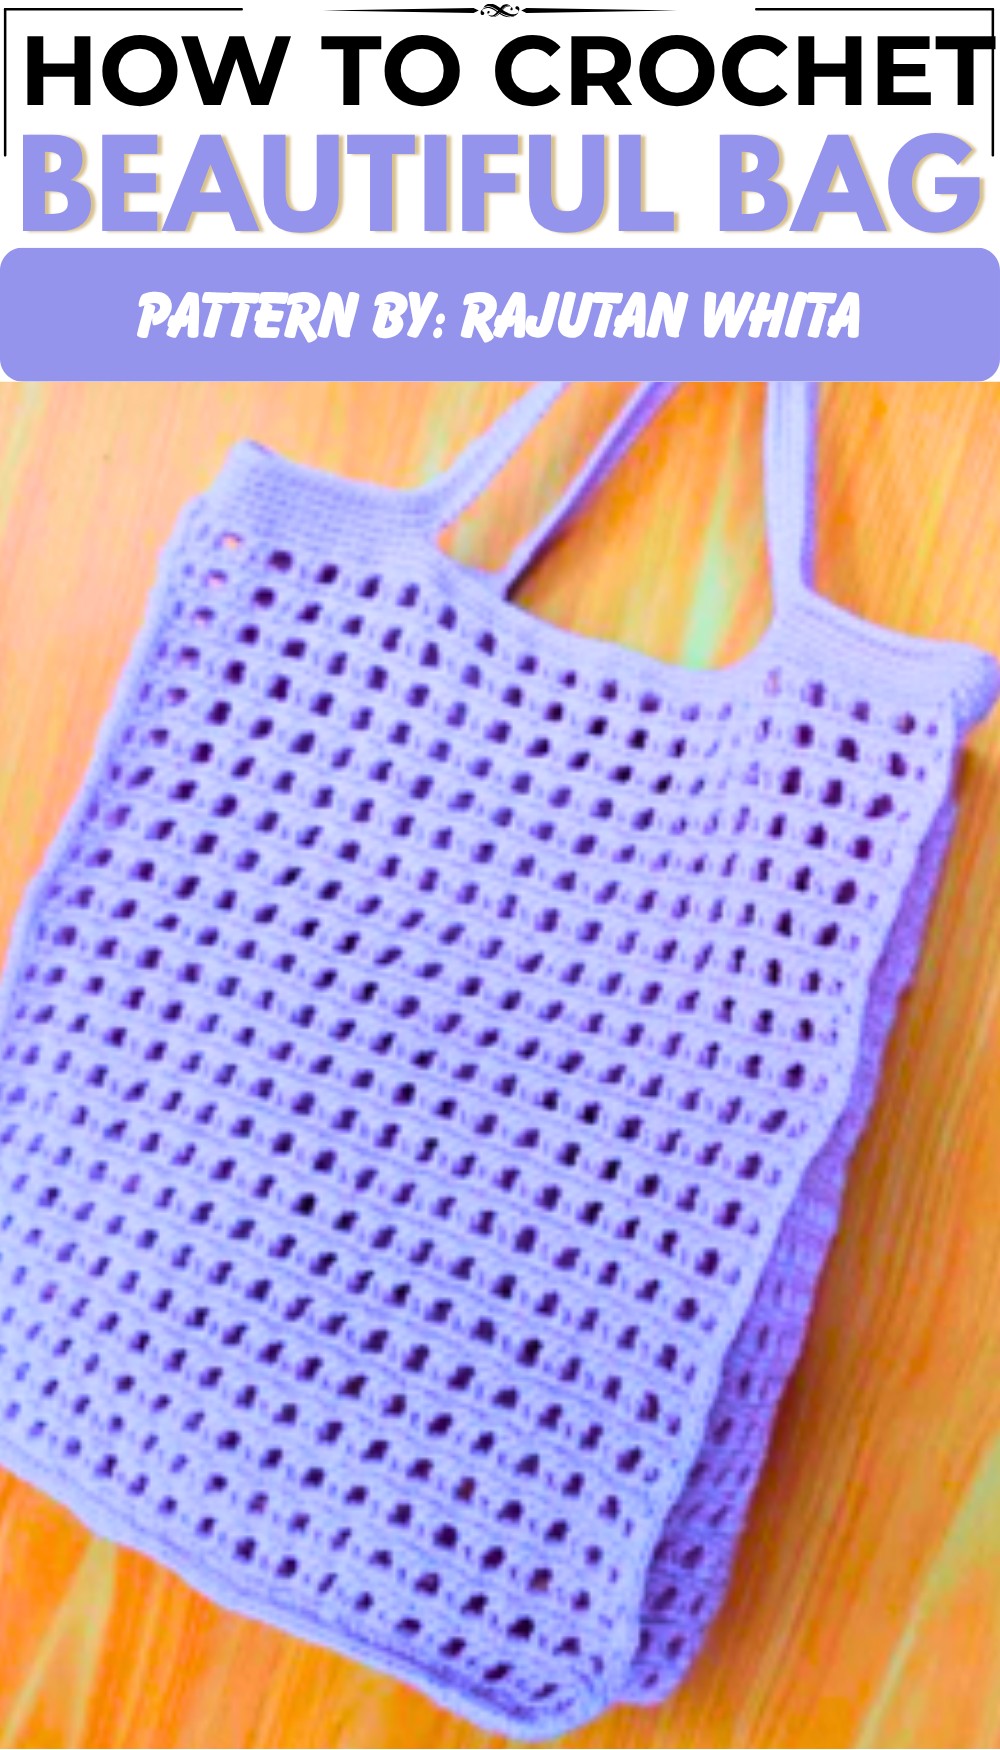
It feels so good to make something with your own hands that you can use every day. This amazing Free Crochet Market Bag Pattern is the perfect project to make a beautiful, strong, and stylish bag for carrying all your goodies. It’s as fun to make as it is to use.
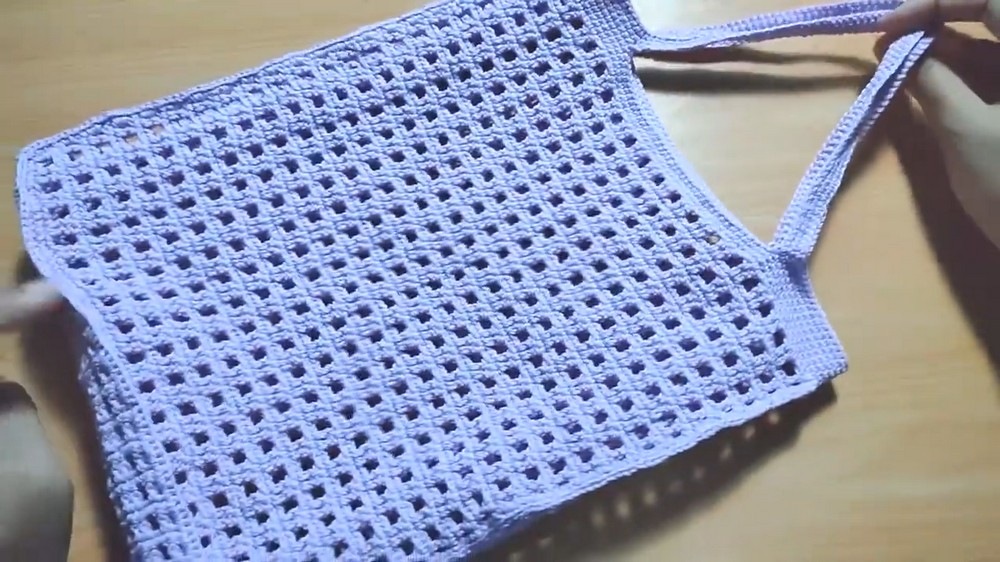
This special bag has a very clever design. The main part of it is made with an open, net-like stitch. This looks pretty and airy, but it also lets the bag stretch out to hold a surprising amount of stuff, from big apples to leafy greens. The bottom of the bag is made with a solid, tight stitch, so you never have to worry about small items slipping through. It has two wide, sturdy handles that are comfortable to carry on your shoulder or in your hand, even when the bag is full.
Free Market Bag Crochet Pattern for Summer Days
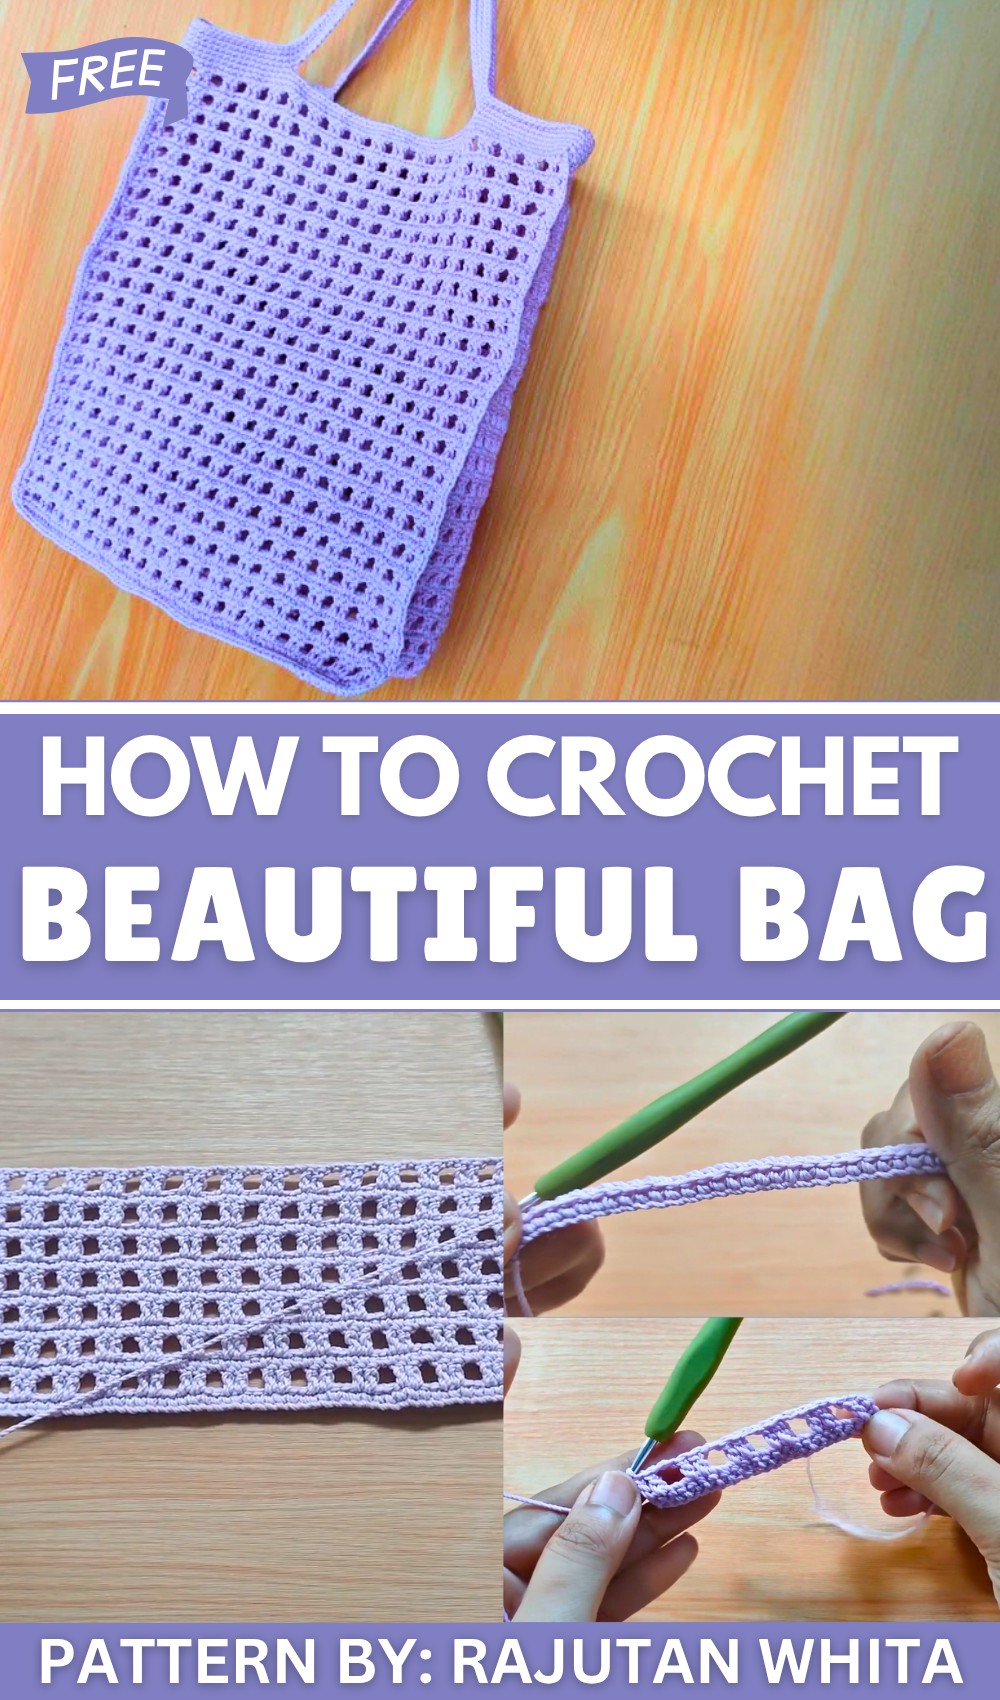
The step-by-step video tutorial from the lovely people at Rajutan Whita makes this project super clear and easy to follow. You can pick your favorite yarn colors to make a bag that is totally unique to you. It’s also a wonderful, earth-friendly choice because you can use it over and over again. You’ll feel a sense of pride every time you use this wonderful, handmade bag.
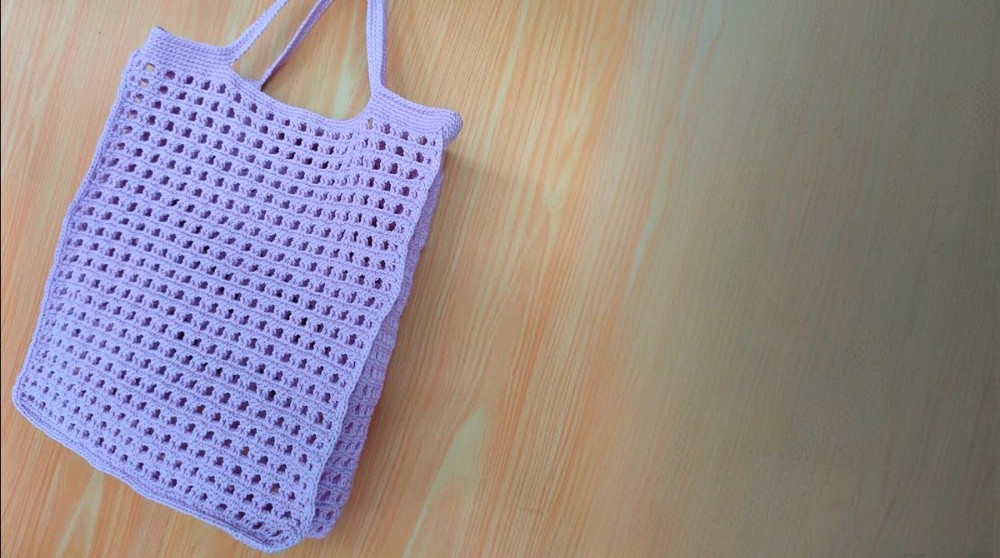
You can take this bag almost anywhere! It’s perfect for a visit to the farmer’s market to fill with fresh produce. It makes a great beach tote for your towel and a book, or you can use it to carry things home from the library. Because it’s made of yarn, it’s light and can be folded up very small. You can easily tuck it into your purse or keep it in your car so you’re always ready for a shopping trip.
Beginner-Friendly Crochet Market Bag Pattern
This crochet market bag uses simple, accessible stitches and a clear formula to create a sturdy, stylish carryall. Follow along step-by-step with instructions based on the provided tutorial to crochet a practical yet elegant bag using Chain (CH), Single Crochet (SC), and Double Crochet (DC) stitches. Designed for beginners, this project reinforces fundamental crochet skills while delivering a beautifully textured finished product.
Pattern Highlights
- Uses a simple repeat formula of 4n + 2 stitches to structure the fabric evenly.
- Constructed from two rectangular panels (front and back) paired with a long strip forming the sides and bottom.
- Alternates between rows featuring 2 DC, chain 2 blocks and rows of solid SC stitches to add texture and stretch.
- Reinforced edges and handles crafted by carefully increasing stitches in spaces for durability.
- Final finishing ensures strong handles and a clean, professional look.
Notes
- Yarn choice impacts size and flexibility; Poly Cherry yarn in light purple recommended for similar result.
- Use the same hook size throughout for consistent tension.
- Counting stitches carefully is essential to maintaining the pattern’s structure.
- No complicated stitch variations—ideal for beginners building confidence.
- Keep edges neat when joining panels to avoid gaps or loose seams.
- Handles tailored in length via adjustable chain length, fitting your preference.
Skill Level
Beginner – Requires knowledge of the following stitches and techniques:
- Chain (ch)
- Single Crochet (sc)
- Double Crochet (dc)
- Working in rows
- Joining pieces by crocheting edges together
- Increasing stitch counts in chain spaces
- Creating handles with chains and reinforcing them
Materials
- Poly Cherry yarn (suggested: 2 rolls, light purple color)
- Crochet Hook: 2.0 mm (size 3/0)
- Scissors
- Lighter (for finishing yarn ends and preventing fray)
- Measuring tape
Measurements / Sizing (Approximate)
- Front/Back panels: Width approximately 75 chains; height based on desired number of rows (demonstrated up to 22 rows)
- Side/bottom strip: 23 chains wide, repeated to achieve 62 blocks long
- Handle length customizable via chain length (typically 75 chains per handle)
- Final bag size depends on gauge and completed row count—approximately medium market bag size
Gauge and Stitch Pattern
- Gauge is flexible but consistent tension aids in neat stitch definition.
- Stitch pattern composed by alternating:
- Rows of single crochet (sc) in every stitch/space for solidity
- Rows consisting of 2 double crochet (dc), chain 2 (ch 2), skip 2 chains, repeated across row
- This creates a delicate mesh-like texture with stable reinforcement.
Stitch Abbreviations
| Abbreviation | Meaning |
|---|---|
| ch | Chain |
| sc | Single Crochet |
| dc | Double Crochet |
| sl st | Slip Stitch (used in joining, not specified but helpful) |
Special Stitches
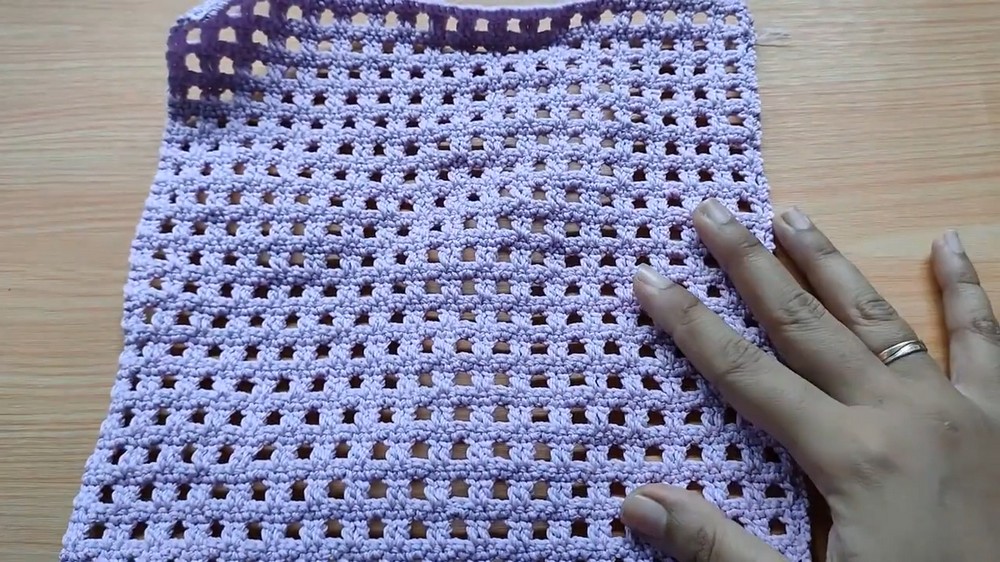
- 2 DC, chain 2, skip 2 chains: This block creates a “space” in the fabric, forming a stylistic open texture that adds flexibility and stretch to the bag panels.
- Joining with SC into chain spaces: When assembling panels and strips, working 3 SC into each DC space strengthens the seam without compromising bag flexibility.
- Chain handle creation: Long chains arching between stitches form the carrying handles, later reinforced with multiple rounds of SC for durability.
Step-by-Step Crochet Pattern
1. Main Panels (Front and Back) — Make 2 Identical Pieces
Foundation Chain
- Begin by chaining 75 stitches. Note: The count follows the formula 4n + 2, here n=18, so 74 + 1 extra chain for height.
- The length of this chain determines the width of your bag panel.
Row 1: Single Crochet Base
- Starting in the 2nd chain from the hook, work 74 single crochets (SC) across the chain foundation.
- This row creates a firm starting edge for panel texture.
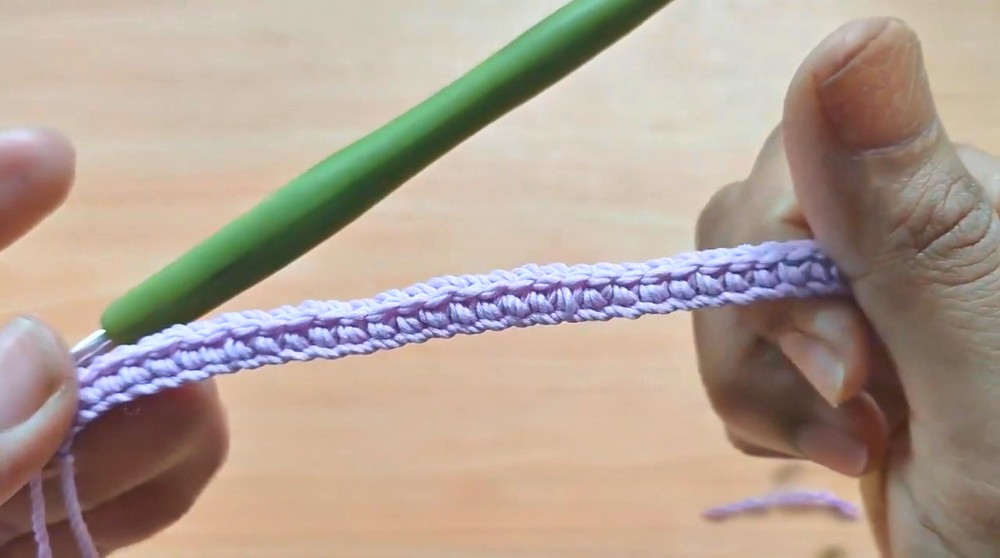
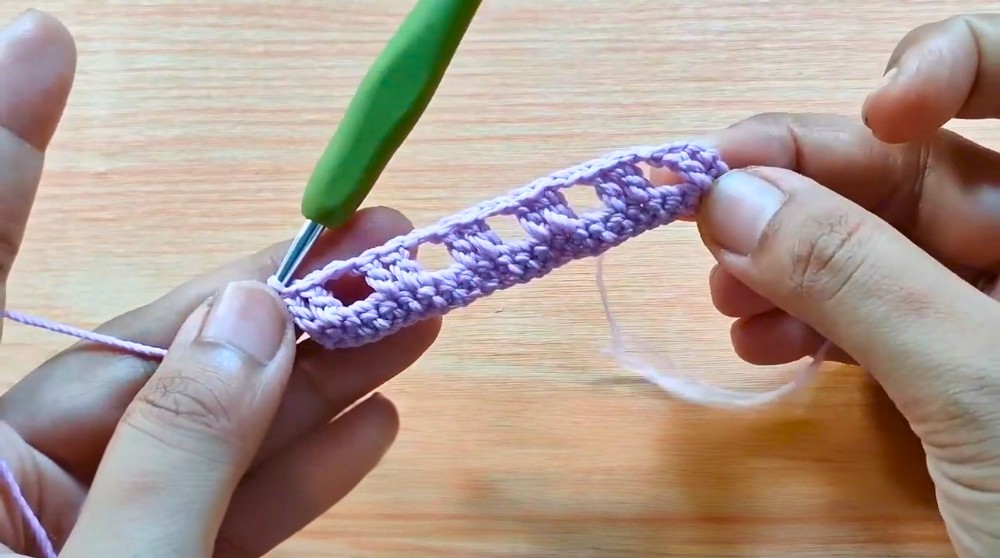
Row 2: Double Crochet Blocks with Chain Spaces
- Chain 3 at the beginning of the row (counts as 1 DC).
- In the 2nd stitch, work:
- 2 double crochets (DC)
- Chain 2 (CH 2)
- Skip next 2 chains
- Repeat the sequence 2 DC, CH 2, skip 2 chains across the row, finishing with 2 DC in the final stitch.
- This alternating open structure introduces the mesh texture.
Row 3: Single Crochet Filling
- Chain 1 and turn your work.
- Work 1 single crochet (SC) in every stitch and chain space across the row including chain spaces from previous row.
- This row “fills in” the open spaces to add body and strength.
Row 4: Repeat Row 2
- Repeat the 2 DC, chain 2, skip 2 chains row pattern exactly as in Row 2.
- The alternating rows build the distinctive fabric pattern.
Continue in Pattern
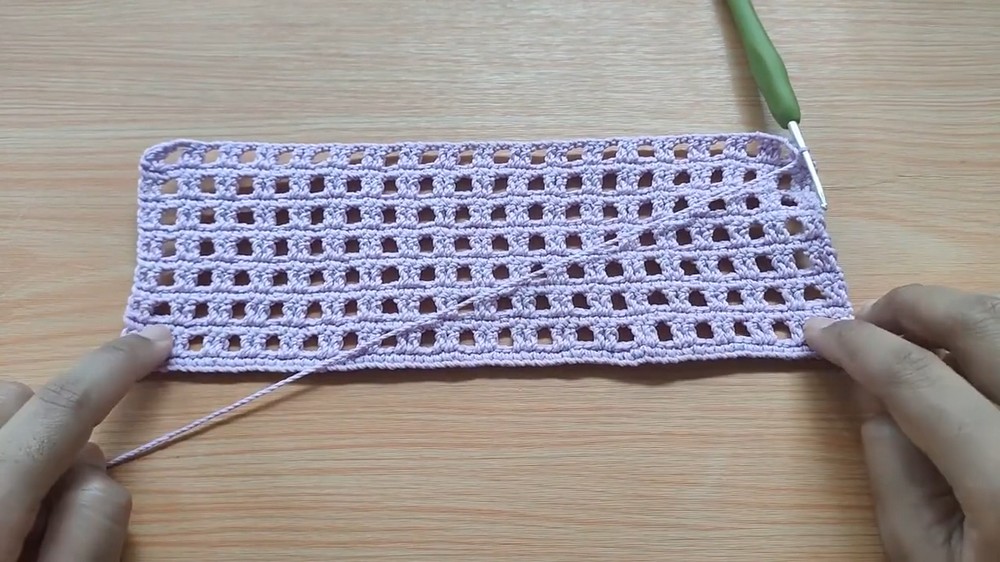
- Alternately repeat Row 3 (SC filling) and Row 2 (DC blocks with chain spaces) until the panel reaches your desired height.
- The demonstration continues up to 22 rows.
- End with a final row of single crochet (SC) for a clean, firm edge.
2. Sides and Bottom Strip — One Long Rectangular Strip
Foundation Chain
- Chain 23 stitches to form the width of the strip.
Row 1: Single Crochet Base for Strip
- Work 22 single crochets (SC) across the chain foundation (starting in 2nd chain).
Pattern Repeats
- Repeat alternating rows of:
- Row pattern like Row 2 from panels: 2 DC, CH 2, skip 2 stitches
- Row pattern like Row 3 from panels: single crochet in every stitch/space
- Continue this pattern until the strip reaches about 62 blocks in length (counted as the 2 DC & chain 2 blocks).
- This long strip will be used to form the sides and bottom of your bag.
3. Assembly: Joining Panels with Side Strip
- Align your front and back panels with the long strip formed in Step 2.
- Join by working single crochet (SC) along the edges where the pieces meet.
- In the areas of double crochet (DC) sections, work 3 single crochets (SC) into each chain space to ensure reinforcement without bulkiness.
- This step is vital for a durable and flexible seam that holds shape well.
4. Top Edge and Handle Construction
Top Edge Border
- Work 2 full rounds of single crochet (SC) around the top opening of the assembled bag.
- This rounds off the edge neatly and prepares for handle attachment.
Creating Handles
- Along the top edge, work 18 single crochets (SC) to the side where you want the handle.
- Chain 75 stitches (or length of your preference) to form the handle arch.
- Skip the middle section of the top edge accordingly, then join with 18 SC on the opposite side of the bag’s opening to complete the handle base.
- Repeat the entire handle sequence for the second handle on the back panel, matching the front.
Reinforce Handles
- Work 3 additional rounds of SC around the entire top edge including over the handle chains.
- This reinforcement strengthens the handles and gives your bag a professional finish.
Assembly & Finished Size
After completing the above steps, your crochet market bag is assembled and ready for use. Final measurements will depend on your yarn tension and number of rows used, but the bag typically achieves a spacious, wearable size suitable for daily errands. Handles can be customized by adjusting chain lengths to carry comfortably.
Conclusion
This beginner-friendly market bag project combines fundamental crochet techniques with a creative stitch pattern to produce a functional and attractive bag. Using chain (CH), single crochet (SC), and double crochet (DC) stitches along with a simple 4n + 2 formula, novices can develop their skills while crafting a practical item.
Its airy stitch pattern adds flexibility and stretch, while the reinforced edges and handles ensure durability. With clear pattern instructions and adaptable sizing, this project is ideal for those seeking an approachable yet gratifying crochet experience.