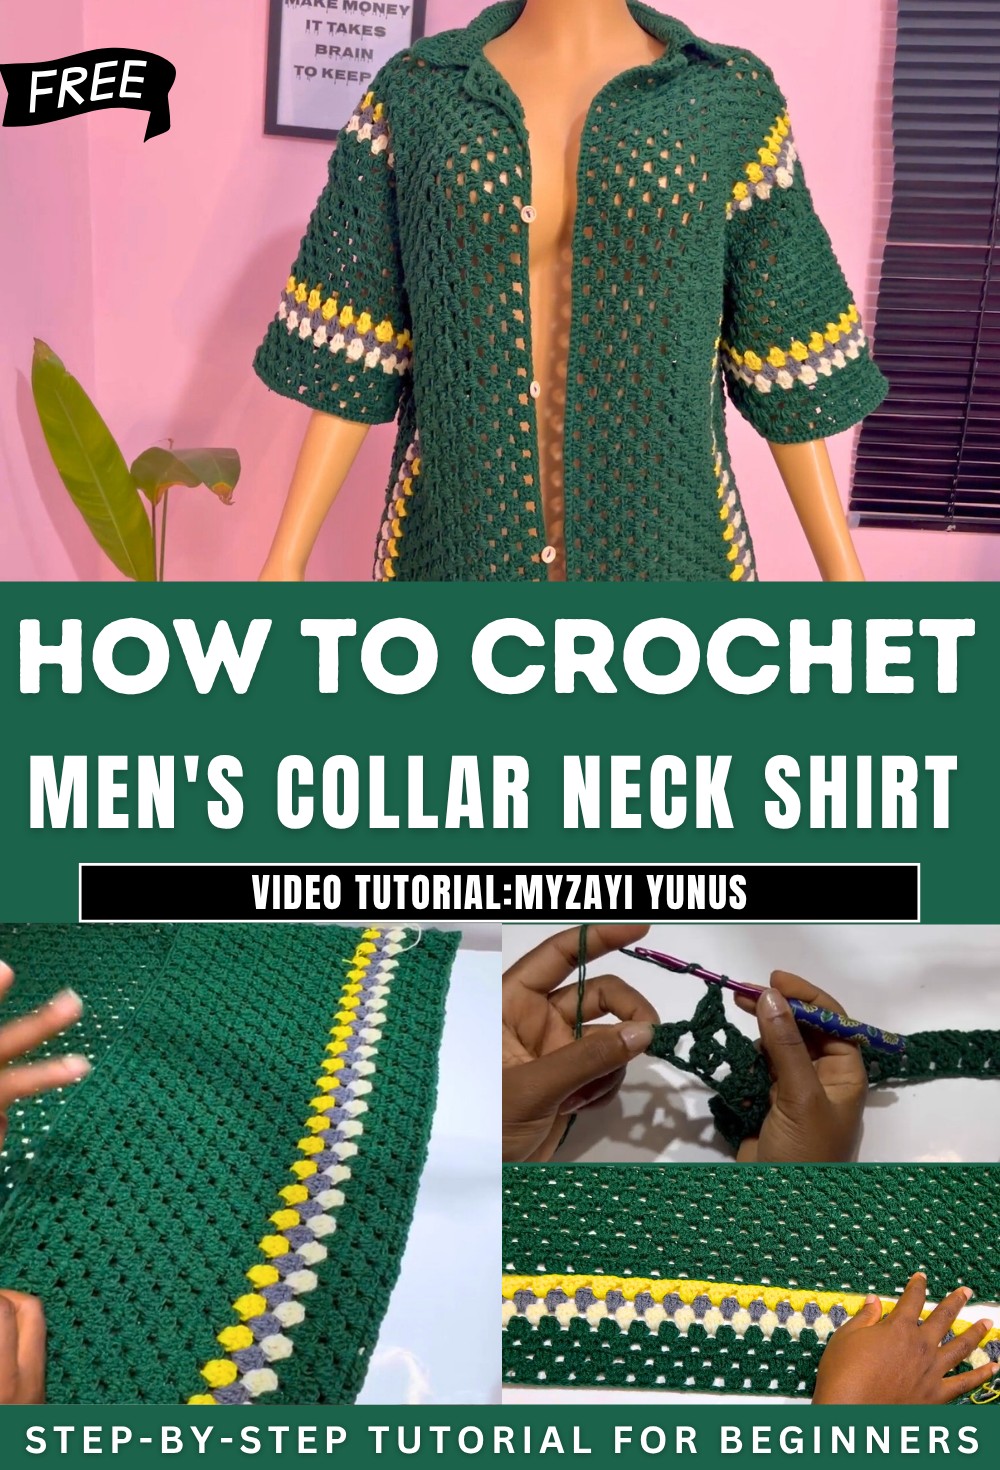
How To Crochet Men Collar Neck Shirt for Beginners
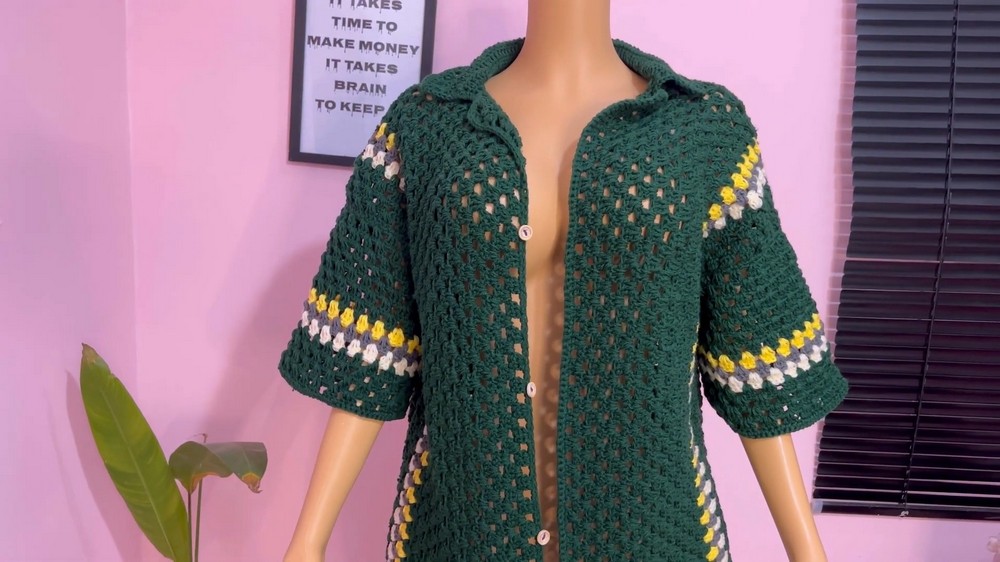
Learn how to crochet a men’s collar neck shirt, a stylish handmade garment, perfect for beginners, with a step-by-step tutorial. It covers creating panels for the front and back, using measurements like 28 inches for length and 20 inches for width. The tutorial explains steps such as forming chains, working double crochet clusters, and switching colors for added design.
Miss A also provides instructions for attaching panels, defining borders, and customizing armholes and collars, ensuring a polished and professionally finished piece. Let’s get started!
Crochet Men’s Collar Neck Shirt Tutorial
Measurements and structure are outlined: Length: 28 inches (vertical), Chest: 20 inches total (horizontal) divided into two front panels and one back panel.
Back Panel Creation
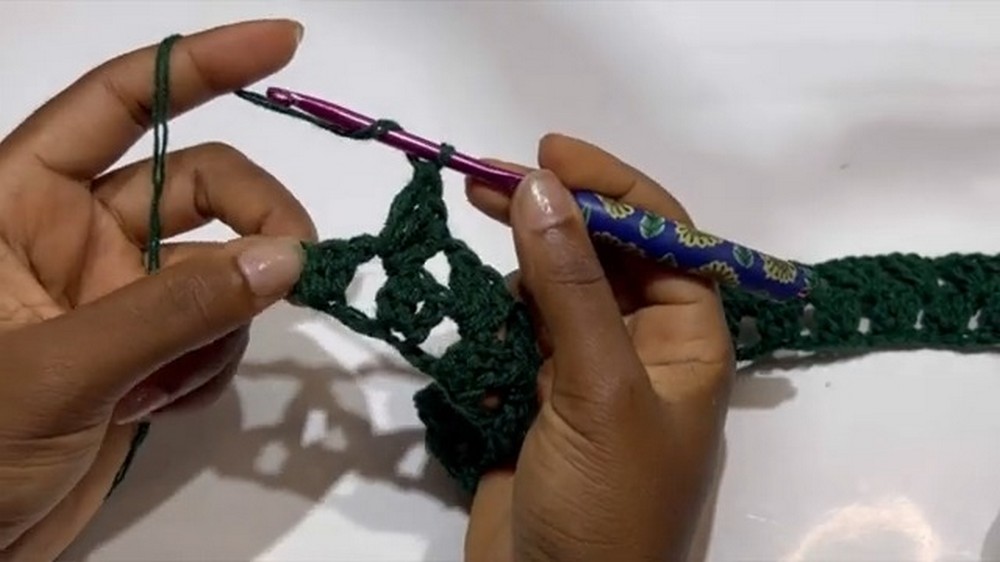
- Foundation Chain: Miss A begins with a long chain, sufficient to reach 20 inches horizontally.
- Initial Rows: She explains starting with a double crochet pattern, introducing clusters of three double crochets separated by chain spaces.
- Adjustments are made to ensure the panel measures exactly 20 inches.
- Row Progression: Rows are built sequentially, repeating the established stitch pattern until the fabric reaches the desired vertical length of 28 inches.
- Tips are provided for ensuring uniformity when working horizontally.
Front Panel Creation
- Two front panels are constructed, with the width of each panel being half of the chest measurement (10 inches).
- Like the back panel, the process involves crafting a foundation chain followed by stitch clusters.
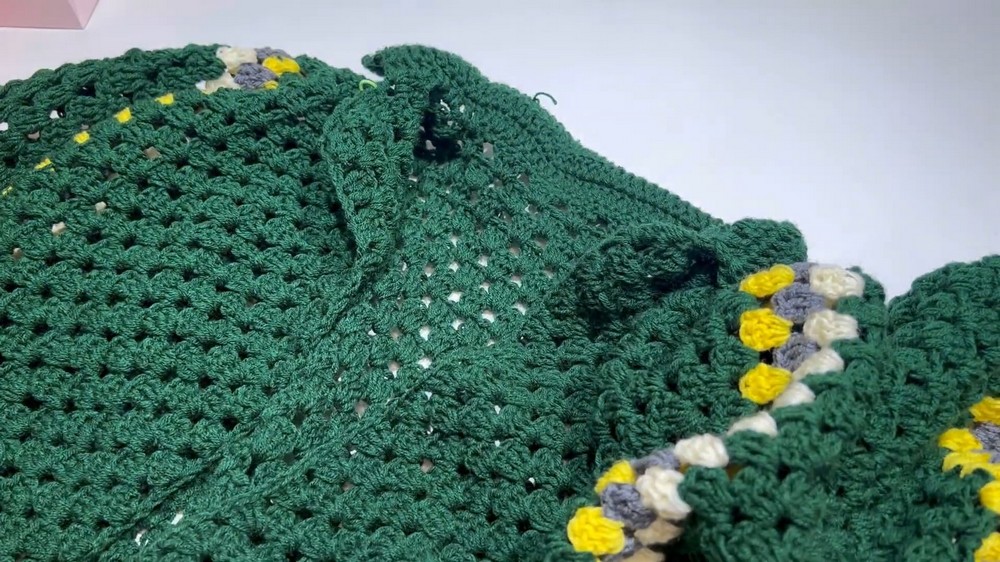
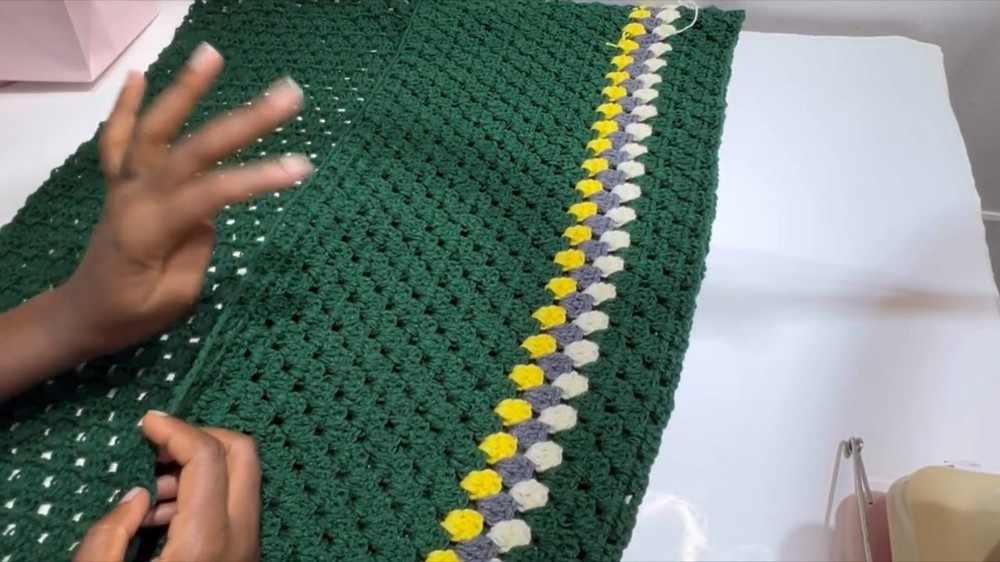
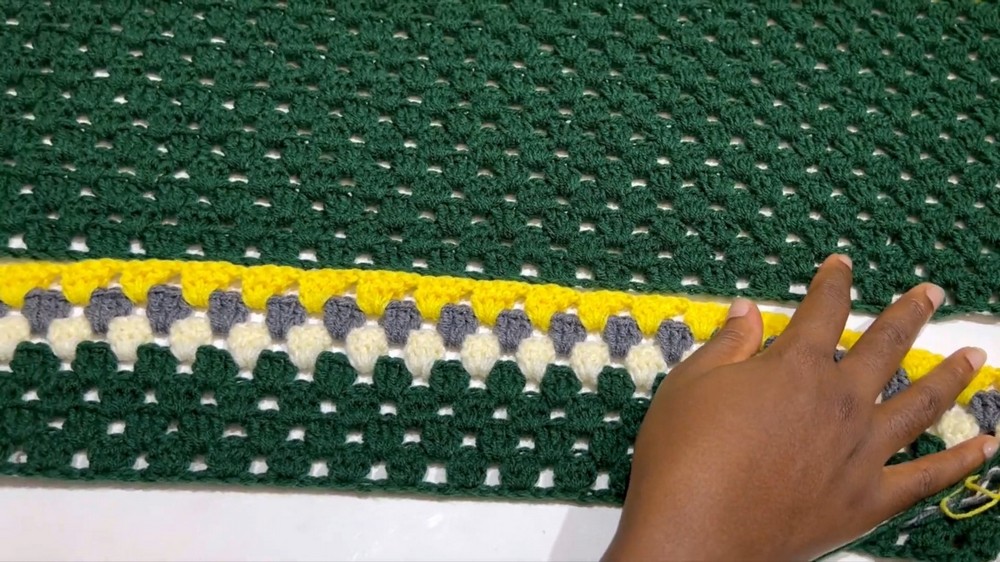
- Color Switching: Miss A demonstrates how to alternate colors for design variation.
- One front panel starts with 15 rows of the base color before switching to three additional colors.
- The second panel follows the opposite arrangement for symmetry.
- The vertical stitching method builds up to 28 inches in length, maintaining the same stitch pattern.
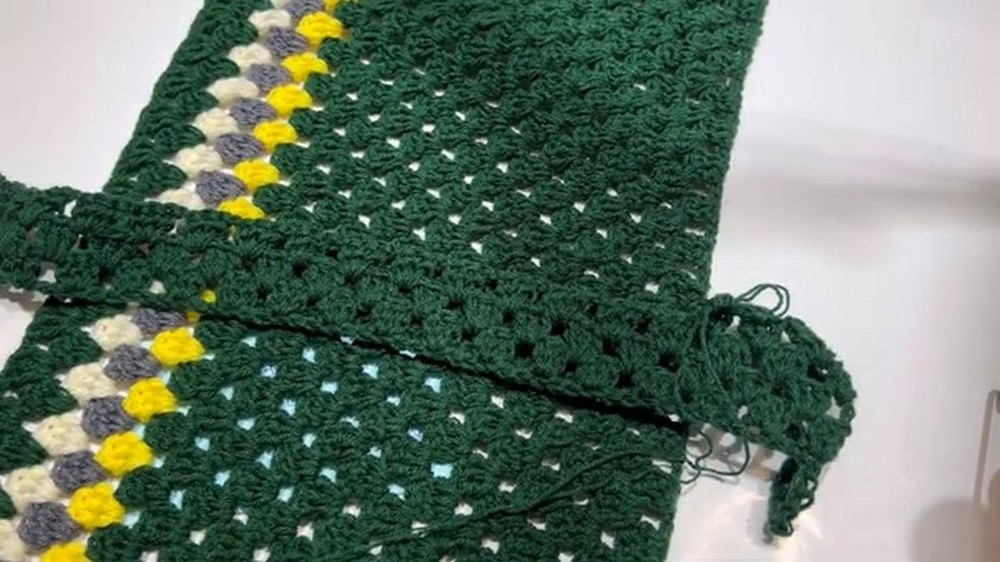
Joining Panels
- Shoulder Assembly: Miss A meticulously aligns the back panel with the two front panels, ensuring accuracy. Stitch markers are used for organization and precision.
- Instructions are provided for attaching the panels using stitches that alternate between double crochets and single crochets.
- A tip is shared to avoid working on the last few rows of the front panels during attachment for proper alignment.
Creating Armholes
- Armholes are measured to leave a space of 9–9.5 inches, marked with stitch markers.
- The sides of the cardigan are joined using alternating single crochets from the front and back panels.
- Miss A demonstrates crafting a consistent armhole edge by single crocheting around the armhole opening.
Adding Sleeves
- Sleeves are crafted using the same stitch cluster pattern, transitioning back to solid rows.
- Color Changes: Just like the front panels, sleeves incorporate alternating colors for design consistency.
- The length and width of the sleeves are customized to personal preference, with Miss A concluding each sleeve with a tidy single crochet edging for definition.
Finishing Touches
- Collar Construction: The collar is built using rows of double crochets and includes increases on each row for better shaping.
- Miss A switches to a contrasting row pattern for the final collar rows to enhance visual interest.
- Borders: A final row of single crochets is added to all edges, providing a finished look to the entire garment.
- Loose ends are trimmed, and options for adding buttons are discussed.