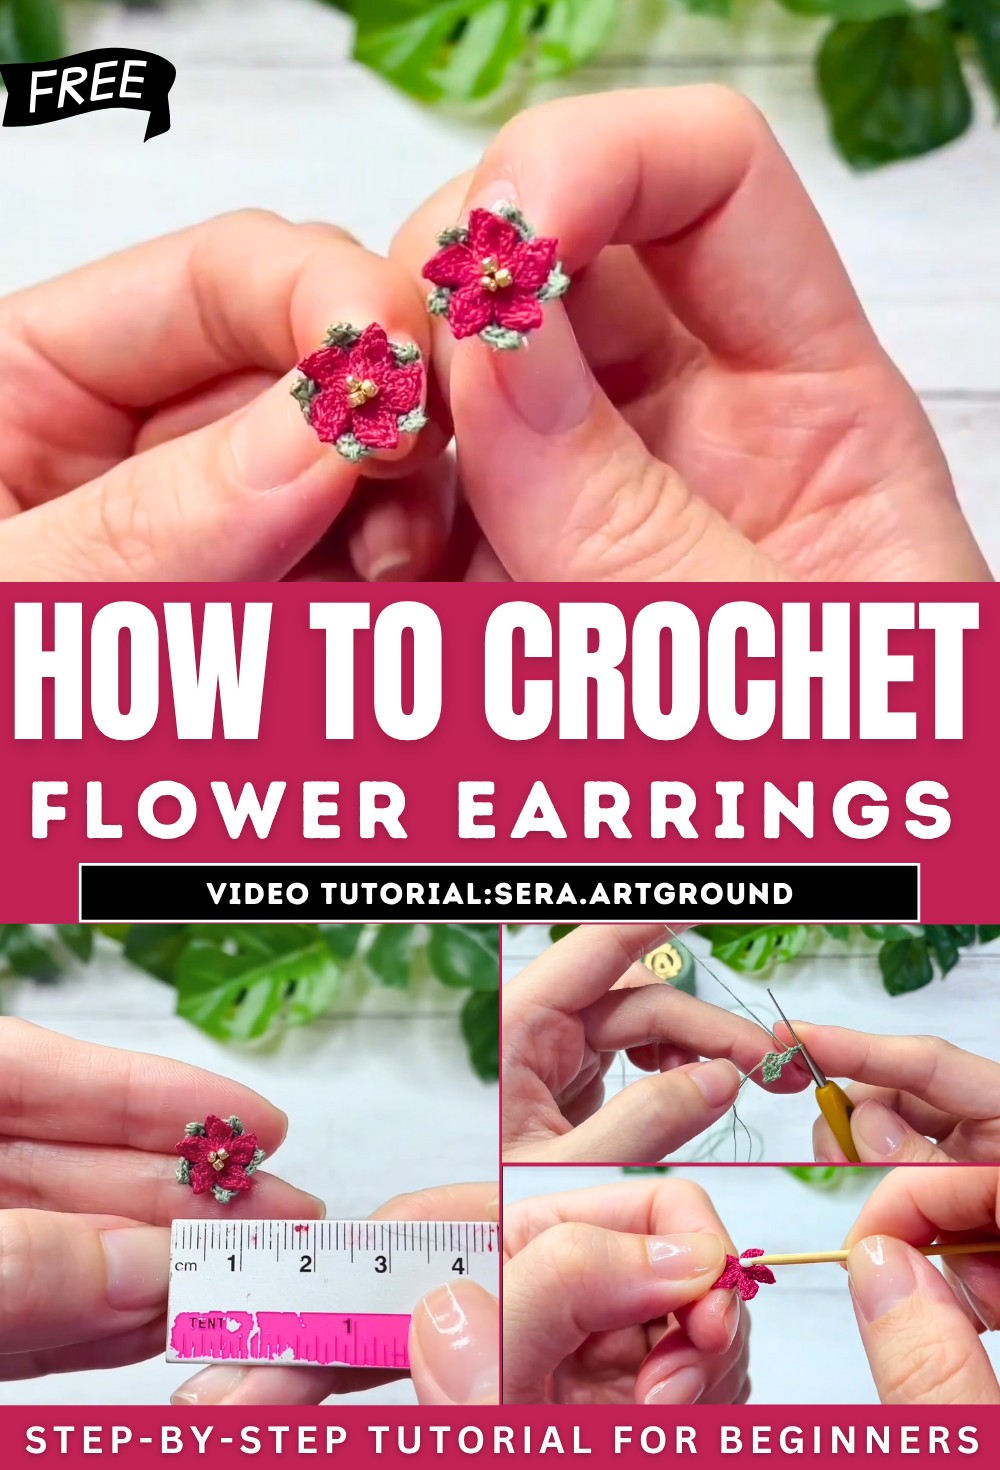
How to Crochet Micro Poinsettia Flower Earrings for Ladies

With a tutorial for beginners, learn how to crochet elegant Christmas flower earrings step by step for all skill levels. Using thin tatting lace yarn, a 0.50mm crochet hook, seed beads, and flat round stud earrings, the process begins with crocheting delicate leaves using a Magic Circle and Double Crochet stitches. Petals are then created with Treble Clusters, followed by the addition of seed beads to the flower’s center for a decorative touch.
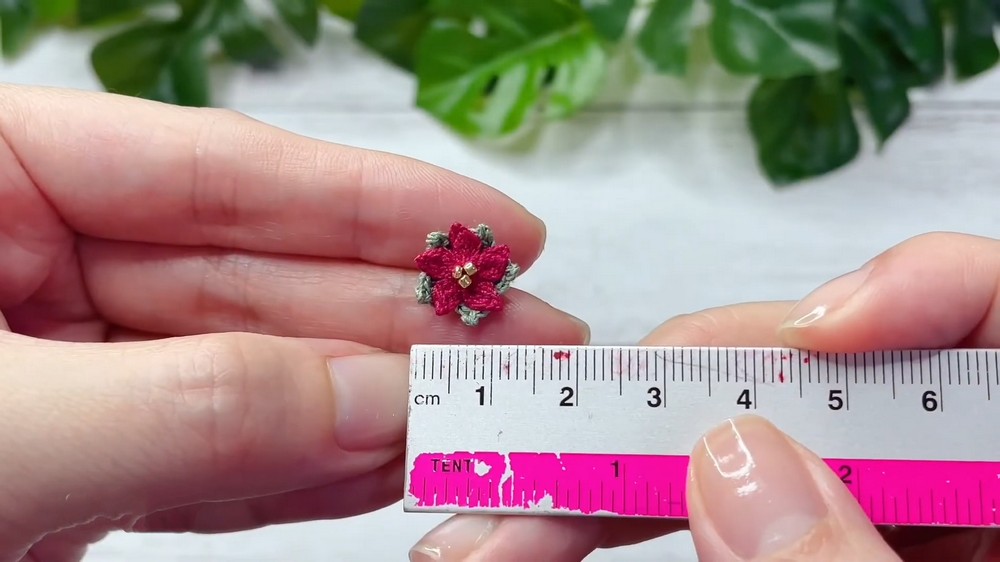
Finally, the components are assembled using craft glue to attach the flower and leaves to the earring stud. The finished earrings are 1cm in size, lightweight, and perfect for festive or everyday wear. So, follow through with us for the complete tutorial.
Crochet Christmas Flower Earrings Tutorial
The tutorial demonstrates how to create stunning handmade Christmas flower earrings using crochet techniques. It begins with an introduction to the materials, tools, and the step-by-step process for crafting delicate leaves, petals, and assembling the intricate components into a beautiful pair of earrings. These earrings are lightweight, elegant, and perfect for festive wear.
Materials and Tools
The materials and tools listed in the tutorial include:
- Yarn: Olympus tatting lace yarn (thin) and Daruma #80 tatting lace yarn.
- Earring Hardware: Flat round stud earrings, 4mm.
- Beads: Toho seed beads, size 15/0.
- Tools: Clover craft glue, Clover crochet hook (0.50mm), threader, beading needle, short pointed stick, tweezer, and scissors.
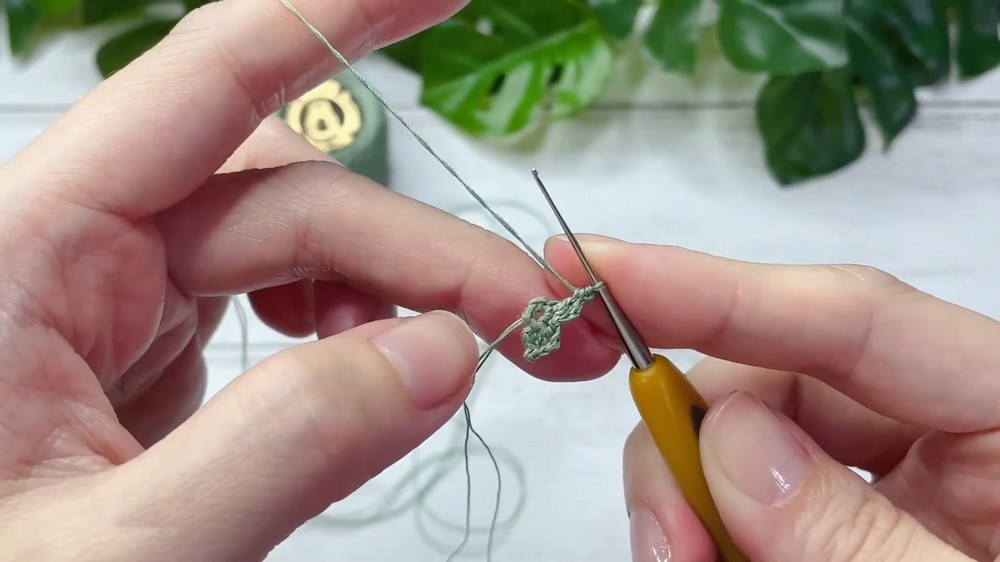
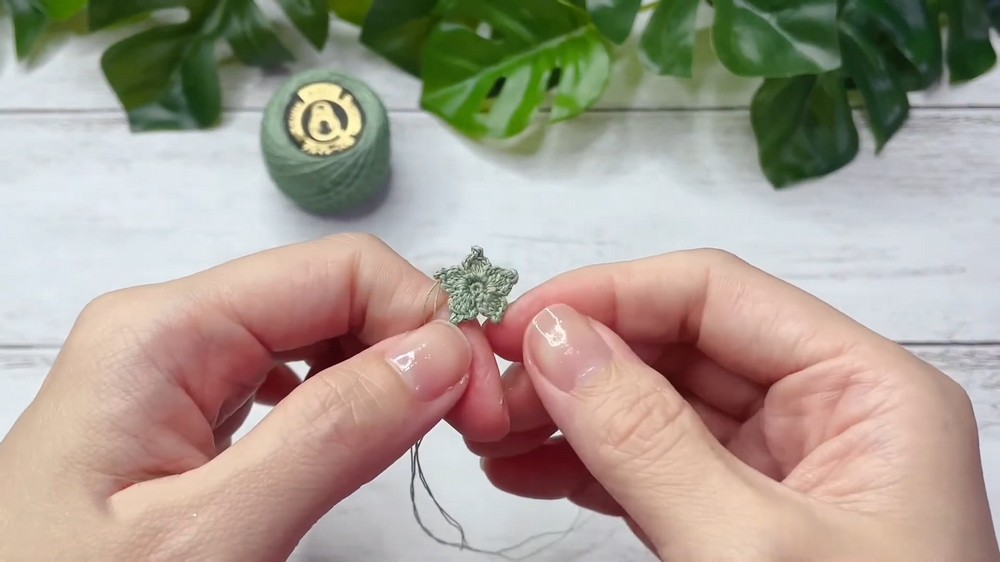
Step 1: Crocheting the Leaves
The process of creating the leaves begins with two strands of tatting lace yarn, ensuring a sturdy but delicate design.
- The tutorial explains how to start with a Magic Circle and describes the sequence of stitches used to shape the leaves carefully.
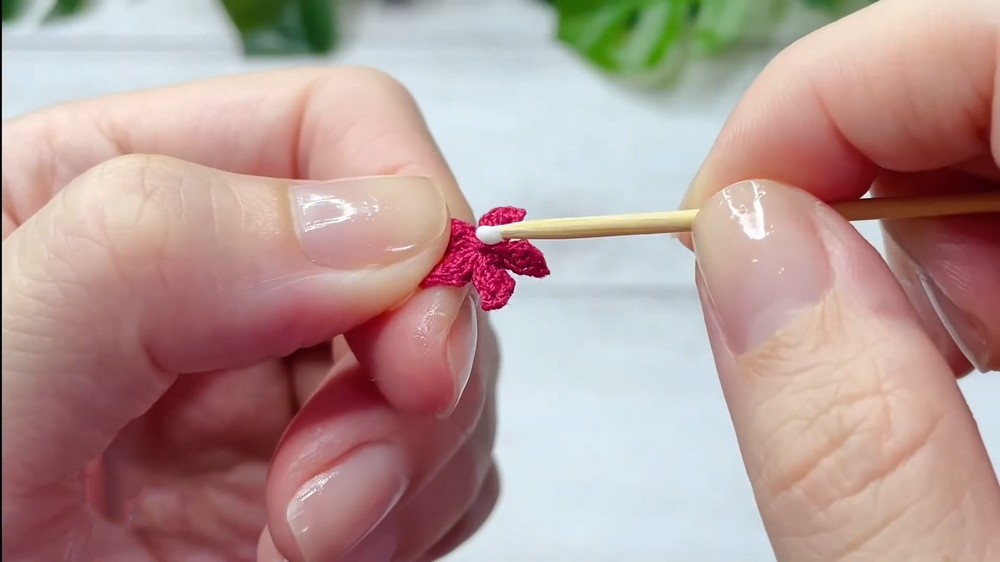
- Each completed leaf is gently flattened using tweezers, and the edges are adjusted for symmetry.
- After completing all the leaves, the threads are tightened, secured with double knots, and trimmed to ensure a neat finish.
Step 2: Crocheting the Petals
The petals are similarly crafted using a Magic Circle as the base.
- A combination of treble crochet clusters is used to form the soft, rounded petals.
- The tutorial provides instructions for sequencing and joining the stitches to ensure the petals are evenly spaced and symmetrical.
- Once the petals are completed, tweezers are used to carefully flatten the edges, and the threads are tied securely, trimmed, and prepared for assembly.
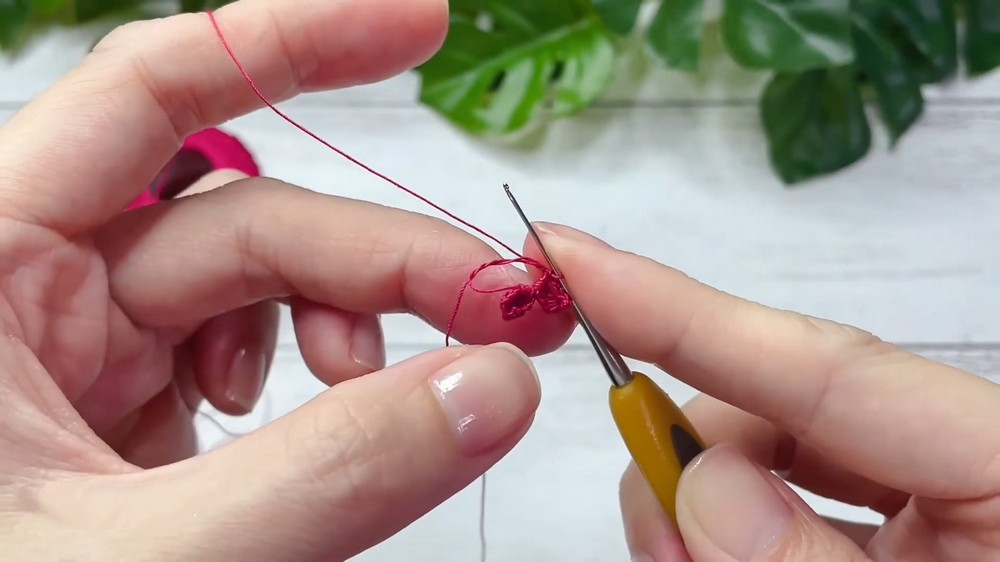
Step 3: Beading the Flower
To add elegance and detail, seed beads are sewn into the center of the crochet flower using a beading needle.
- Three seed beads are applied, enhancing the flower’s appearance with a decorative touch.
- The excess threads are trimmed and secured with double knots for durability, and craft glue is applied to seal the edges.
Step 4: Assembling the Earrings
The final step involves assembling the crochet components onto the earring studs:
- Craft glue is applied to the tail ends, the back of the crochet leaf, and the flat round earring stud.
- The stud is inserted through the leaf’s center and further glued to the flower component.
- Glue is carefully applied to the flower and petals, which are gently pressed to ensure a firm attachment to the stud.
- The glue is left to dry properly before use.
Finished Product
The completed earrings measure approximately 1cm in diameter with a lightweight and elegant design. Perfect for festive events or daily wear, these handmade earrings showcase a creative blend of crochet artistry and beadwork.
By following this tutorial, viewers can crochet their own unique earrings while exploring detailed crochet techniques for small-scale, intricate designs.