
How to Crochet Minion Keyring – So Easy, So Adorable
Learn how to crochet an adorable Minion keyring step-by-step using crochet techniques. The instructor provides clear guidance on the required materials, such as double-knit yarn in various colors, a 3mm crochet hook, and fiberfill.
The video covers each stage, including crocheting the body, arms, legs, eye, and assembling the pieces, along with detailed tips for color changes, stitching techniques, and securing attachments.
Perfect for crocheting enthusiasts, it’s easy to follow and fun to complete! So, follow through with us for the complete tutorial.

Crochet Minion Key Ring
This tutorial demonstrates how to crochet a Minion key ring, complete with step-by-step instructions for each component of the design. Here’s an organized summary of the process without specific stitch counts:
Materials Needed
- Double-knit yarn in blue, yellow, black, gray, and white.
- A 3.0mm crochet hook.
- 14mm security eye(s).
- Key ring attachment (optional).
- Stitch marker, darning needle, scissors, and fiberfill stuffing.
Starting the Minion’s Body
-
Creating the Base Shape:
- Begin with blue yarn to form the base using a simple crochet method.
- Use increases to build the circular bottom of the body.
- Once the desired size is reached, switch to working in continuous rounds for the base structure.
-
Adding the Yellow Section:
- Fasten off the blue yarn and join the yellow yarn.
- Work successive rounds of single crochet to add height to the yellow section of the body.

-
- Incorporate back-loop-only stitching in the first row of the yellow section for a smooth transition.
-
Transition to the Gray Section:
- Attach gray yarn to create the Minion’s goggle area.
- Work a single round in gray, fasten off, and return to the yellow color to complete the top part.
-
Shaping the Body:
- Use decreasing stitches and fiberfill to close and stuff the body.
- Ensure the body is evenly stuffed and round.

Crafting and Attaching the Eye
-
Creating the White and Gray Eye Base:
- Crochet a circular base in white yarn.
- Add a gray border to represent the goggles and leave a tail for sewing.
-
Adding the Security Eye:
- Secure the plastic eye in the center of the white section.
- Stitch the completed eye unit onto the Minion’s face.

Making Arms and Legs
-
Crocheting the Arms:
- Work the arms starting with black yarn to replicate gloves.
- Switch to yellow yarn for the remainder of the arms.
- Stuff each arm lightly before fastening off.

-
Crocheting the Legs:
- Start with black yarn to create shoes.
- Use blue yarn to form the legs.
- Flatten and stitch across the top of the legs to close the gap.
-
Attaching the Limbs:
- Sew the arms and legs onto specific areas of the Minion’s body, ensuring symmetry.

Adding Overalls
- Use blue yarn to crochet a small bib section for the Minion’s overalls.
- Create and attach straps that wrap around the body to form the dungarees.
Adding Hair and Finishing Touches

-
Adding Hair Strands:
- Add two strands of black yarn to create hair on the top of the Minion’s head.
- Double-knot the strands and trim to your preferred length.
-
Attaching the Key Ring:
- Use yarn or a key ring attachment to finalize the Minion as a functional keychain.
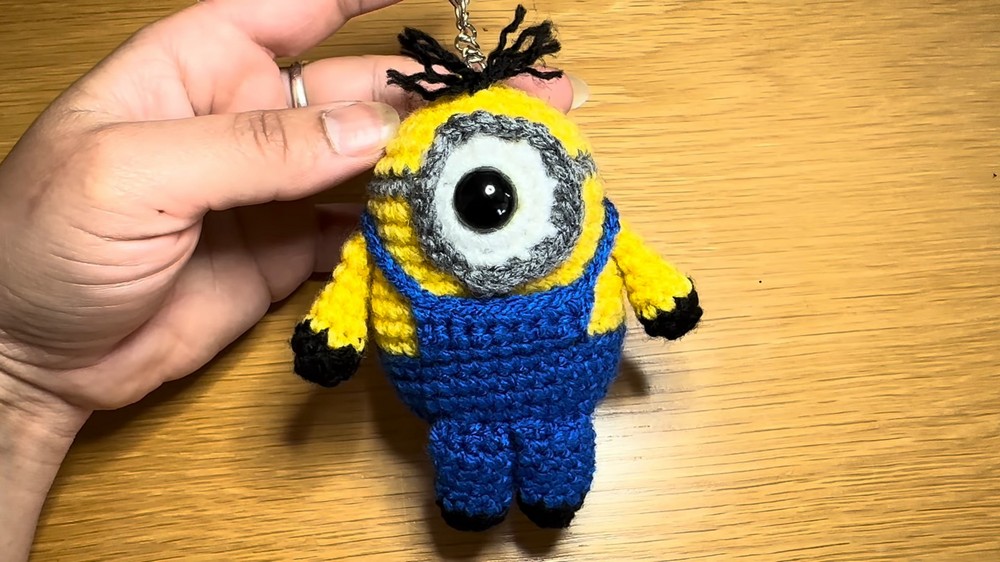
Conclusion
The tutorial concludes by showcasing the completed Minion key ring. The crafter is encouraged to personalize the features, such as adding more eyes or creating variations in limb placement. By following these steps, you can crochet a whimsical Minion keychain to attach to bags, keys, or other accessories.


