Free Crochet Moon Pillow Patterns for Beginners

Whether for a baby’s nursery for comfortable sleep or simply to add a night theme in your bedroom, moon pillows stay relevant options. In this post, you’ll explore 7 free crochet moon pillow patterns and tutorials that are perfect for beginners. From the basic crescent moon pillows to amigurumi moon and super plush moons, this post has everything!
Amigurumi Crescent Moon
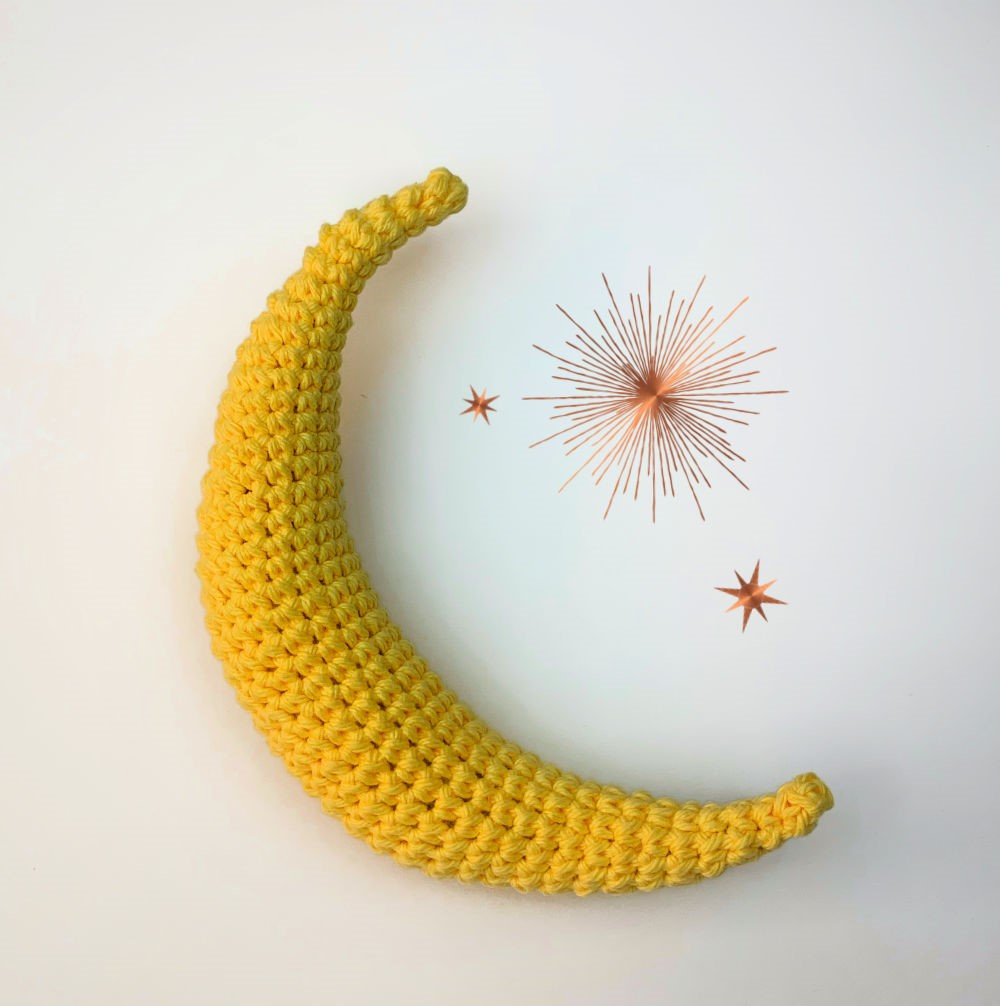
The Amigurumi Crescent Moon is very simple to crochet and perfect for beginners. This pillow, made from sturdy Sugar ‘n Cream cotton yarn, is ideal for a child’s room or as a thoughtful baby shower gift due to its neutral and playful design. It measures about 7.5 inches from top to bottom and has a tight, gap-free stitch pattern to ensure durability.
The creator suggests it as a great way to get creative energy flowing, especially for new parents. As a fun note, it can also double as a “banana phone.”
Crochet Moon Pillow Pattern
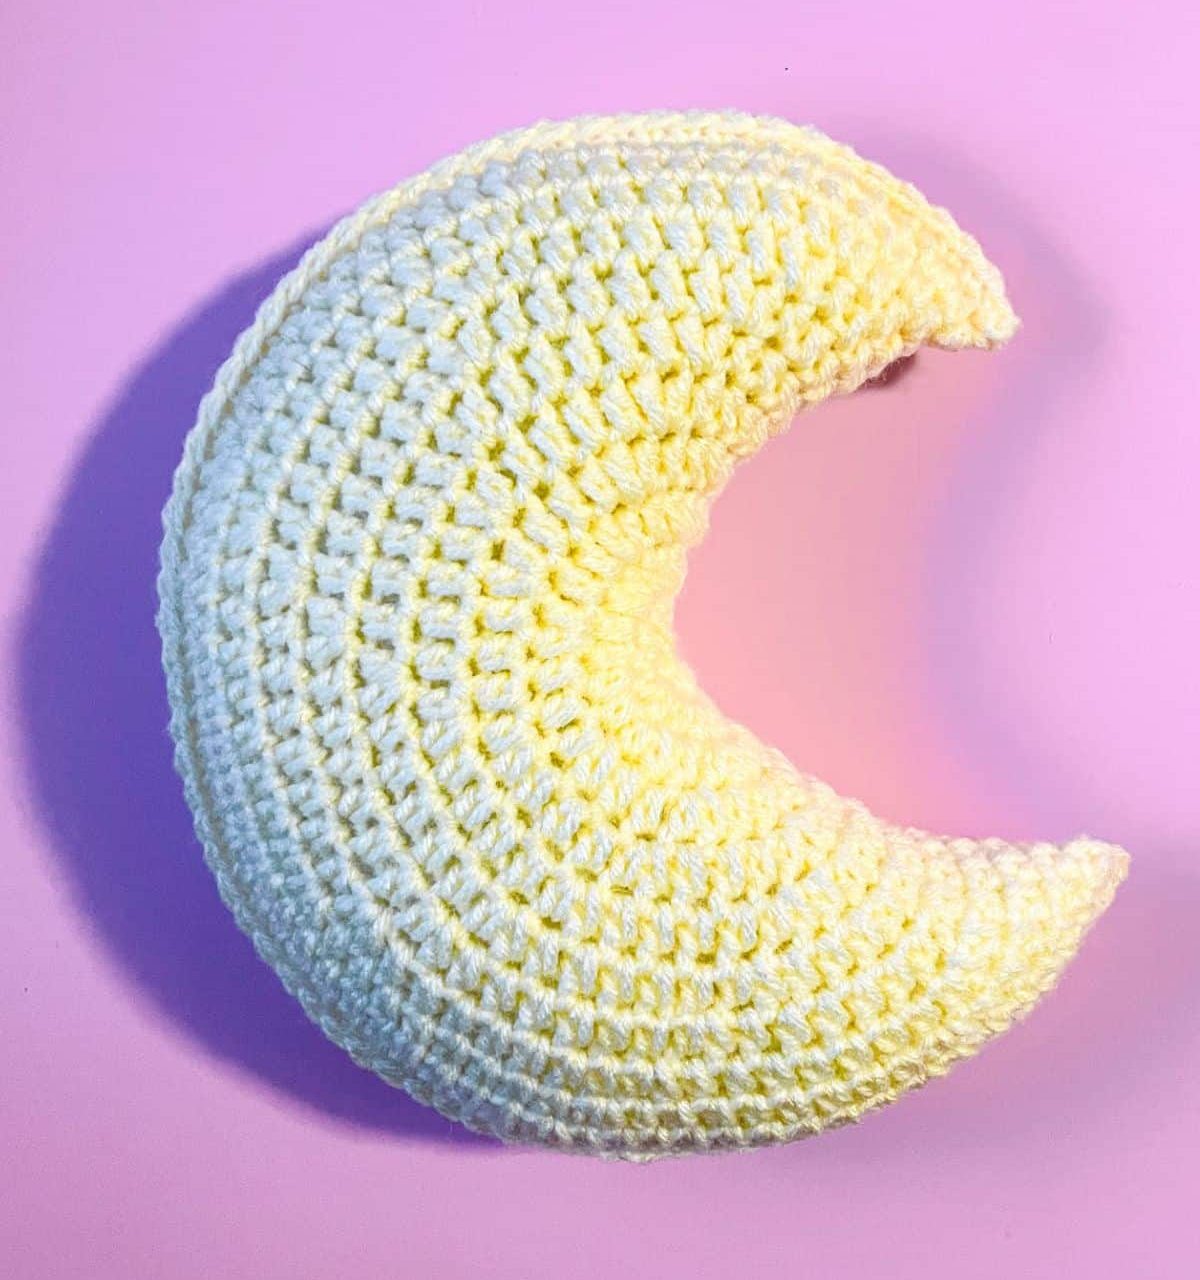
This crochet moon pillow is of a half moon making it a cozy pillow . You can use it during Halloween or keep it out all year for a celestial theme. The pattern is versatile, allowing you to create different curvatures and even add a face for a cute amigurumi look.
DIY Crochet Moon Pillow with Lavender (FREE Pattern!)
Crochet a squishy moom pillow that has a calming scent of lavender, which helps you relax and sleep better. It’s made with soft, bulky blanket yarn that makes it squishy and comfy. The pattern works up quickly, and you can use any color you like. This project is great for both beginners and those with more experience.
The tutor suggests stuffing the pillow as you go to make it easier and mixing in dried lavender for an added touch of relaxation. This pillow also features edging.
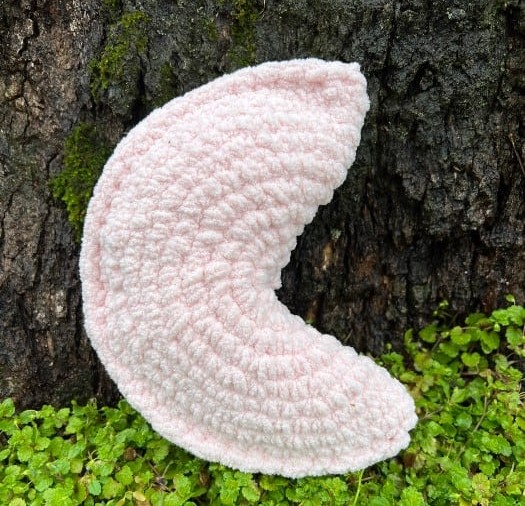
Blanket Yarn Crochet Moon
This soft, squishy moon pillow is made with super bulky blanket yarn, like Bernat Blanket Yarn, and ends up about 9 inches in diameter. It can be made on its own, given as a gift, or used alongside other patterns like the Large Sleepy Time Crochet Gnome.
The Big Fluffy Crescent Moon Pillow will be a lovely addition to any decor, especially if you love celestial themes. This tutorial from the Jaden Stitches Show is part of their fluffy pillow series, which already includes a star and a heart. Although the yarn can be a bit tricky to handle, making the stitches larger than usual, the project is suitable for those with basic crochet skills who are ready to take on a slightly challenging but rewarding craft.
Jaden suggests using lightweight polyester fiberfill stuffing for the best results, allowing the pillow to hold its shape without becoming too heavy.
Crescent Moon Crochet Tutorial
Here is a tutorial to crochet a simple small crescent moon pillow perfect for beginners. It also uses super bulky yarn, a 5mm crochet hook, and some polyfill for stuffing. It starts with a magic ring and grows through a series of simple increases, making it suitable for beginners with a bit of crochet experience.
The tutor suggests using a bobby pin as a stitch marker to keep track of your work. This pillow works as a single piece.
amigurumi moon easy crochet NO SEW
Crochet a moon pillow with a sleepy face and mouth perfect for a baby’s room. You can also crochet it as a small toy by using a thinner yarn. There is a tutorial that will teach you how to crochet it step-by-step.