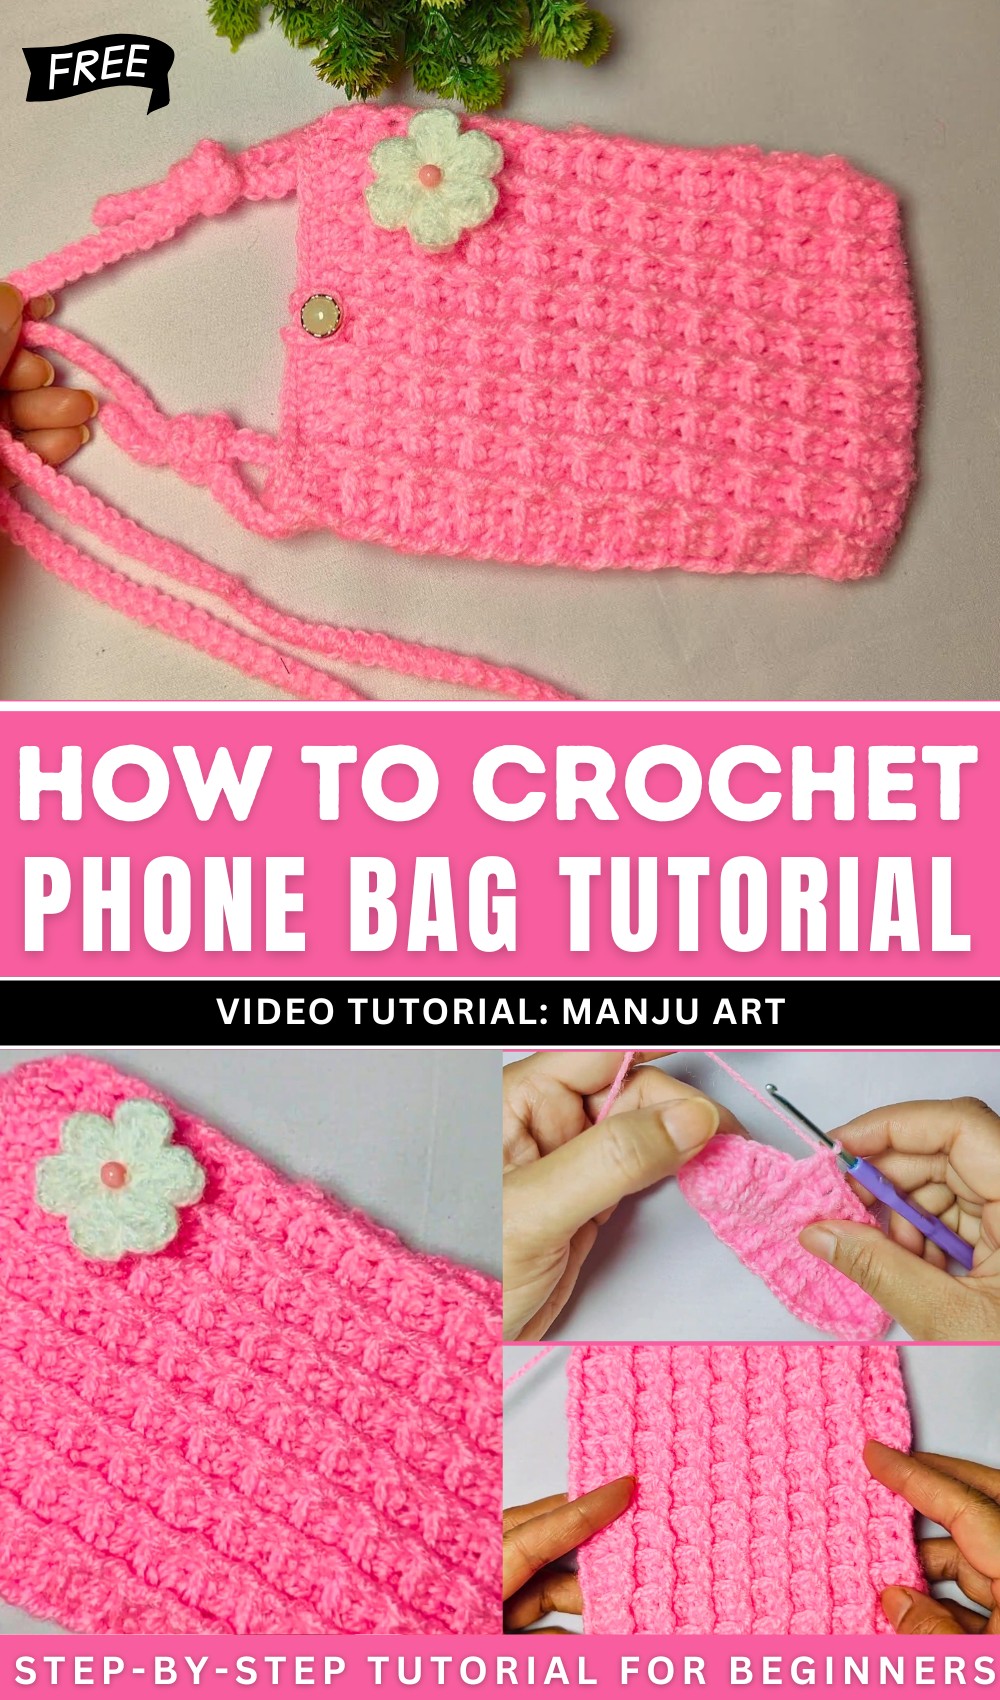
How to Crochet Phone Bag (Tutorial for Beginners)
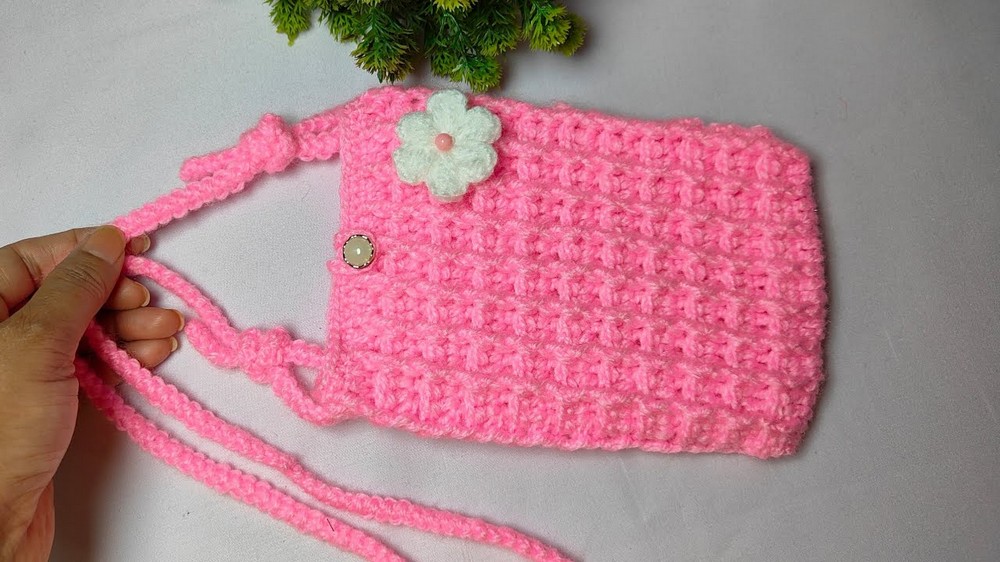
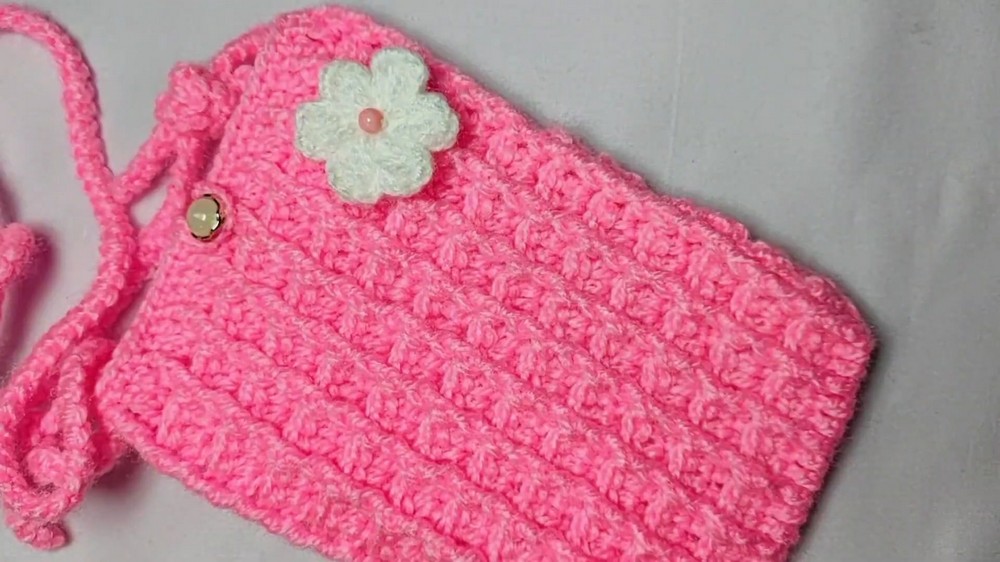
Learn how to make a cute crochet pink purse with a little daisy flower with this step-by-step tutorial for spring. With wool yarn, it is durable, and the design is simple. The purse includes functional elements such as a button and a detachable 48-inch string. Additionally, the tutorial shows how to craft decorative details like a flower with puff stitches. The result is a stylish, versatile handmade accessory. Let’s get started!
Free Crochet Textured Purse Pattern
Materials
- Worsted or DK weight acrylic or knitting wool (e.g., Vardhaman Simple, as shown), main color (sample: pink) and small amount of contrasting color for flower (sample: white)
- Crochet hook: 2.5 mm
- Tapestry needle
- Button: 1 piece (fits flap)
- Small pearl or bead (optional, for flower center)
- Scissors
Key Abbreviations
| Abbreviation | Meaning |
|---|---|
| ch | Chain |
| sc | Single crochet |
| dc | Double crochet |
| sl st | Slip stitch |
| MR | Magic ring |
| st(s) | Stitch(es) |
| FO | Fasten off |
| rep | Repeat |
| BLO/FLO | Back loop/front loop only |
| puff st | Puff stitch (see notes) |
Special Notes
- For a larger/smaller purse, adjust foundation chain in multiples of the body sequence.
- Alternate front post double crochet (FPdc) and back post double crochet (BPdc) stitches give the signature texture.
- The flower is optional and made separately.
Pattern
Purse Body
Foundation:
- Ch 24.
Row 1:
2. Dc in 3rd ch from hook, dc in same ch (first increase).
- Dc in next 20 ch – one dc in each ch.
- In last ch: 4 dc (turning for other side).
- Continue on opposite side of foundation chain: dc in next 20 ch (pick up under previous dc).
- In last ch: 2 dc (to match starting edge).
- Join with sl st to top of starting ch 3. (You should have 48 dc: 2 at start, 20 on first side, 4 in corner, 20 on second side, 2 at end.)
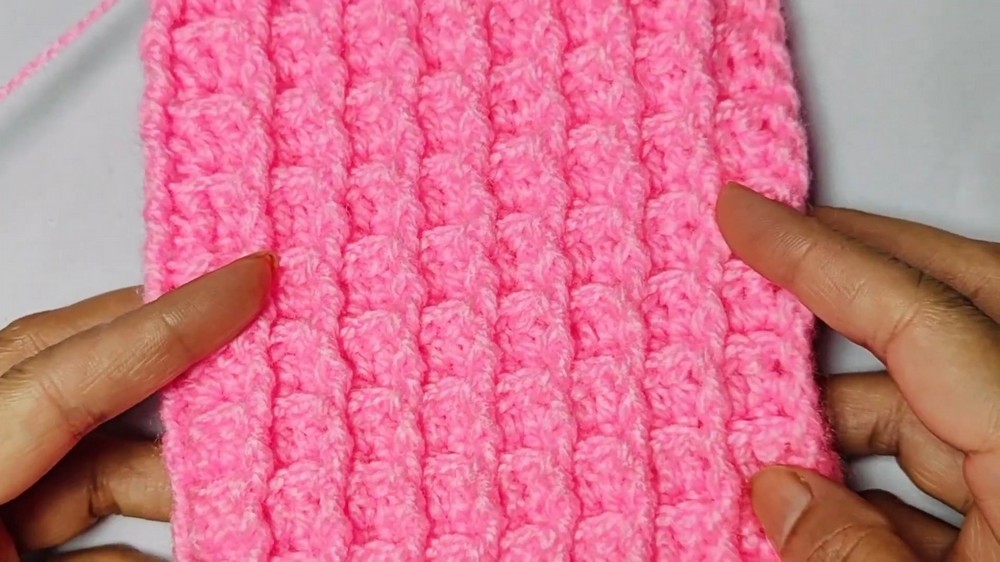
Main Texture Pattern
Note: The body is worked in the round. Each round alternates front post double crochet and regular/back post double crochet.
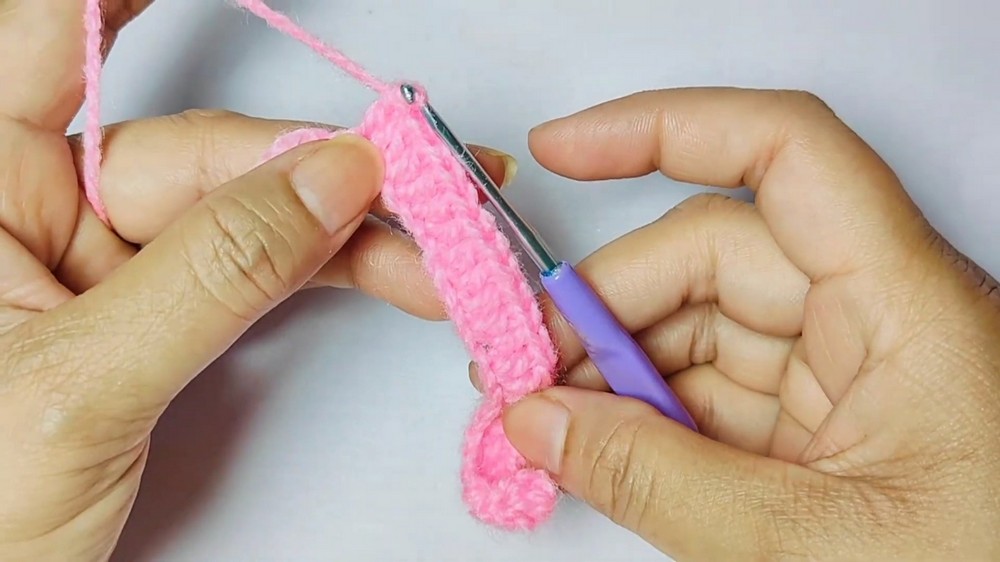
Round 2 (Texture starts):
- Ch 3 (counts as first dc), FPdc around next dc, dc in next st, rep sequence across each side as established:
- Work 2 dc into corner/turning spaces when you meet them.
- Continue around the bag, alternating FPdc (Front Post Double Crochet) with dc in the next st.
- Join with sl st to top of starting ch 3.

Round 3:
- Ch 3. BPdc (Back Post Double Crochet) around next post, dc in next st across, working corners as dc.
- Continue as established: Each FPdc of the previous round is worked as a FPdc again, and each regular dc as a BPdc (or vice versa for pattern).
- Join with sl st.
Rounds 4–desired depth (Repeat Pattern):
- Repeat Rounds 2 and 3, always alternating rounds:
- One round uses FPdc/dc
- Next round uses BPdc/dc
Continue until the purse flap and body are as deep as you’d like, or until purse measures approx. 7 inches in height. Try your phone for fit before finishing to adjust length as needed.
Flap and Button Loop
- After final round for purse height, ch 1 and turn work.
- Sc across straight edge of opening (not around entire purse), forming flap edge (about the same number as one side of purse, typically 24 sc).
- At the center of flap (mark center sc or approximate):
- Ch 15, turn, sc in each chain back to flap to make button loop, sl st to next sc.
- Sc across to end of flap. FO.
Finishing Edge
- Sc evenly around remaining edges of purse opening for a clean finish, join with sl st and FO.
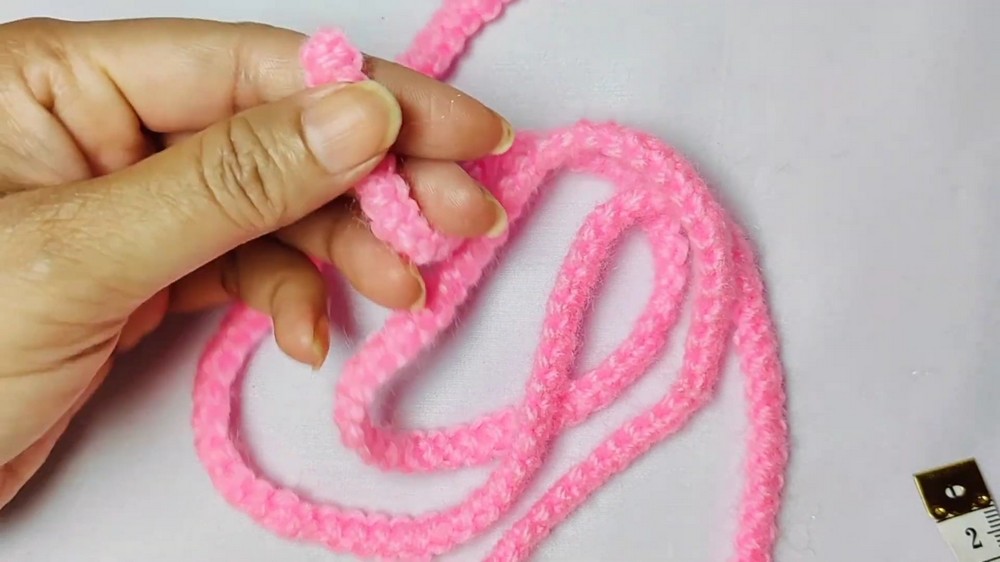
Purse Cord/Strap
- For cord:
- Take 2 or 3 long strands of yarn (about 48 inches each).
- Knot at one end, ch 120 (or as long as needed) holding all strands together.
- On next row, sc into each ch, using all strands held together for a thick strap.
- Attach strap evenly to each side/edge by threading ends through sides of purse, knotting or sewing securely.
Flower (Optional Decoration)
- With contrasting yarn (e.g., white): MR.
- (Petals): For each petal:
- Ch 3, puff st (yarn over, pull up loop 6 times), ch 3, sl st in ring.
- Rep for 6 petals total.
- FO, leave a long tail for sewing.
- Sew pearl/post to flower center (optional), sew flower to flap of purse.
Button
- Sew button at the center of the main body, aligning with the chain loop on flap.
- Test closure, adjust if needed.
Conclusion
Your beginner-friendly, textured crochet purse is ready. Its size holds a phone and essentials, and the alternating post texture gives a luxurious feel. Adjust the size to fit your device or style.
Pattern Corrections & Tips
- For best results:
- Keep turning ch tight for seamless sides.
- Alternate front and back post stitches consistently.
- For firmer structure, line your bag or use sturdy yarn.
- To Fit a Larger Phone: Add chains (in even number) to foundation and add rounds for depth.
- Cord: For a thicker or decorative look, braid or twist the cord, or use crocheted i-cord (advanced).
- Shaping: Light steam or block to flatten if purse flares, but avoid high heat if using acrylic.
Video Guide
https://youtu.be/JWS0HyRJM_A