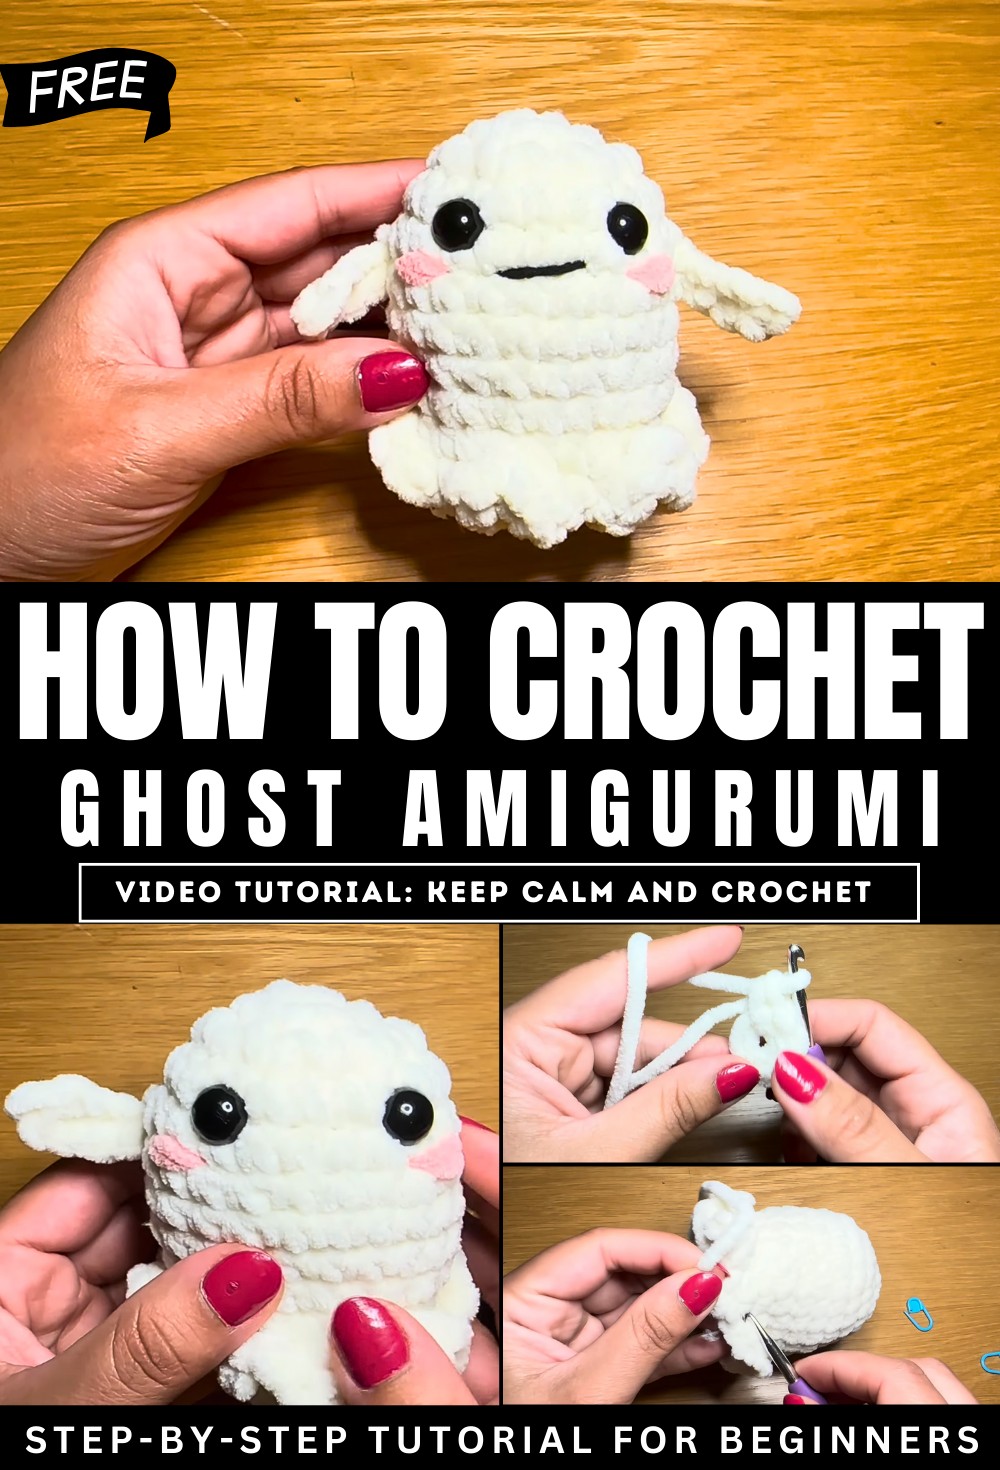
How to Crochet Plush Ghost Amigurumi for Beginners
With a step-by-step tutorial, learn how to crochet an adorable plush ghost for beginners and experts. This beginner-friendly project requires no sewing and comes together quickly using plush yarn, a 5 mm crochet hook, fiberfill, 10 mm safety eyes, and basic tools. The tutorial covers each step in detail, from forming the main body and adding blush under the eyes to creating arms and an embroidered mouth.
Clear instructions make it easy to follow, and viewers are encouraged to customize the design. So, follow through with us for the complete tutorial for beginners.
Crochet Ghost Tutorial
This tutorial from “Keep Calm and Crochet” walks viewers through the process of creating a cute plush crochet ghost. The project is perfect for beginners, as it’s quick to make and requires no sewing. Below is a structured summary of the tutorial.
Introduction
- The creator introduces the crochet ghost project, highlighting its simplicity and beginner-friendly nature.
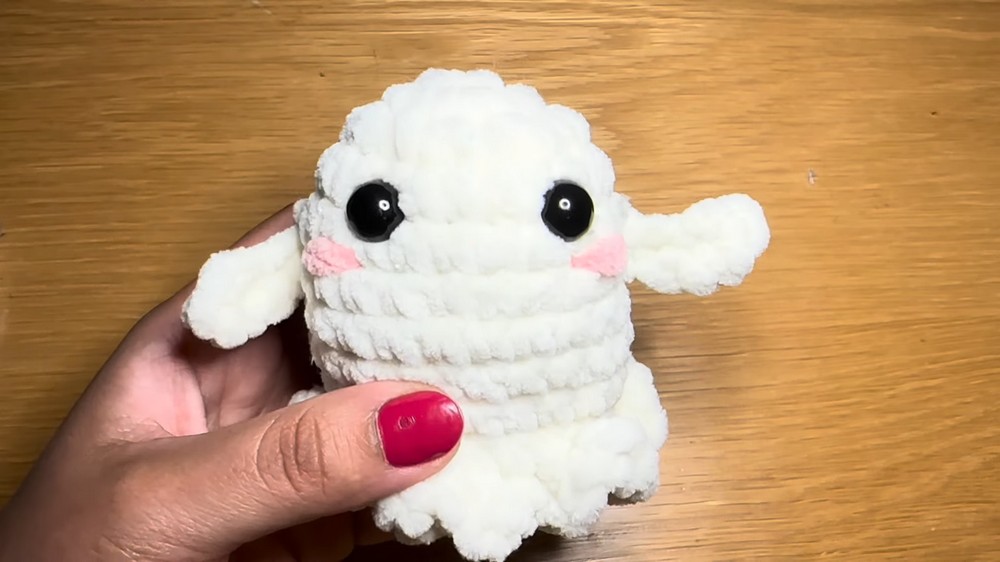
- The finished design is described as quick and easy to make, requiring minimal effort and allowing room for creativity.
Materials Needed
- Plush Yarn: White for the body, pink for blush, and black for embroidery.
- Tools: 10 mm safety eyes, 5 mm crochet hook, fiberfill for stuffing, stitch marker, scissors.
- Optional tools include scrap yarn, hairpins, or clips as stitch markers.
Making the Ghost’s Main Body
Starting the Head
- The head is crocheted in a spiral pattern, beginning with a slip knot and a small circular base.
- Rows are built progressively to form the rounded shape of the ghost’s head.
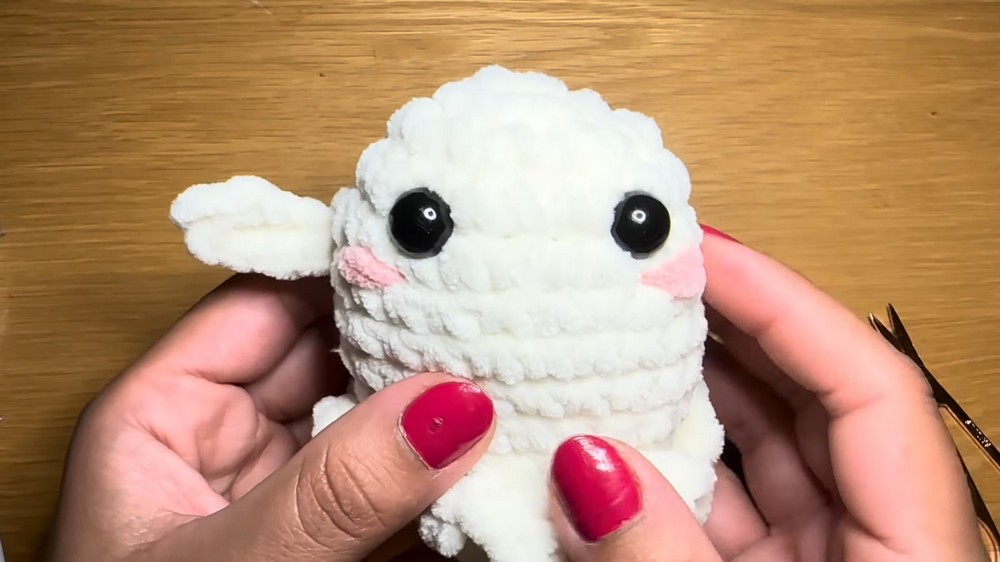
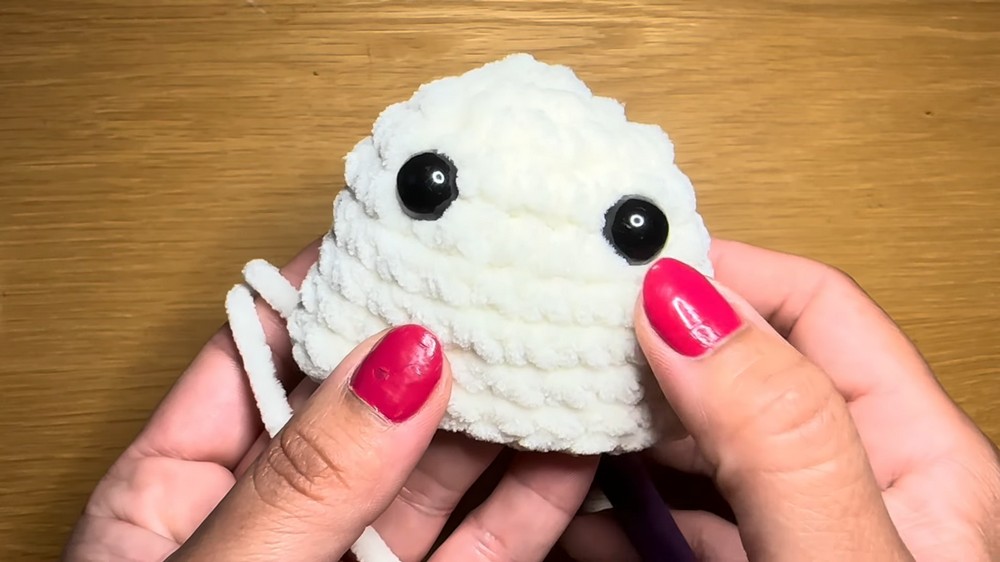
Adding the Eyes
- The safety eyes are inserted between specific rows after completing the initial head shape.
- Instructions are provided to ensure proper placement for symmetry.
Adding the Blush
- Pink yarn is used to create rosy cheeks under each eye.
- The process involves looping the yarn and pulling it through specific stitches for a seamless look.
- The blush is secured with knots, and excess yarn is trimmed for a clean finish.
Making the Base
- A similar process is used to create the ghost’s base, which matches the dimensions of the head.
- Both pieces are later joined seamlessly using single crochet stitches.
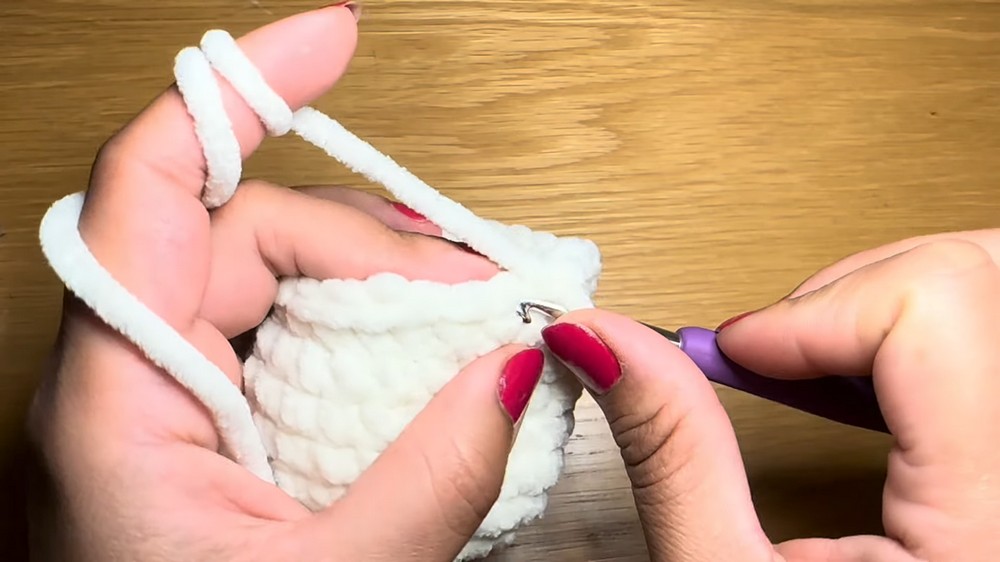
Join the Base and Head
- The edges of the head and base are aligned and connected using single crochet stitches.
- Fiberfill stuffing is added to the ghost before full closure, ensuring it holds its shape.
Creating the Floaty Bottom
- The ghost’s signature “floaty” design is achieved by working multiple single crochets and chain stitches in a circular pattern at the bottom.
- This step adds the characteristic “wavy” appearance to the ghost’s lower edge.
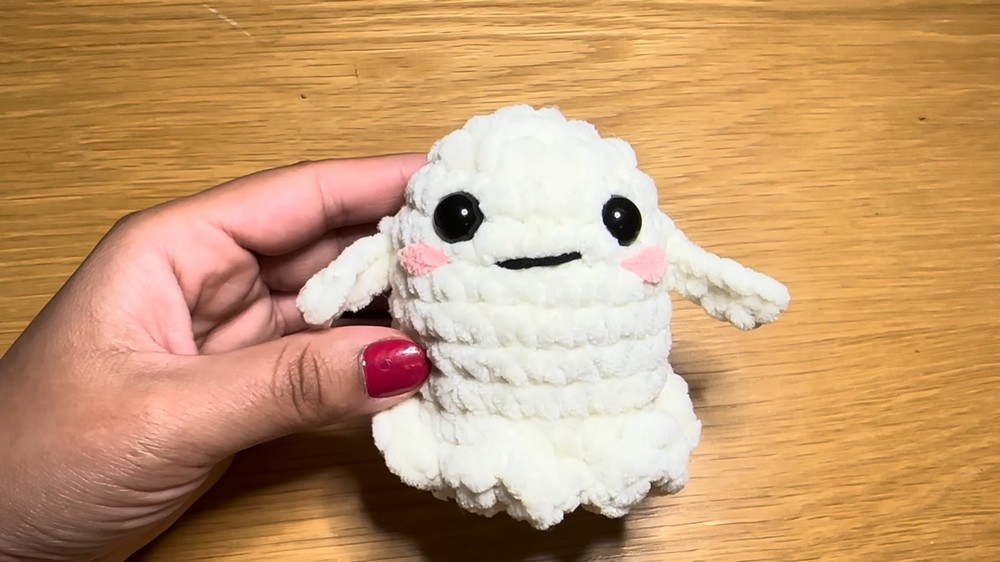
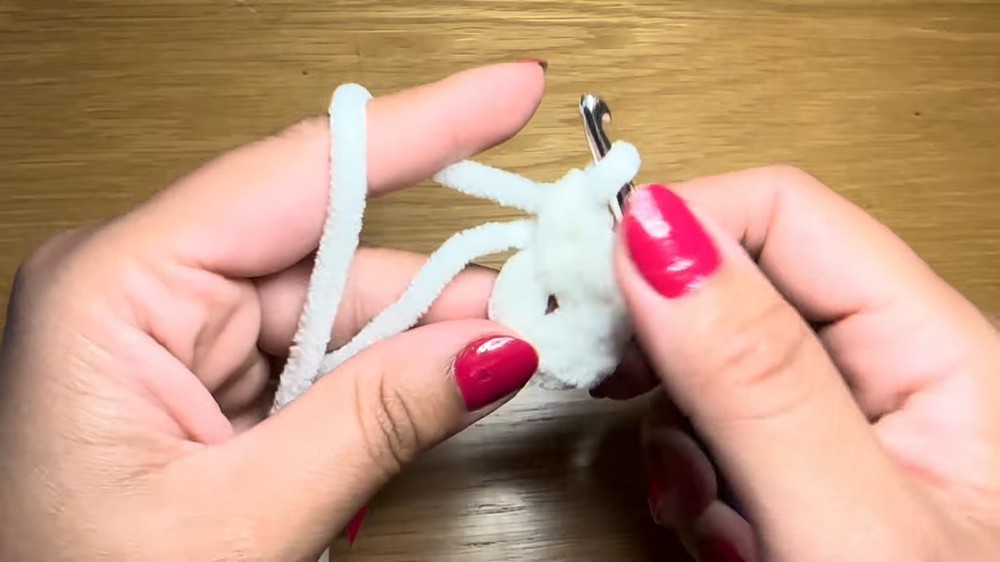
Adding the Arms
- Small arms are crocheted directly onto the body and positioned between specific rows near the ghost’s eyes and blush.
- The creator demonstrates how to chain stitches and adjust the placement to keep both arms symmetrical.
Final Touches: Embroidering the Mouth
- Black yarn is used to embroider a small smile onto the ghost’s face.
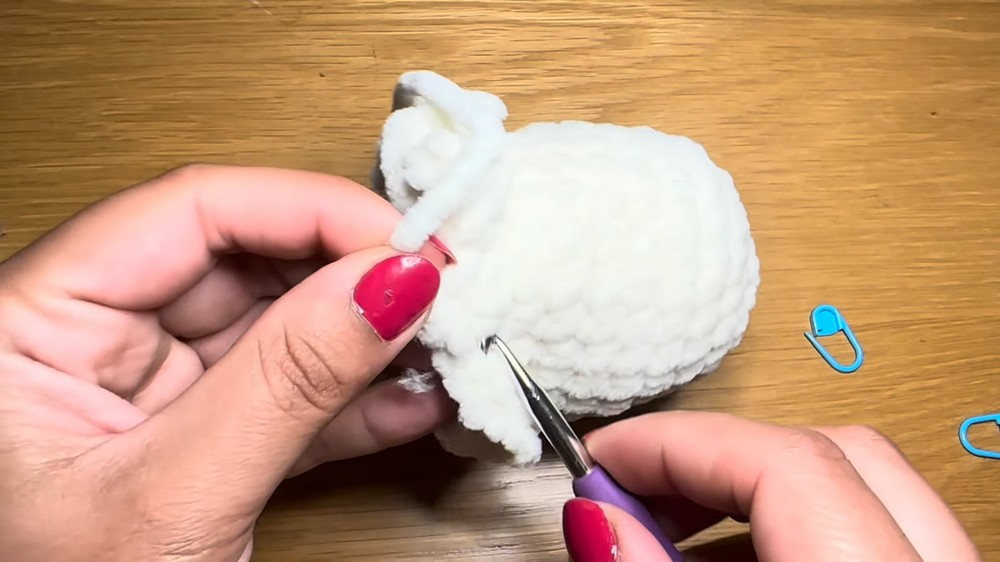
- This step involves threading black yarn carefully through the stitches near the blush without overwhelming the design.
Securing Loose Ends
- Loose yarn ends from the blush, arms, and mouth are threaded back into the ghost’s body for a clean finish.
Conclusion
- The completed crochet ghost is showcased, highlighting its adorable and polished appearance.