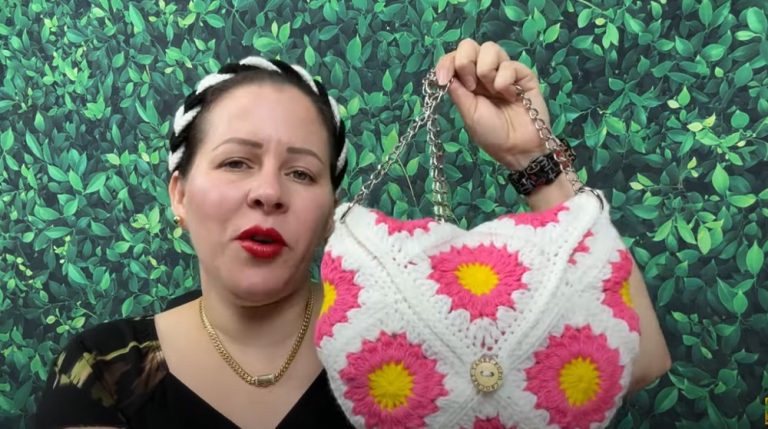
How to Crochet Pouch Handbag for Beginners
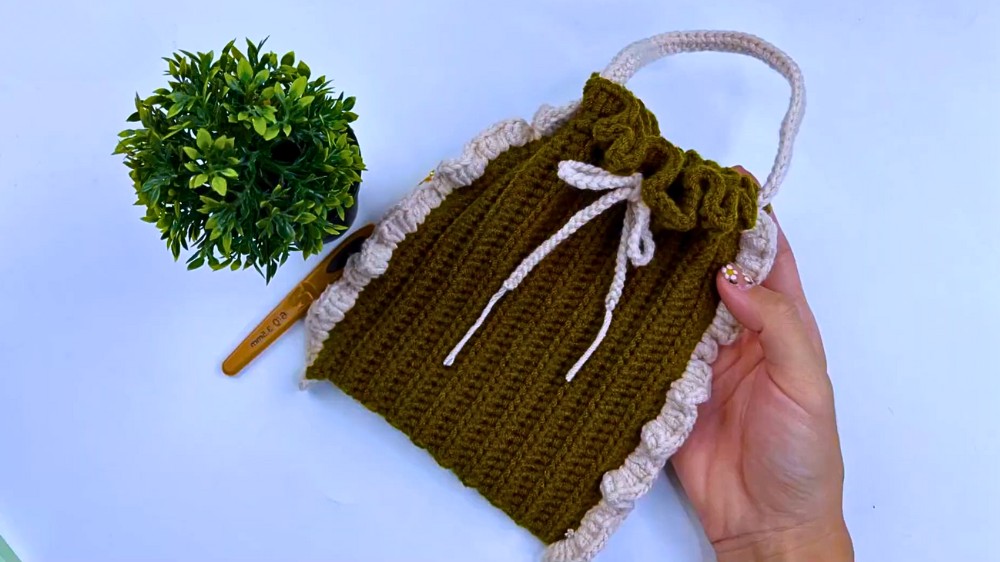
In this post, you’ll learn how to crochet a Cute Pouch Handbag, perfect for beginners and experts. Using basic techniques like the slip knot, chain, single crochet, half double crochet, double crochet, back loop stitch, and slip stitch, you’ll create a stylish and functional pouch. The materials needed include 200g of milk cotton yarn, a 3.5mm hook, scissors, a needle, and a measuring tape.
The video walks you through creating the base, assembling the pouch, adding a decorative brim, and crafting a hand strap. This simple yet adorable project is perfect for personal use or gifting! So, follow through with us for the complete tutorial.
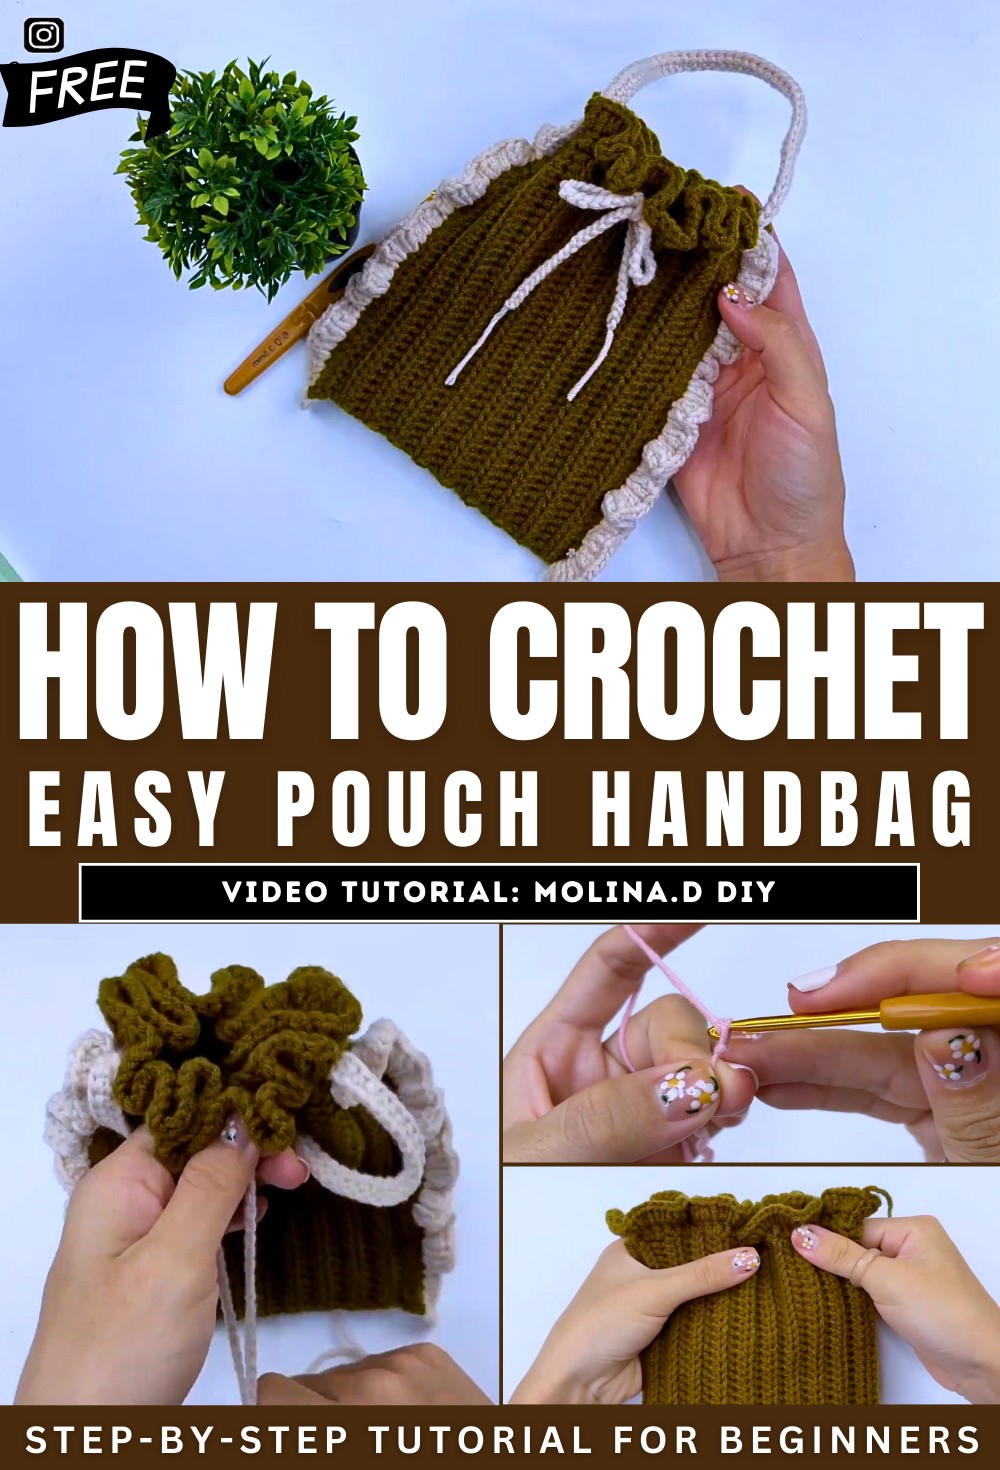
Cute Pouch Handbag Crochet Tutorial
This step-by-step tutorial by Molina.D DIY teaches viewers how to crochet a stylish and functional “Cute Pouch Handbag.” Designed to be beginner-friendly, the tutorial incorporates basic crochet techniques and breaks the process down into manageable steps. Below is a structured summary of the instructions using headings and bullet points.
Materials Needed
To create the pouch handbag, you’ll need the following materials:
- Milk Cotton Yarn (200g, 5-ply).
- Crochet hook (3.5mm).
- Scissors.
- Needle.
- Measuring tape.
Required Skills
Before starting, ensure familiarity with the following basic stitches and techniques:
- Slip knot.
- Chain.
- Single crochet.
- Half double crochet.
- Double crochet.
- Back loop stitch.
- Slip stitch.
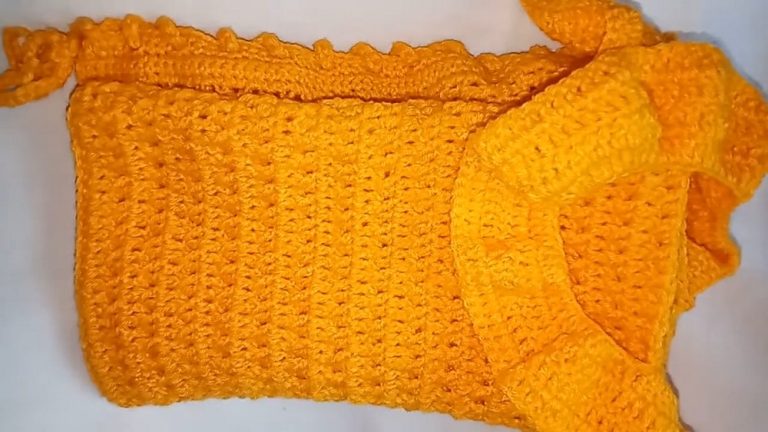
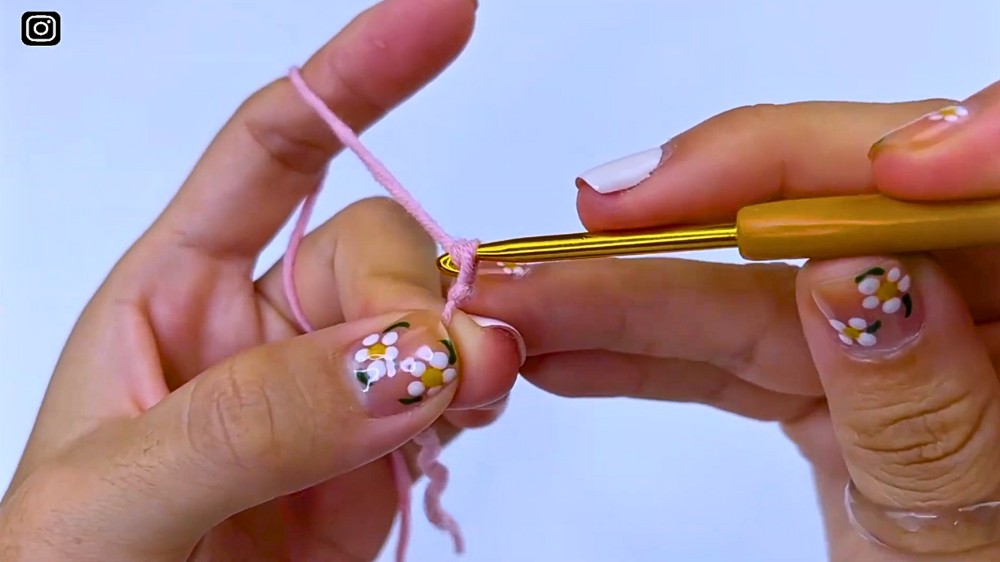
Step 1: Crocheting the Base
The first step involves creating a rectangular base for the pouch:
- Begin by making a foundation chain.
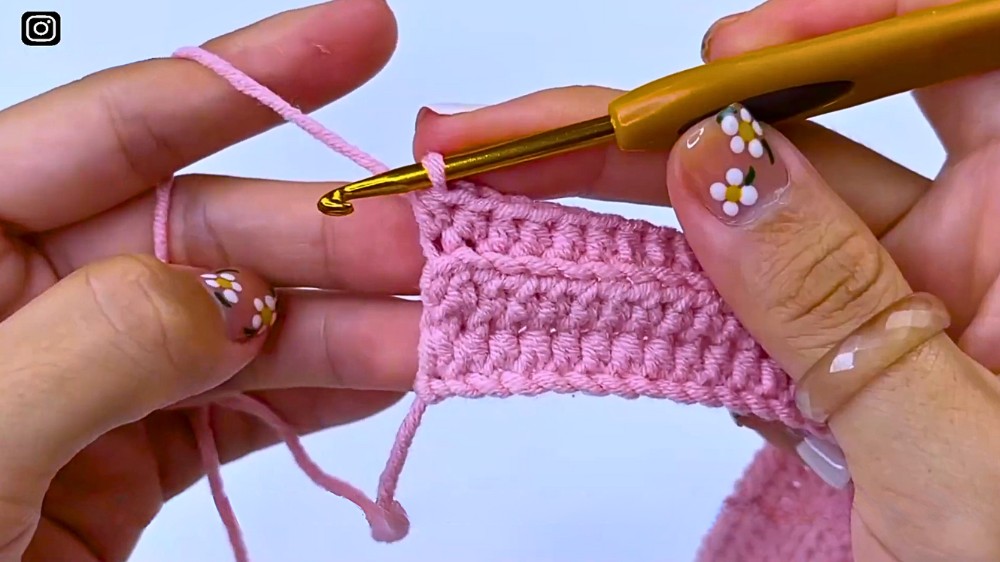
- Work half double crochet rows to build the base, turning and repeating the stitch pattern in the back loops until the desired length and width are achieved.
- The base should measure approximately 14 cm in width and 23.5 cm in length.
Step 2: Folding and Assembling the Pouch
Once the base is complete:
- Fold the fabric and use single crochet to attach both sides of the pouch, creating a closed container shape.
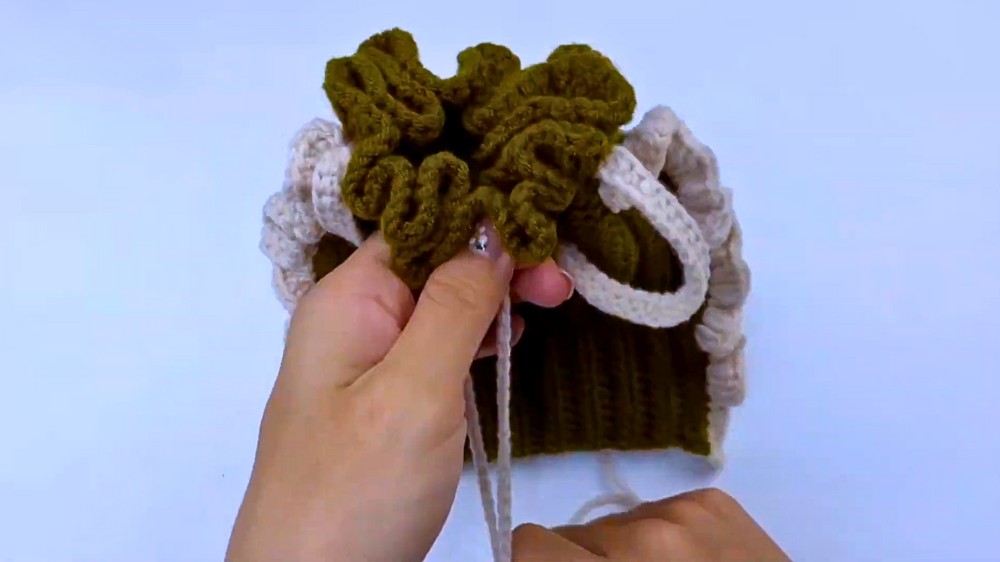
Step 3: Creating the Closure Section
Next, the tutorial focuses on the closure mechanism for the pouch:
- Attach the yarn and work double crochet across one round.
- In the following round, continue with double crochet stitches, reinforcing this section for sturdiness and functionality.
- Finish each round by slip stitching into the last stitch to secure.

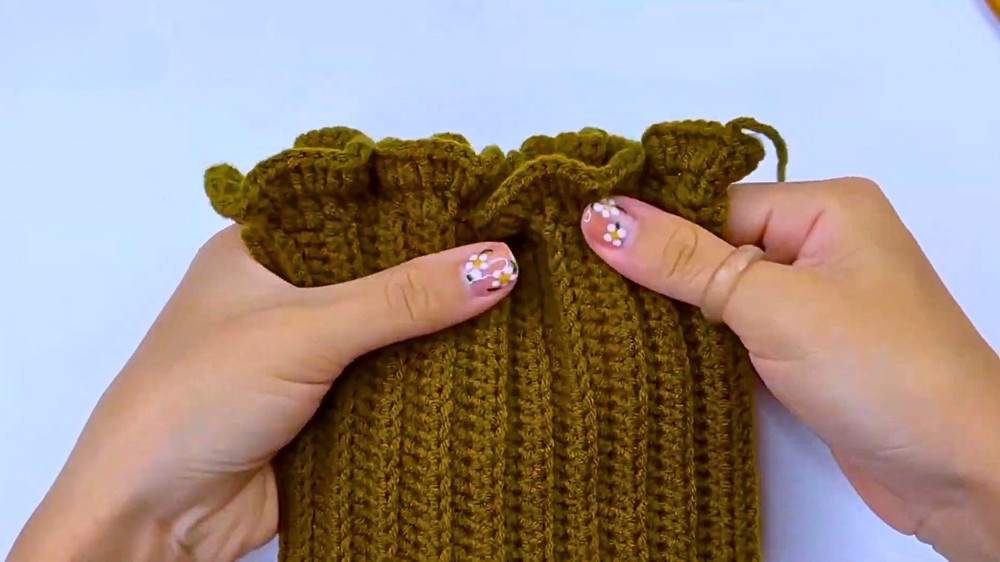
Step 4: Adding the Decorative Brim
To give the pouch a polished and stylish look:
- Attach white yarn securely for the brim.
- Work double crochet for a few rounds to create a contrasting decorative border around the top edge of the pouch.
- Cut the yarn, ensuring proper hiding and finishing of the yarn tails.
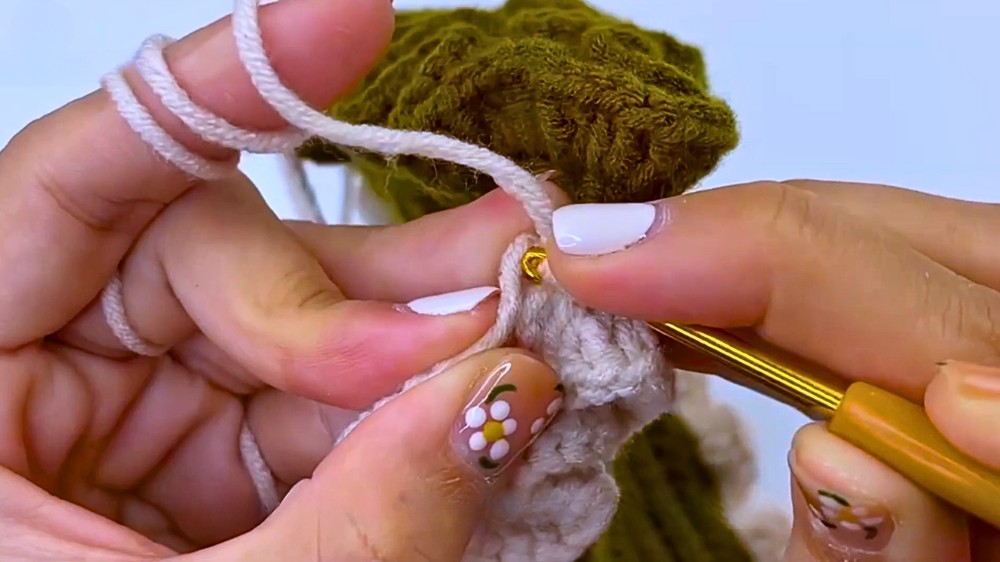
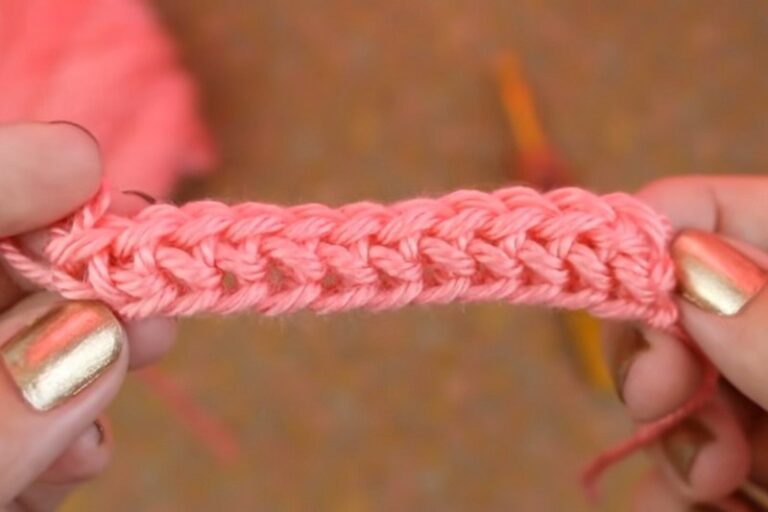
Step 5: Crocheting the Hand Strap
The hand strap adds utility to the pouch:
- Attach white yarn and chain to create the strap.
- Work half double crochet stitches across the chains for reinforcement.
- Attach the strap securely to both sides of the pouch and sew any loose tails.
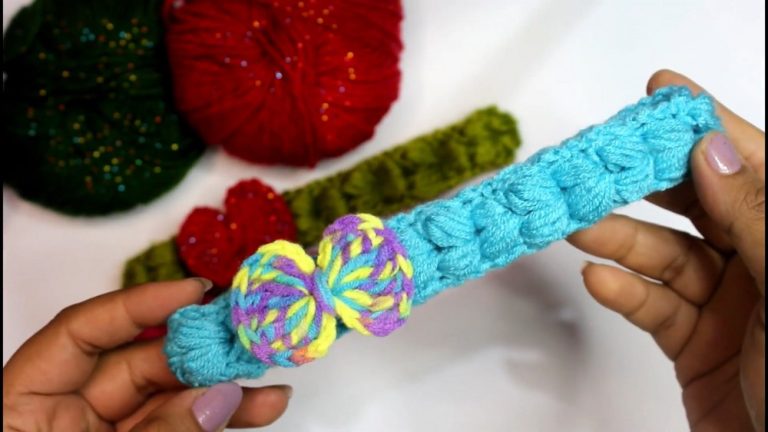
Step 6: Finishing Touch
For an optional decorative element:
- Chain to create a longer decorative piece that can be attached or used with the pouch.
Conclusion
This tutorial provides a simple yet effective way to craft a cute and functional pouch handbag. By following the steps and using basic crochet techniques, beginners can successfully create an accessory that’s ideal for personal use or gifting. The project encourages creativity while strengthening foundational crochet skills.