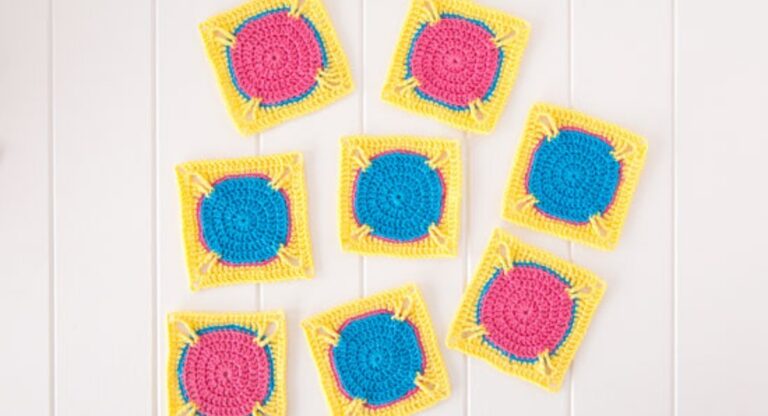
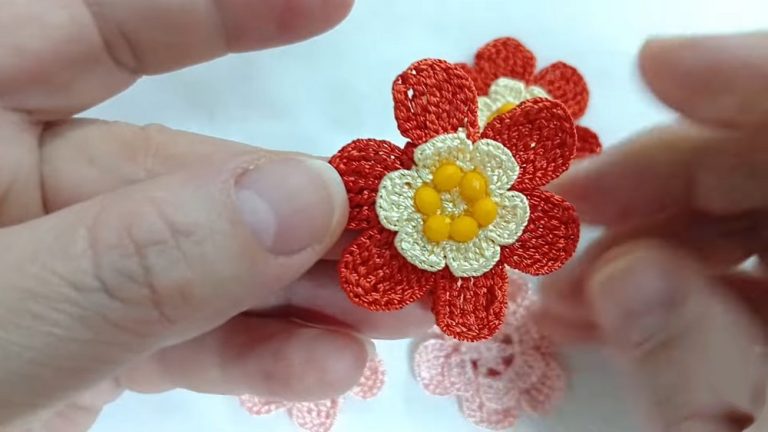
How to Crochet Puffy Flower Pattern for Spring
With a step-by-step tutorial, learn how to crochet a puff flower applique for beginners and spring. The video provides step-by-step instructions for creating a vibrant floral design. The process begins with a simple knot and a chain of four stitches, followed by a sequence of double crochet stitches and chain spaces. The tutorial then guides viewers on how to create “puff” stitches and change yarn colors to add detail.
It concludes by showing how to create the final petals using a combination of double crochet stitches and chains to complete the flower. So, follow through with us for the complete tutorial for beginners.
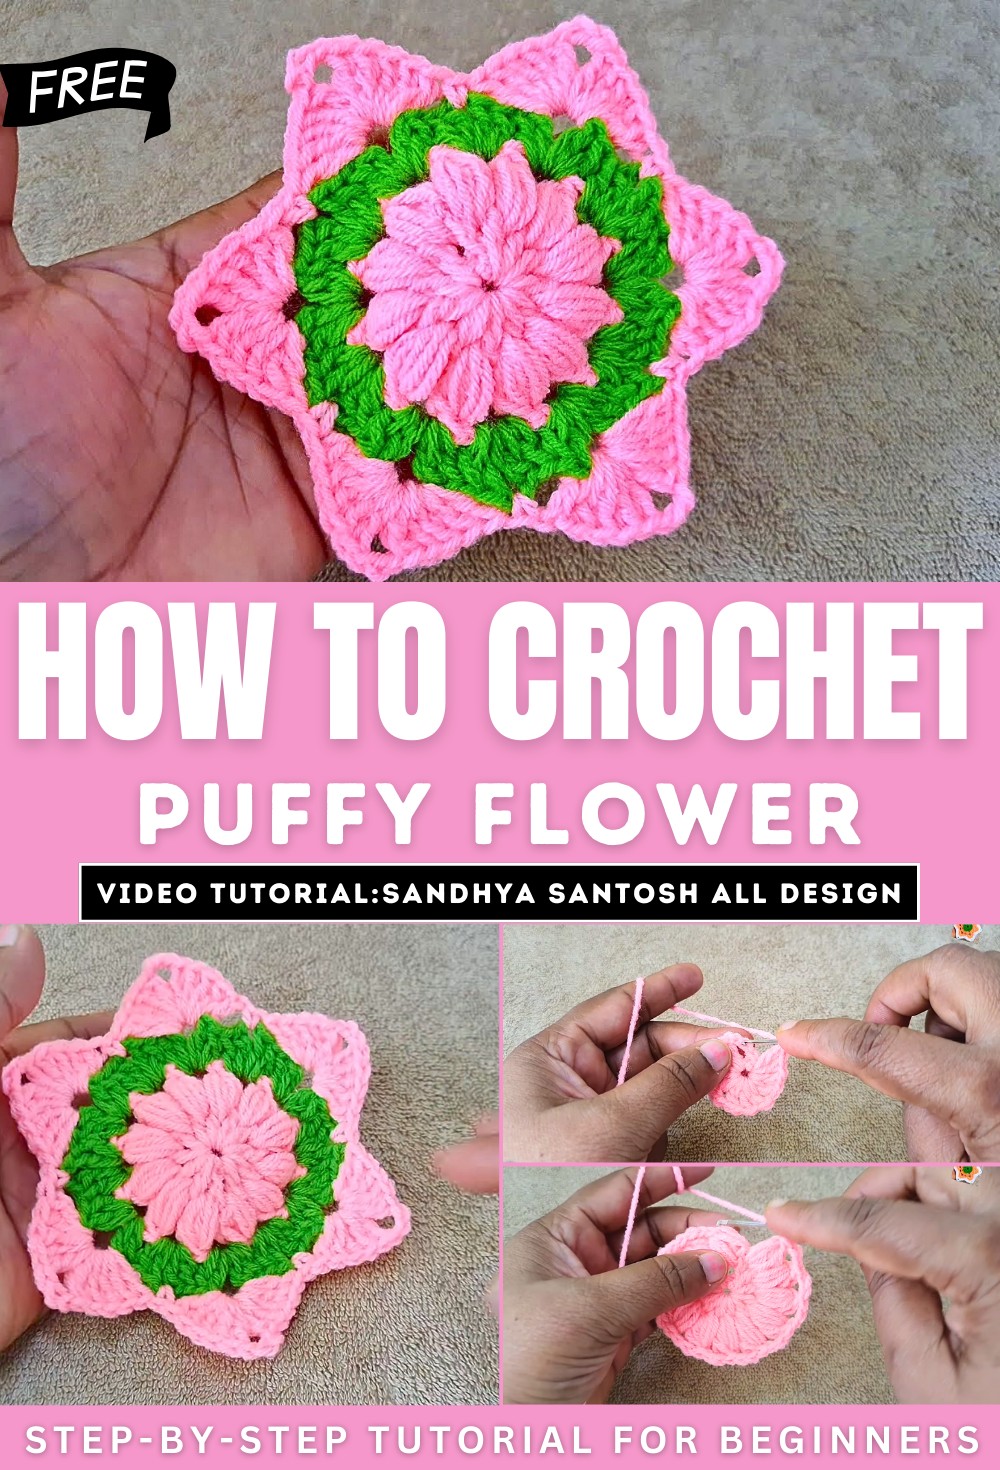
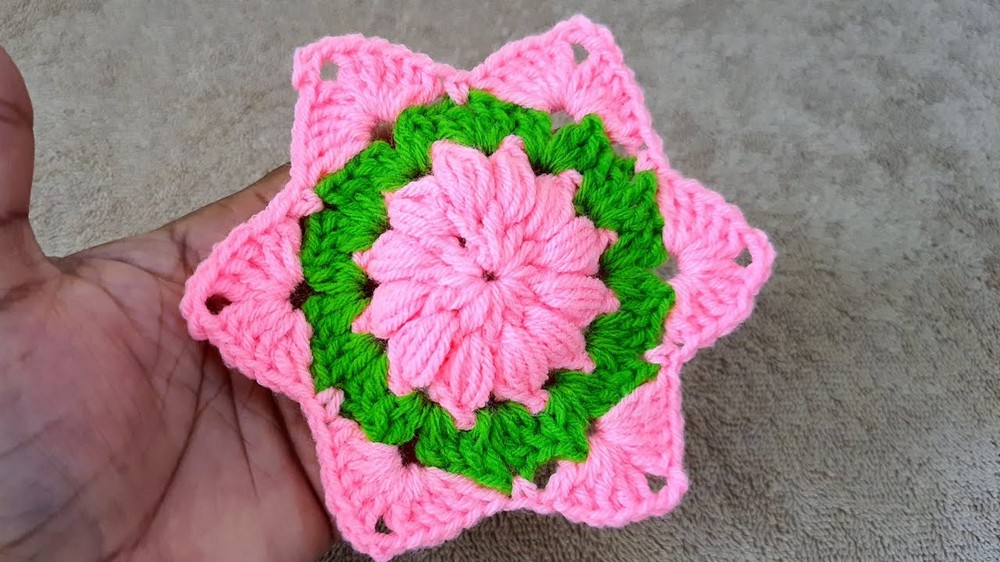
Here is an in-depth tutorial on how to crochet a beautiful, multi-layered flower. The tutorial guides viewers through the creation of a floral design using a variety of stitches and color changes to achieve a vibrant and intricate final product. It is a step-by-step guide suitable for crafters who want to create a decorative item that can be used for various purposes.
Creating the Flower’s Center
The tutorial begins by showing how to create the very core of the flower. The creator demonstrates how to start with a slip knot and a chain. This initial foundation forms the central ring of the flower, which is essential for building the subsequent layers. Following the initial chain, the crafter then works around the ring to form the base of the first layer of petals.

This is done by making a series of double crochet stitches, each separated by a chain. This technique creates a circular, lacy foundation with distinct spaces that will be used in the next step.
Adding the First Layer of Petals
After the base of the flower’s center is complete, the video progresses to creating the first layer of petals. This step involves using a special stitch to create a puffed, textured look. These puffy stitches are worked into the spaces created in the previous step, which gives the flower its initial three-dimensional quality and volume. The process is repeated around the entire circle, creating a symmetrical pattern of small, puffy petals that define the flower’s core.
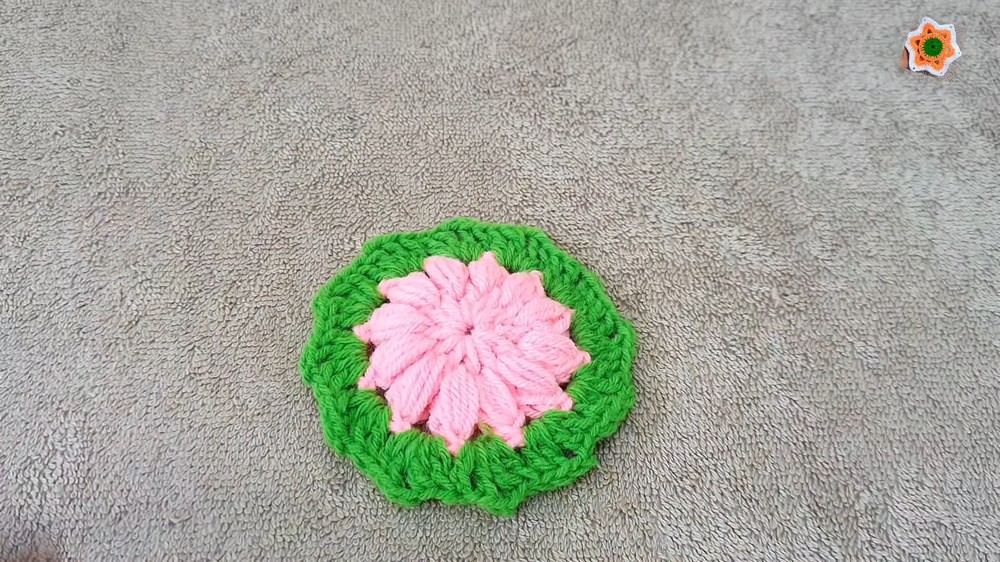
Introducing the Second Color
The tutorial then introduces a new color of yarn to add a second layer of detail to the flower. The new yarn is joined to the existing work, and the crafter shows how to create a new pattern using a combination of double crochet stitches and chain spaces. This new layer is worked into the spaces from the previous round. This color change and new pattern create a contrasting ring that adds visual interest and prepares the foundation for the final, larger petals.
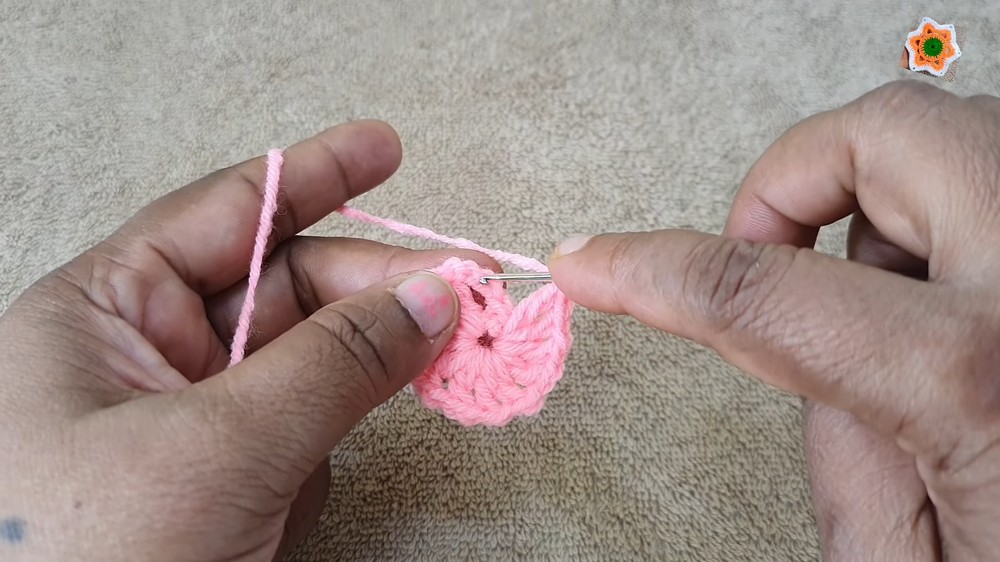
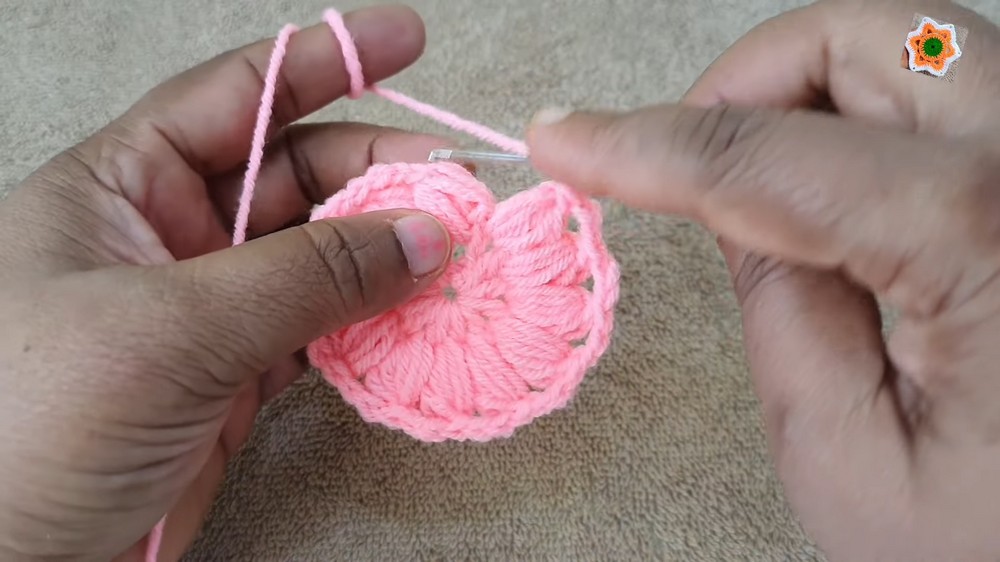
Creating the Outer Petals and Finishing
The final layer of the flower is created by adding the large, outer petals. The video demonstrates how to form these substantial petals by crocheting a series of stitches in each of the large spaces created in the previous step. The process is then repeated all the way around the flower.
To finish the work, the creator shows how to secure the last stitch and weave in the ends, ensuring the finished piece is neat and durable. The end result is a beautiful, intricate crocheted flower with multiple layers and colors that can be used for decoration.