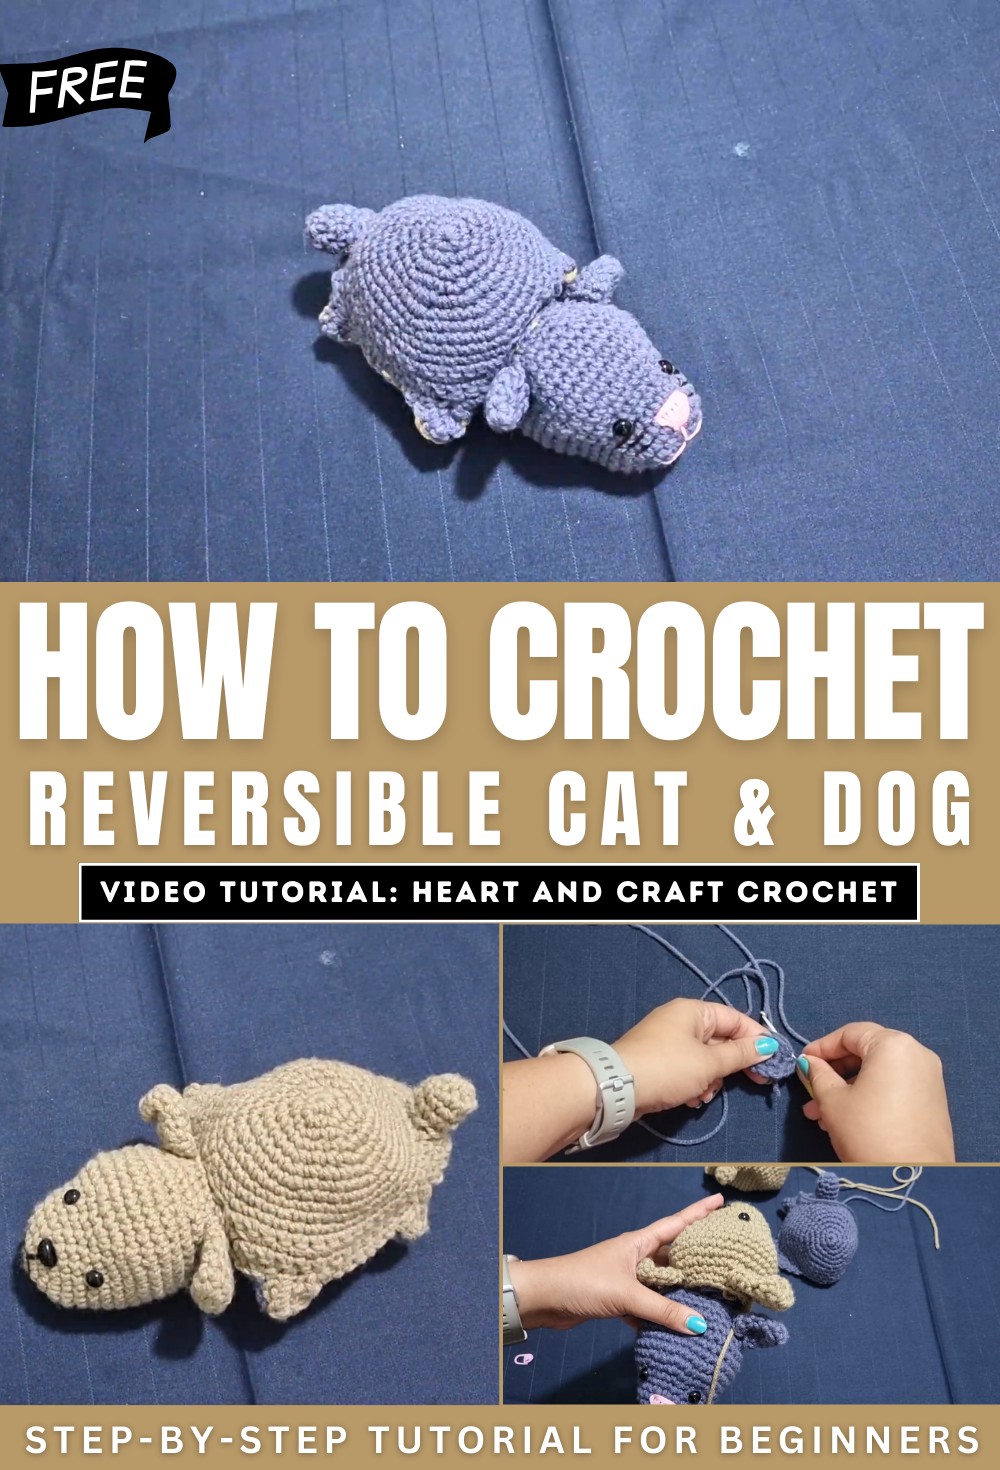
How to Crochet Reversible Cat and Dog for Beginners

Learn how to crochet a reversible doll that transforms between a cat and a dog for beginners and experts. It guides viewers through making two separate yet identical body and head pieces for each animal, which are then sewn together. Using simple crochet techniques like single crochets, increases, and decreases, the video provides step-by-step instructions to create features such as legs, tails, and ears. The tutorial emphasizes customization, allowing creative freedom to use different colors or adapt the pattern for other animals.
With clear explanations, this project is ideal for crocheters seeking a fun and unique toy that showcases both creativity and versatility. So, follow through with us for the complete tutorial.
How to Crochet a Reversible Cat and Dog Doll
This tutorial provides detailed, step-by-step instructions for crocheting a creative reversible doll that can switch between a dog and a cat. The pattern is simple and versatile, allowing crafters to adapt it for other animals. Below is a structured summary of the process:
Supplies Needed
- Yarn in two separate colors — one for each animal side — ensuring the same yarn weight (e.g., medium 4 worsted weight).
- White and black yarn for details.
- 3.5 mm crochet hook (adjusted based on yarn thickness).
- Stuffing material (polyfill, fiberfill, or pillow stuffing).
- Yarn needle for sewing.
- Stitch marker for tracking rounds.
- Safety eyes and a safety nose (if required).
- Scissors.

Part 1: Making the Body
- Starting the Body’s Base Shape
Using the chosen color, the base begins with a magic ring. Gradual increases create a circular pattern that expands into the required dimensions for the body. Midway through, four legs are crocheted along the edge to shape the animal’s paws. - Creating the Legs
Each leg is made by chaining stitches and single crochets, which are then built up for shape and detail. Slip stitches are used to attach the legs back to the base. Repeating this process four times results in evenly placed legs. - Finishing the Body
After completing the body for one side, it is fastened off and repeated in a second yarn color to create the reversible portion. - Adding the Tail
A separate crocheted tail is made and sewn onto the back of each body. These tails distinguish the dog and cat sides.

Part 2: Making the Head
- Shaping the Head
The head starts with a magic ring and follows a series of increases to shape the snout and skull. Standard rows add height to the head, with some rows forming the distinctive snout. - Adding Features
- Safety Eyes: Installed between the snout and the head’s back.
- Ears: Ears are made separately with magic rings and rows of increases, and then sewn onto the head.
- Creating Two Head Pieces
One head is for the cat, and the other for the dog. Both are identical in structure but differ in added features (e.g., sharper ears for the cat).

- Joining the Heads
The two head pieces are stuffed and sewn together along their edges.
Part 3: Assembly
- Attaching the Bodies to the Heads
Each body piece is sewn onto its respective head section — the cat body to the cat head and the dog body to the dog head.

- Joining the Bodies
The edges of the two body pieces are sewn together. Care is taken to align features so the body transitions seamlessly when flipped.
Final Details
- The completed reversible doll allows the user to flip between a cat on one side and a dog on the other.
- Personal touches like color and features can be customized.

Conclusion
This reversible crochet doll is a fun and creative project for crochet enthusiasts, perfect for gifting or as a personal toy. The creator gives clear instructions throughout and encourages viewers to share their creations via email or Instagram. The versatility of this project allows for endless customization and experimentation.