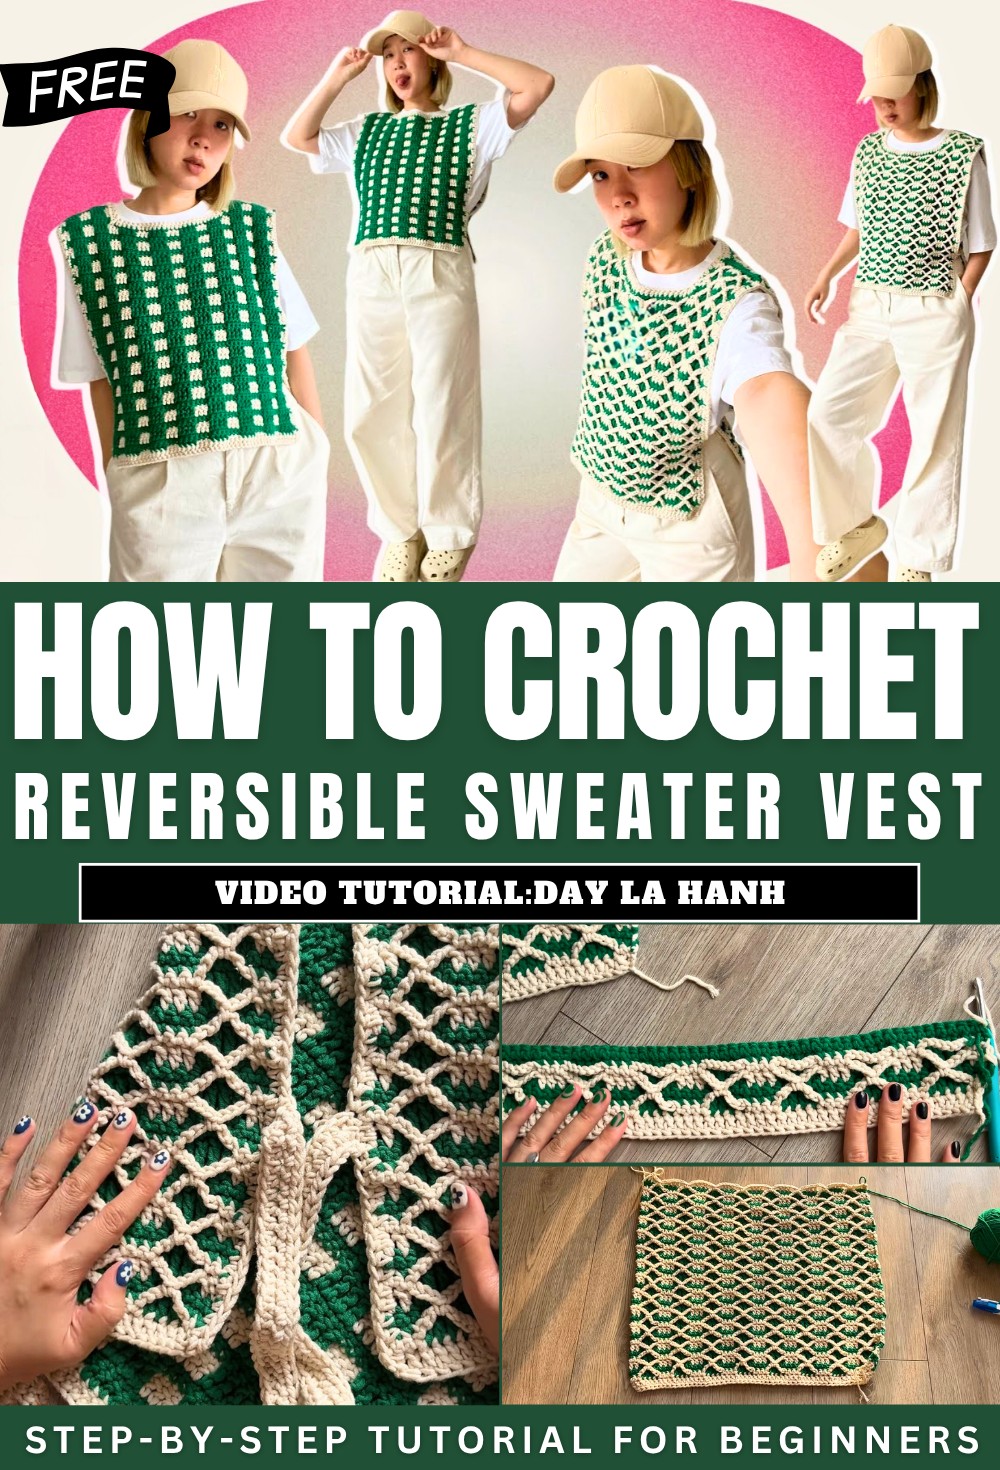
How to Crochet Reversible Sweater Vest with Different Sides
With a tutorial, learn how to crochet a reversible vest with intricate 3D textures on both sides, making it beginner-friendly yet visually striking. Using a weight #4 medium yarn (cotton blend recommended), a 5.5mm crochet hook, and simple tools like scissors and a darning needle, the design focuses on chainless double crochets and a mathematical stitch pattern (multiple of 7 + 1).
The vest consists of two panels, front and back, joined seamlessly, and features adjustable side ties for added flair or a minimalist look. The step-by-step guide ensures you achieve clean finishes and a perfectly tailored fit. So, follow through with us for the complete tutorial.
Crochet Reversible Sweater Vest
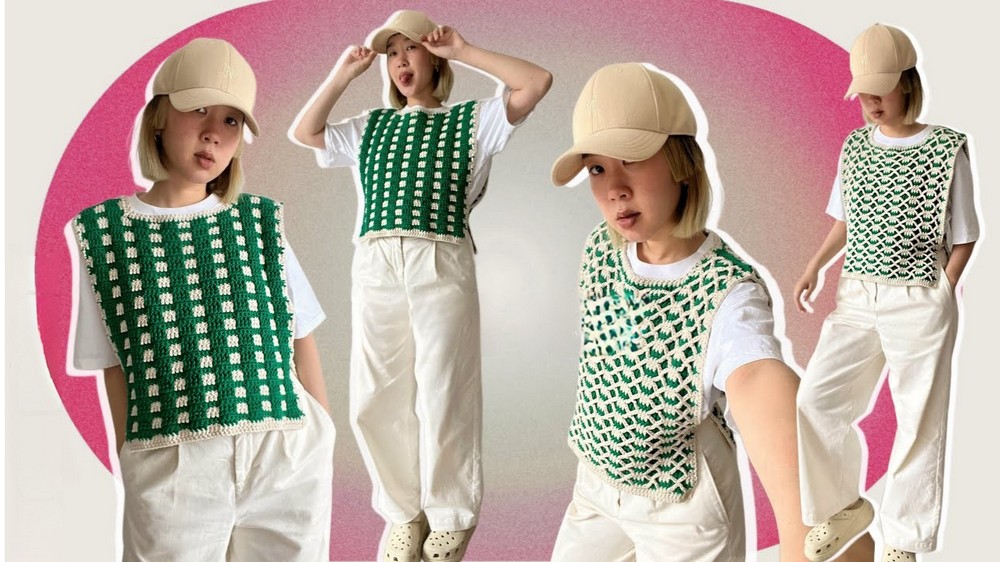
This tutorial provides a step-by-step guide to creating a reversible crochet vest with intricate 3D texture on both sides. The design includes ties on the sides, which can be styled with or without bows for a minimalist or playful look. Suitable for beginners, the vest combines simplicity with eye-catching detail.
Materials Needed
- Yarn:
- Weight #4 medium yarn.
- Recommended: Cotton blend yarn.
- The tutorial uses 2 skeins in green and 3 skeins in cream.
- Crochet Hook: 5.5 mm.
- Tools:
- Scissors.
- Darning needle for weaving in ends.
- Tape measure to determine accurate sizing.
Key Features
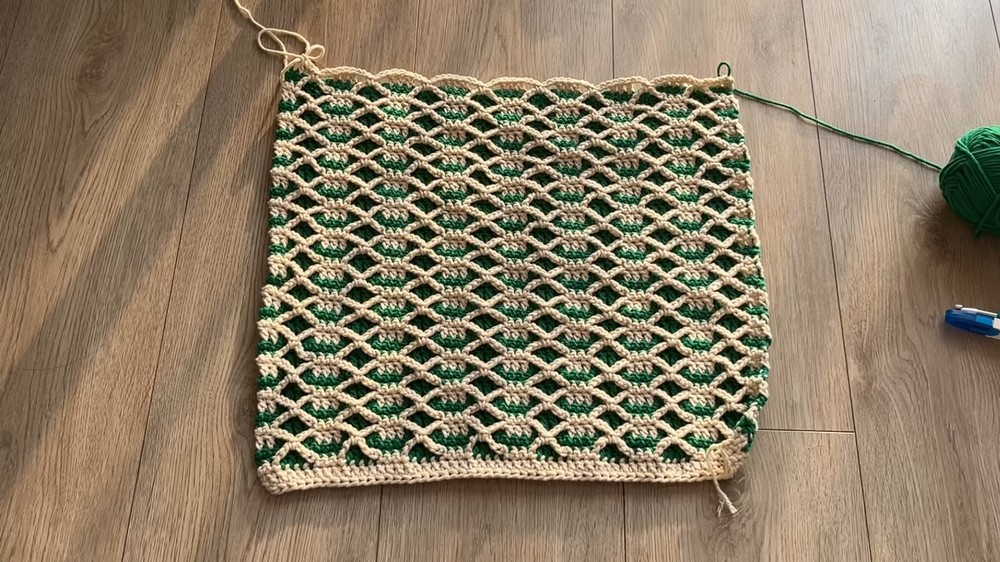
- The vest is constructed from two panels: the front panel and the back panel.
- The stitch pattern is based on a simple formula: multiple of 7 + 1.
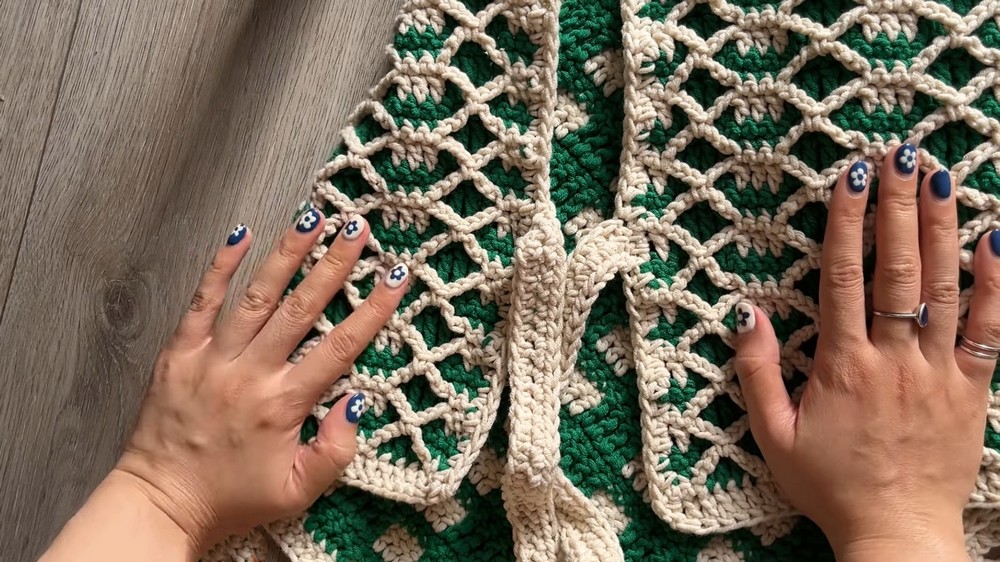
- The reversible design ensures both sides of the vest are visually appealing.
- Adjustable ties on the sides elevate the versatility of the vest.
Step-by-Step Instructions
Foundation and Measurements
- Begin with a foundation chainless double crochet.
- Use a swatch to calculate the width of your panel; half the chest circumference determines the ideal measurement for each panel.
Pattern Rows
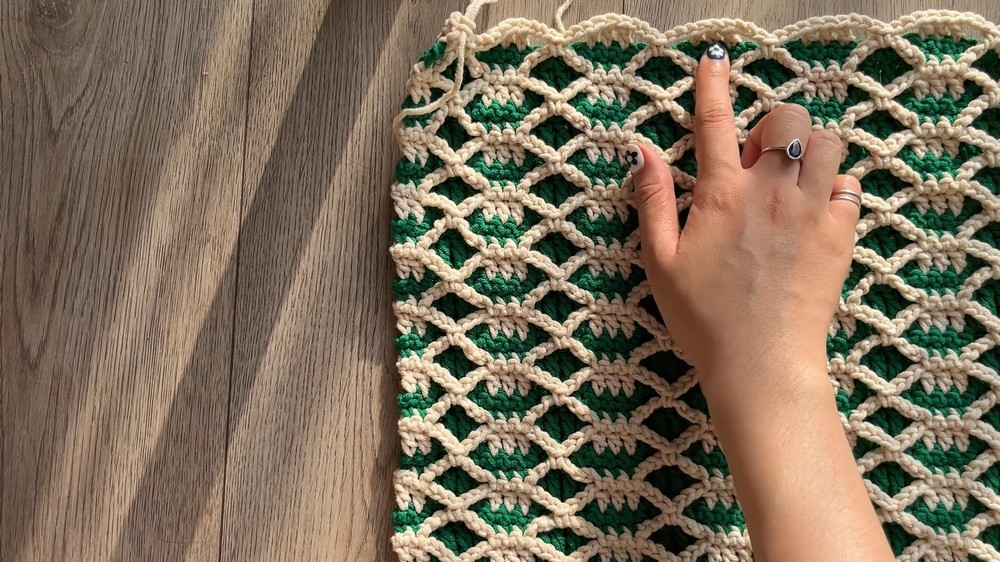
- Each row introduces a cohesive pattern that rotates between stitches like single crochets (SC), double crochets (DC), chains, and trebles:
- Transition rows between chain stitches and textured rows create the 3D effect.
- Alternate between two colors (green and cream) for a vibrant, layered pattern.
Shaping Details
- The neckline is shaped after achieving your desired panel length.
- Specific stitches are used to taper and define the neckline borders seamlessly.
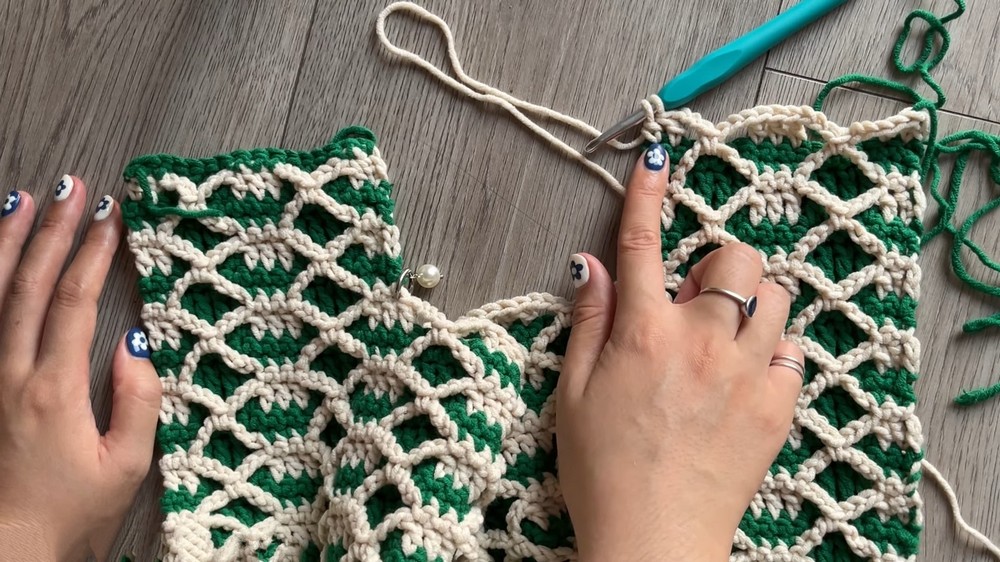
Connecting Panels
- Once both the front and back panels are complete:
- Use slip stitches to join the panels together at the sides and shoulders.
- Pay attention to alignment to ensure a smooth fit.
Adding Finishing Touches
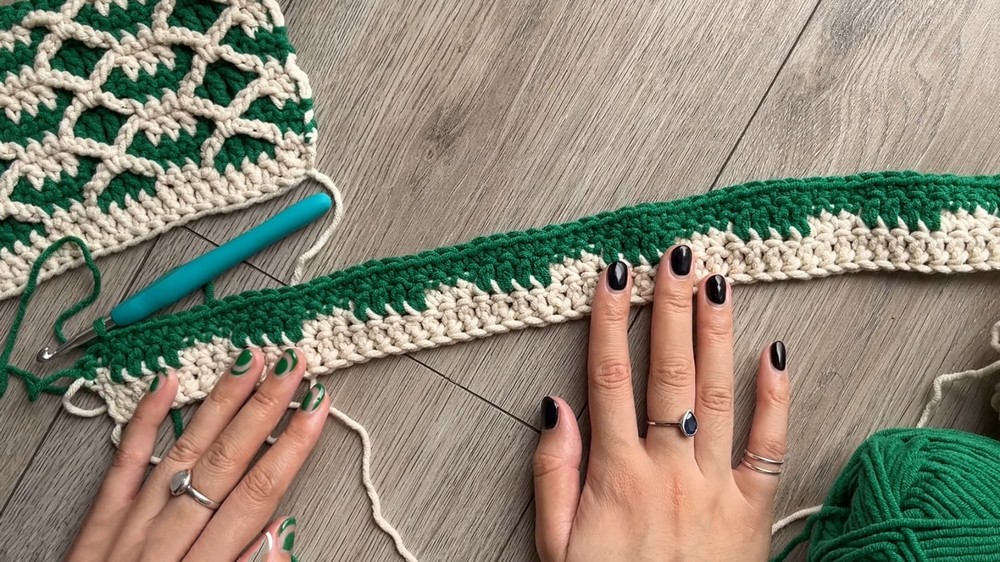
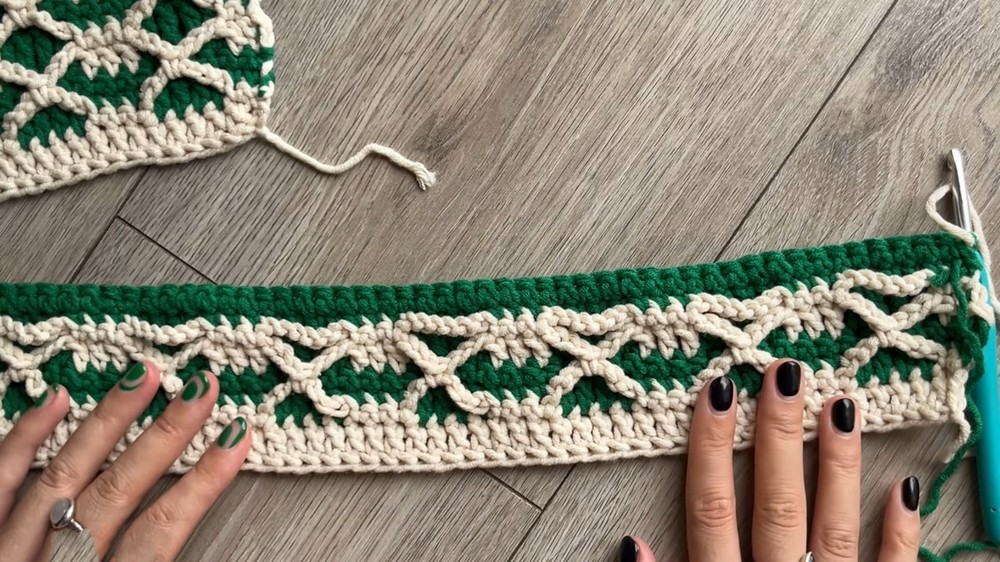
Borders
- Use half-double crochets for clean edge borders around the neckline and armholes.
- Alternating between cream and green creates a polished finish.
Straps
- Create straps at the hem using loose foundation chains.
- Repeat half-double crochets on the back loops for texture and durability.
Side Ties
- Add the adjustable ties to the sides for a functional yet decorative detail.
Conclusion
This tutorial combines practical methods with creative stitching to guide you through making a versatile and visually stunning crochet vest. By following the structured instructions for stitch patterns, color changes, and finishing touches, you’ll create a project that is both stylish and comfortable. Whether styled with side ties or left plain, this reversible vest is an ideal addition to any wardrobe.