How to Crochet Rose Drawstring Pouch for Spring

Learn how to crochet a stunning drawstring pouch adorned with rose accents with a complete tutorial. Decorative fans and roses with ribbon complete the design, making it perfect for spring. The step-by-step guide ensures even beginners can enjoy crocheting this elegant and versatile accessory.

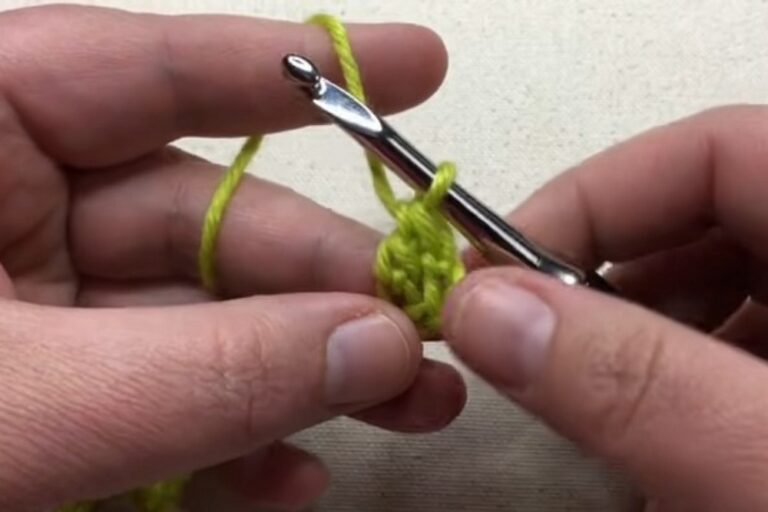
Rose Pouch Crochet Tutorial
Free Crochet Pouch with Roses Pattern
Materials
- Yarn: Three colors of worsted/DK cotton yarn
- Cream (Main pouch)
- Green (Rim and ribbon)
- Rose/pink (Roses)
- Crochet Hook: 4 mm (US G/6)
- Darning needle: For sewing and assembly
- Scissors
Abbreviations (US Terms)
- ch: chain
- sl st: slip stitch
- sc: single crochet
- dc: double crochet
- st: stitch
- BL: back loop
Special Notes
- The pouch is crocheted in joined rounds.
- The bottom is a flat circle; the sides are built up with double crochet.
- Roses and leaves are sewn on at the end.
- Always join rounds with a slip stitch unless otherwise specified.
Pattern
A. Main Pouch (Cream Yarn)
Bottom Circle
- Make a magic ring.
- Rnd 1: Ch 3 (counts as first dc), work 12 dc into magic ring. Pull to close. Join with a sl st to top of first dc. (12 sts)
- Rnd 2: Ch 2, 2 dc in each st around. Join with a sl st. (24 sts)
- Rnd 3: Ch 2, (dc in next st, 2 dc in next st) around. Join with a sl st. (36 sts)
- Rnd 4: Ch 2, (dc in next 2 sts, 2 dc in next st) around. Join with a sl st. (48 sts)
- Rnd 5: Ch 2, (dc in next 3 sts, 2 dc in next st) around. Join with a sl st. (60 sts)

You can increase or decrease the number of rounds for a larger/smaller pouch.
Sides
- Rnd 6: Ch 2. Working in the BL only: dc in each st around (no increases). Join with sl st. (60 sts)
- Working in back loops forms a crisp turn for the pouch wall.
- Rnd 7–Rnd 26 (or desired height): Ch 2, dc in each st around under both loops, join with sl st. (60 sts)
- Continue until you have about 21 rounds—or adjust for desired height.
- Fasten off and weave in ends.


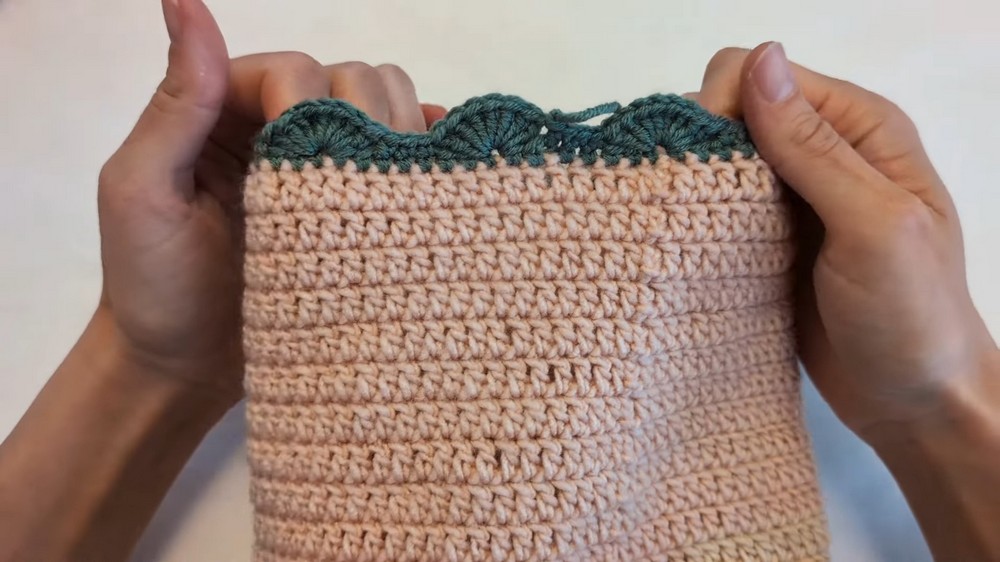
B. Green Rim and Ribbon
Rim—Fans & Leaves
- Join green yarn to any stitch at the top edge of the pouch.
- Rnd 1: Ch 1. Work sc in each st around. Join with sl st.
- Rnd 2: [Yarn over, skip 2 sc, work 8 dc in next st (fan), skip 2 sc, sc in next st, sc in each of next 2 sc] repeat around. Join with sl st.
- There should be three sc between each fan.
- Fasten off with a finishing knot.
Ribbon
- With green yarn: Make a slip knot and chain until 50 cm long.
- Row 1: Turn, skip first back loop, sc into each back loop of the chain to end.
- Fasten off, leaving tails for threading.
C. Assembly: Threading the Ribbon
- Using darning needle, thread the ribbon through the pouch five rounds down from the top edge.
- Skip six dc, thread through, skip two, thread through, repeat, weaving around the entire pouch to come out the opposite side.
- Pull ends to gather and close pouch.
D. Roses (Rose/Pink Yarn)
- Make a slip knot.
- Ch 12.
- Row 1: Yarn over, skip two ch, in next ch work 3 dc, repeat (3 dc in every ch) until the end. (30 dc, 10 groups)
- Ch 3, sl st in last ch.
- Fasten off, leaving a long tail for sewing.
Finishing the Rose:
- With darning needle, roll up the strip from one end to the other to shape a rose.
- Secure by sewing through all layers from the base several times.
- Tie off to secure.
E. Attaching Roses
- Sew roses onto pouch in the spaces between each green fan on the rim and at both ribbon ends.
- Insert needle through one of the sc stitches, attach the rose securely with several stitches.
- Tie off and weave yarn tails inside the rose.

Conclusion
You now have a beautiful handmade crochet pouch with decorative roses. Use it for trinkets, as a gift bag, or to display your crochet skills!
Pattern Corrections & Tips
Corrections:
- Adjust the number of rounds or stitches for desired pouch size.
- Ensure even increases for a flat bottom.
- Check your stitch count after increases to prevent puckering or distortion.
Tips:
- Use stitch markers to mark rounds or fan/rose placement.
- Work firmly for a neat pouch that holds its shape.
- If substituting yarns, consider fiber elasticity and adjust hook size as needed.
- For added flair, alternate petal colors, or add more leaves.
- Secure roses thoroughly so they withstand regular use.