How To Crochet Rose Flower for Spring

Learn how to crochet a beautiful rose flower, perfect for gifting following a step-by-step tutorial for all skill levels. The tutorial features how to crochet flower patterns and leaves. The tutorial also shares tips on assembling the finished pieces for a professional look. Follow through with us for this complete tutorial!
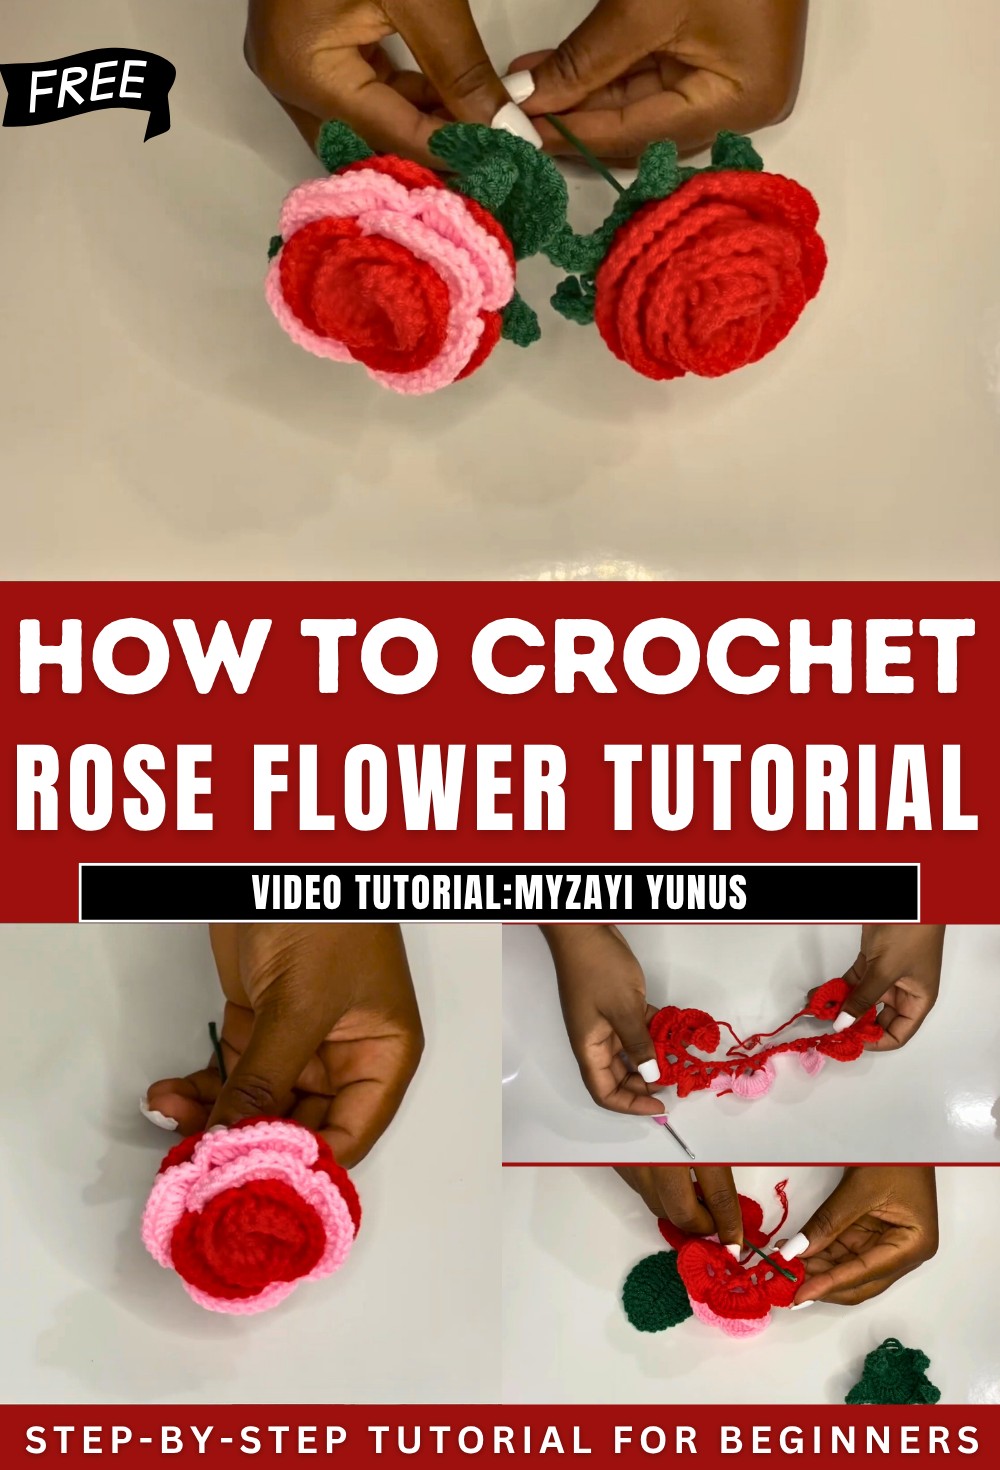
Crochet Rose Flower Tutorial
- Materials used include:
- 50g milk cotton yarn in red, pink, and green.
- Wire or bamboo sticks.
- Glue gun, scissors, and a 3.0mm crochet hook.
- A sample flower is shown before starting the tutorial.
Step 1: Creating the Rose Base
Starting the Foundation:
- Begins with a slip knot and chains to make the base.
- Row 1 involves creating a pattern resembling a V-stitch using double crochets and chain spaces.
- Crocheting involves skipping spaces and repeating the V-stitch pattern across the row.
Building the Rose Petals:
- Row 2 starts with sets of double crochets worked into chain spaces.
- A pattern is established: alternating blocks of multiple double crochets and single crochets.
- Options for changing yarn color are explained, and Miss Ai demonstrates how to transition between colors seamlessly.
- Two colors (red and pink) are used to create alternating blocks for the petals.

Step 2: Completing the Rose Shape
Finalizing the Petals:
- After creating blocks with the pink yarn, the tutorial returns to the red yarn to finish the row.
- Crocheting ends with fastening off the yarn and completing the first part of the rose.
Adding Volume to the Rose:
- Creates a magic circle for the rose’s layered design.
- Builds multiple layers by crocheting in rounds with increasing stitches.

- Final row involves creating petal shapes by chaining and varying stitches for texture.
Step 3: Making the Leaves
Leaf Design:
- Starts with a slip knot and chain stitches.
- Shapes the leaf by working single crochets, half double crochets, double crochets, and treble crochets into specific spaces.
- The process is repeated to complete both sides of the leaf.

Adding Wire to the Leaf:
- Wire is introduced to provide structure.
- A final row is worked around the wire to secure it to the leaf.
- The wire is doubled for strength and helps maintain the leaf shape.

Step 4: Assembling the Rose
Attaching the Rose to the Stem:
- The rose base is wrapped firmly around the stick or wire.
- Excess yarn from the base is used to securely tie the flower to the stem.

Adding Leaves and Wrapping the Stem:
- Hot glue gun is used to attach the leaves and secure the yarn.
- Yarn is wrapped tightly around the entire length of the stem to create a clean finish.

Final Touches
- The assembled rose is shown with detailed finishing techniques.
- Miss Ai suggests making two leaves for a more natural look but keeps to one leaf for the tutorial demonstration.
This tutorial demonstrates making roses with detailed steps for crocheting, assembling, and finishing the project, allowing creators to personalize their final design.