How To Crochet Bouquet Flower Coaster for Spring

Learn how to crochet a gorgeous Bouquet flower coaster inspired by the rose blanket, perfect for spring, with a step-by-step tutorial for beginners. With detailed instructions on weaving and finishing touches, the result is a foldable coaster that transforms into a mini bouquet when not in use. Using four colors of medium-weight yarn, it is perfect for bringing colors to your table. Follow through with us for the complete tutorial!

Crochet Flower Coaster Tutorial
This tutorial, presented by walks viewers through creating a flower-shaped crochet coaster inspired by a rose blanket design. The project primarily utilizes various crochet techniques to create a textured and visually appealing result. Using a size 5 bulky yarn, a size 6 crochet hook, scissors, and a yarn needle, it demonstrates creating a slip knot, chaining 60 (adjustable to your head size), and working half-double crochets into the back loops for a textured look.
Introduction
- The tutorial begins with a warm welcome and an introduction to the project: creating a flower coaster.
- The design is inspired by a rose blanket and can be customized with colors of choice.
- Tools and materials for the project include:
- Four different yarn colors: one for the base, green for leaves, and two for the flowers.
- Medium-weight yarn is recommended.
- Additional tools: a 4 mm crochet hook, tapestry needle, scissors, and a stitch marker.

Creating the Base
-
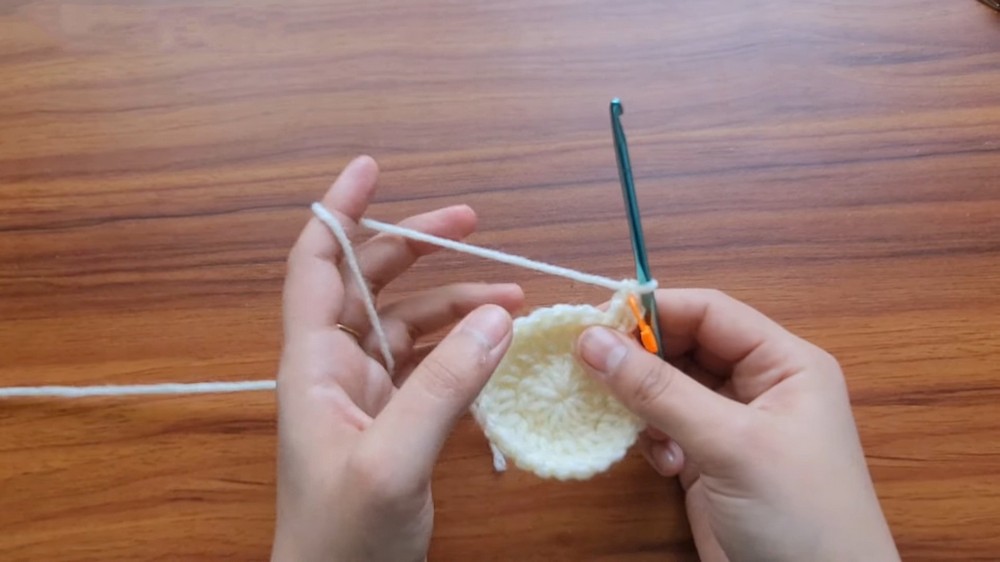
Magic Circle Creation:
- The project begins with the creation of a magic circle, which forms the foundation of the coaster.
- Techniques to make the magic circle are demonstrated, with detailed instructions on securing the loops.
-
First Round:
- Double crochet stitches are worked into the magic circle to form the initial circular base.
- The tail of the magic circle is pulled to tighten the center, followed by a slip stitch to close the round.
-
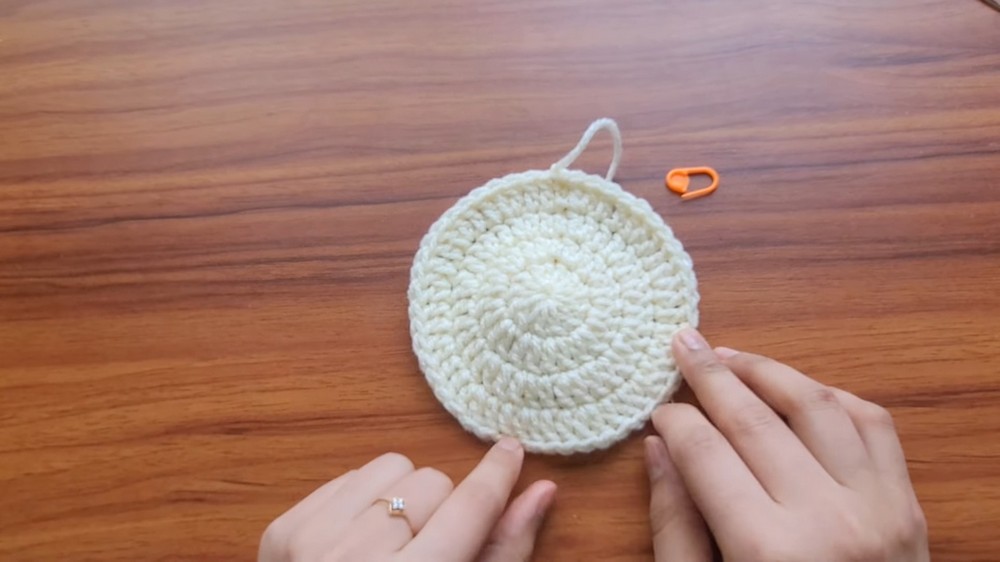
Subsequent Rounds:
- Additional rounds are worked to expand the base. Each round introduces increases to maintain a flat circular shape:
- Round 2: Two double crochet stitches are worked into each stitch.
- Round 3: Alternating single and double crochet stitches create an increase pattern.
- Round 4: An increase is done every third stitch.
- Slip stitches are used to close each round, creating a neat and cohesive base.
- Additional rounds are worked to expand the base. Each round introduces increases to maintain a flat circular shape:
-
Base Completion:
- After the required number of rounds, the base is fastened off and the ends are woven in to secure.
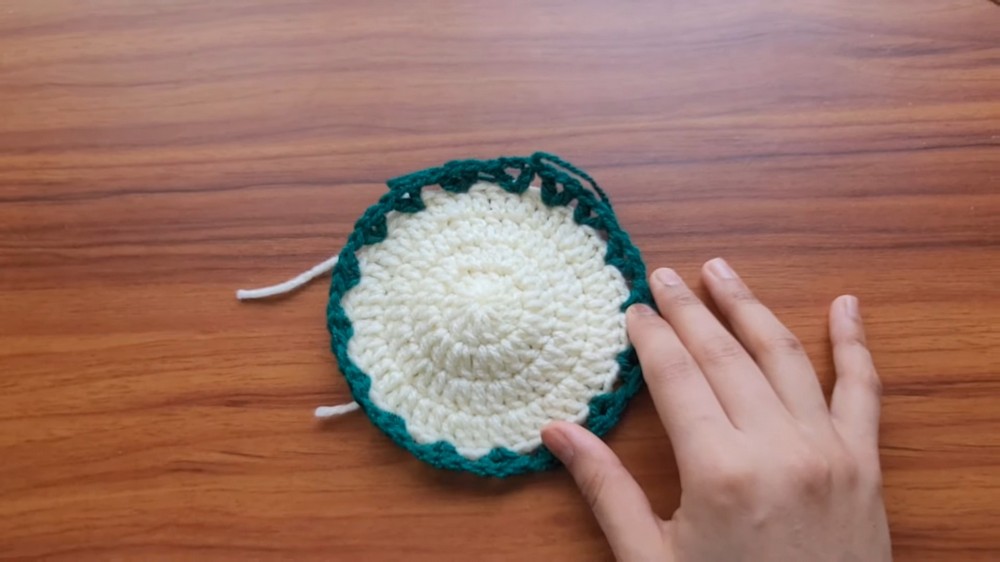
Adding Green V-Shaped Stitches (Leaves)
-
Attaching Green Yarn:
- The green yarn is attached to the outer round of the base at a random stitch.
- Chains and double crochet stitches are used to form V-shaped patterns around the outer edge.
-
Pattern Details:
- The V-stitch pattern is created by skipping two stitches and working into the third.
- This step is repeated in a circular pattern until the round is complete.
-
Fastening Off:
- The round is closed with a slip stitch, and the green yarn is fastened off.
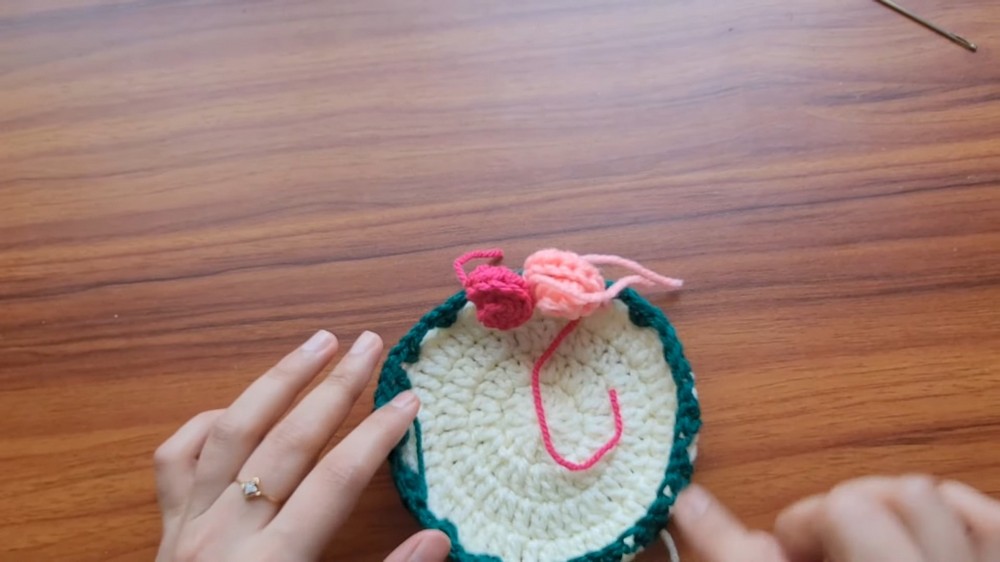
Creating Flower Petals
-
Attaching Flower Yarn:
- Flower yarn (pink or chosen colors) is attached to a V-stitch.
- Chains are worked to shape the foundation of a petal.
-
Petal Creation:
- Each petal is formed with slip stitches and half-double crochet stitches worked into the chains.
- The completed petal is rolled into shape and secured with a long tail.
-
Repetition:
- The same process is repeated for all V-stitches until the entire circle is filled with flower petals.
Finishing Touches
-
Securing Petals:
- Yarn tails are sewn in to secure the petals and prevent them from opening.
- Alternate petal colors can be used for a contrasting effect.
-
Final Details:
- All loose ends are woven in and trimmed to finish the coaster’s appearance.
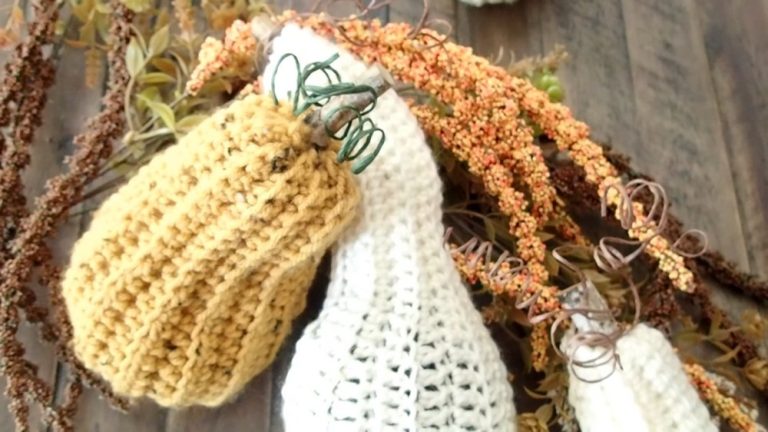
- Instructions are given on folding the coaster into a bouquet shape when not in use.
Closing Notes
- The tutorial concludes with a demonstration of the completed flower coaster in both its open (usable) and folded (bouquet) forms.
- Viewers are encouraged to experiment with color combinations and enjoy the creative process.
This step-by-step tutorial is perfect for crochet enthusiasts, offering a blend of practicality and elegance. The detailed instructions and versatile design allow for various creative adaptations.
Video Guide
https://youtu.be/Zg4AKE3xZ-g