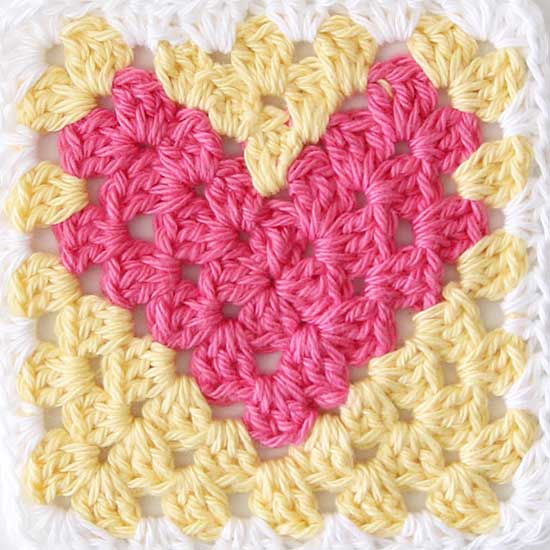
How to Crochet Rose Flower Granny Square for Beginners pic

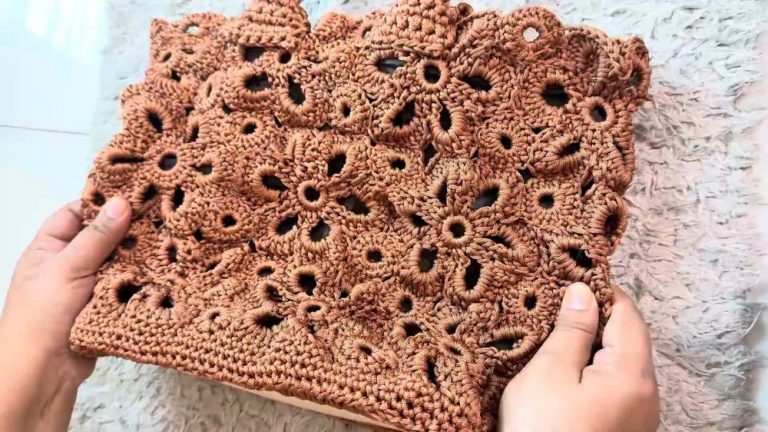
Learn how to crochet a rose granny square, a simple and easy project suitable for beginners perfect for beginners and experts. The finished granny squares can be used to create larger items like jackets, sweaters, or bags. The materials used in the video include Summer Love Cotton Yarn (Ganga brand) for the flower and green sections, and Cotton Delight Cotton Yarn (Ganga brand) for the white border, which the creator notes is a thicker yarn.
The tutorial demonstrates techniques such as making a magic circle, double crochet stitches, and creating petals and corners to form the square shape. So, follow through with us for the complete tutorial.

Crochet Rose Granny Square
This video tutorial provides a guide on how to create a rose granny square, a project that is described as simple and easy for beginners. The finished squares can be joined together to create larger items like sweaters, jackets, or bags. The tutorial is well-structured, starting with the necessary materials and then walking through the steps to crochet the rose, the green square base, and the white border.

Materials Used
-
Ganga Summer Love Cotton Yarn: Used for the rose and the green sections of the square.
-
Ganga Cotton Delight Cotton Yarn: Used for the white border. The creator mentions that this is a thicker yarn.
-
Crochet hook: The tutorial recommends a hook size appropriate for the chosen yarn.
-
Scissors: For cutting the yarn.
-
Tapestry needle: For weaving in ends.

Making the Rose
The first part of the tutorial focuses on creating the rose at the center of the granny square. This process begins with a magic circle. The creator then demonstrates how to work a specific stitch pattern within the magic circle to form the base of the rose. Following this, the tutorial explains how to create the individual petals of the rose by using a combination of single and double crochet stitches. The instructions guide you on how to form a full circle of petals around the center of the flower.

Adding the Green Section
After the rose is completed, the tutorial moves on to adding the green square section. This part of the tutorial shows how to join the green yarn and begin creating the square shape around the rose. The creator uses a pattern of double crochet clusters and chain stitches to form the sides and corners of the square. This technique ensures that the square lies flat and has distinct corners.

Creating the Final Border
The last section of the video is dedicated to adding the white border. The creator joins the white yarn and continues the pattern of double crochet clusters and chain stitches to create the outer edge of the granny square. This final layer gives the square a clean, finished look and adds a contrasting color that makes the rose and green sections stand out. The video concludes by demonstrating how to finish the square and weave in any loose yarn ends to create a polished final product. The completed rose granny squares can be used individually or joined together to create a variety of items.