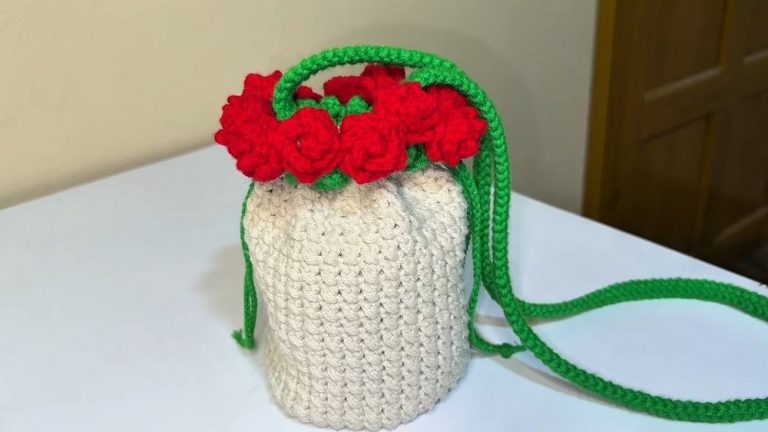
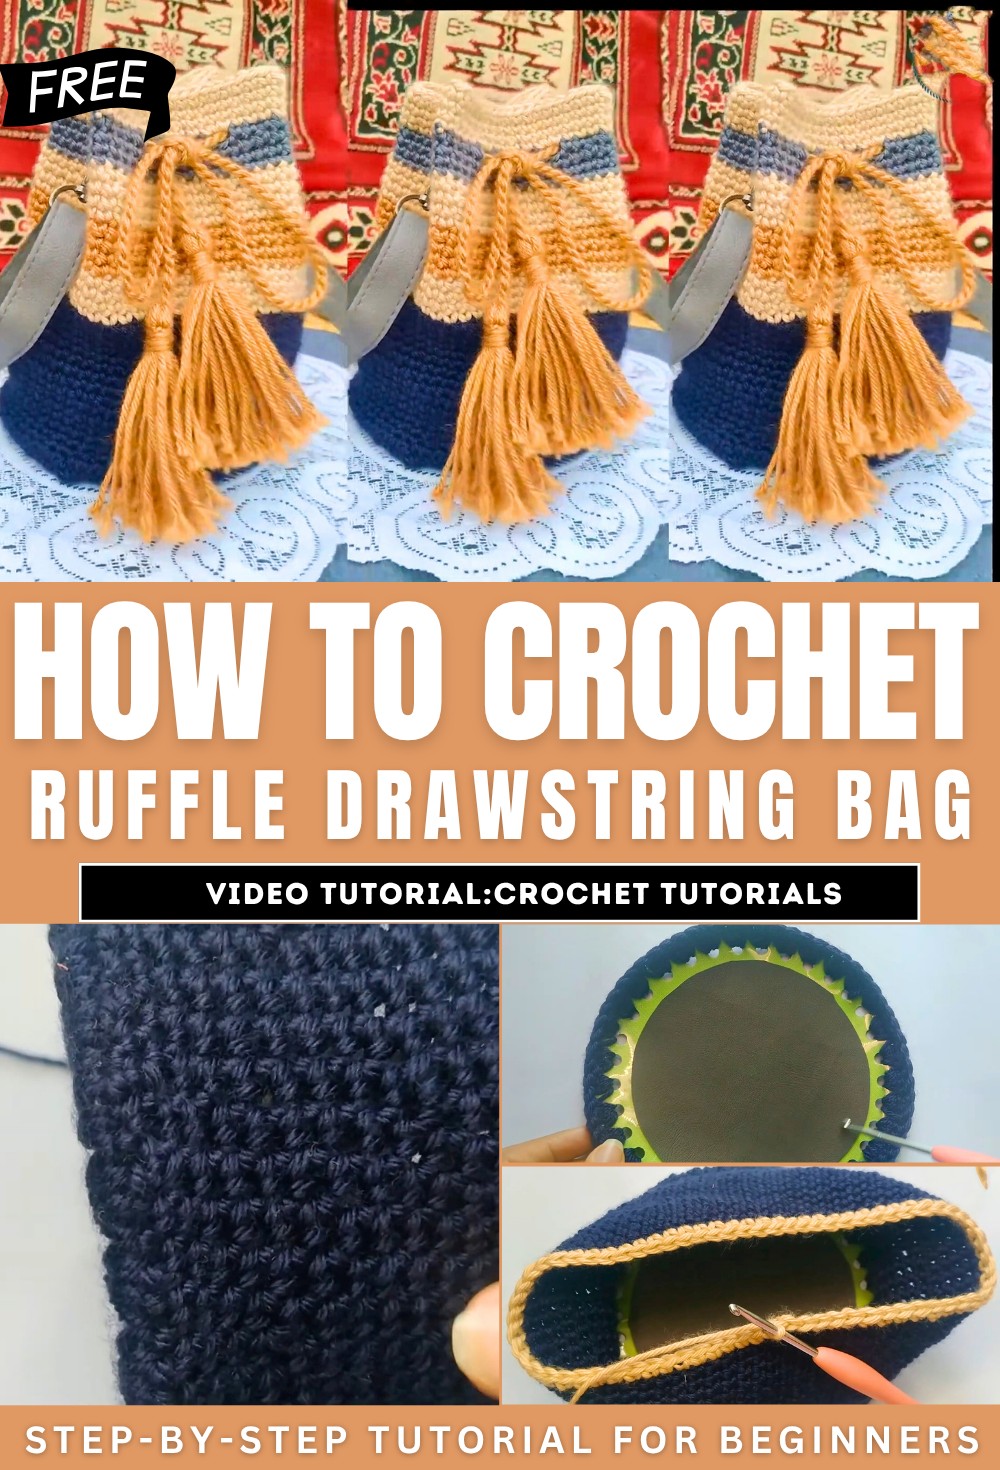
How to Crochet Ruffle Drawstring Bag for Fall

With a tassel and drawstring closure, learn how to crochet a beautiful handbag following a step-by-step tutorial for beginners. The process begins with a leather base, though it’s mentioned that alternatives can be used. The tutorial covers creating the base by making single crochet stitches in each hole of the leather piece, building up the sides with multiple rounds, and then changing yarn colors to create a striped effect.
It also demonstrates how to attach hooks and a cord to the top of the bag, and concludes with the attachment of a leather strap to finalize the design. So, follow through with us for the complete tutorial.
Crochet Drawstring Bag Tutorial
Crocheting a Handbag: A Detailed Tutorial
This video provides a detailed tutorial on how to crochet a handbag. The process begins with a leather base, but the creator mentions that alternative materials can be used if a leather base is not available.
Creating the Base of the Bag
-
Initial Setup: The tutorial starts by creating the base of the bag. Using blue yarn, the creator makes three single crochet stitches in each hole of the leather piece. The yarn is kept parallel to the hole to ensure a strong and neat foundation.
-
First Rounds (Raising the Walls): The first two rounds are crucial for raising the walls of the bag. This is achieved by skipping certain stitches in the first round to create the upward turn. This technique helps to form the structure of the bag.

-
Subsequent Rounds: After the initial two rounds, the creator continues with single crochet stitches in each stitch without any skipping. This builds the height of the bag’s body.
-
Color Change: After making 11 rounds in blue yarn, the creator changes to a new color (a skin color) to add a striped effect. Four rounds are made in this new color, followed by four rounds of a third color. This demonstrates how to easily customize the look of the bag.

Adding the Hooks and Cord
-
Hook Placement: In the fourth round of the final color, the creator demonstrates how to attach two hooks to the bag. These hooks will be used to attach the strap later.
-
Creating Holes for the Cord: This same round is used to create two holes on each side of the bag for the cord or string. The video shows how to create these holes by chaining and skipping stitches.

-
Inserting the Cord: Once the holes are made on all sides, a cord is inserted through them. The video shows how to tie the cord securely to keep the top of the bag closed.

Final Touches and Assembly
-
Attaching the Strap: The tutorial concludes with the attachment of a leather strap to the hooks. This final step completes the handbag’s design, making it ready for use.
-
Customization: The creator emphasizes that the color choices and strap materials can be customized to personal preference.