How to Crochet Sewing Thread Holder And Pin Cushion
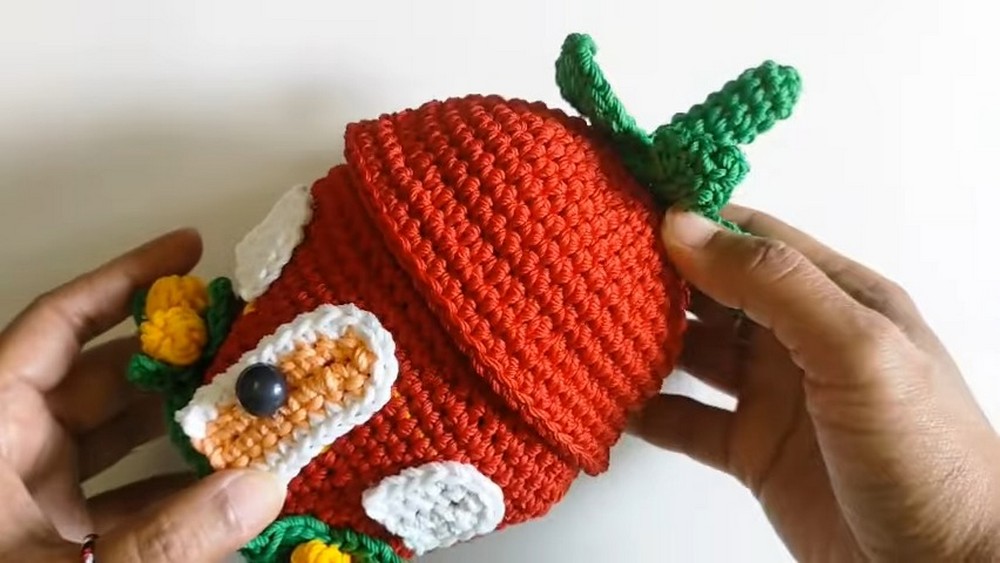
Learn how to crochet a strawberry sewing thread holder and pin cushion that can be used as a pincushion or for sewing accessories with this tutorial. Using Onitsuga Polythick yarn and a 5/0 Tulip hook, the creator covers detailed instructions for crocheting the fruit, leaves, and stem, complete with color changes and finishing techniques.
The tutorial also includes a decorative element, like doors and windows, to enhance the design. Beginners and advanced crocheters alike will find this project fun and rewarding!

Crochet Sewing Thread Holder And Pin Cushion Tutorial
The video guides viewers through creating a crochet strawberry crochet craft. The strawberry can be used as a needle cushion or sewing organizer. The creator provides step-by-step instructions, showcasing various techniques and patterns.
Tools and Materials
- Yarn: Onitsuga Polythick yarn.
- Hook: 5/0 Tulip crochet hook.
- Other Supplies: Dacron stuffing, tapestry needle, lighter for cleaning thread ends.
Cover Pattern
-
Magic Ring Setup
- Begin with a magic ring and follow basic crochet techniques.
- Emphasize working through the back loops and slip stitching to secure rows.
-
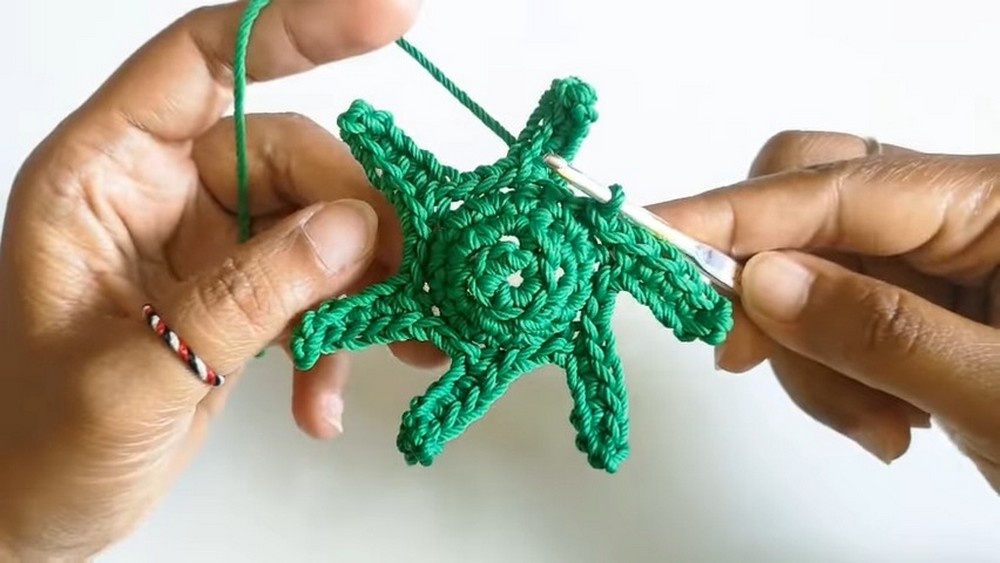
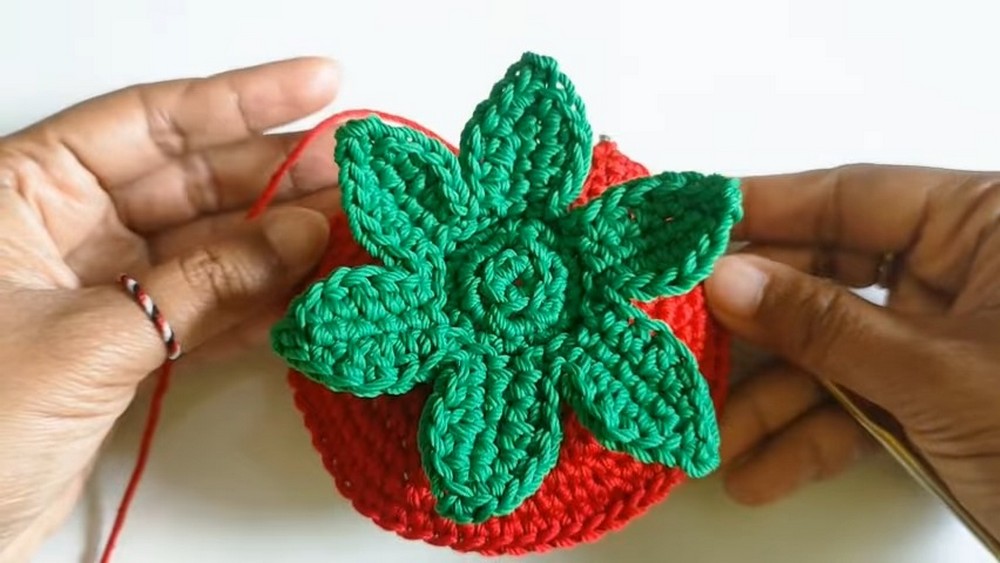
Leaf Frame Design
- Create leaf motifs using chains, single crochets, and slip stitches.
- Repeat motifs to form six leaf frames.

-
- Construct leaf petals with details like picot stitches for texture.
-
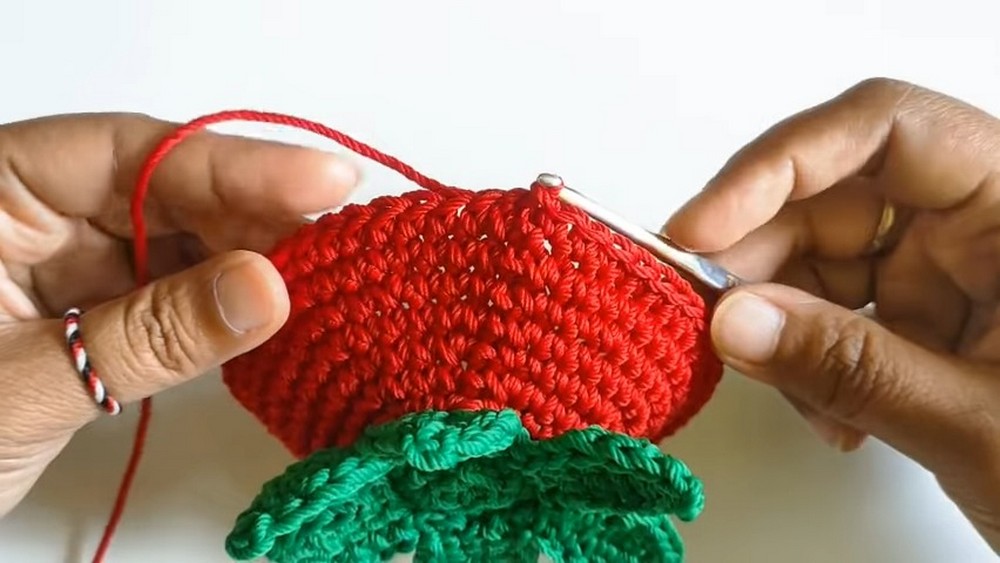
Color Transition
- Change yarn color to red to continue forming the strawberry shape.
- Increase and standardize rows for an even, spherical structure.
Stem Pattern
-
Stem Creation
- Utilize the front loops of earlier rows to shape the stem.
-
- Work circularly without slip stitches for continuous stacking.
-
Stuffing and Completion
- Stuff the stem lightly with dacron.
- Close neatly using a tapestry needle for durability.
Base and Fruit Assembly
-
Base Construction
- Crochet the base using repeated patterns to ensure structural support.
- Switch to the back loop for texture effects.
-
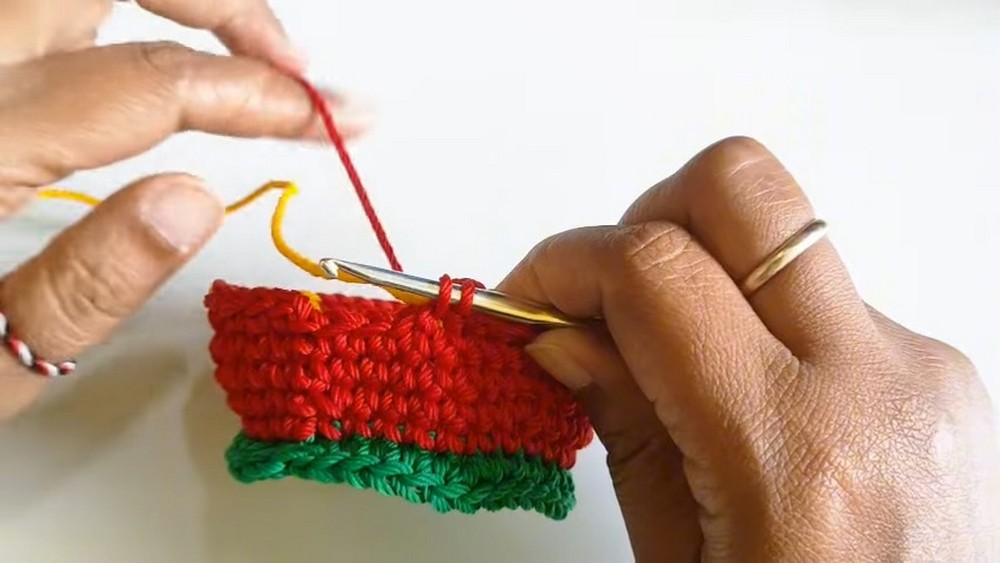
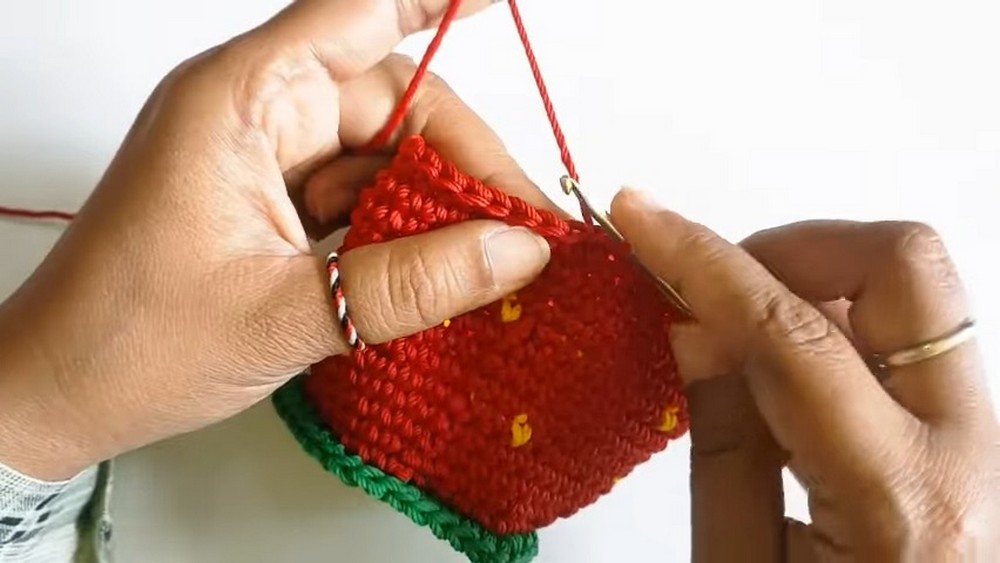
Fruit Development
- Begin with the front loop section, using red yarn to create the strawberry fruit pattern.
- Introduce color mixing with yellow yarn to create seed-like designs.
- Alternate between single crochets and increases for dimensionality.
-
Final Rows
- Flatten the strawberry top with simple rows.
- Maintain consistency in stitch types, ensuring no further increases.
Decorations
-
Door Decoration
- Crochet door patterns with chains and single crochets, making structural enhancements.
- Add additional rounds for embedded detail.
-
Window Design
- Use fewer chains to form smaller window decorations.
- Ensure uniformity by making two identical pieces.
-
Attachment
- Combine door and window elements using adhesive, sewing thread, or a tapestry needle.
- Finalize with decorative placement to enhance the strawberry’s appearance.
Final Steps
-
Assembly
- Attach the base, stem, and fruit securely.
- Align all parts for a cohesive design.
-
Finishing Touches
-
- Break and tidy thread ends using a lighter.
- Inspect for any loose threads or gaps, ensuring durability.
Conclusion
- The crochet strawberry is complete, showcasing a functional and artistic craft.
- The tutorial encourages creativity, offering ideas for personalization or expanding the design for decorative purposes.
- Viewers are thanked for following along, with closing wishes for enjoyment and utility.