How To Crochet Sheep Lamb For Beginners
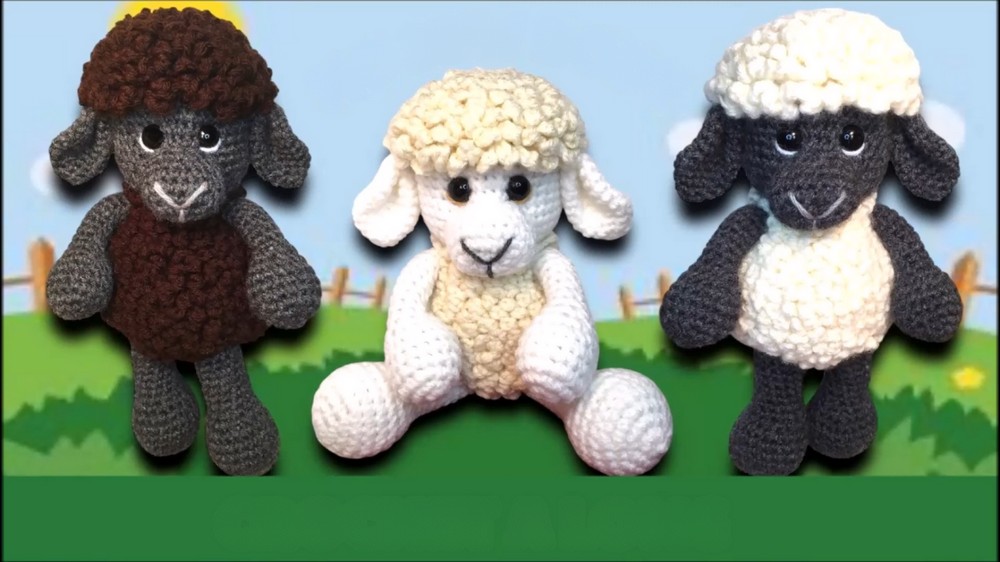
With a step-by-step tutorial, learn how to crochet an adorable no-body sheep pattern, ideal for beginners and experienced crocheters alike. The creator guides through each stage, starting with making the arms and legs, followed by the head, body, and detailed assembly, including adding safety eyes, stuffing, and sewing the muzzle and ears. Using a 4.25mm hook, medium-weight yarn, and 14mm safety eyes, the project is easy to follow with clear verbal instructions and on-screen pattern guidance.
The tutorial encourages creativity while emphasizing helpful tips for perfecting each stitch. So, follow through with us for the complete tutorial. So, follow through with us for the complete tutorial.

CROCHET SHEEP LAMB Tutorial
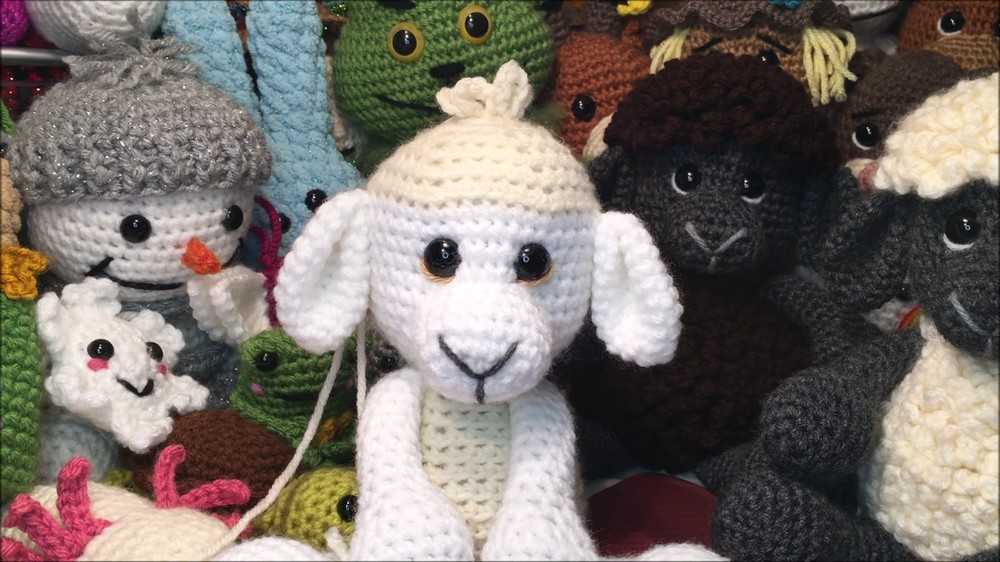
This crochet tutorial helps you create an adorable sheep following a “no-body” pattern. The project involves sequentially crafting all parts (arms, legs, head, and body), attaching them, and adding details like eyes, ears, and a muzzle. The wool texture is added to specific parts for a fluffy finish. The creator uses yarn, a hook, and safety eyes for this project, guiding viewers through the process with clear step-by-step instructions.
Materials Needed
- Yarn: Medium-weight yarn (color for the body and contrasting color for wool).
- Crochet Hook: 4.25 mm.
- Accessories: 14 mm safety eyes, stitch marker, scissors, darning needle, and stuffing material.
Key Steps and Process
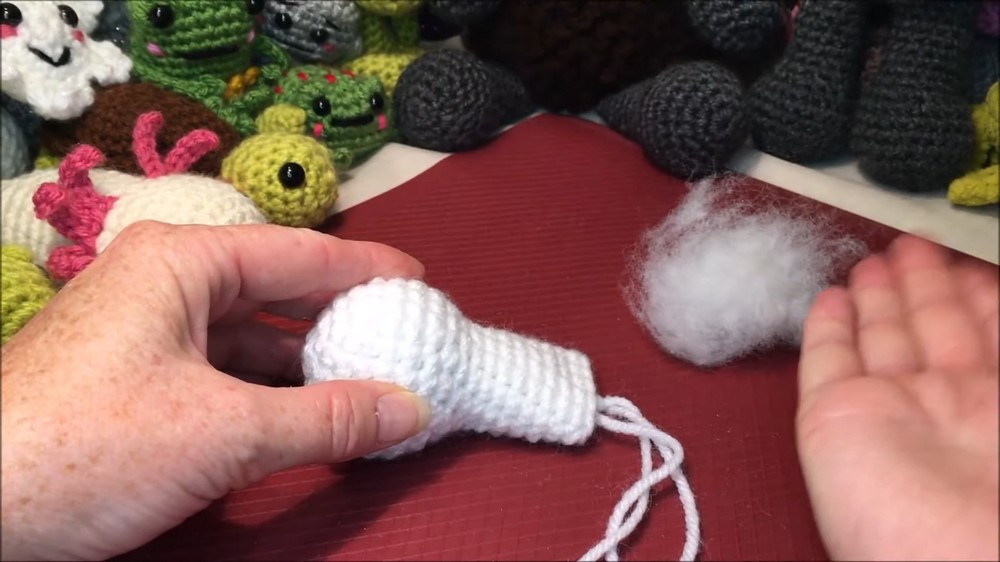
1. Crafting the Arms
- Create the arms using single crochets, increases, and decreases.
- Add stuffing into the rounded ends, ensuring they’re not overstuffed to maintain flexibility.
- Finish by flattening and sewing the open end of the arm.
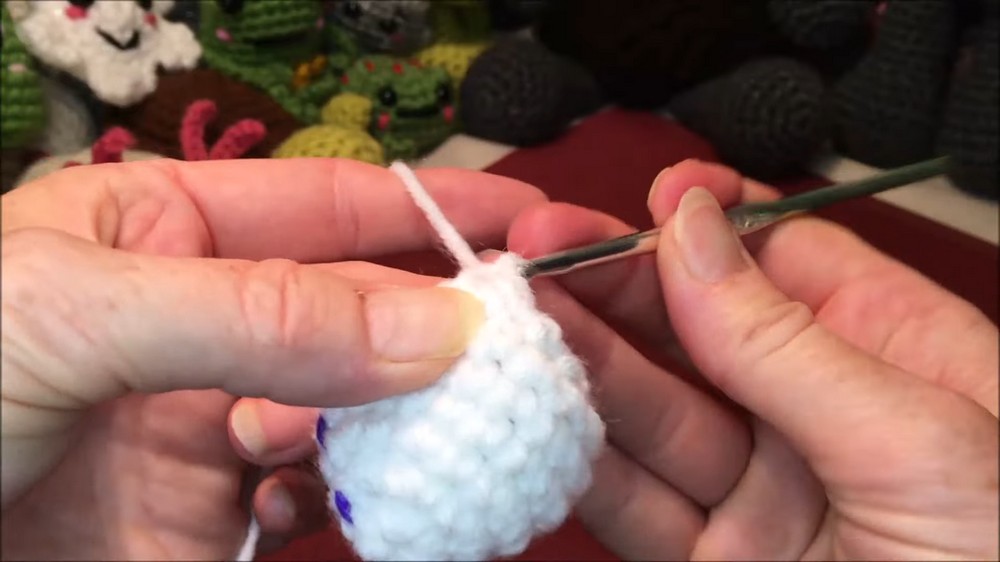
2. Crocheting the Legs
- Start similarly to the arms, with increases shaping the foot base.
- Work several rounds to build up the leg structure.
- Add stuffing, leaving the top slightly empty for flexibility.
- Flatten and sew the open ends.
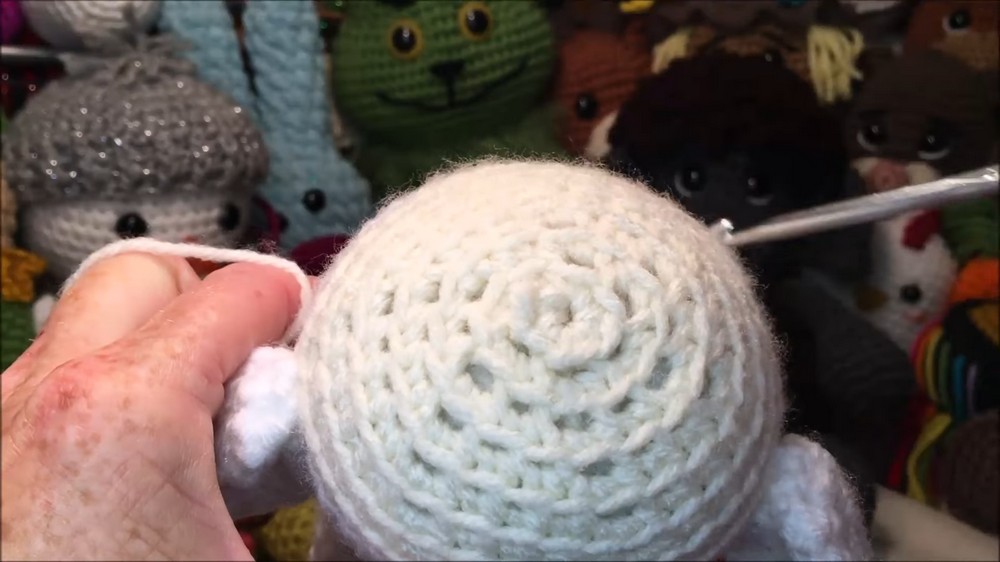
3. Starting the Head
- Begin with a tight circle and gradually increase to shape a spherical head.
- Incorporate back-loop-only stitches, leaving front loops for adding wool texture later.
- Transition to the body color using a yarn color change technique.

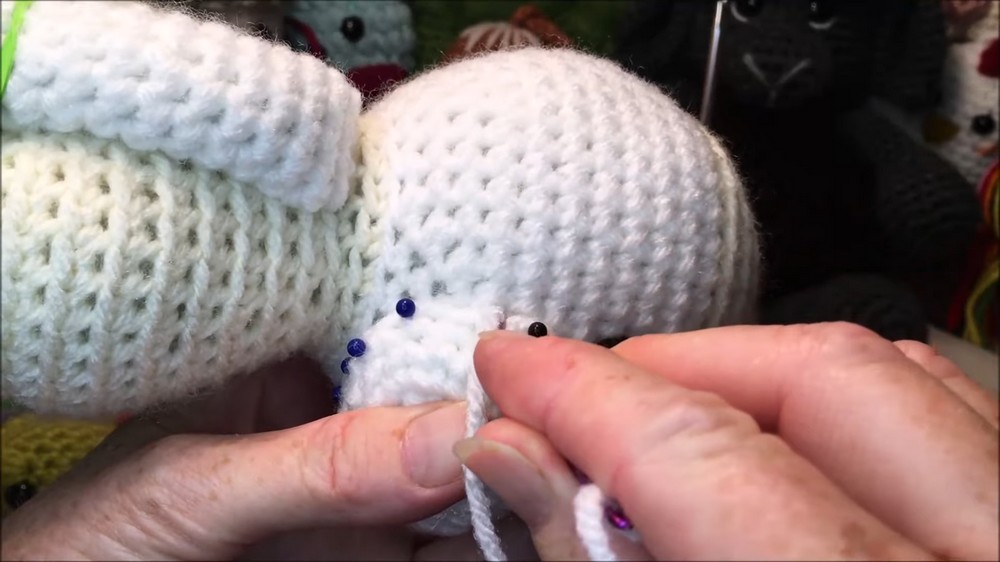
4. Inserting the Safety Eyes
- Position the safety eyes between the designated rows below the head.
- Tighten and secure. Adjust the stuffing inside the head to create a firm shape.
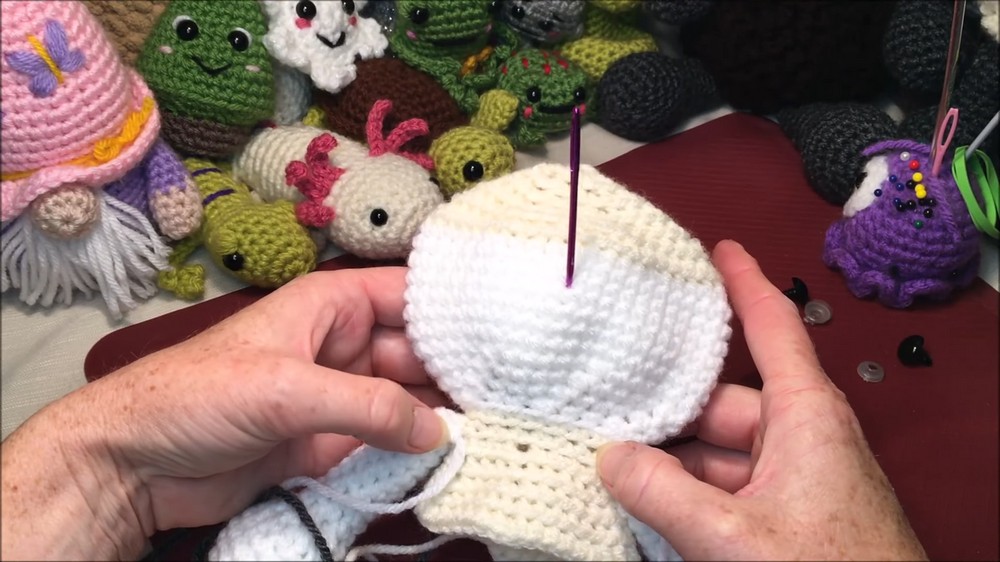
5. Creating the Body
- Transition from the head to build the body using a series of single crochets.
- Attach arms and legs via stitches, ensuring symmetrical placement for balance.
- Add stuffing during rounds.
Additional Details
6. Muzzle Creation and Attachment
- Crochet a small oval muzzle using chain and single crochet techniques.
- Position below the eyes, pin it in place, and evenly sew. Adjust stuffing as needed.
7. Shaping the Face
- Thread yarn around the eyes to draw them inward slightly for an endearing appearance.
- Optionally add subtle embroidery or accents under the eyes and around the muzzle.
8. Assembling the Ears
- Crochet small ears in the same yarn color as the head and body.
- Sew the ears symmetrically to the sides of the head using back-and-forth stitches.
9. Adding the Wool Texture
- Using loops left in earlier back-loop-only rows, add wool tufts around the head and body.
Final Touches
- Add final stuffing to the head and body to create a compact, firm but soft structure.
- Sew any open ends closed, ensuring the shape remains symmetric.
Final Tips
- Regularly check symmetry while attaching parts.
- The wool texture enhances the sheep’s cuteness, so take care with spacing.
- Experiment with accessories like ribbons or scarves for added detail.
Overall, this tutorial is a guided crochet-along with detailed instructions for each part of the project. Following the steps carefully will result in an adorable handmade sheep perfect for gifting or decorating!