How to Crochet Simple Lip Balm Holder Keychain for Beginners
Learn how to crochet a compact and functional lip balm holder with a keychain attachment perfect for beginners. Using a magic ring, single crochets, and increases, the design is adjusted to suit various lip balm sizes. The project is perfect for scrap yarn and offers a relaxed process without counting stitches. The keychain hardware is seamlessly attached for practicality, making it ideal for purses or bags. This easy-to-follow guide combines utility and creativity for all skill levels.

Crochet Lip Balm Keychain Tutorial
- The tutorial demonstrates how to crochet a lip balm holder with an attached keychain.
- It is a quick and easy project, suitable for beginners and experienced crocheters alike.
- The holder is designed to fit various lip balm or lip gloss sizes and can be customized in length or color.
- It’s a practical and creative way to use scrap yarn.
Materials Needed
- Yarn: Any kind of scrap yarn will work for this project.
- Crochet Hook: Select an appropriate size for your chosen yarn.
- Keychain Hardware: Either a swivel clasp or keyring can be used.
- Other Tools:
- Scissors for trimming excess yarn.
- A darning (tapestry) needle to weave in the ends.

Step 1: Creating the Base
- Start with a Magic Ring:
- Create a magic ring (or magic circle) to begin the project.
- The magic ring allows for a tight and neat closure at the base.
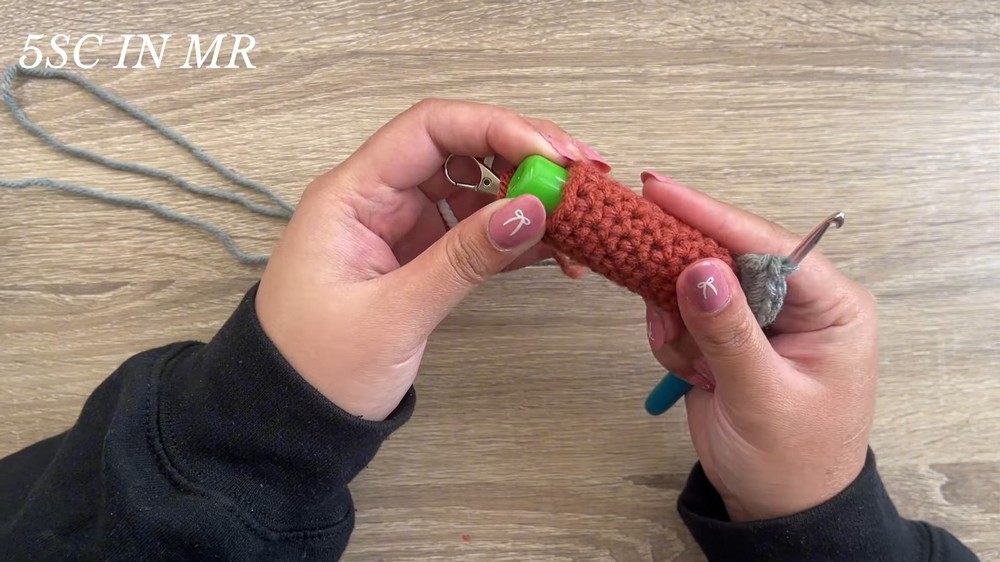
- Add Single Crochets:
- Insert the specified number of single crochet stitches into the magic ring to form a circular base.
- Adjust the stitch count depending on the size of the lip balm you plan to use. For example, fewer stitches suit standard lip balms like Vaseline jars.
- Close the Ring:
- Pull the ring tight to close the center securely and lay the foundation for the holder.

Step 2: Building the Shape
- Work Increases:
- Add increases in the next round to create a wider, cone-like base to fit the bottom of the lip balm or gloss.
- Tighten the magic ring further during this step if needed.
- Crochet in the Round:
- Begin single crocheting one stitch in each previous stitch, working upward in a spiral.
- Continue crocheting rows until the pattern reaches the desired height for your lip balm.

Step 3: Adding the Keychain
- Finish the Lip Balm Holder:
- Leave some open space at the top for easy access when removing the lip balm.
- Slip stitch at the end of the last row to create a clean edge, and chain one.
- Attach the Keychain:
- Use the first stitch after the slip stitch to loop in your keychain hardware securely.
- Single crochet around the keychain attachment, ensuring stability. The exact number of stitches depends on the size of the hardware.
- Work backward through the stitches for a snug fit and finish with a chain.
Step 4: Finishing Touches
- Secure the Yarn:
- Use a darning needle to weave in the yarn ends and secure them discreetly.
- Trim any excess yarn, ensuring a polished and clean look.
- Check the Hardware:
- Test the keychain attachment for stability and ensure the holder fits snugly around your lip balm.
- Stretch and Shape:
- Gently stretch the piece to align the stitches and adjust the shape for symmetry.
Conclusion
- The finished product is a practical and decorative holder for lip balm that can be attached to a keychain or bag.
- The project is highly customizable in terms of size, height, color, and hardware style, making it a versatile creation.
- The tutorial encourages creativity and provides a simple way to use leftover yarn.
- Viewers are inspired to create matching or multiple holders in different colors for gifting or personal use.