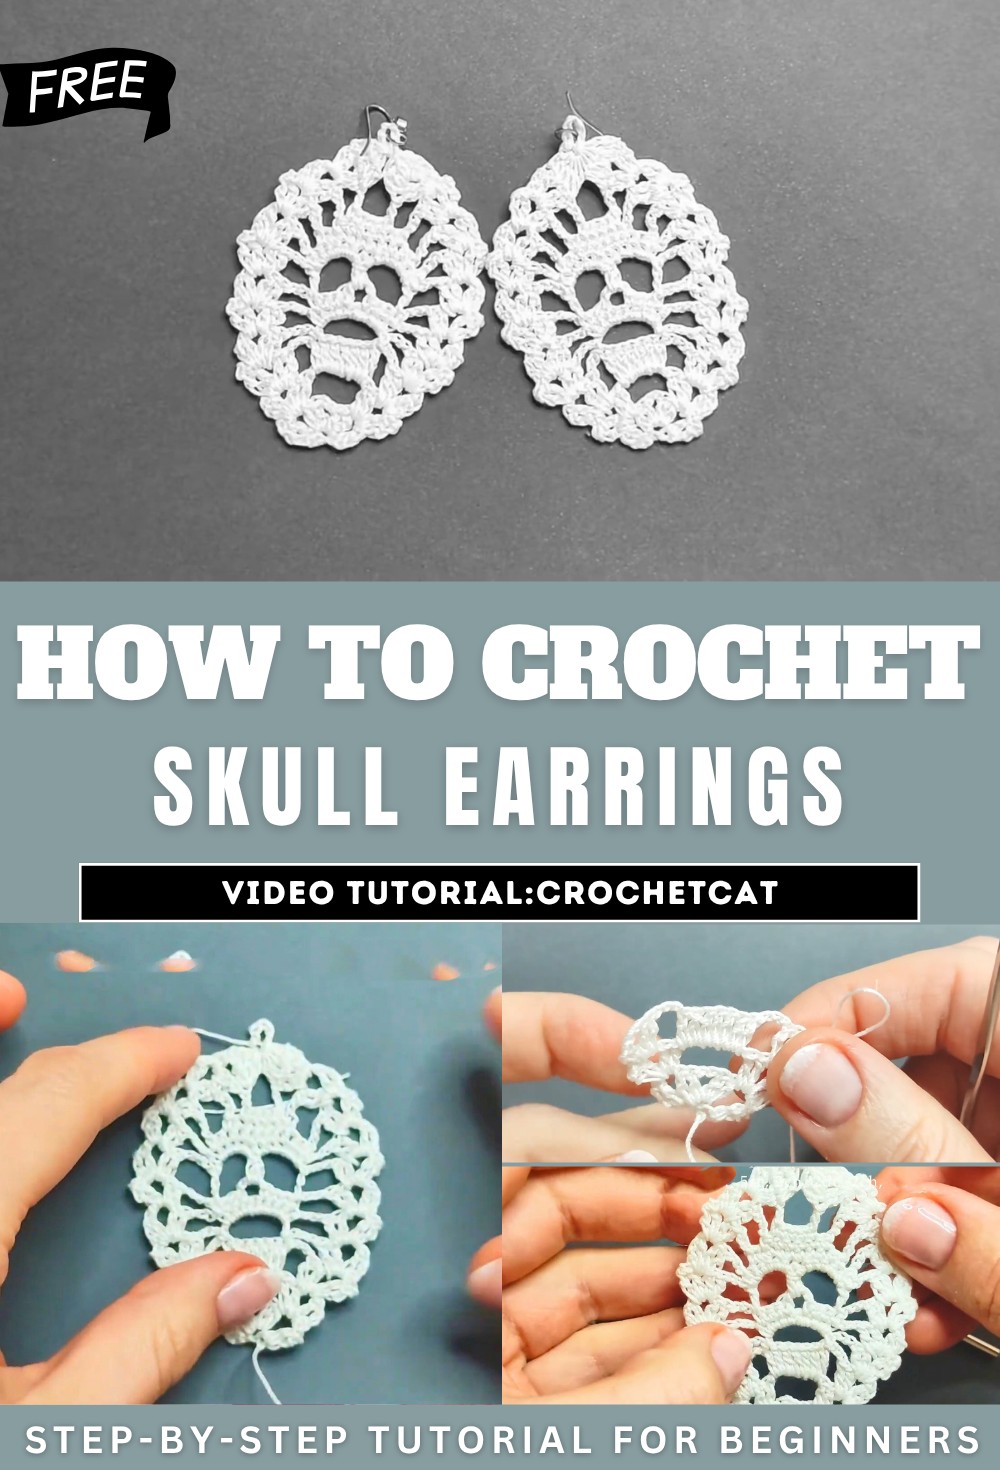
How to Crochet Skull Earrings for Halloween

Learn how to crochet small, detailed skull earrings for Halloween wear using cotton yarn named Moxy with a step-by-step tutorial for beginners. The yarn’s recommended hook size is 2.5, but the creator uses a size 1 hook for a compact and intricate design. The tutorial guides viewers step-by-step, starting with chains and progressing through double crochets, slip stitches, and intricate techniques to create a skull-shaped pattern. It is easy to crochet for intermediates.
Crochet Skull Earrings Tutorial
Introduction
- The video tutorial demonstrates how to crochet intricate skull-shaped earrings using cotton yarn named “Moxy.”
- Moxy yarn’s recommended hook size is 2.5, but the creator opts for a size 1 crochet hook to achieve a smaller, more detailed design.
- Essential tools for the project include the yarn, a hook (size 1), and scissors.
- The tutorial walks viewers step-by-step through the process, focusing on techniques to create the skull pattern efficiently while ensuring attention to detail.
Setup and Starting Framework
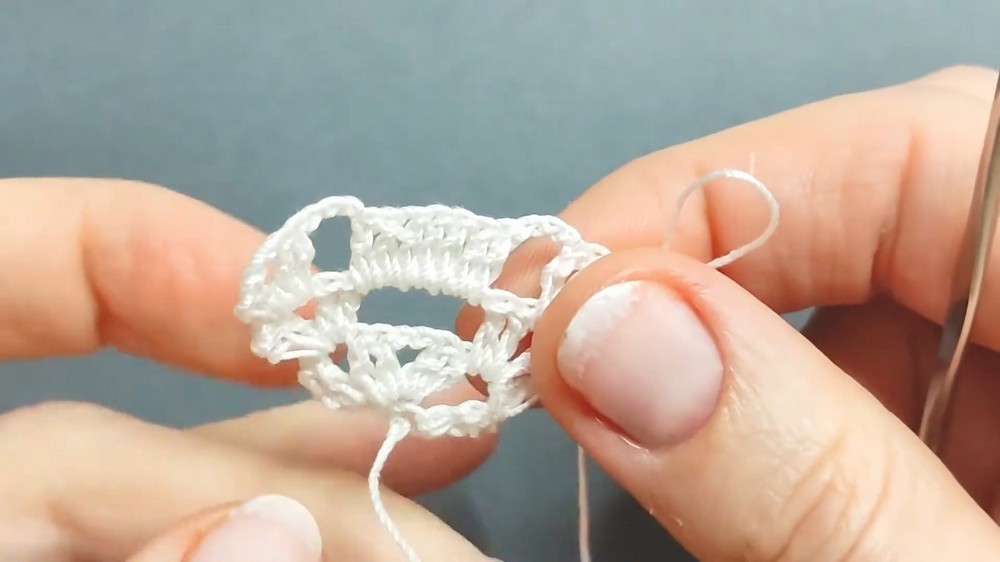
- The project begins by creating the base framework for the skull earrings.
- Basic chains are used as the foundation, followed by double crochet stitches to form structural loops.
- Two double crochets with chain spaces are repeated to construct a symmetrical frame for the skull.
- After completing the initial rows, the work is turned and slip stitches are introduced for refinement and to transition to the next stages.

Building the Skull Shape
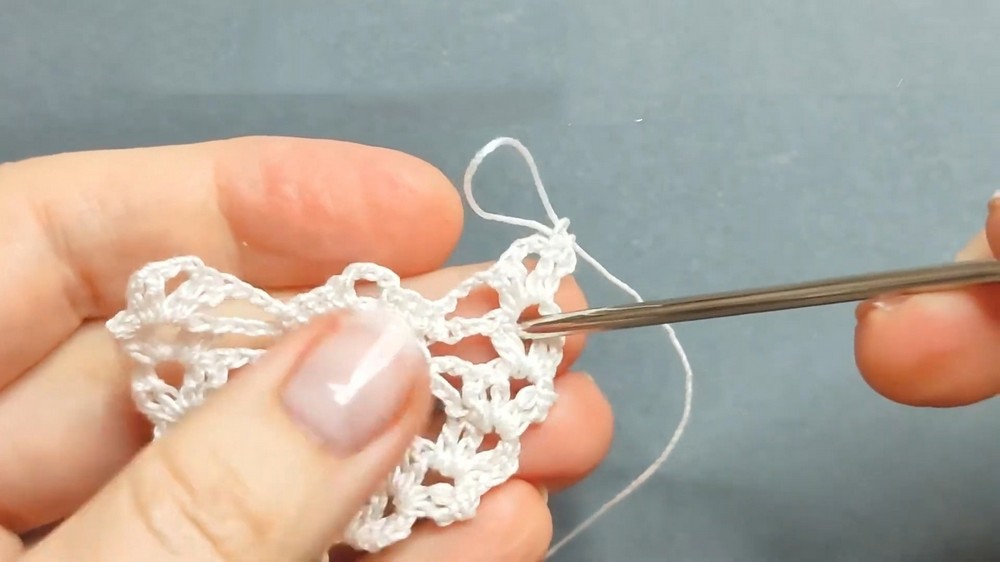
- The crocheted loops form the base for the skull’s key features, including its frame.
- The tutorial introduces the process of adding double crochet stitches, chain spaces, and slip stitches to create the outline and depth of the design.
- The skull is divided into components such as the nose, lower jaw, and eye sockets, each built using specific crochet combinations.
- Special attention is paid to creating symmetry, ensuring both sides of the skull look even.

Detailing the Skull’s Features
-
Eye Sockets
- Large loops are created using chains to represent the hollow eyes of the skull.
- The tutorial uses slip stitches to create fine details that accentuate the sockets.
-
Nose Formation
- The nose is constructed using a combination of half double crochet stitches to create a triangular shape.
- The designer emphasizes precision to align the nose with the skull’s overall symmetry.

-
Jaw and Mouth
- In the lower section, single crochet stitches are used to create the shape of the mouth and jaw.
- Chains are introduced repeatedly to refine the shape, ensuring neatness.
Adding Final Touches
- The last steps involve carefully forming the skull’s edges and emphasizing sharp outlines to enhance its aesthetic appeal.
- The crocheting process is slowed down in the tutorial, allowing viewers to observe how to transition stitches seamlessly.
- A small loop is crocheted at the top for attaching the earring hook, completing the design.
Finishing and Ironing
- Upon finishing the crochet, the earring is shaped further through ironing to smooth out any uneven loops and to give the piece a professional and polished appearance.
- The result is a delicate and stylish skull-shaped earring that is both lightweight and visually appealing.