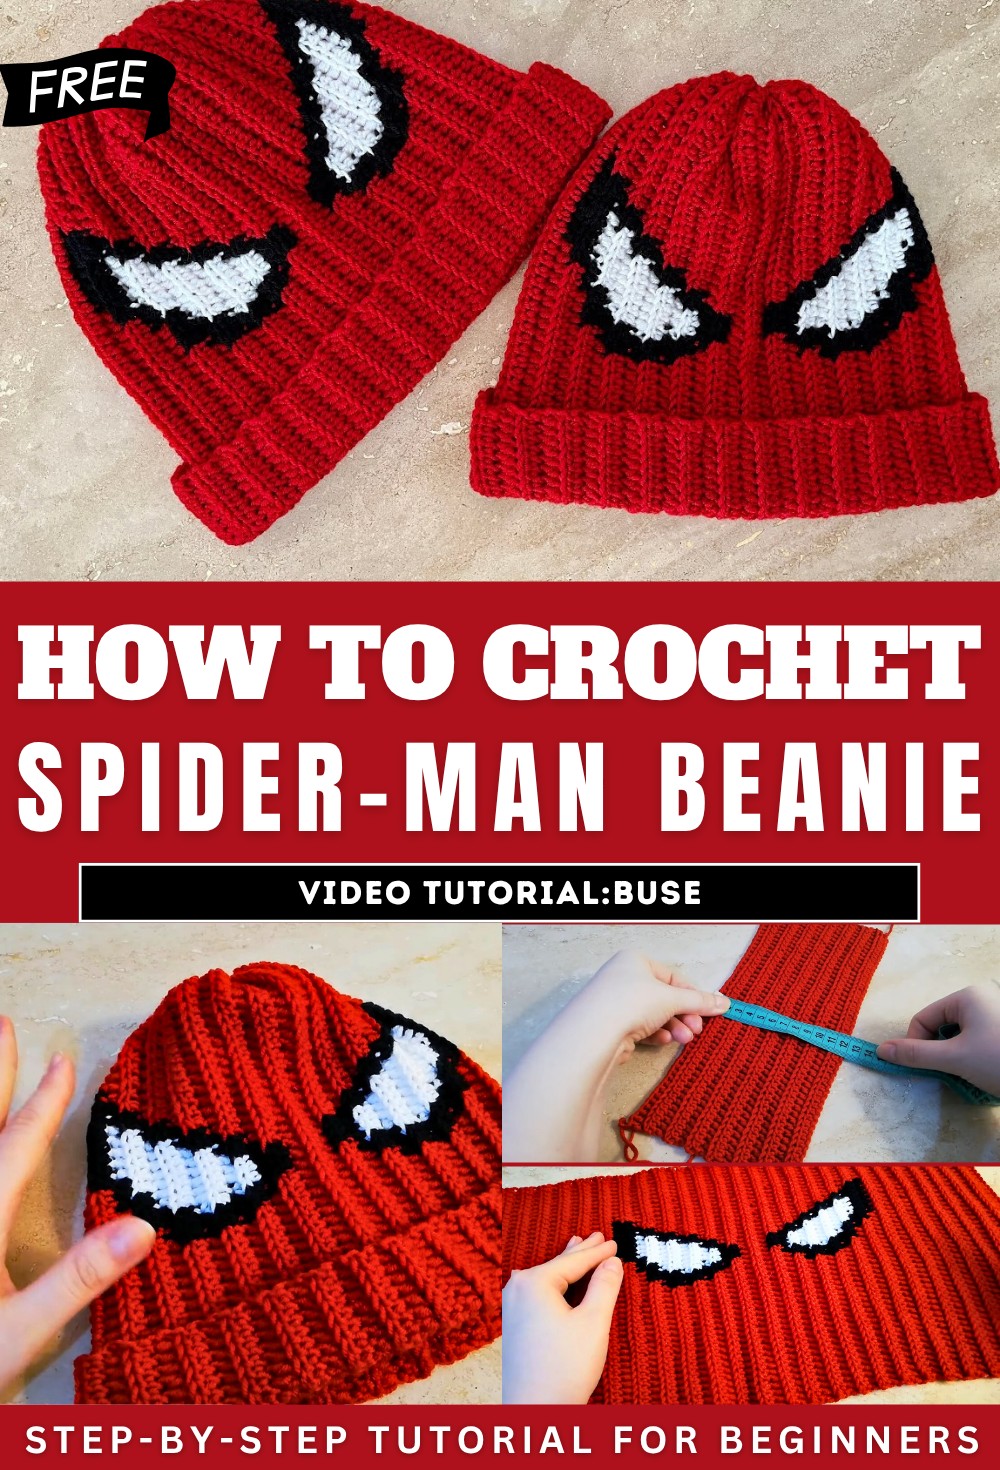
How to Crochet Spider-Man Beanie for Beginners
Learn how to crochet a Spiderman beret, detailing materials, techniques, and patterns step-by-step. Using anti-pilling red yarn as the base, along with black and white threads for the pattern, she guides viewers through creating chains, stitches, and color changes, ensuring the design looks polished.
Perfect for men and women, the beret combines style and practicality. So, follow through with us for the complete tutorial for beginners.
Materials Needed
- Main Yarn: Red antipilling yarn is recommended for longevity and resistance to pilling. Alternatives include acrylic, woolen, or cotton yarn.
- Pattern Colors: Black and white yarns are used to create the Spiderman design.
- Tools:
- 4mm crochet hook (or size suitable for your chosen yarn).
- Scissors for cutting yarn.
- Tape measure to ensure accuracy.
- Needle for stitching the beret’s final assembly.
Getting Started
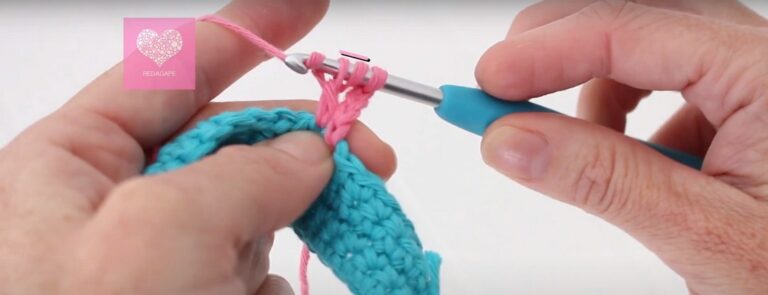
- Begin the project by making a chain. The tutorial offers guidance on how to properly chain and create a foundation row.
- The beret’s base uses the half double crochet (HDC) technique. From the very first chain to subsequent rows, the tutorial emphasizes creating neat and consistent stitches.
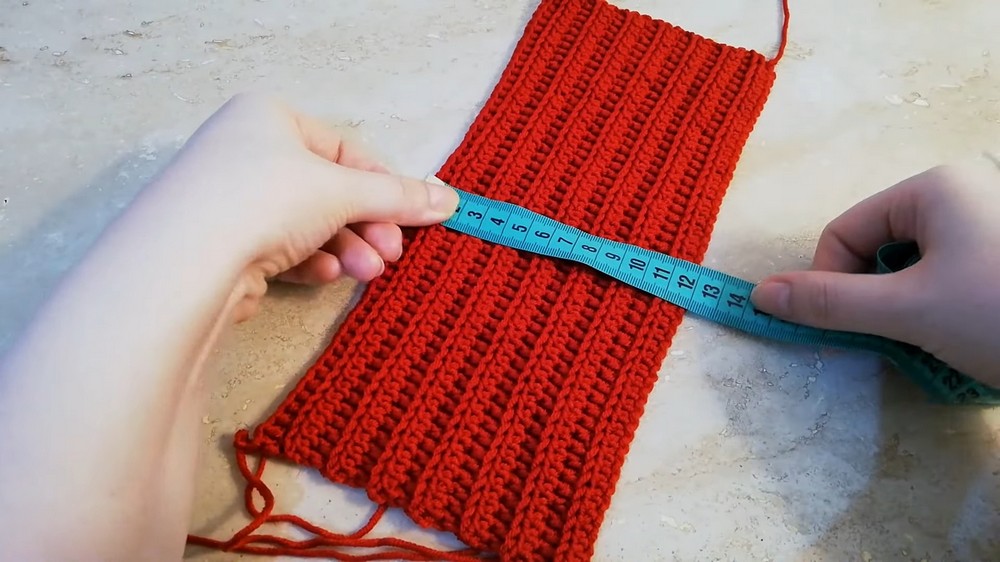
Creating the Ribbed Effect
- The beret features a ribbed texture. This is achieved by crocheting into the middle part of the stitches in subsequent rows.
- Continue this ribbed pattern over 14 rows (adjustable depending on the desired size or who the beret is for—men or women).
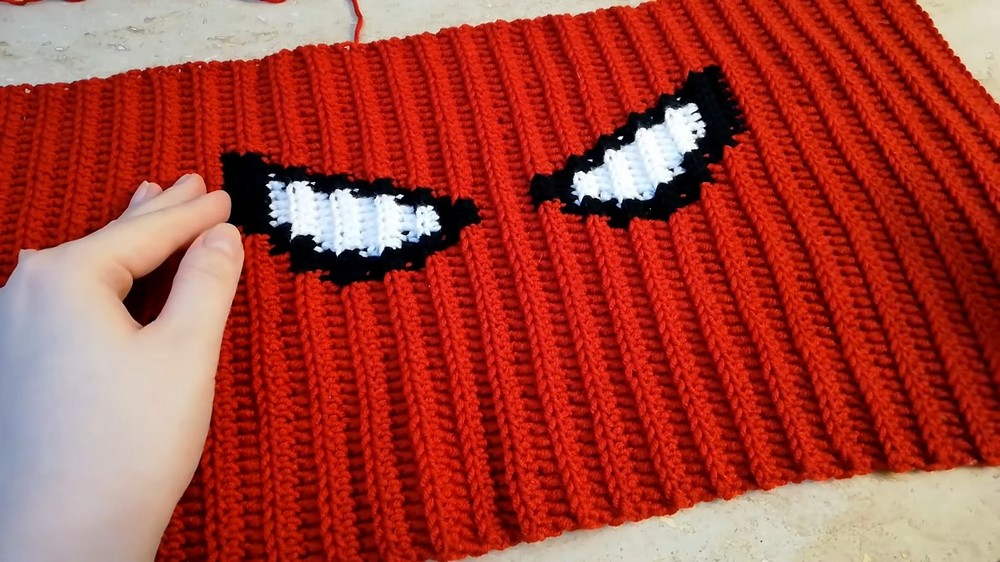
Adding the Spiderman Pattern
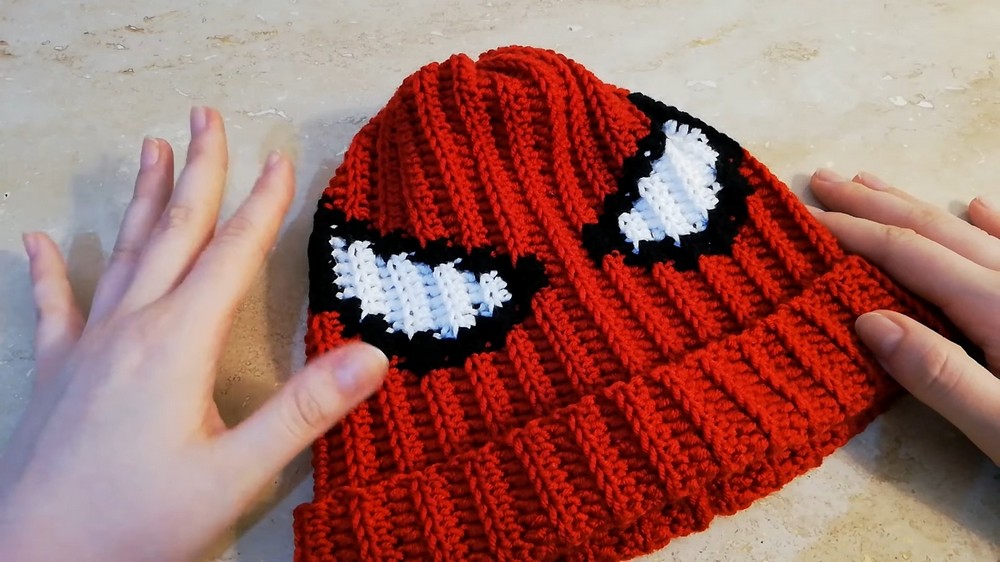
- The Spiderman-inspired design is created using a grid-like pattern of black and white yarn over the red base.
- Color Changes:
- Specific sections of the pattern require switching between red, black, and white yarns.
- Techniques for seamless color changes are explained in detail to avoid visible threads on the reverse side.
- Mini yarn balls are suggested for easier handling during color transitions.
- After completing one “eye” of the Spiderman design, move on to the next section, referencing the grid pattern provided in the video.
Final Adjustments and Sizing
- Once the pattern is complete, ensure the piece reaches the appropriate size—48cm in length for women, with extra rows suggested for men.
- The beret’s ribbed texture allows for some flexibility in fit, ensuring comfort.
Assembling the Beret
- Seaming:
- Fold the piece in half and use a slip stitch or needle sewing method to join the edges.
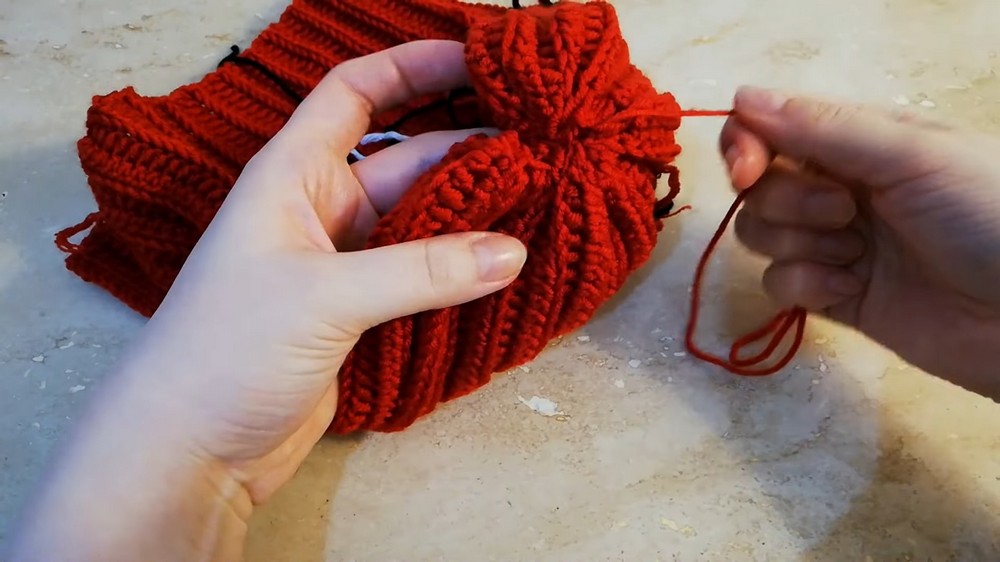
- Closing the Top:
- Using a needle and thread, close the top of the beret with simple stitching techniques, pulling the yarn to gather and secure the top.
- Any remaining gaps are closed with cross-stitches, and the excess thread is secured and trimmed.
Final Touches
- Turn the beret right-side out. Optional: fold the bottom edge of the beret for a more polished look.
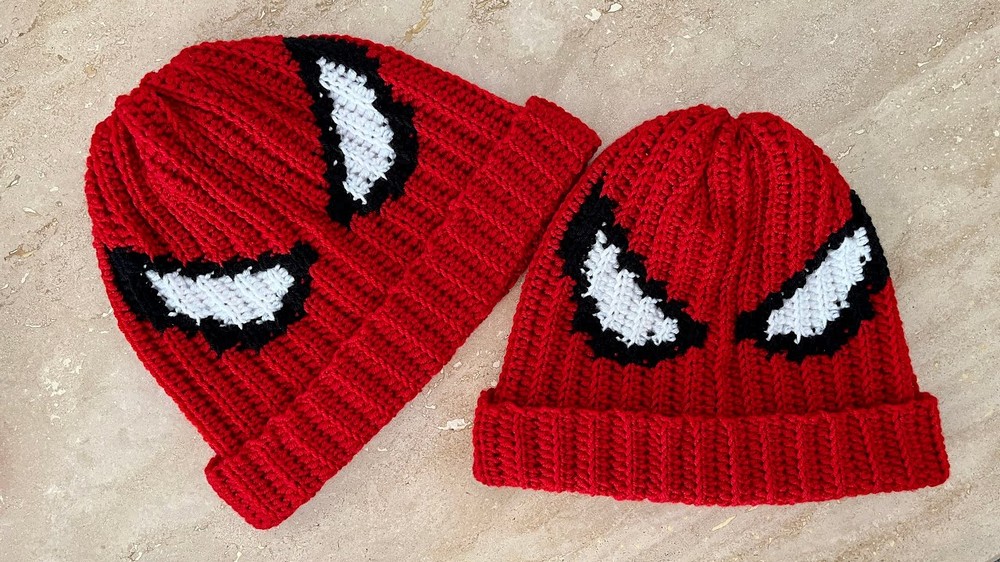
- The tutorial concludes by showcasing the finished beret, highlighting its versatile design and creative appeal.