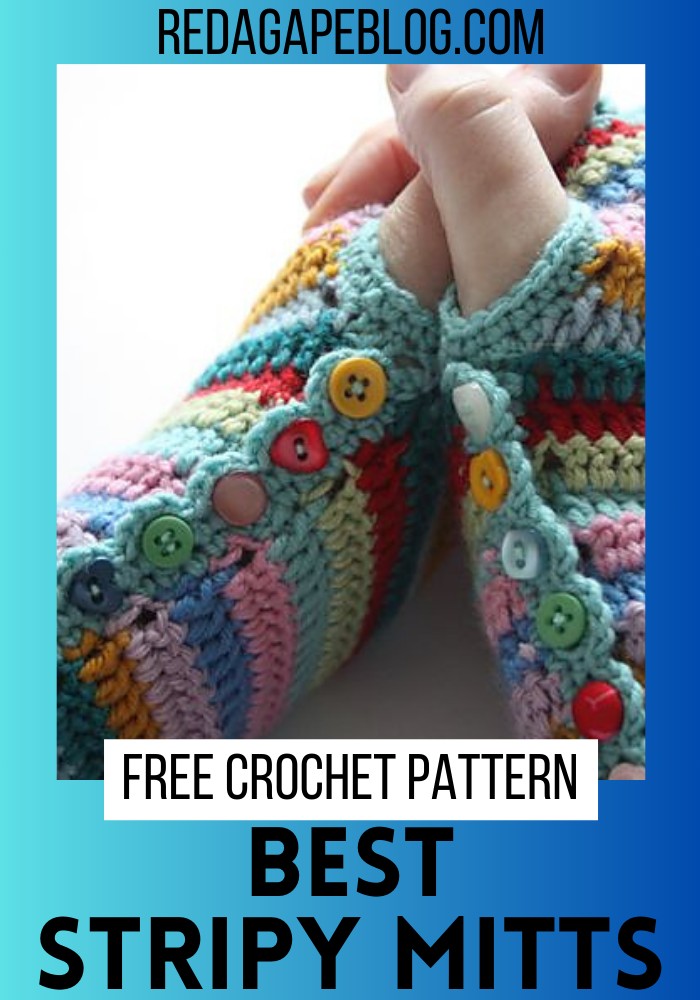
Crochet Stripy Mitts Pattern For Winter Vibrance
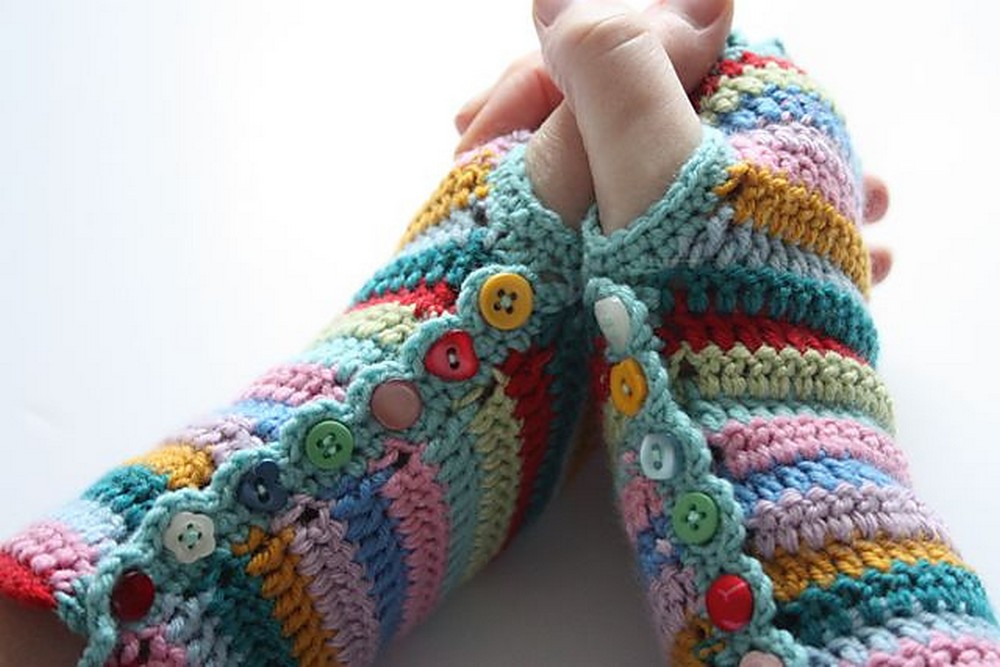
How cute it would be wearing gloves that provide you the colors, style, and warmth against the cold at the same time? Yes, this is now possible with the Crochet Stripy Mitts Pattern. It is a simple pattern with clear steps and a beginner-friendly design. With just about 170 yards of yarn, a hook, and some buttons, you can create these cozy crochet gloves. The pattern uses a range of stitches suitable for those just starting with crochet, explained in both UK and US terms for ease of understanding. The steps include creating stripes with different colors, ensuring a snug fit, and adding a button band for a charming finish. Whether you’re making them for yourself or as a gift, these stylish crochet mitts are sure to bring color and comfort to any chilly day.
Making Your Crochet Stripy Mitts
Materials Needed:
- 170 (approx) yards of sport or light DK yarn in various colors – Example used: Debbie Bliss Baby Cashmerino
- 3.5mm (USA E) hook – Adjust hook size as needed for the correct fit
- 14 buttons approx 1cm (3/8″) diameter – Can be matching or mismatched
- Yarn needle
- Needle and thread for sewing on buttons
Crochet Terms:
- The pattern is written in UK terms with US terms in green.
- ss – Slip Stitch (Slip Stitch)
- ch – Chain (Chain)
- dc – Double (Single)
- htr – Half Treble (Half Double)
- tr – Treble (Double)
- dtr – Double Treble (Treble)
Step by step Pattern
Starting Chain:
- Chain 38 (36 for the stitches, 2 for the turning chain).
Row 1:
- In the 3rd chain from the hook, make a half-treble.
- Continue with a half-treble stitch in each chain to the end. You should have 36 stitches.
Adjusting the Fit:
- If needed, adjust the starting chain by multiples of 3 for sizing.
Row 2 Onwards:
- Attach a new color, chain 3, then turn your work.
- Make a row of trebles.
Continuing:
- Keep adding new colors at the end of each row, making rows of trebles until you have around 4 or 5 rows.
- Test fit by wrapping the crochet around your arm.
Creating the Tube:
- After completing 15 stripes, without turning the work, bring the other end of the crochet round to start joining into a tube by making trebles across.
Edging:
- Once the tube form is complete, add a new color and start with a chain 1.
- Work a double crochet into the same stitch and along the edge.
- For a decorative edge, work into the back loops only, creating picots.
Button Bands:
- Layout the glove to start working on the button bands. The instructions will slightly differ here for the left and right gloves.
First Glove Button Bands:
- Start on the bottom right corner, making a chain of 3, then 2 treble stitches into the end of each row up to stripe 12.
Creating Buttonholes (for the second glove):
- Work a row of dc’s for the second glove, creating buttonholes as instructed.
Thumbhole:
- Join yarn above the first button band, chain 1, and work a round of dc’s around the opening, making sure not to crochet into the buttonhole band.
Finishing:
- Complete the thumbhole, then fasten off all yarn ends and sew the buttons onto the band opposite the buttonholes.
Remember to adjust the pattern for the right or left glove as mentioned in the instructions, especially for the button bands and buttonholes. This pattern allows for customization in terms of color and fit, so feel free to make it uniquely yours!