Katuna Earwarmer Crochet Pattern For Elegant Winter Defense
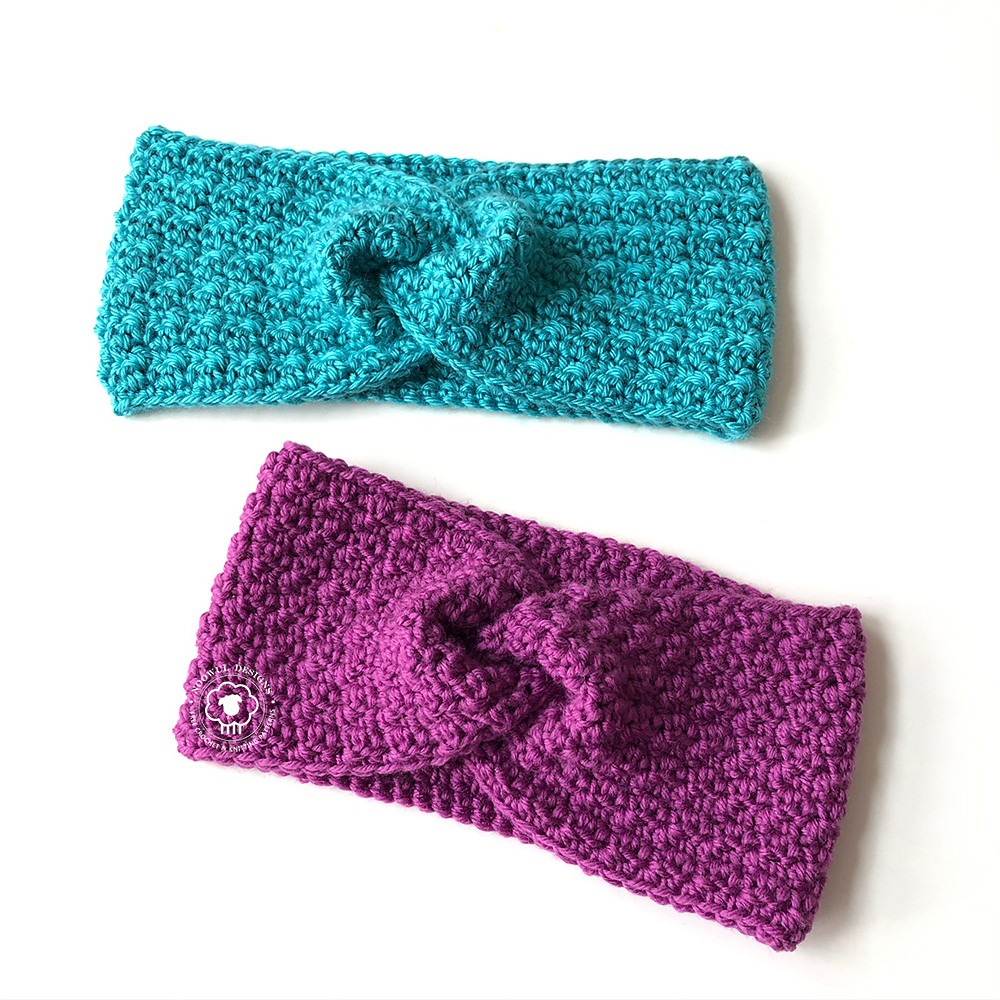
Tucked away from the icy festivities of winter, your ears find a haven of warmth in the comfort of earwarmers. More than a piece of fabric, these cozy companions bring together utility and style. The Katuna Earwarmer bring this game to the next level. Made with love, using soft, high-quality Merino wool, this crochet pattern allows you to create a stylish headband that features a unique twist at the front, giving a modern flair to a classic accessory. Ideal for beginners and seasoned crocheters alike, the pattern involves simple stitches worked in rows, complete with a helpful photo tutorial to guide you through the seaming process. So, choose the color of your choice or match with your otfit and start making this awesome winter accessory!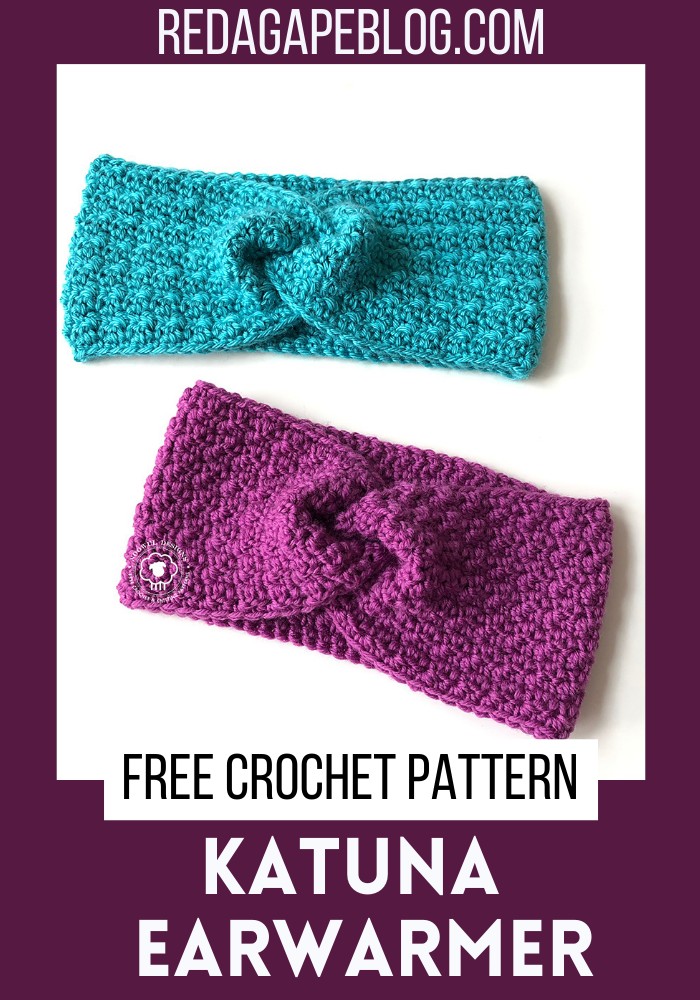
Making Your Katuna Earwarmer
Materials:
- Yarn: Less than one ball of Red Heart Chic Sheep by Marly Bird in color Vineyard, or any other worsted weight #4 yarn, 48 grams, 96 yards.
- Hook: 5.0 mm (US H-8).
- Gauge: 15 single crochet and 17 rows = 4 inches.
- Size: Teen/Adult = 21 to 23 head circumference.
- Finished Measurements: Circumference = 19 inches, Width = 4 inches.
Abbreviations (US Terms):
- CH: Chain
- DC: Double Crochet
- RS: Right Side
- SC: Single Crochet
Step by step Pattern
- Row 1 (RS): CH 77, working in back bump of chains, SC in second chain from hook and in each chain across, turn. (76)
- Row 2: CH 1, SC in first stitch, DC in next stitch, *SC in next stitch, DC in next stitch, repeat from * to end, turn. (76)
- Row 3 to Row 14: Repeat Row 2.
- Row 15: CH 1, SC in each stitch across. (76)
- Fasten off, leaving a lengthy tail for seaming.
- Lay work flat with right side facing up.
- Pick up right end and pinch the fabric to form a V-shape with the open side of the V facing left.
- Pick up the left end and create another V with the open side of the V facing right.
- Couple the V-shapes together to create 4 even layers of fabric.
- Using the tail, evenly sew through all 4 layers.
- When satisfied that the ends are sewn securely, weave in and clip the tail.
- Turn the headband right side out and smooth out the folds of the sewn ends.