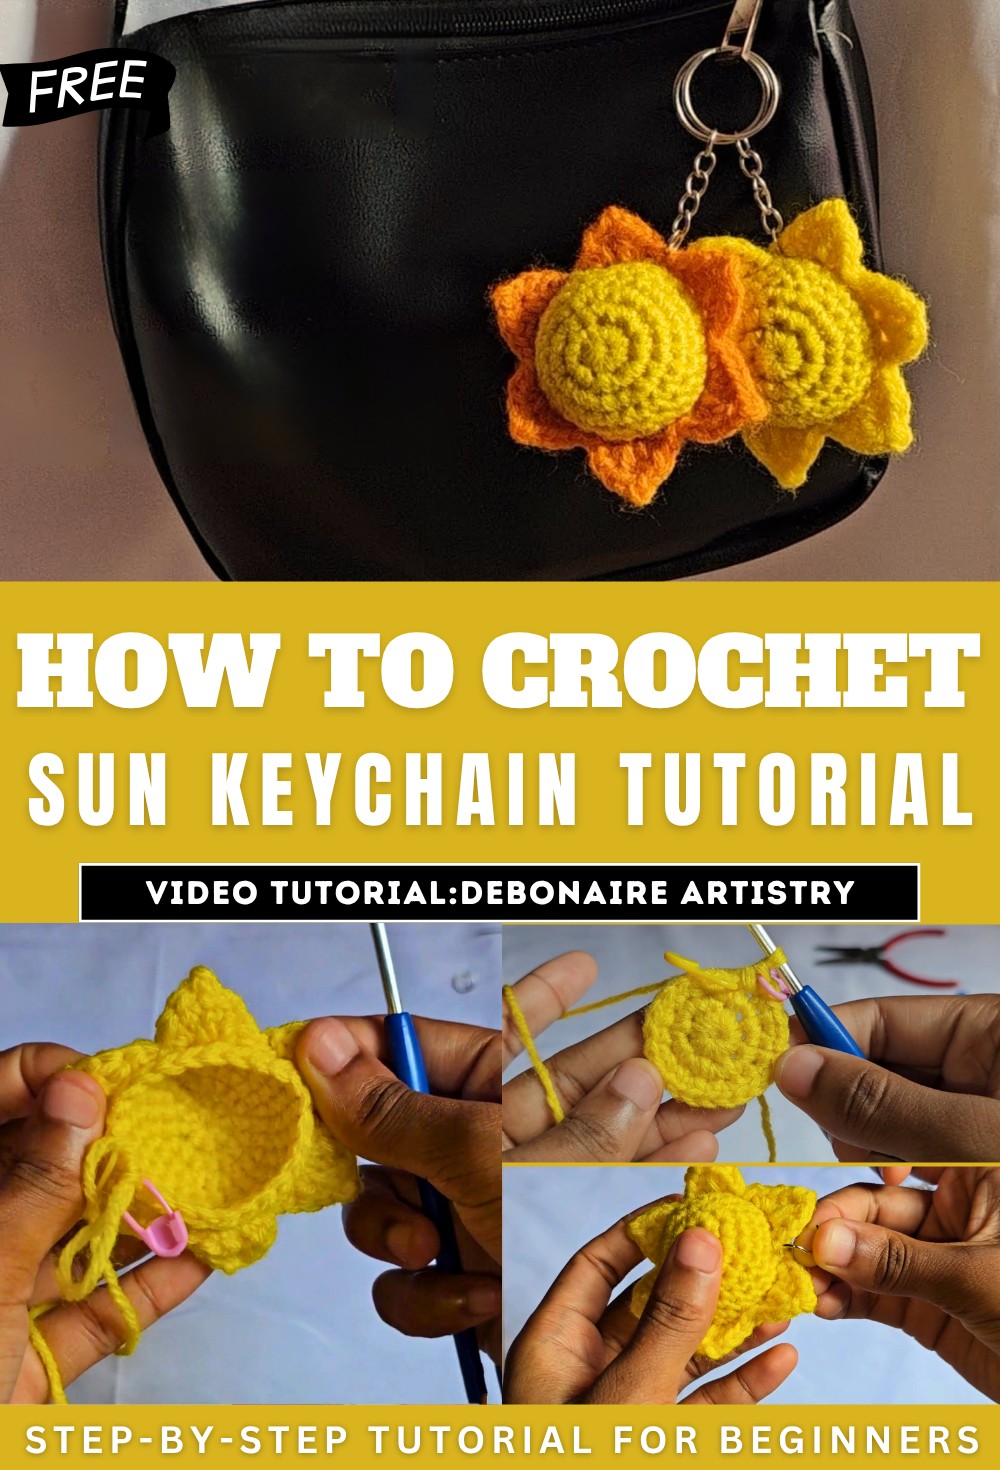
How to Crochet Sun Keychain for Beginners
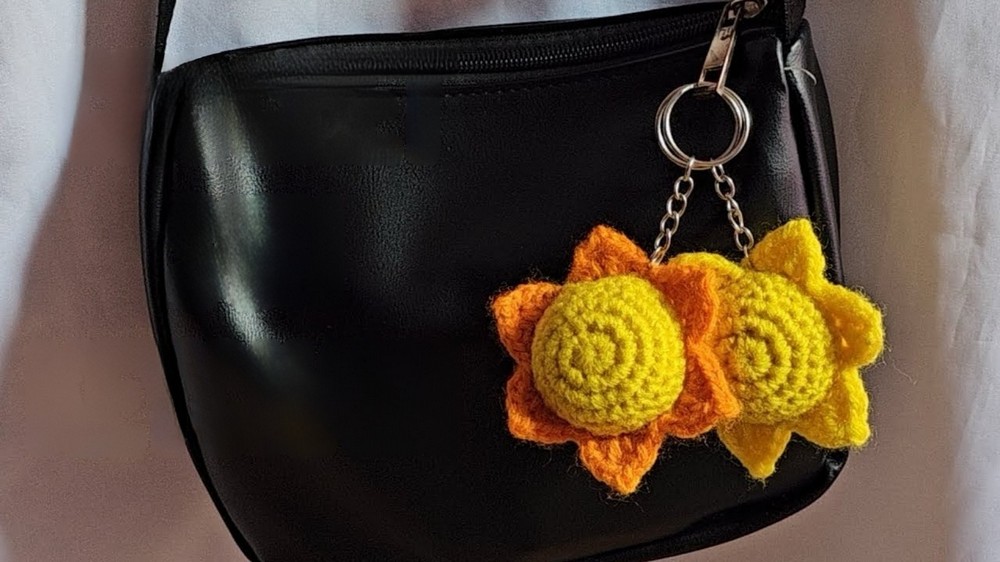
Learn how to crochet a mini sun keychain with a step-by-step tutorial for beginners. Decorative “peaks” are added by working in the front loops, while the back loops create depth. Crochet for a lovely sun keychain with this guide, perfect for summer. The result is a cute and functional crochet sun! Follow through with us for the complete tutorial for crocheting it.
Crochet Sun Keychain Tutorial
Materials Overview
- The tutorial begins by discussing the materials required to make the crochet sun keychain, including yarn, a crochet hook, stuffing, a jump ring, and a keychain. All tools are displayed and prepared.
Starting the Crochet Sun
- Magic Circle Creation: The project starts with a magic circle to create a secure base for the stitches. The knot is counted as the first chain.
- Initial Single Crochets: Single crochets are added into the magic circle to form the foundation of the sun. Once complete, the magic circle is pulled tight to close.
Building the Base of the Sun
- Increasing Stitches: Using a series of single crochets and increases, the base of the sun begins to take shape.
- Weaving in Yarn Tail: After completing this foundational round, the yarn tail is woven in for a clean finish.
Adding Thickness to the Sun
- Single Crochet Rounds: For the next three rounds, single crochets are worked continuously into each stitch to achieve the desired thickness.
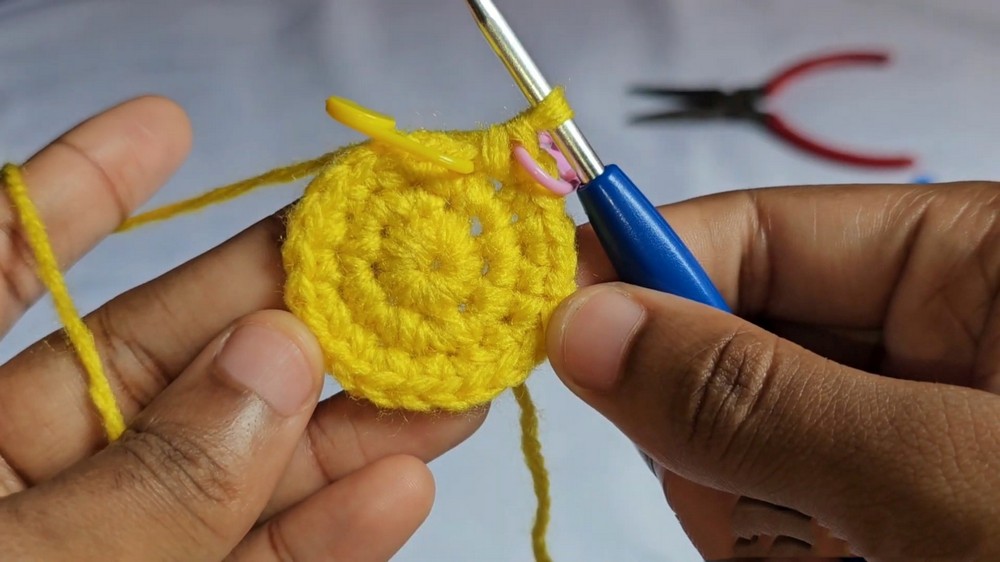
Creating the Sun’s Peaks
- Front Loop Only: The peaks are created by working exclusively in the front loops of the base. Back loops are marked beforehand for later use.
- Slip Stitch & Decorative Stitches: Slip stitch starts each peak, followed by a sequence of crochet stitches (single, half double, and double crochet).
- Chain and Picot: At the end of the peak sequence, a chain and slip stitch into the first chain form the decorative points of each peak.
- Reverse Pattern for Peaks: The second half of each peak involves working in reverse (double crochet, half double crochet, single crochet). A slip stitch is added to transition between peaks.
- Repeating Process: The peak pattern is repeated five more times, working across four stitches at a time.
Working the Back Loop
- Back Loop Crocheting: After completing the peaks, the tutorial shifts to the back loops left unworked earlier, maintaining symmetry and continuity.
- Additional Rounds: Several rounds of single crochets are completed in the back loop to add depth and form the structure of the sun.

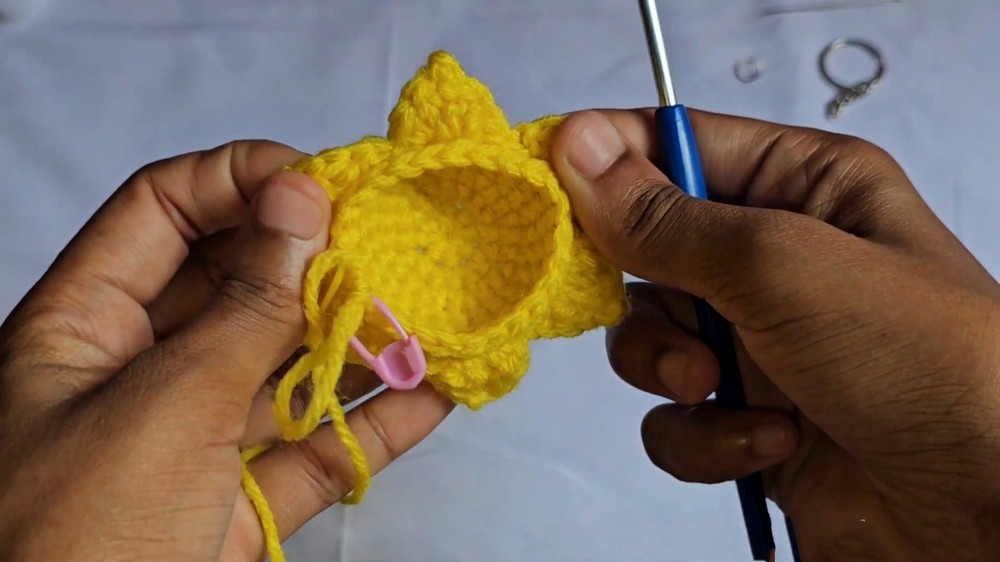
Shaping the Bottom
- Decreases for Closing: Decreases are worked systematically across the bottom to begin forming closure. This involves alternating single crochets and decreases.
- Stuffing the Sun: Before completely sealing the sun, stuffing is added to give it firmness and volume.
- Final Decreases: The last round further reduces the number of stitches until the bottom is completely closed.
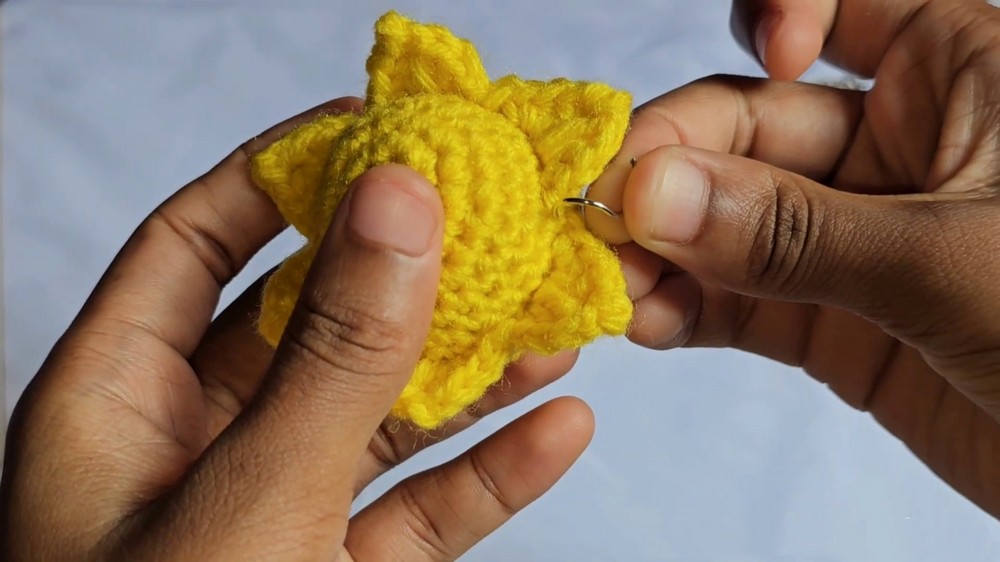
Finishing Touches
- Weaving in Yarn Tail: The yarn tail is threaded and used to sew the final stitches, closing the sun entirely before weaving in the ends.
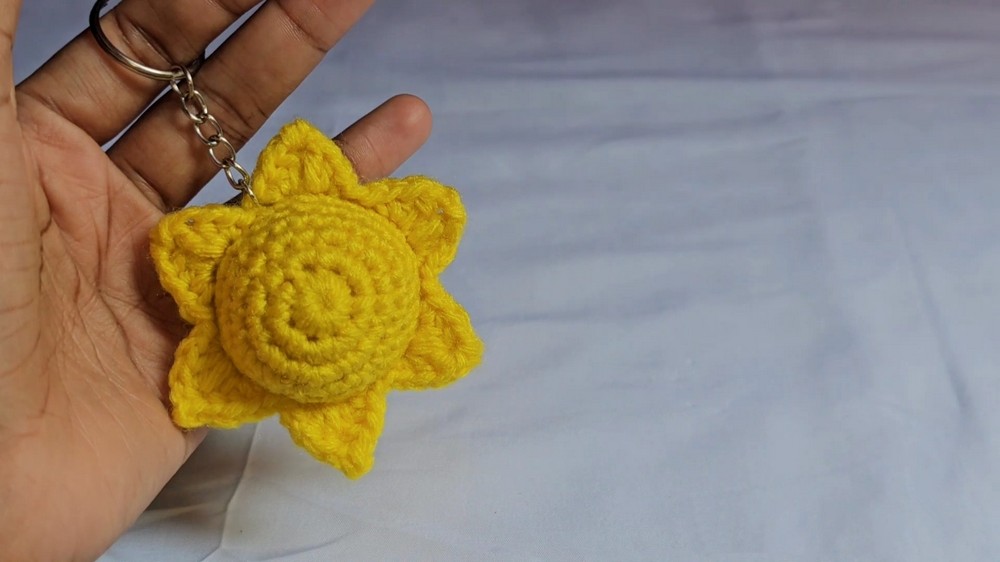
- Adding the Keychain: A jump ring is inserted through the top of the sun, followed by attaching the keychain to complete the project.