Free Crochet Table Cover Pattern for Cozy Farmhouse Decor
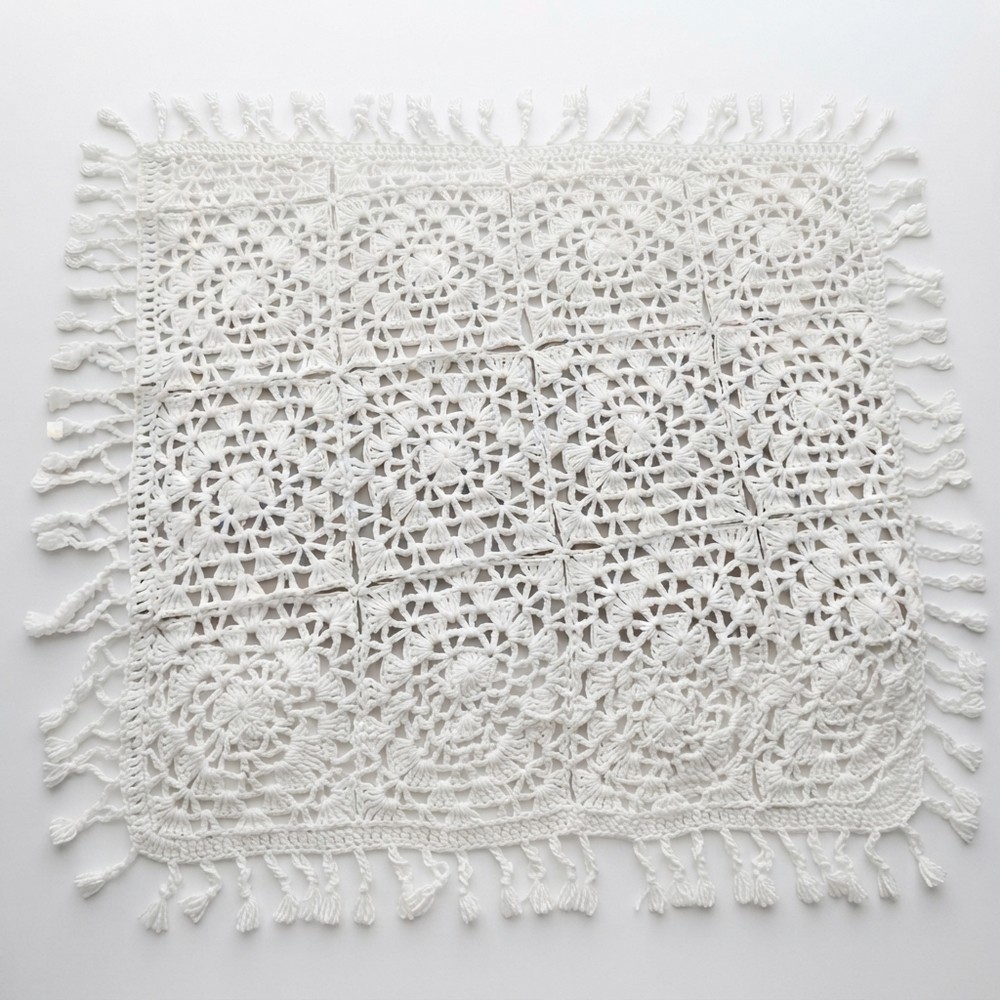
Dress your table in unique flair with this free crochet square tablecloth pattern that’s combining timeless beauty and practicality in one versatile piece.
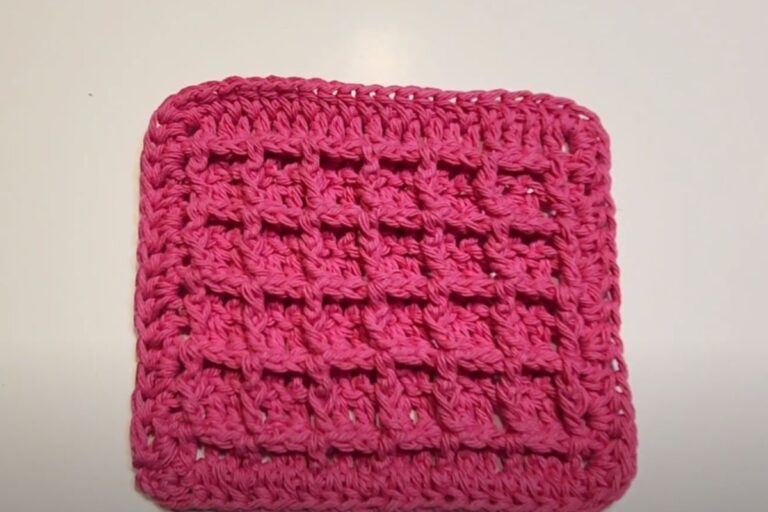
Want to give your table a fresh look? A Free Crochet Square Tablecloth Pattern is the perfect way to add a touch of charm and sophistication to your dining or living space. Shared by the skilled creator on the YouTube channel Rajutan Whita, this pattern helps you make a stunning tablecloth that’s both practical and decorative.
This square tablecloth features an intricate yet timeless design that captures attention. Its clean edges and detailed patterns make it a beautiful addition to any setting, whether you’re hosting a dinner party or simply enjoying a quiet meal with family. The square design is versatile, fitting perfectly on a dining table, coffee table, or even a side table. Customize it with colors that suit your home’s style, or stick to traditional whites for an elegant, classic appeal.
Free Crochet Square Tablecloth Pattern for Holiday Table Decor

The project is loved not only for its beauty but also for its usefulness. A crocheted tablecloth adds a cozy, handmade feel to your home while protecting your table. It’s a practical and stylish solution, and its washable, reusable nature makes it a functional choice for everyday use. Plus, gifting this tablecloth to loved ones is sure to leave a lasting impression.

Even if you’re a beginner, Rajutan Whita‘s step-by-step video tutorial makes creating this stunning tablecloth an enjoyable experience. For seasoned project, this pattern is a wonderful opportunity to showcase your skills and creativity. With this crochet tablecloth, you’ll turn any table into a beautiful focal point. Start working on this rewarding project today and create a piece that you’ll treasure for years to come!
Vintage-Style Granny Square Tablecloth Crochet Pattern (36 x 36 cm)
This pattern will guide you through making a lovely vintage-style square tablecloth using classic granny squares. Each square is made with delicate stitches and joined together to form a beautiful fabric. The finished tablecloth measures about 36 by 36 centimeters and has a decorative fringe border for an elegant touch. This beginner-friendly pattern breaks every step down clearly so you can easily follow along.
Pattern Highlights
- Classic granny squares made in 5 rounds each
- Smooth joining of squares during the final round
- Simple double crochet border around the whole piece
- Decorative fringe with chain loops and shell clusters
- Blocking with starch to set the shape and texture
Notes
- Use fine cotton yarn and a small hook (2.0 mm) for neat stitches.
- Work each granny square separately, then join on the last round.
- Use stitch markers if needed to keep track of corners and joins.
- Blocking is important to get a neat, square shape with crisp details.
Skill Level
Beginner to Intermediate
You should know how to:
- Make a magic ring
- Crochet double crochets (dc)
- Work chain stitches and slip stitches (sl st)
- Join squares by slip stitching
- Understand basic working in rounds
Materials Needed
- Yarn: Fine cotton, such as Jala or Bali cotton yarn in natural white or your choice of color
- Crochet hook: 2.0 mm (size 3/6)
- Tools: Scissors, starch (tapioca or corn), basin for warm water, pins for blocking, flat surface to pin on
Measurements / Size
- Finished Tablecloth: Approximately 36 cm by 36 cm after blocking
- Each Granny Square: About 7 cm by 7 cm before blocking
Gauge
- Gauge is measured by stitch size and motif size, aiming for 7 cm squares before blocking.
- Check your tension to keep the sizes consistent.
Stitch Abbreviations
- ch = chain
- dc = double crochet
- sl st = slip stitch
- mr = magic ring
Special Stitches
- Magic Ring (mr): Start your round with an adjustable loop to close tightly.
- Shell Cluster: Several dc stitches worked into the same space to create a fan shape (used in corners and edging).
- Slip Stitch Join: Used to connect motifs by slip stitching into the chain spaces on joined squares.
Step-by-Step Pattern
Making the Granny Square (5 Rounds)
Round 1
- Make a magic ring (mr).
- Chain 1 (this secures your ring).
- Work 4 double crochets (dc) into the ring.
- Chain 2 (this is the corner space).
- Repeat 4 dc, ch 2 three more times (total of 4 groups).
- Slip stitch to the first dc to close the round.

Round 2
- Slip stitch to the first chain-2 corner space.
- In each corner space: work (1 dc, ch 2, 1 dc).
- In the side spaces between corners (chain-2 spaces), also work (1 dc, ch 2, 1 dc).
- Repeat all around the square.
- Slip stitch to join the round.
Round 3
- In corner chain-2 spaces: work 4 dc, chain 2, 4 dc to make larger clusters.
- In side chain spaces: work (1 dc, ch 2, 1 dc).
- Repeat all the way around.
- Join with slip stitch.
Round 4
- In corner spaces: work (1 dc, ch 2, 1 dc, ch 2, 1 dc) for an extended corner cluster.
- In side spaces: work 4 dc clusters.
- Repeat this sequence all around.
- Join with a slip stitch.
Round 5 (Joining Round)
- This round finishes the square and joins it to adjacent squares.
- In corner spaces: work 4 dc, ch 2, 4 dc.
- Along side chain spaces, alternate between:
- (1 dc, ch 2, 1 dc), and
- 4 dc clusters.
- When two squares join: instead of working your own stitch in that space, slip stitch into the corresponding chain space of the joined square.
- At points where four squares meet (corners), make a slip stitch into the center joining point to secure the intersection.
- Join the round with a slip stitch.

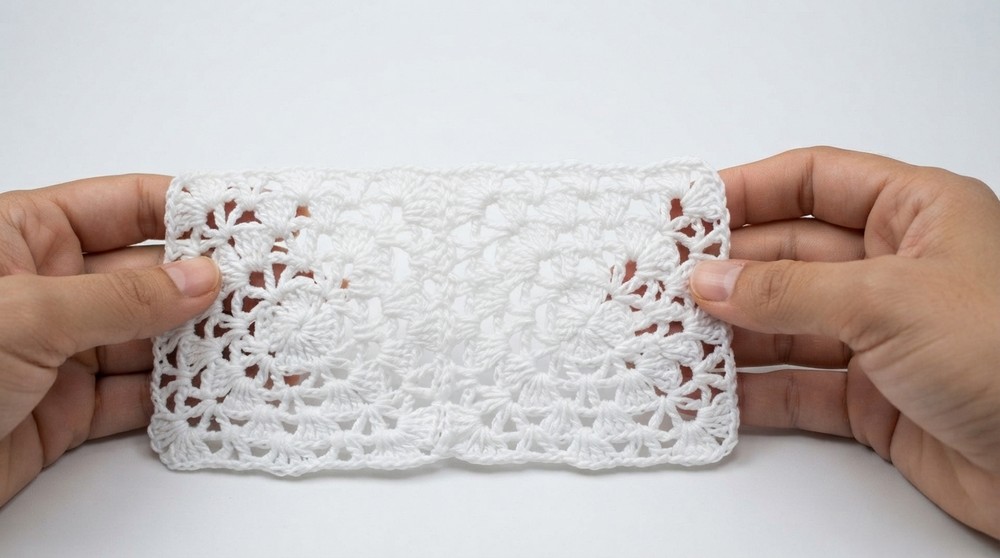
Joining Granny Squares
- Join each new square to existing squares while working Round 5 as described above.
- This method creates a neat and sturdy fabric with no gaps.
- Align squares carefully before slip stitching to keep edges straight.
Edging and Fringe
Edging
- After all squares are joined and the tablecloth reaches the desired size, work one round of double crochet (dc) stitches evenly around the tablecloth’s edge.
- This frame reinforces the piece and prepares it for the fringe.

Fringe / Ruffles
- To create the ruffled edge:
- Chain 11 stitches.
- Into the 11th chain, work 4 double crochets (dc) (this forms a shell/fan).
- Chain 3, then slip stitch back into the base (border dc round) to anchor the shell.
- Chain 10 more chains.
- Skip 2 stitches on the base and anchor the chains with a single crochet (sc).
- Repeat this pattern along the entire border for a decorative fringe.
Blocking
- Prepare a starch solution by mixing tapioca or corn starch with warm water.
- Soak the tablecloth in the starch solution, then gently squeeze out excess water.
- Spread the tablecloth flat on a clean surface.
- Pin it into a perfect 36 x 36 cm square using blocking pins.
- Let dry completely while pinned.
- Blocking will set the shape, crisp the edges, and sharpen the granny square motifs and fringe.

Assembly & Finished Size
- Once blocked and dried, the finished tablecloth measures about 36 cm by 36 cm.
- Squares are tightly joined to form a cohesive, flexible fabric.
- The edged border and fringe complete the vintage, elegant look.
Conclusion
You now have all the steps needed to create a beautiful vintage-style granny square tablecloth with a delicate, ruffled finish. This project is satisfying to make and perfect for beginners eager to learn motif joining and finishing techniques.
Take your time with each square, join carefully, and don’t skip the blocking step — it really transforms your work into a professional-looking, heirloom-quality piece.