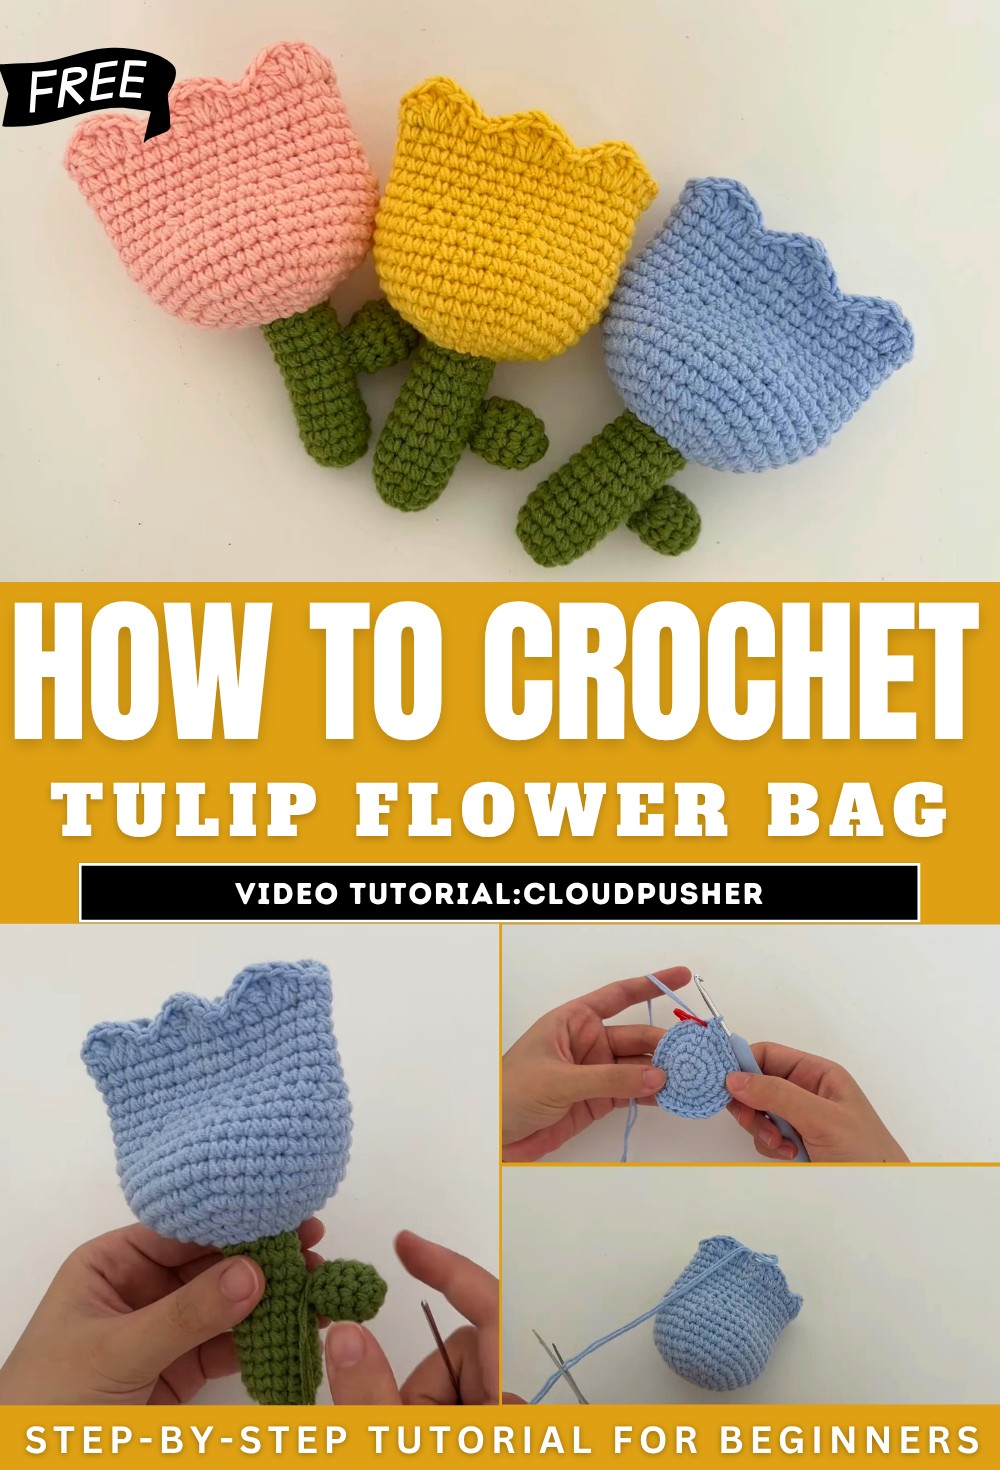
How to Crochet Tulip Flower Bag for Spring
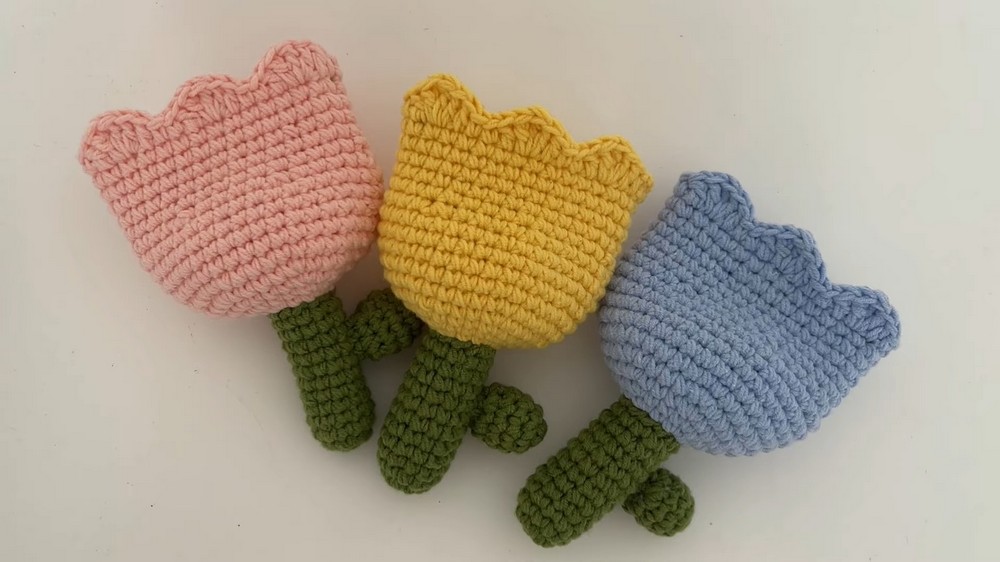
Learn how to crochet a tulip flower bag with a step-by-step tutorial for all skill levels. The tutorial covers the materials needed, including four-ply cotton yarn and a 4 mm hook. It guides through crocheting the flower base with increasing and decreasing rounds, then creating the stem and leaf with their respective patterns.
Finally, it demonstrates how to assemble the three crocheted parts (flower, stem, and leaf) by stitching them together. So, follow through with us for the complete tutorial.
Flower Bag Tutorial
This tutorial provides a comprehensive guide to creating a crochet project using 4-ply cotton yarn and a 4 mm hook. The project involves working with two strands of yarn held together to ensure durability and structure, and the tutorial demonstrates all steps, from forming the base to assembling the pieces into a completed design. Here’s a detailed summary of the process, organized with clear headings and bullet points:
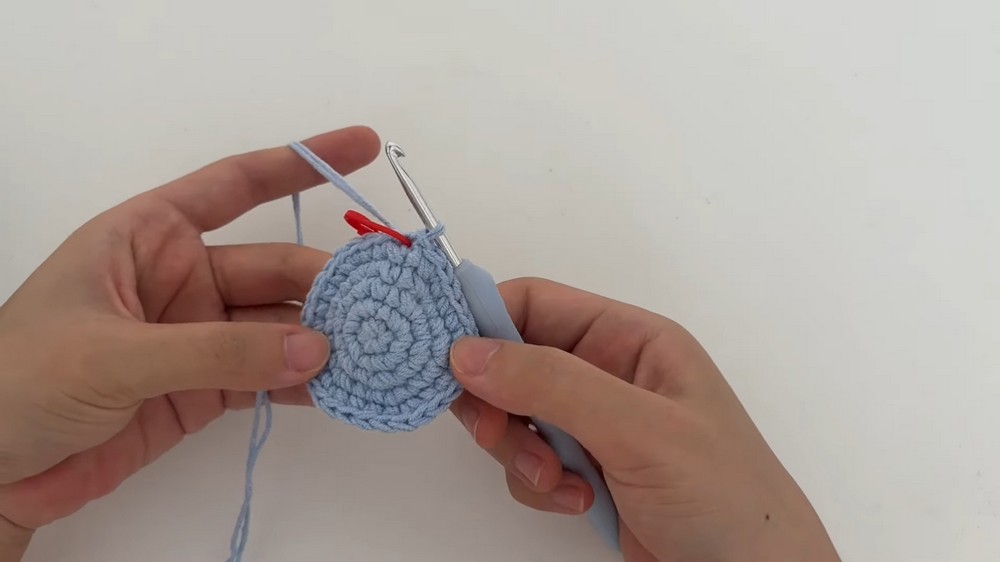
Starting the Base
- The tutorial begins by creating a magic loop to serve as the foundation.
- Single crochets are worked into the magic loop, and the tail is pulled to tighten.
- A slip stitch is used to join the first and last stitches, and chain stitches are made to start subsequent rounds.
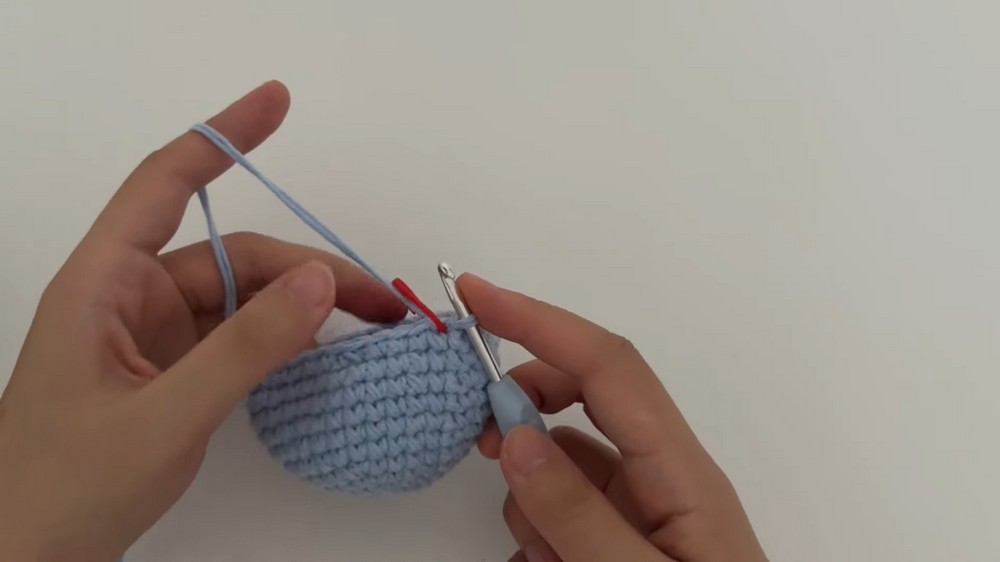
Building the Main Shape
-
Increasing Rounds:
- Each round introduces increases to expand the project’s diameter.
- Alternating patterns are used consistently, such as working single crochets followed by increases.
-
Maintaining Size:
- Once the desired width is achieved, several identical rounds are completed with no increases to maintain the shape.
- The single crochet stitches across these rounds provide height and uniformity.

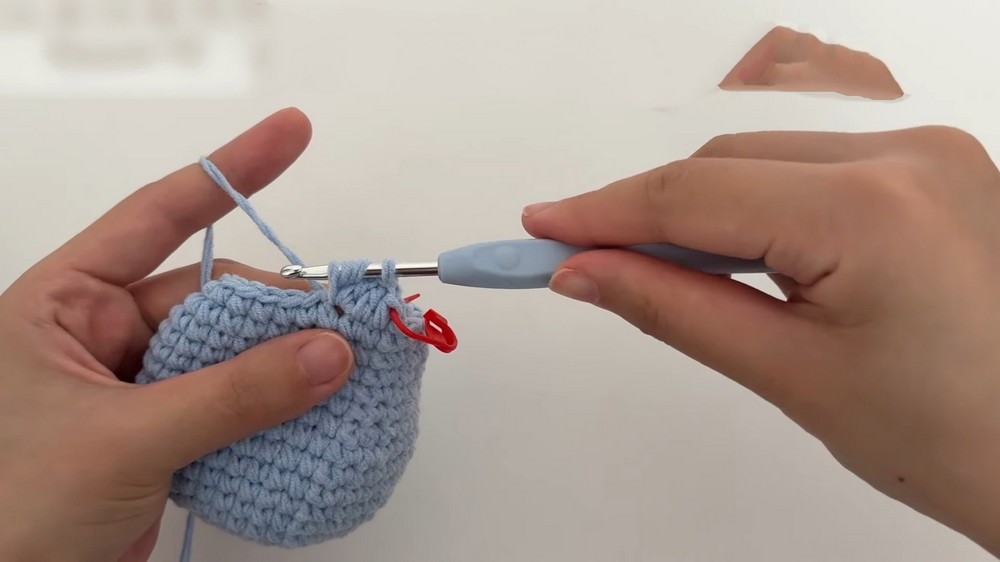
Shaping Through Decreases
- Once the rounds with consistent sizing are completed, decreases are introduced to reduce the diameter.
- A simple decrease technique is demonstrated, ensuring a smooth transition in the shaping process.
- After decreasing, several identical rounds are worked to further refine the structure.
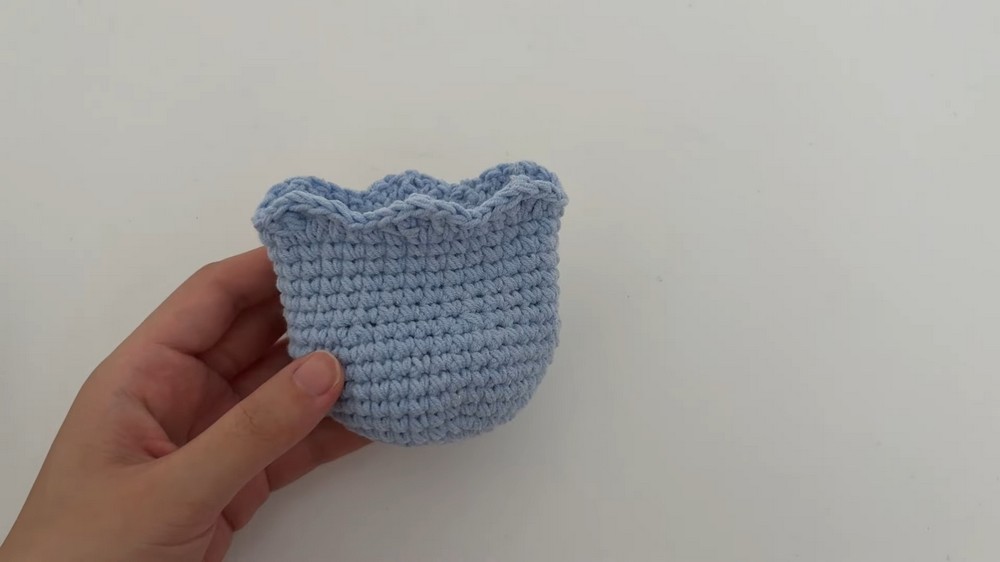
Adding Final Decorative Features
-
Last Round Design:
- The final round incorporates decorative stitches, such as double crochets and triple crochets, to add texture and flair.
- The tutorial demonstrates how to work various stitch combinations seamlessly.
-
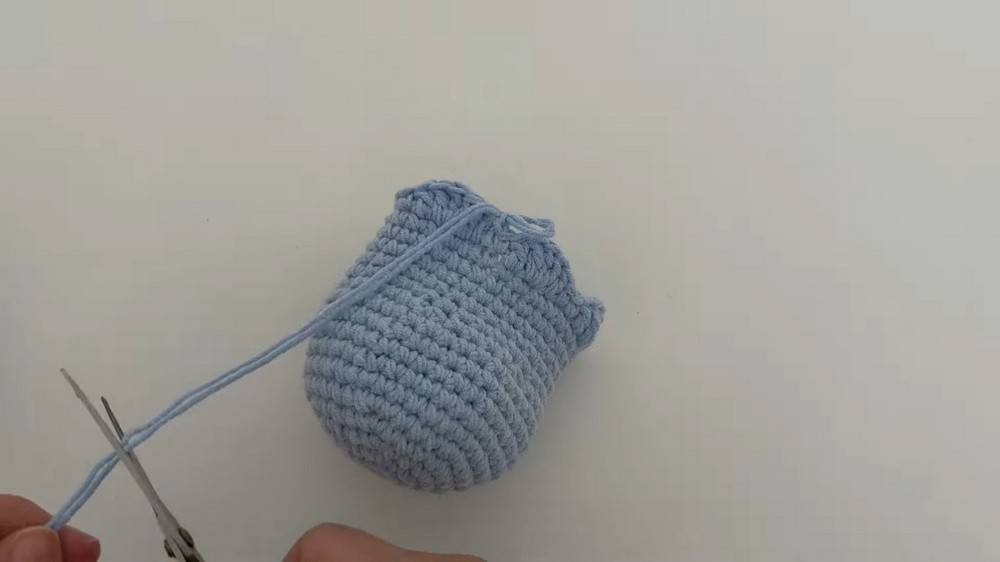
Finishing Touches:
- Yarn ends are concealed and fixed into the inner side of the project for a polished look.
- Excess yarn is trimmed for a clean finish.
Making the Stem
- A separate piece is created for the stem.
- This involves starting with a magic loop, followed by single crochets and increases to form a solid base.
- Several identical rounds are worked to build the stem’s structure, and it is stuffed for a rounded, full appearance.
Making a Smaller Detailing Piece
- Another small piece is created following similar techniques, starting with a magic loop.
- The tutorial alternates between single crochets and increases, as well as decreases toward the end, to achieve the desired shape.
- This piece is also stuffed fully to match the rounded aesthetic of the design.
Assembling the Project
- The three parts—the base, stem, and smaller detailing piece—are stitched together using a long tail of yarn to ensure secure assembly.
- The tutorial concludes with a perfectly finished design, showcasing the result of the crocheting process.
Conclusion
- This tutorial provides easy-to-follow instructions for crocheters of all levels.
- The step-by-step guide emphasizes forming a neat structure, decorative details, and proper assembly techniques, resulting in a well-finished and functional design.
This structured approach ensures that each section of the project is clear, allowing crafters to follow along confidently and complete a professional-looking piece!