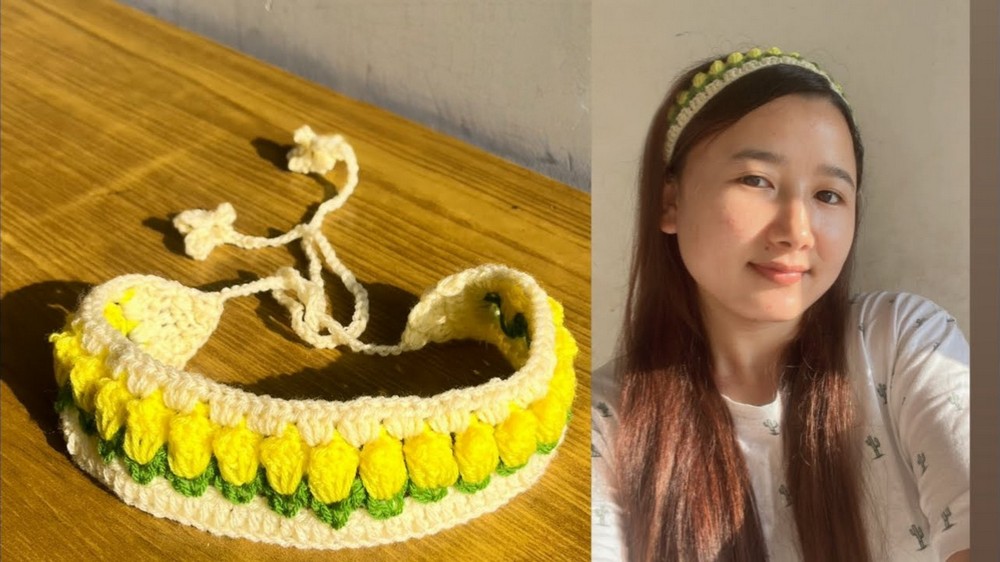
How to Crochet Tulip Headband for Spring
Learn how to crochet a tulip headband with a step-by-step tutorial for beginners and experts. It covers the necessary materials and defines key crochet terms. The tutorial meticulously guides viewers through creating the headband’s base, then adding green yarn for leaves, yellow yarn for tulips, and white yarn for finishing touches.
Finally, it demonstrates how to create and attach the ties, which include a decorative flower shape, to complete the headband. So, follow through with us for the complete tutorial.

Materials and Terms
The tutorial begins by outlining the essential materials required for this project. These include yarn, a crochet hook of a specific size, scissors, and a measuring tape. This initial step ensures that viewers are prepared with all the necessary tools before starting the crocheting process. Furthermore, the video defines common crochet terms that will be used throughout the tutorial, such as single crochet (Sc), half double crochet (Hdc), and double crochet (Dc). This glossary is particularly helpful for beginners, as it familiarizes them with the language of crochet.
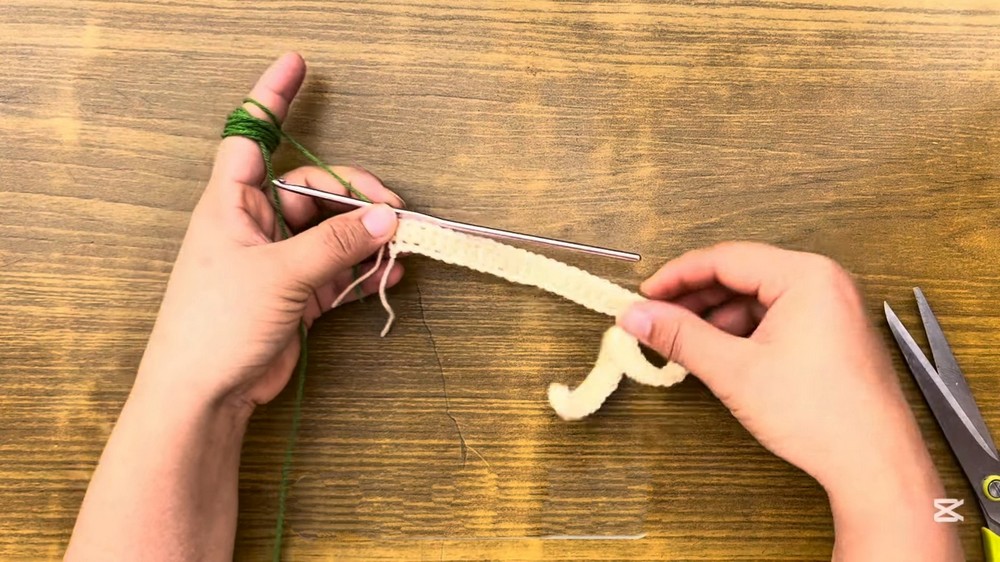
Starting the Headband Base
The first practical step in creating the headband involves establishing its base. The tutorial instructs viewers to create a foundation chain of a specific number of stitches. Following this, the instruction guides the crocheter to skip a certain number of chains from the hook and then work a half double crochet (hdc) into every subsequent chain across the row. This forms the foundational strip of the headband, which will serve as the base upon which the decorative elements are built.
Adding Green Yarn for Leaves
Once the base of the headband is complete, the tutorial moves on to incorporating the green yarn to create the leaves. This involves chaining a single stitch and then seamlessly adding the green yarn to the work. The video then instructs the crocheter to cut the initial yarn (presumably the base color), ensuring a clean transition between colors. The process continues by chaining a specific number of stitches and turning the work to begin the new row. The pattern for the leaves involves skipping a certain number of stitches, then making a double crochet (dc), followed by a chain, and then another double crochet (dc) all within the same stitch. This sequence of skipping stitches and creating the dc-chain-dc cluster is repeated until the end of the row, forming the leafy sections of the headband.
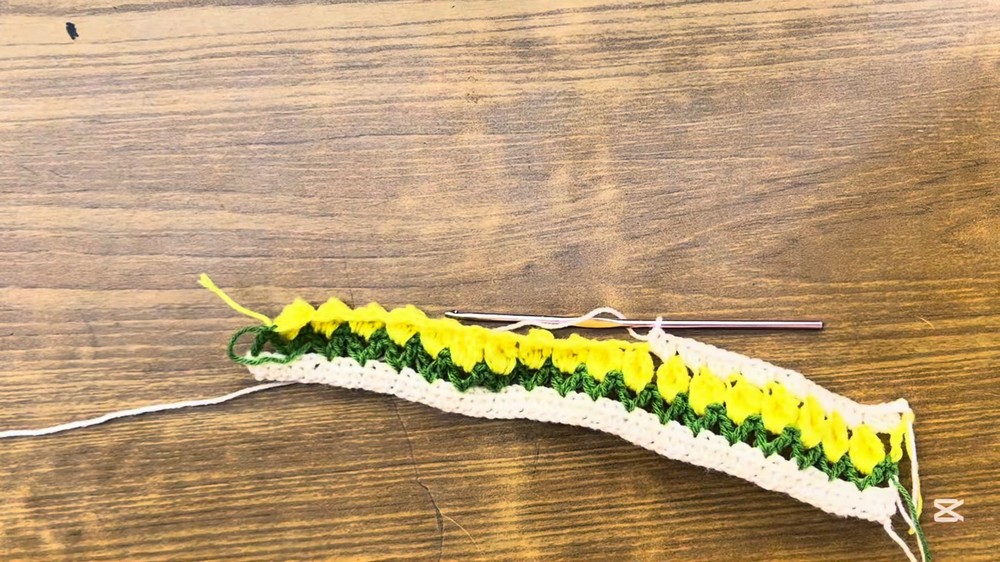
Adding Yellow Yarn for Tulips
The next step in the tutorial focuses on adding the vibrant yellow yarn to create the tulip motifs. Similar to the previous color change, the process begins by chaining a single stitch and adding the yellow yarn. The crocheter then chains a specific number of stitches and turns the work. The green yarn is then cut, completing the transition.
The core of the tulip creation involves making a specific number of double crochets (dc) into the first stitch chain. These stitches are then attached to the last crochet, and a specific number of chains are made. This entire process is repeated until the end of the row, resulting in a series of distinct tulip shapes along the headband.
Adding White Yarn for Finishing
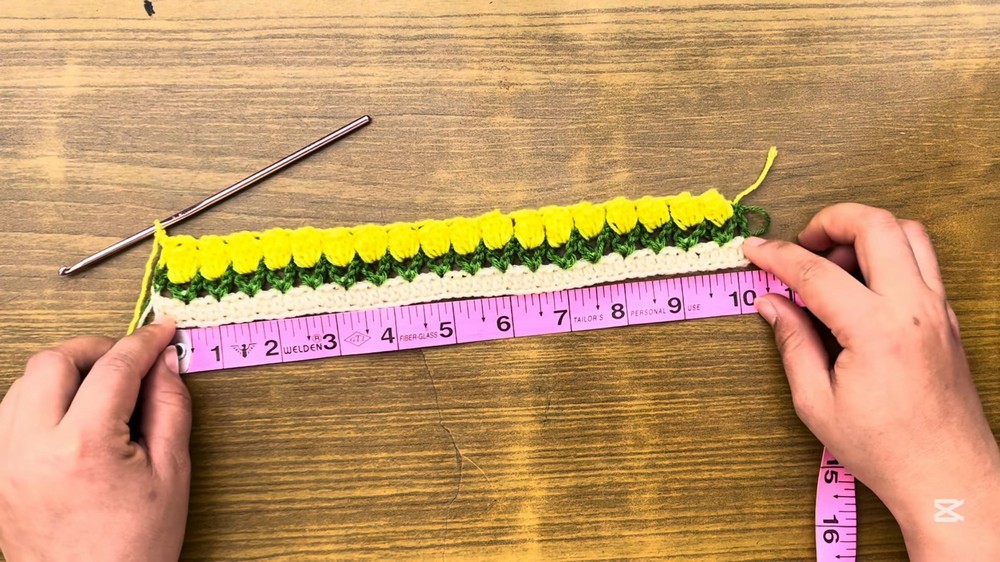
To add a polished finishing touch to the headband, white yarn is introduced. The tutorial instructs viewers to add the white yarn, then chain a specific number of stitches and turn the work. The yellow yarn is then cut. The pattern for this finishing section involves making a half double crochet (hdc) in the first stitch. Following this, the pattern alternates between making a specific number of hdc stitches in the next stitch and then a different specific number of hdc stitches in the stitch after that. This pattern continues until the end of the row, creating a neat edge and completing the main body of the headband.
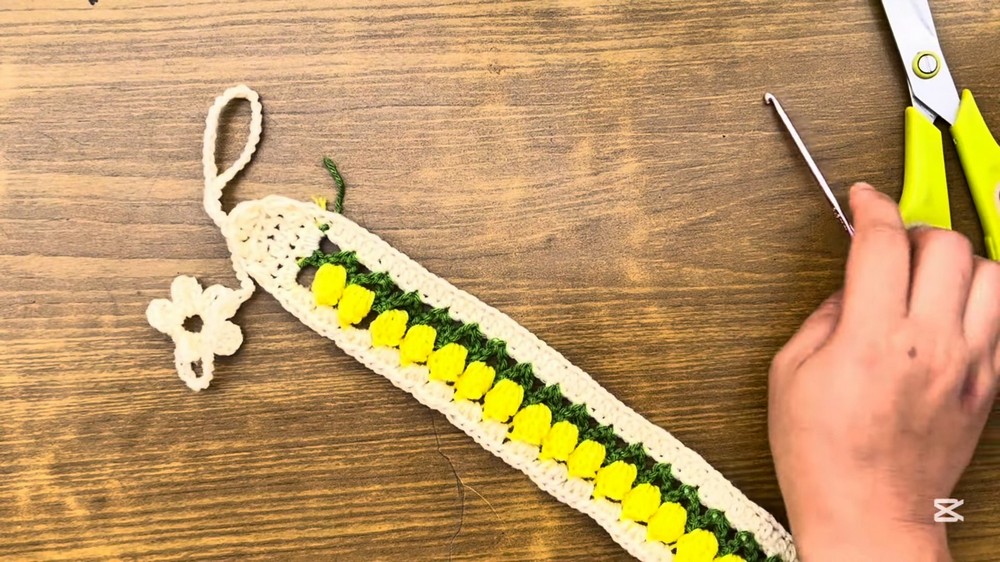
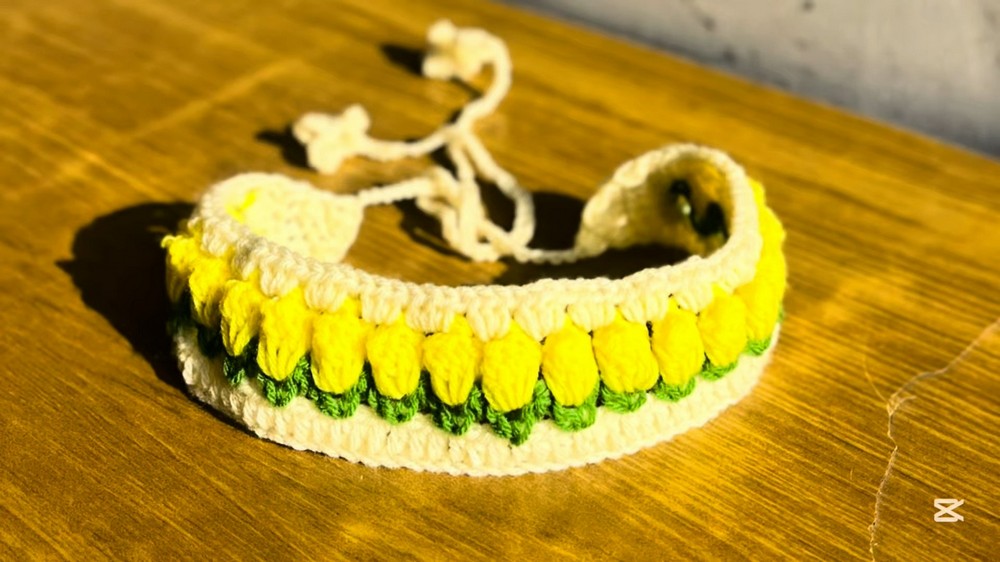
Creating the Ties and Finishing
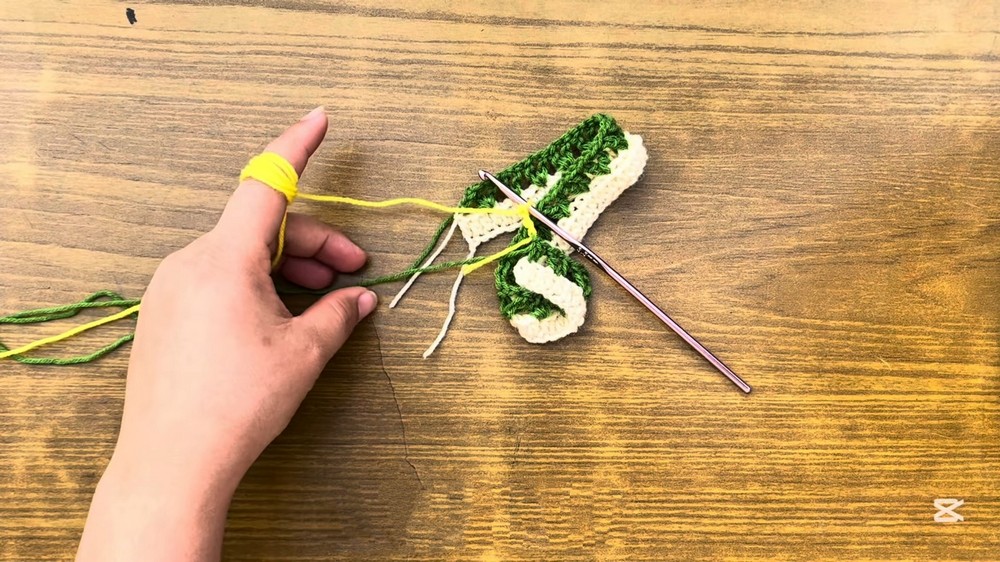
The final stage of the tutorial involves creating the ties for the headband and adding a decorative flower shape. The process begins by making a half double crochet (hdc) in the last stitch and then chaining a single stitch before turning the work. The hdc stitch is then repeated across the row until the end, forming the initial part of the tie. A specific number of chains are then made to create the length of the tie. The tutorial then guides the crocheter to skip a certain number of chains and make a double crochet (dc). Following this, a specific number of chains are made and attached in the same stitch.
This sequence is repeated a certain number of times to create a charming flower shape at the end of the tie. Finally, a specific number of chains are made, and the yarn is cut. The yarn is then pulled over the chainline to secure it. The entire process for creating the tie, including the flower, is then repeated for the other side of the headband to ensure a matching tie.
The video concludes by showcasing the finished crocheted tulip headband, allowing viewers to see the beautiful result of their efforts.