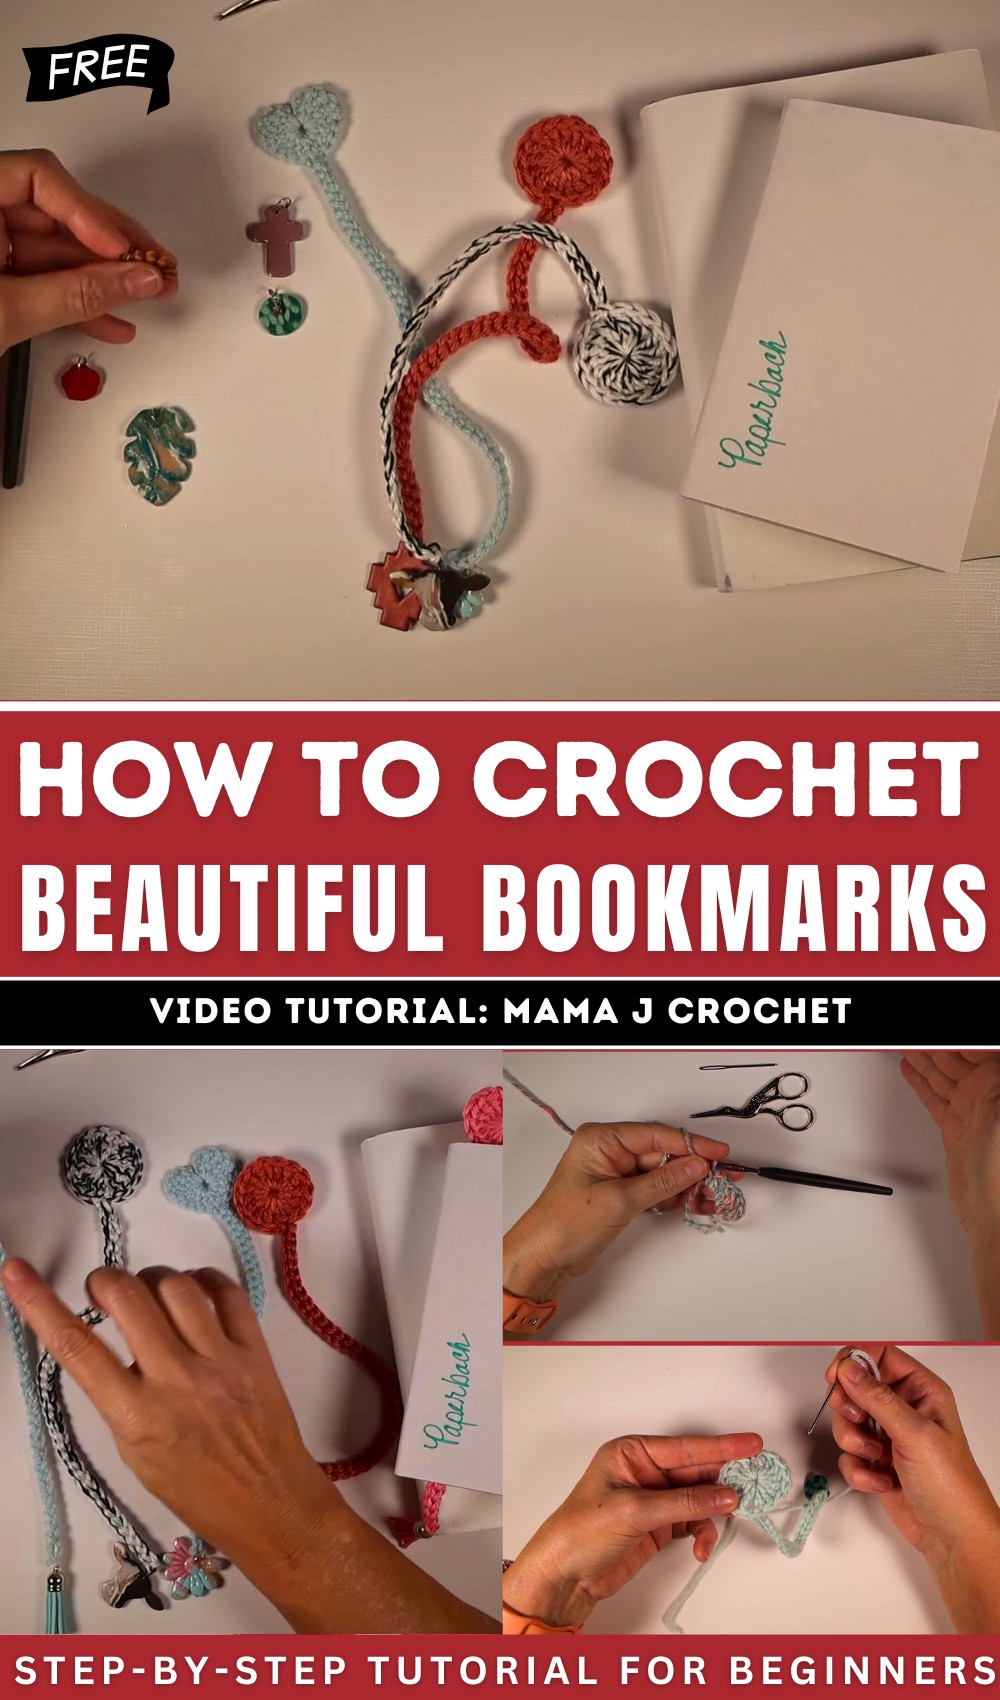
How to Crochet Two Beautiful Bookmarks for Gifting

Learn how to crochet two beautiful bookmarks, one with a heart shape and another with a circular pattern, following a step-by-step guide. Mama J explains how to attach charms, like polymer clay pendants, to customize your bookmarks. She also shares tips on adjusting sizes based on yarn and hook. This step-by-step guide is perfect for crocheting functional and unique bookmarks.
Crochet Beautiful Bookmarks Tutorial
Mama J introduces herself and shares her passion for making handmade crochet bookmarks. She highlights the two styles of bookmarks she’ll demonstrate: one with a heart design and another with a circular design. Both bookmarks start with a magic ring and incorporate either double or treble crochet stitches. Mama J likes to add charms at the end of the bookmarks, such as polymer clay charms, tassels, or beads, which add a personal touch.

Overview of Charms
- Mama J shows various charms she created using polymer clay and attached them to the bookmarks using earring attachments.
- She mentions the option to make polymer clay charms yourself and offers to create a tutorial for those interested.
- She explains that the size of the bookmark and the number of chains will depend on the yarn thickness and hook size, allowing for customization based on book types (small for paperbacks, larger for hardcovers).
Bookmark Style 1: Heart Design
Preparation:
- The bookmark begins with a magic ring: a technique for forming a sturdy base to work crochet stitches on.
Steps to Create the Heart Shape:
- Mama J explains how to create the heart shape by working treble crochets and double crochets into the magic ring.
- She emphasizes the upside-down direction of the heart during its creation (starting at the rounded top down to the point).

Customizing the Bookmark Length:
- The length of the bookmark stem is determined by chaining stitches. She provides guidance on how to choose chain counts based on the desired length.
- She suggests using a stitch marker to keep track of key sections for easier navigation as you work back up the chains.
Adding the Charm:
- Mama J explains two approaches to attaching a charm: either before starting the bookmark or after finishing the chain length.
- She demonstrates how to secure the charm to the chain, ensuring it fits snugly and aligns properly.

Finishing the Heart Bookmark:
- The steps for completing the heart involve slip stitching back up the chain and mirroring the stitches (treble and double crochets) on the other side of the magic ring.
- She concludes the design by weaving in the ends and securing the bookmark’s structure.

Bookmark Style 2: Circular Design
Preparation:
- Like the heart design, the circular design begins with a magic ring.
- Mama J explains that the number of stitches inside the ring determines the fullness of the circle. She adapts the number of stitches based on yarn thickness and personal preference.
Steps to Create the Circle Shape:
- The circle involves working treble crochets into the ring. Mama J adjusts the number of stitches if the initial attempts result in gaps or an uneven look.
Customizing the Bookmark Length:
- Once the circular portion is complete, she moves directly into chaining stitches to form the bookmark stem.
- As with the heart bookmark, she attaches a charm at the end and secures it by slip stitching back up the chain.

Finishing the Circular Bookmark:
- Mama J demonstrates how to invisibly join the final stitches of the circle using a weaving technique.
- She suggests weaving in all ends tightly to ensure durability and provides tips for positioning yarn tails securely within the central part of the crochet circle to avoid loosening.
Conclusion
- Mama J wraps up by showcasing both completed bookmark styles: the heart and the circular designs.