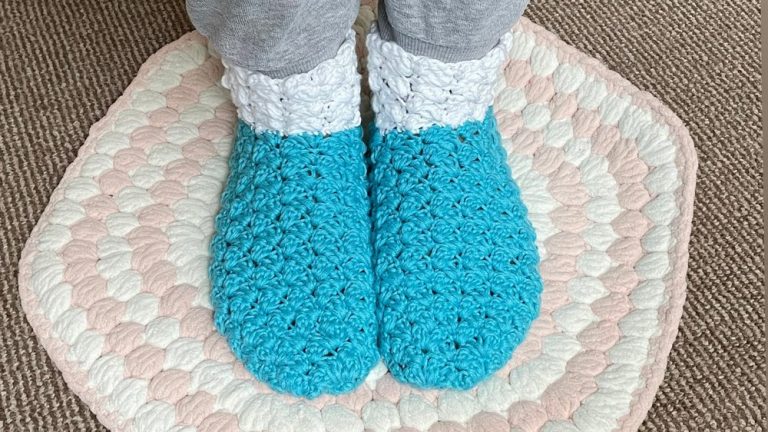
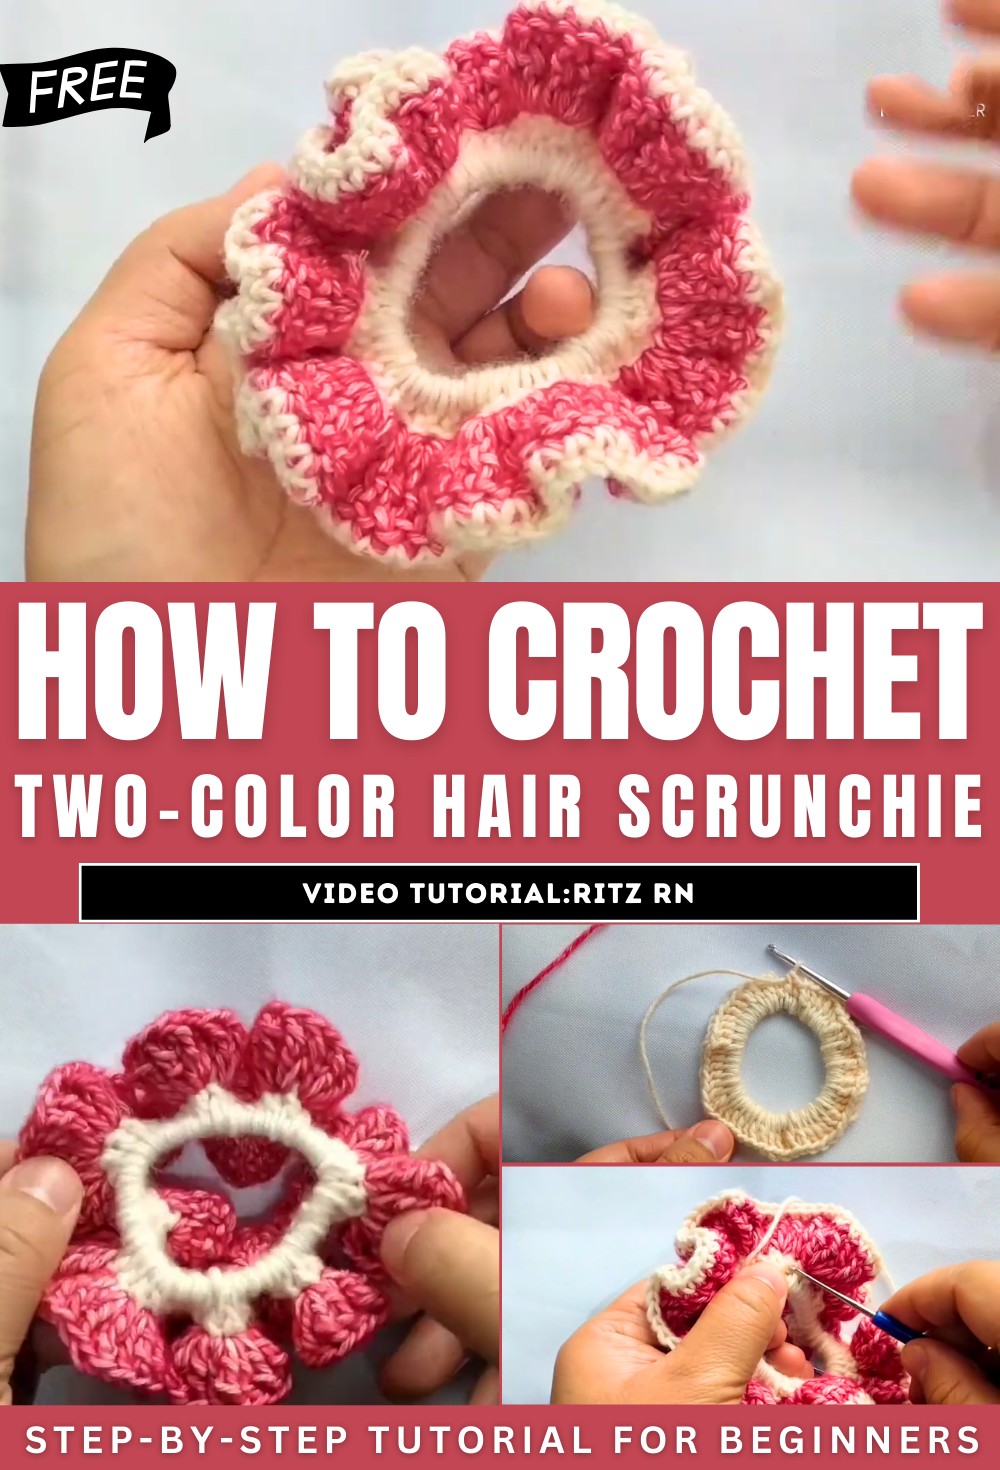
How to Crochet Two-color Hair Scrunchie for Beginners

Learn how to crochet a cute and stylish hair scrunchie using leftover yarn, a 3mm crochet hook, and a small hair tie. It begins with double crochets around the hair tie for the base, followed by treble crochets in a second color to create ruffles. A final round of single crochets adds the finishing touch, with tips on hiding yarn tails for a clean look. The step-by-step guide is easy to follow, making it perfect for beginners.
The scrunchie is customizable with different colors and a great way to upcycle yarn scraps into chic accessories!
Crochet Hair Scrunchie Tutorial
This tutorial provides a straightforward and detailed guide on creating a pretty and functional crochet hair scrunchie. It’s a beginner-friendly project that uses only a few materials, features basic crochet stitches, and allows for customization with different colors and yarns.
Materials Needed
- Yarn: The tutorial uses leftover yarn (Dropsy Stone Wash) or any available yarn.
- Hook: A 3mm crochet hook is recommended for the project.
- Hair Tie: A small hair tie, around 1.75–2 inches in diameter.
- Scissors: For cutting the yarn at various stages.
- Optional Smaller Hook: A smaller crochet hook can be helpful for weaving in yarn tails at the end.
Step 1: Crocheting the Base
- Slip Knot and Securing to the Hair Tie: Begin with a slip knot, and secure the yarn onto the hair tie using your preferred method.
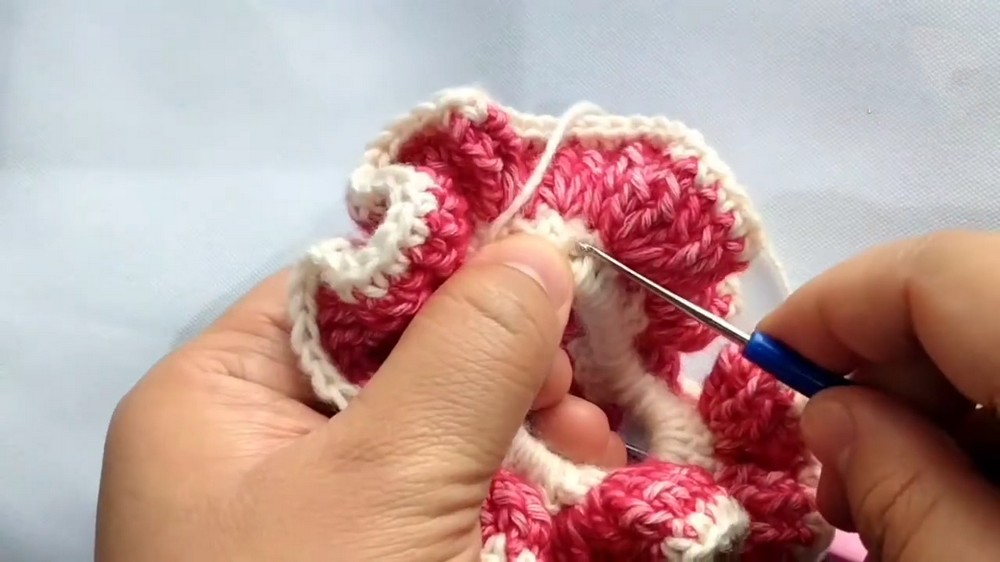
- Double Crochet Round: Crochet double crochets around the hair tie to form a complete base layer. The tutorial provides guidance on how to work the stitches neatly and crochet over the yarn tail to hide it.
- Closing the Round: The round can be joined with a slip stitch in the same color for a monochromatic scrunchie or with a new color for a two-tone design.
Step 2: Adding the Ruffle Layer
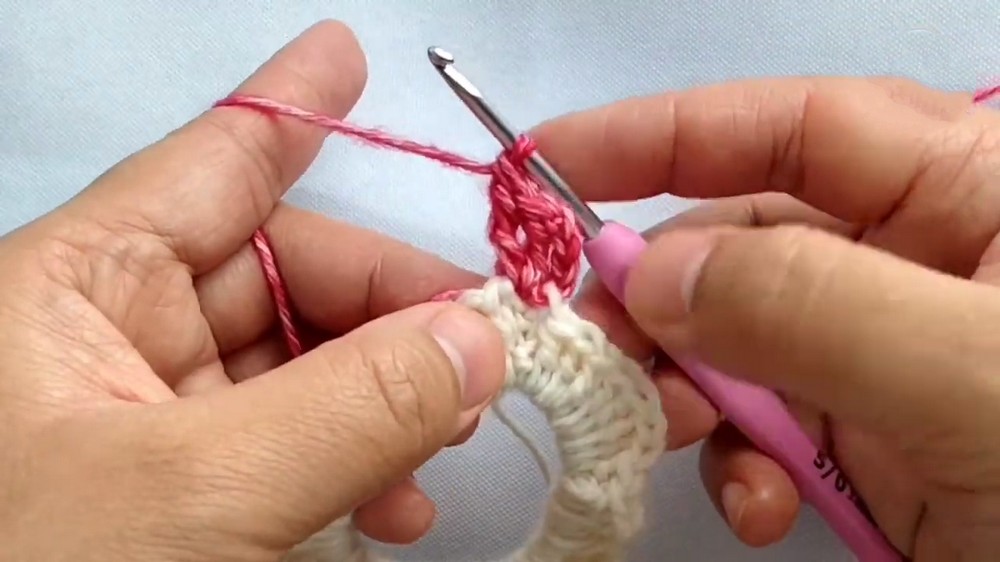
- Starting the Second Round: If opting for a two-tone design, join a new color with a slip stitch. Chain four to begin the next round.
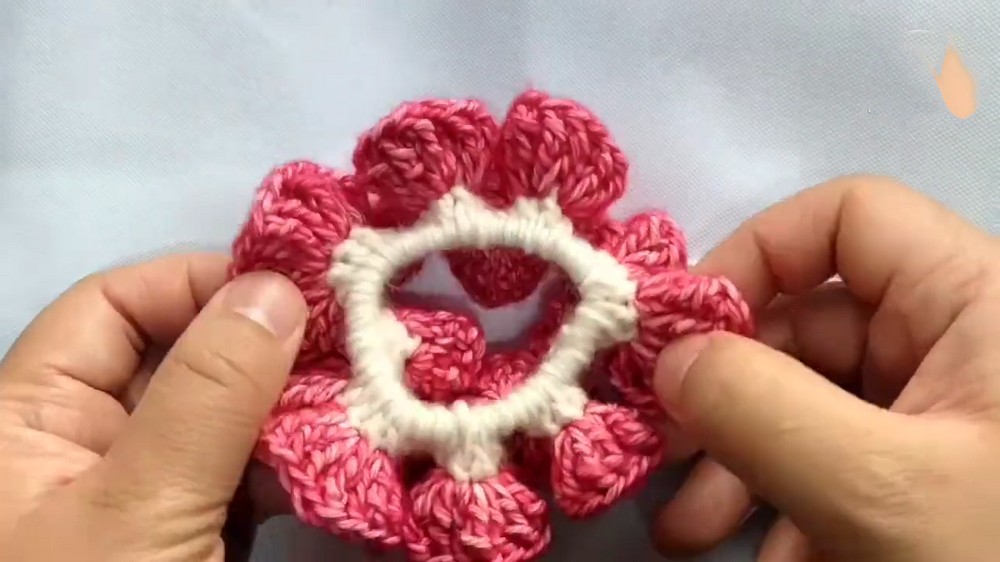
- Treble Crochets for Ruffles: Work treble crochets into each stitch of the first round. The tutorial provides a clear explanation of how to create even and smooth ruffles by focusing on careful stitch placement.
- Hiding the Tail: Similar to the first round, crochet over the yarn tail from the previous color to neatly hide it while creating the ruffles.
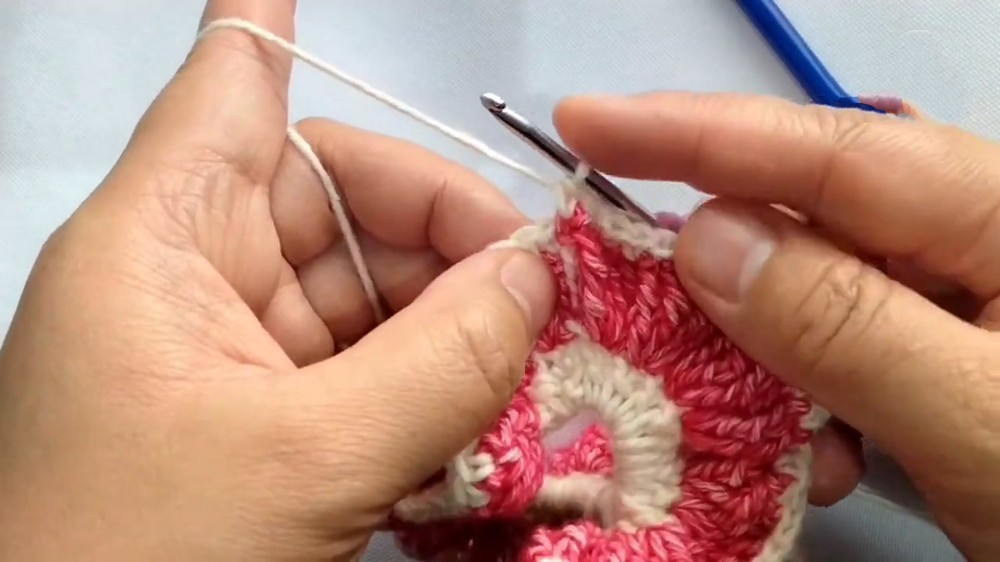
Step 3: Completing the Final Round
- Switching Back to the First Color: If using two colors, swap back to the original color by slip stitching into the next stitch. This ensures a cohesive final look for the scrunchie.
- Single Crochet Round: Create a single crochet in each stitch from the ruffle round to add stability and finish the scrunchie.
- Cutting and Securing Yarn: Once the round is complete, cut the yarn and secure it by weaving the tail back into the stitches. The tutorial recommends using a smaller hook for this step to ensure the tail is hidden securely.
Finishing Touches
- Weaving in Tails: Take the remaining yarn tails to the underside of the scrunchie, weaving them discreetly into the stitches and around the hair tie.
- Final Look: The completed scrunchie is ruffled, durable, and stylish. The design is great for accessorizing, as well as reusing leftover yarn.
- The creator highlights how quick and enjoyable this project is, making it suitable for beginners and rewarding for experienced crocheters.
- Scrap yarn can be used, and the scrunchie is customizable with different colors and stitch combinations.