Easy & Free Crochet Kufi Hat Pattern with Step-by-Step Instructions
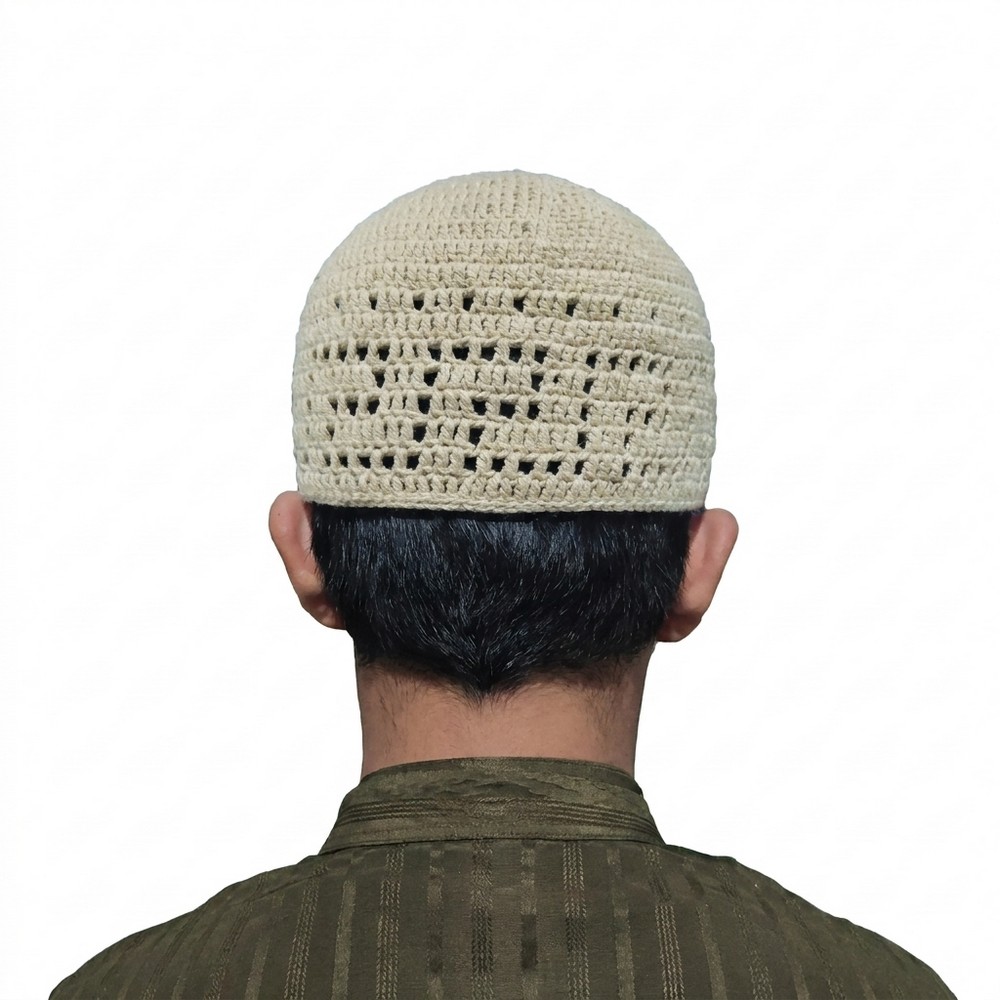
Start crocheting your own kufi hat today with this free pattern ideal for gifting or personal use to celebrate heritage in style.
Wearing a traditional hat can be both a symbol of culture and a comfortable accessory. Thanks to Rajutan Whita, there is a clear and easy-to-follow video that guides anyone through making a warm and stylish head covering using simple yarn and basic stitches. This project uses round and continuous stitching to create a smooth, even shape that fits comfortably on the head.
Free Crochet Kufi Hat Pattern – Perfect for Special Occasions
This hat is best known for its snug and soft fit, making it great for everyday wear or special occasions. Its working style involves creating small, tight stitches in the round, starting from the top and growing wider to shape the head perfectly. This method ensures the hat holds its form well and feels cozy.
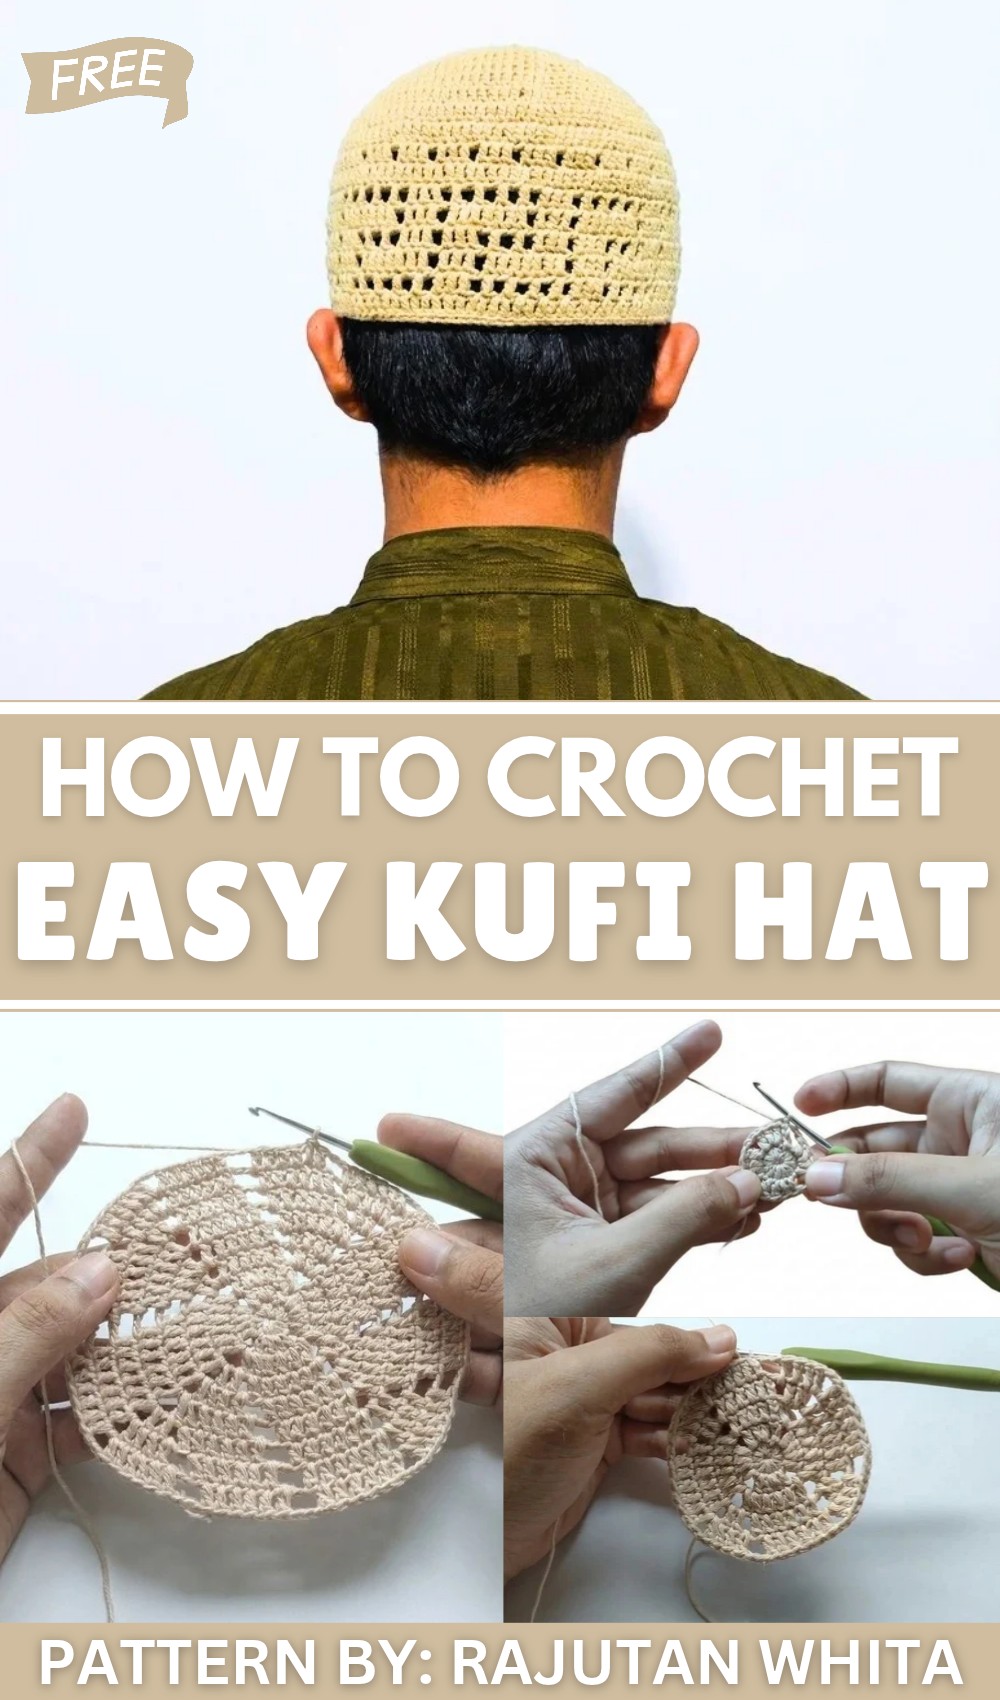
One of the most attractive features is the detailed texture made by combining plain and puff stitches, giving the surface a beautiful raised pattern that is both eye-catching and elegant. The shape is a classic round dome, slightly stretchy to suit different head sizes without losing its shape. Its simple yet striking design makes it suitable for all ages and occasions.
The hat offers practical warmth and a meaningful look, making it a wonderful addition to any wardrobe. Its easy-making process and attractive appearance make it a popular choice for anyone wanting to add a personal touch or give a thoughtful gift.
Crochet Pattern: Adult-Sized Kufi Hat
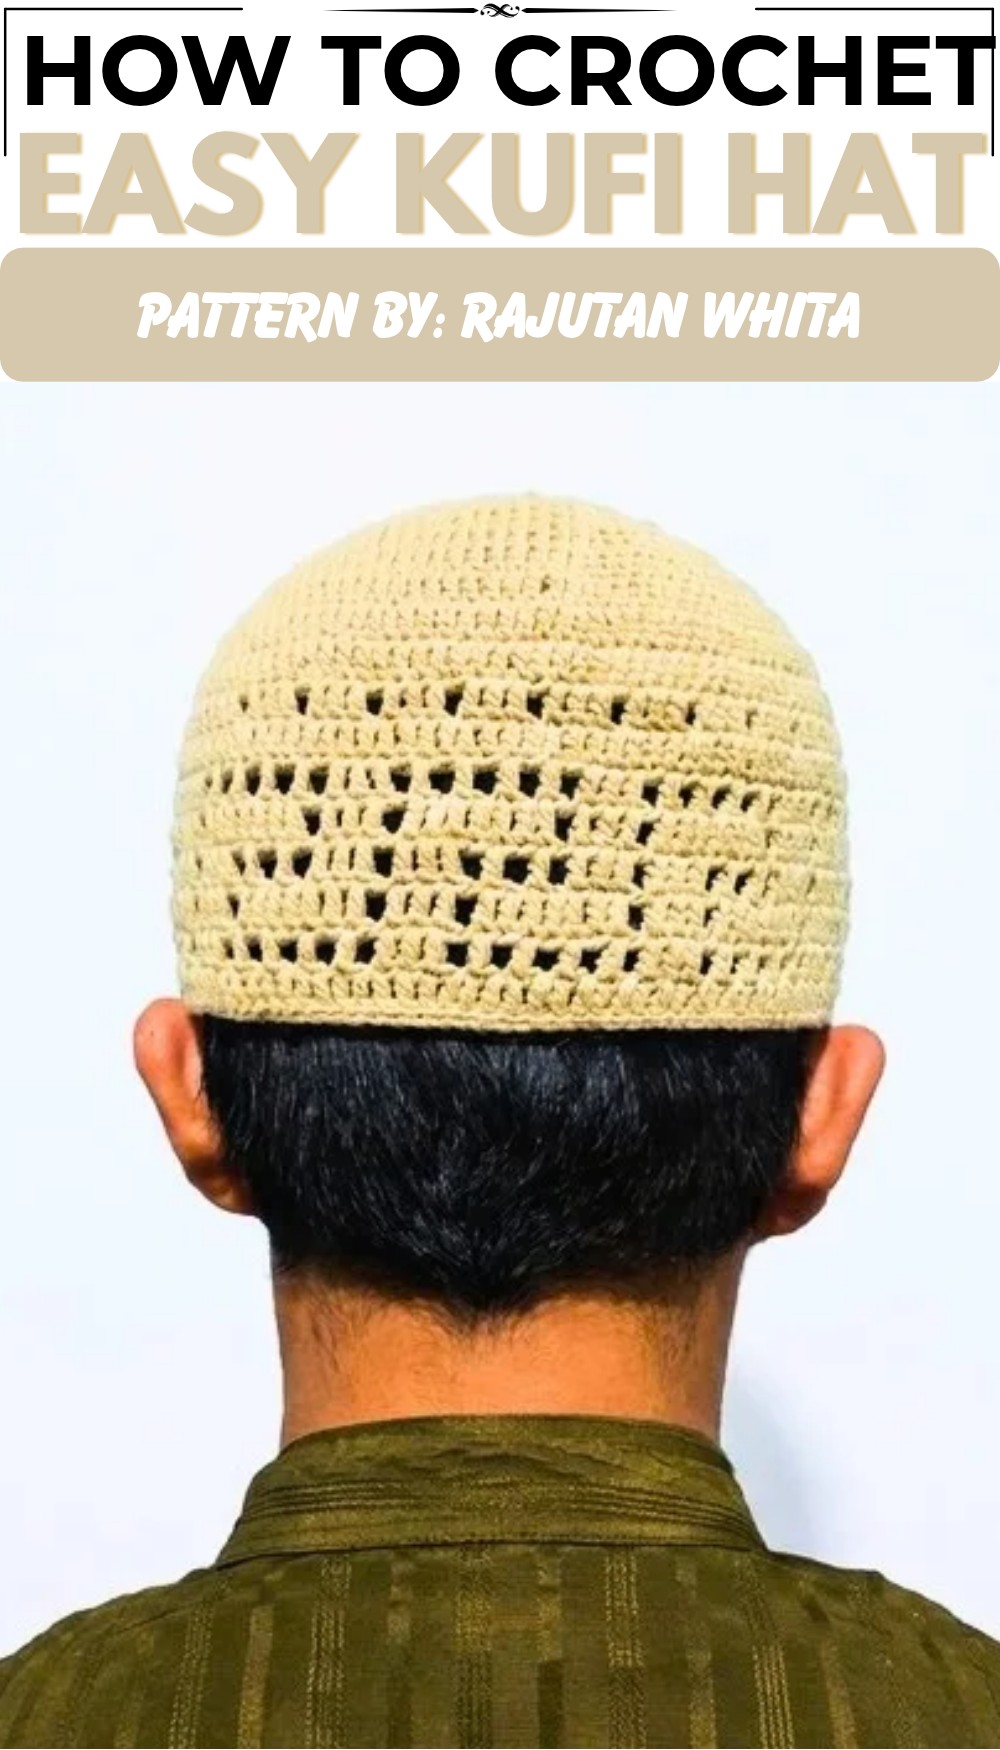
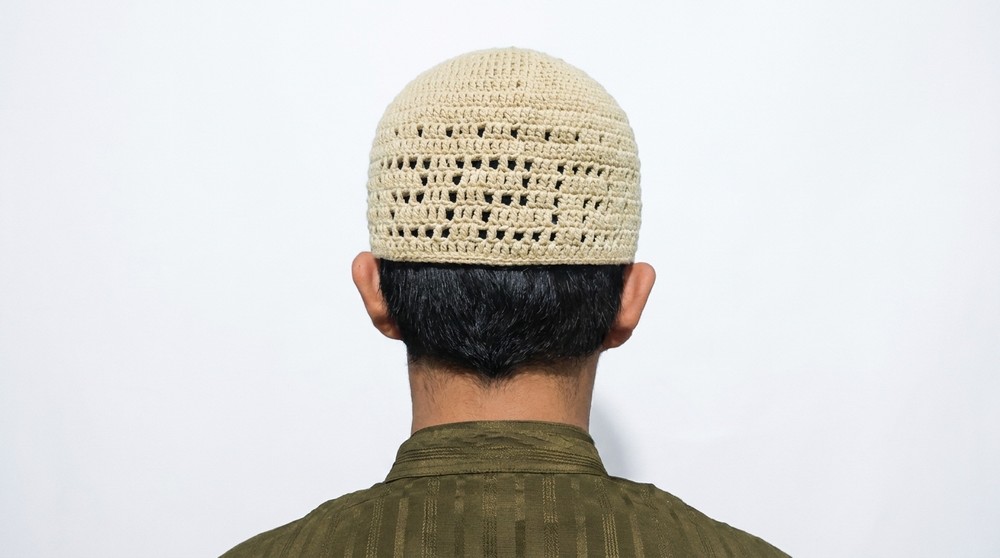
This adult-sized kufi hat combines style, comfort, and functionality. The structured design incorporates a rounded top, a refined motif body, and a smooth finishing edge. It’s a fantastic project for using leftover yarn while practicing advanced crochet techniques. The hat is adjustable in size and suited for casual or formal wear.
Skill Level
Intermediate – This pattern involves working in rounds, creating chain spaces, performing increases, and maintaining a consistent motif pattern. Knowledge of magic rings, half double crochet (HDC), double crochet (DC), and single crochet (SC) is required.
Materials
- Yarn: One strand of yarn (Poly Cherry or similar). Leftover yarns can be used to complete the project.
- Crochet Hook: 2.0 mm crochet hook (equivalent to size 3 or 6/0).
- Additional Tools:
- Scissors
- Measuring tape
Stitch Abbreviations
- Ch: Chain
- Sl St: Slip Stitch
- HDC: Half Double Crochet
- DC: Double Crochet
- SC: Single Crochet
Special Stitches
Magic Ring
- Wrap the yarn around your hand to create a loop.
- Insert the hook into the loop, pull up the working yarn, and chain 1 to secure the loop.
- After working the first round, pull the yarn tail to tighten the loop and close the ring.
Double Crochet (DC)
- Yarn over, insert the hook into the designated stitch, yarn over and pull up a loop.
- Yarn over and pull through the first two loops.
- Yarn over and pull through the remaining two loops on the hook.
Half Double Crochet (HDC)
- Yarn over, insert the hook into the designated stitch, yarn over and pull up a loop.
- Yarn over and pull through all 3 loops on the hook.
Useful Tips
- Maintain Consistent Tension: The tightness of your stitches impacts the fit of the kufi. Avoid overly loose or tight tension.
- Monitor the Diameter: Use a measuring tape to check the base diameter. Stop increasing when it measures approximately 16 cm.
- Seamless Joins: For a polished look, ensure your slip stitch joins align neatly and consistently.
- Adjust Height if Needed: Customize the height of your kufi by adjusting the number of rounds in the body section.
Pattern Instructions
The kufi is worked in two main sections: Top/Base Creation and Body/Height Creation. Each round builds upon the previous one, adding structure and texture to the hat while maintaining symmetry.
1. Top / Base Creation
The top of the hat is constructed using a spiral-like series of connected rounds to form a flat circular base.
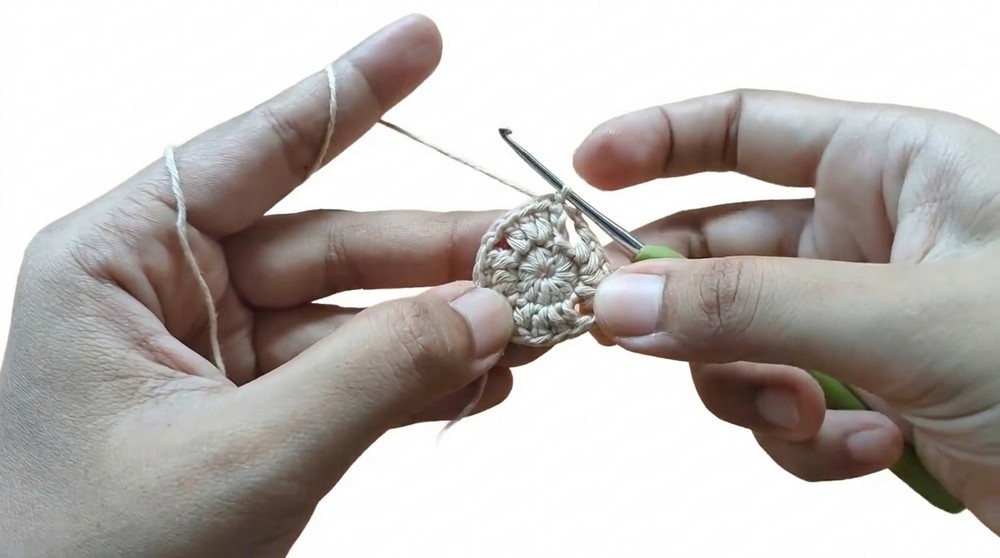
Round 1: Magic Ring
- Create a Magic Ring.
- Ch 1, work 12 HDC into the ring.
- Pull the yarn tail to tighten the ring.
- Sl St into the first HDC to close the round.
- (Total: 12 HDC)
Round 2: Increase Round
- Ch 3 (counts as the first DC).
- Work 1 DC into the same stitch.
- In the next stitch, work 2 DC (increase).
- In the next stitch, work 1 DC.
- Ch 2.
- Repeat this sequence around: (1 DC, 2 DC, Ch 2).
- Sl St to the top of the starting Ch-3 to join the round.
- (Total: 4 DC per section)
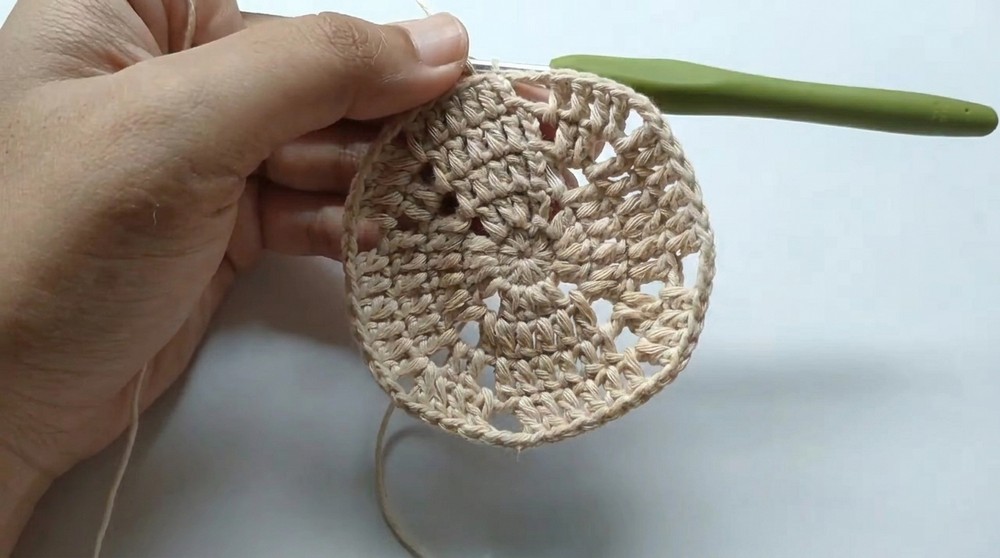
Round 3: Expanding Petals
- Ch 3, work 1 DC in each stitch.
- In each Ch-2 space from the previous round, work (1 DC, Ch 3, 1 DC).
- Sl St to the top of the starting Ch-3 to join the round.
- (Total: 36 stitches)
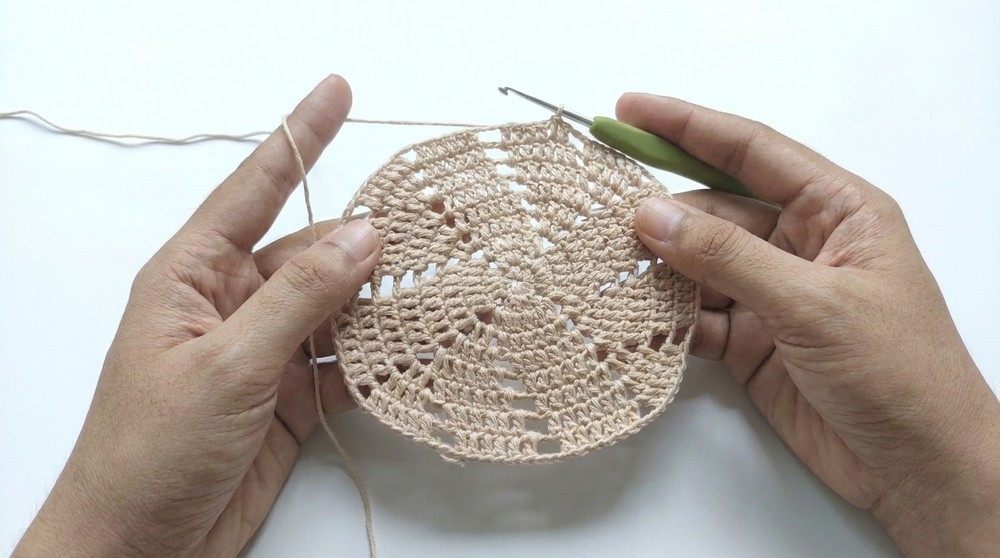
Round 4: Continued Increases
- Ch 3, work 1 DC in each stitch.
- In each Ch-3 space, work (1 DC, Ch 2, 1 DC).
- Sl St to close the round.
- (Total: 48 stitches)
Round 5–11: Increasing Rounds
- Continue working the pattern as established, expanding the size of the circular base:
- Work 6 DC, Ch 2, then 4 DC into the next Ch-2 space.
- Ch 3, skip 1 DC, and repeat in sequence.
- Total stitch counts per round:
- Round 5: 60 stitches
- Round 6: 72 stitches
- Round 7: 84 stitches
- Round 8: 96 stitches
- Round 9: 108 stitches
- Round 10: 120 stitches
- Round 11: 132 stitches (final diameter ~16 cm).
2. Body / Height Creation
This section builds the height of the kufi while maintaining an even distribution of stitches across rounds.
Round 12: Transition to Body
- Begin the body section by stopping all increases.
- Work 1 DC in each stitch around, maintaining the 132 stitches from the final base round.
- Sl St to the starting Ch-3 to join.
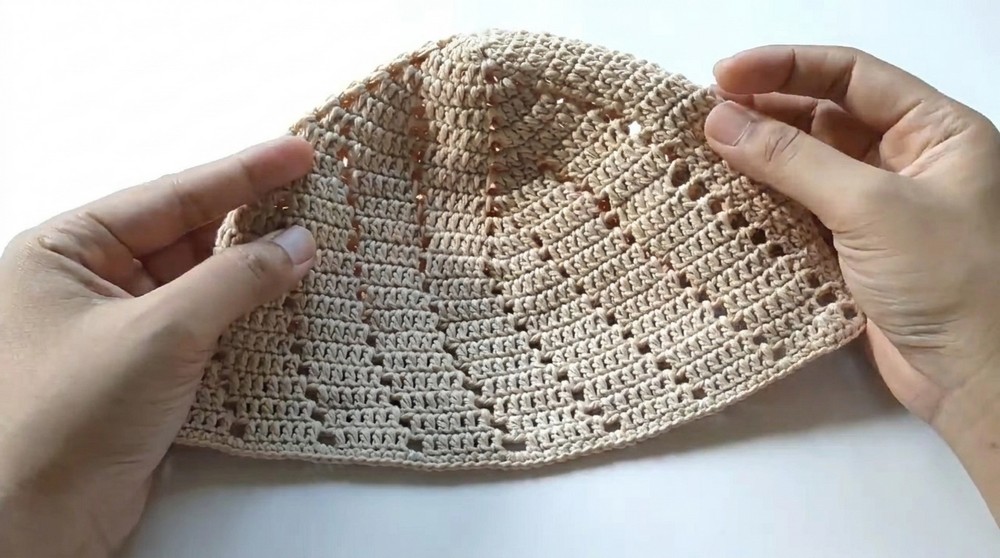
Rounds 13–21: Establishing the Pattern
- Continue working in rounds using the established motif structure:
- 6 DC, Ch 2, work into the next 6 DC.
- Skip the next 1 DC where needed to maintain the pattern.
- Build height until the kufi reaches your desired size (approx. 21 rounds or 10–12 cm for an adult-sized hat).
Round 22: Final Border
- To finish the kufi, work 1 SC in each stitch and chain space around.
- The simple border provides a polished look and a clean edge.
- Sl St to the starting SC to close the round and fasten off the yarn.
Conclusion
This C2C kufi hat pattern incorporates a mix of techniques and a slip-stitch assembly method to achieve a seamless, professional look. Adjusting the diameter or height and using alternate colors will allow for personalization, making this kufi a versatile and meaningful project.