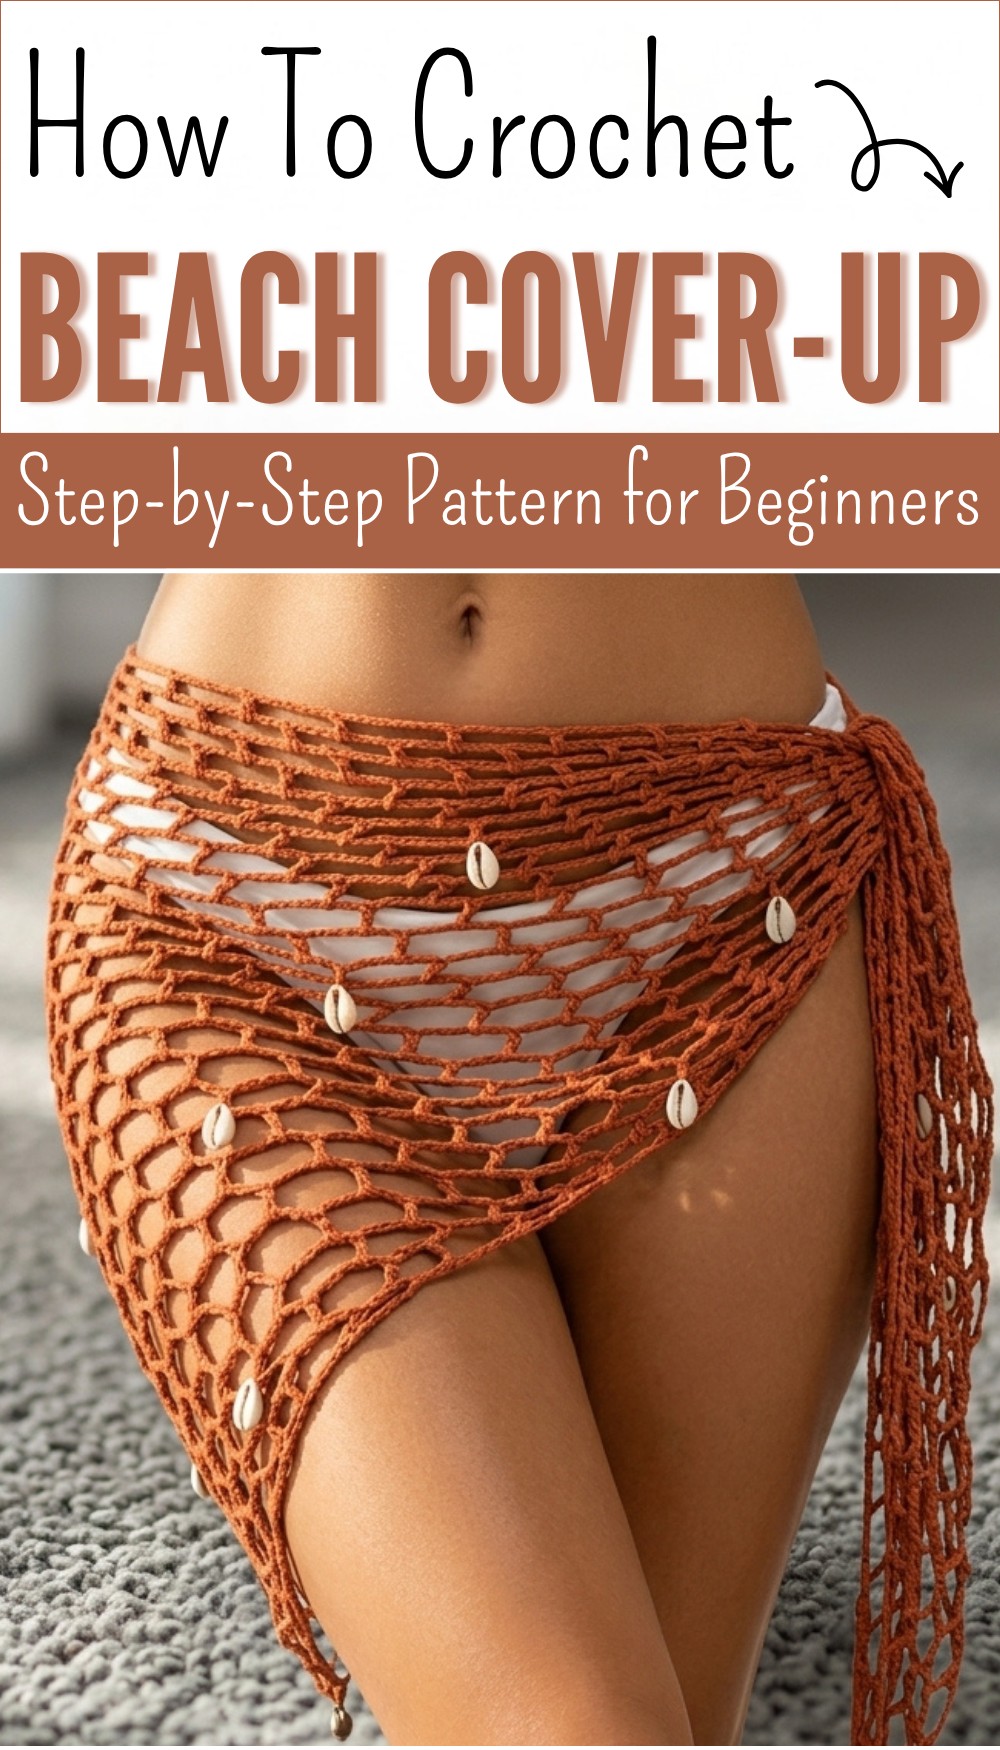
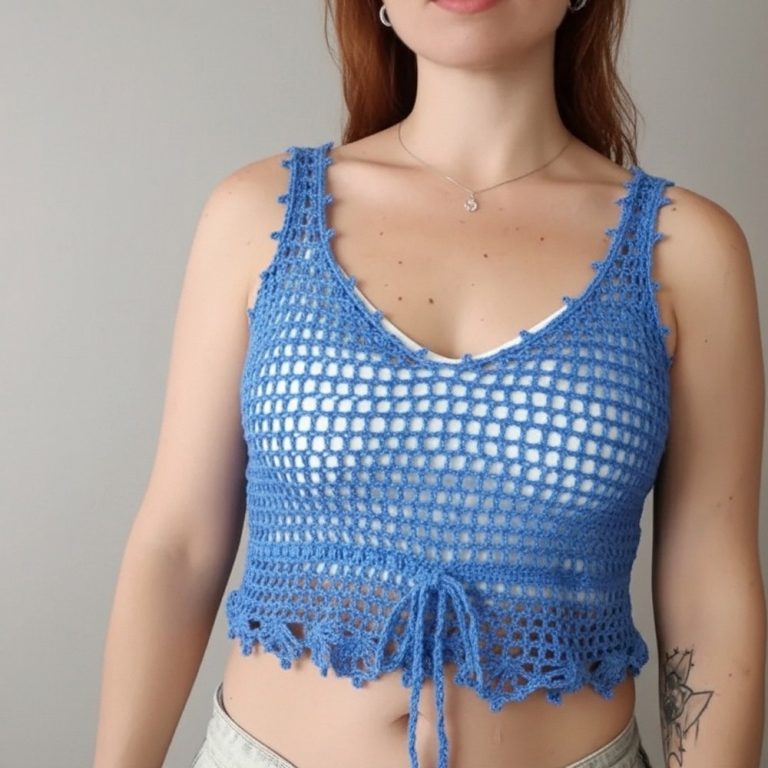
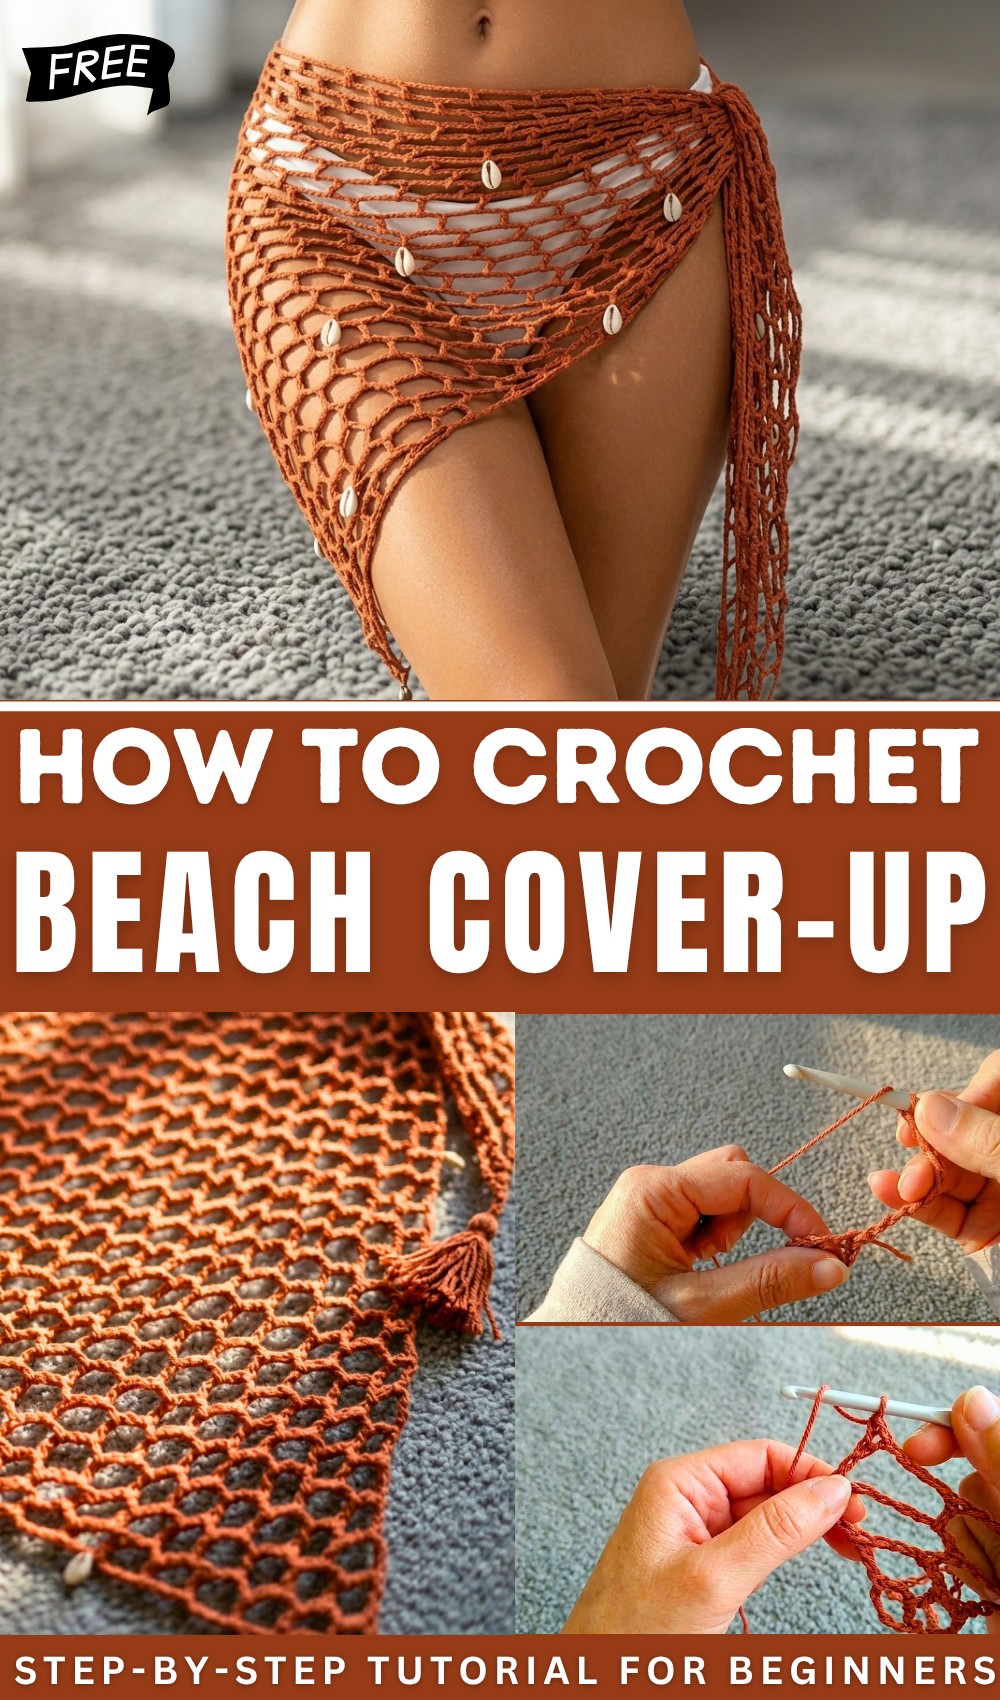
Free Crochet Beach Cover-Up Pattern for Summer Fun
Feel comfortable & stylish all summer with this free crochet beach cover-up pattern that gives you breezy look for pool or seaside outing.
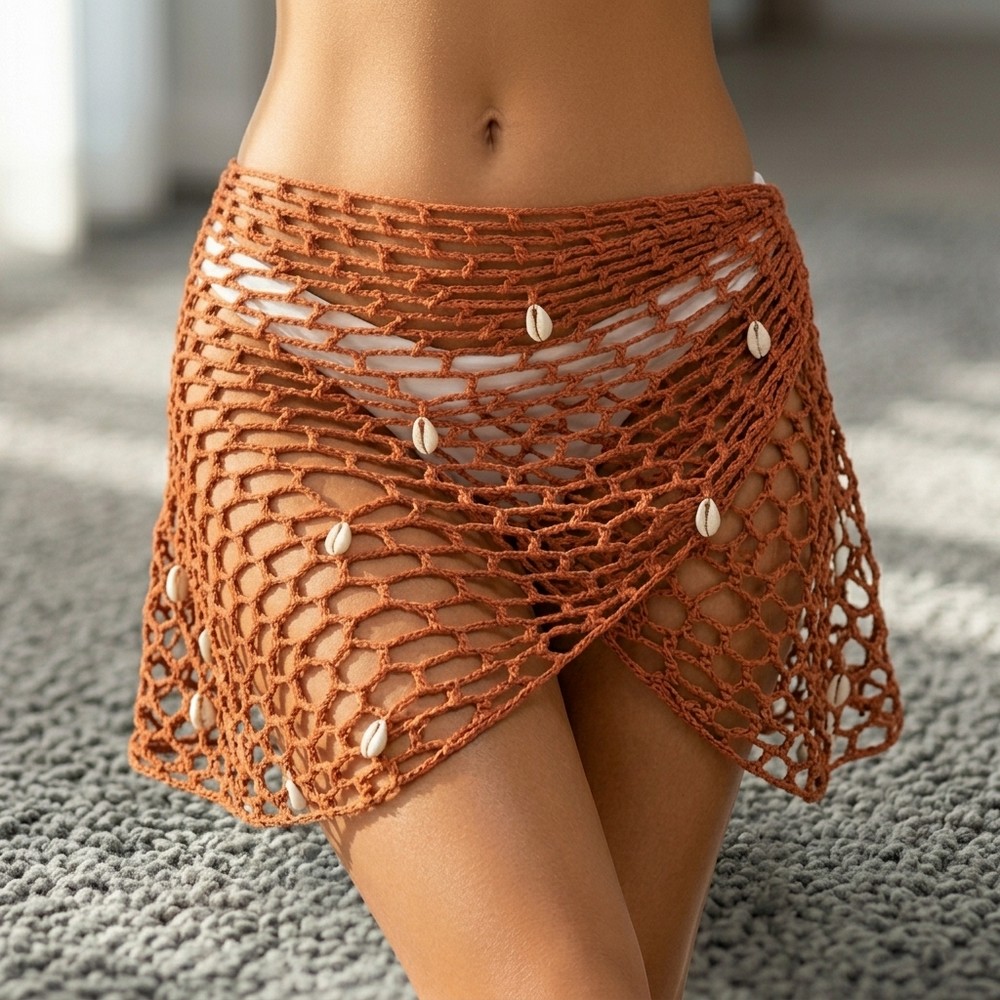
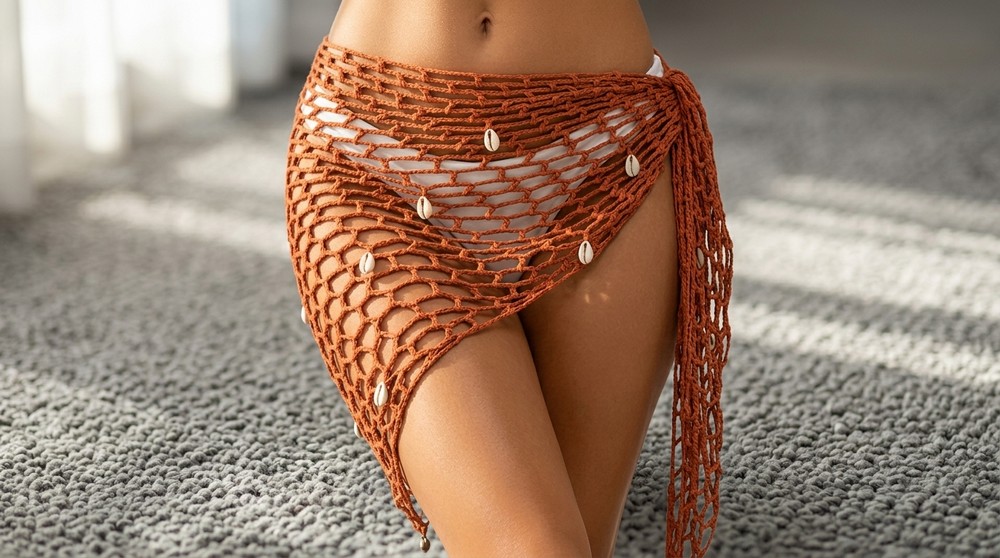
Imagine stepping onto soft sand feeling the gentle breeze as you show off a bright and stylish outfit that is light airy and full of charm because everyone enjoys something easy to wear on sunny days by the water. From a lazy stroll along the coastline to relaxing poolside moments a crochet beach cover-up pattern offers more than just coverage. It brings a touch of elegance to your swimwear while letting the sun kiss your skin through beautiful openwork designs that help you stay cool and confident.
Must-Have Free Beach Cover-Up Pattern for Sun Lovers
This cover-up is not only quick to put on and simple to pack but its creative textures and fringe details make it perfect for any kind of beach trip or backyard party. With many colors and shapes to choose from you can match it with your hat or sandals and feel unique every time you go out. Finding the right crochet beach cover-up pattern adds easy comfort and beauty to every summer adventure.
Quick & Easy Crochet Beach Cover-Up Pattern
Materials List
- Yarn: 2 mm medium-thick cotton yarn (rustic, mercerized, or “Peruvian” type). Avoid shiny yarns for a casual look.
- Hook: 5.5 mm crochet hook (adjust to 4.5 mm if you crochet loosely or want a denser fabric).
- Notions: Scissors, tapestry needle (for weaving ends), optional wooden beads, shells, or sequins for decoration.
- Optional: Small piece of cardboard for making tassels.
Key Abbreviations (US Terms)
| Abbreviation | Meaning |
|---|---|
| ch | chain |
| sl st | slip stitch |
| dc | double crochet |
| sk | skip |
| sp | space |
| rep | repeat |
Special Notes
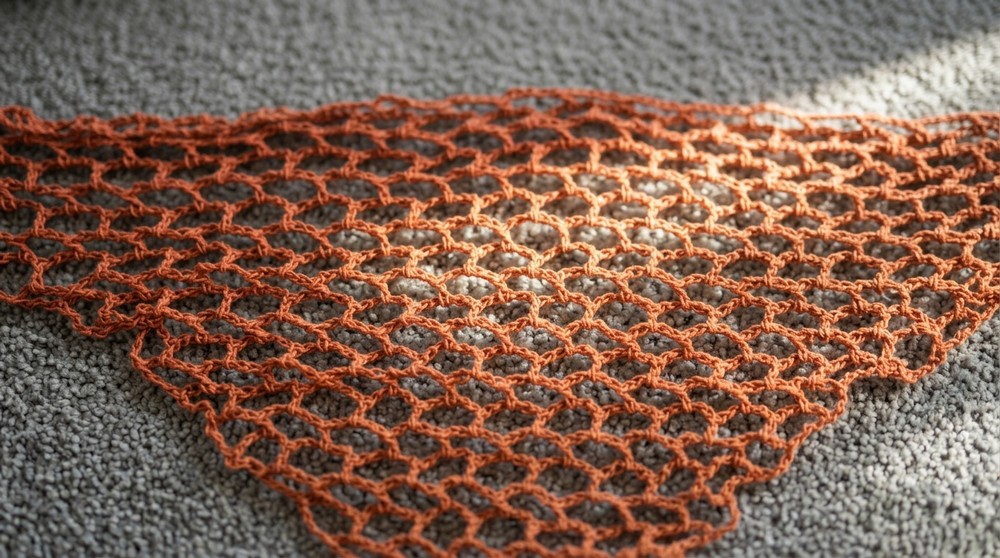
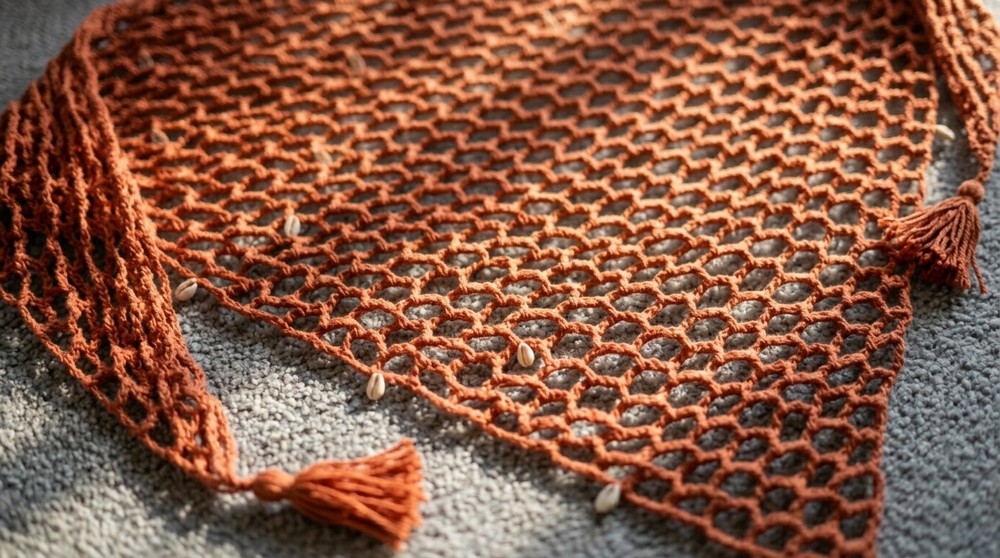
- Size: This project is a growing triangle that should measure approx. 150–160 cm wide for beach wear. Adjust size by working more or fewer rows.
- Base chain: Pattern is shown for a mini starting chain of 10, but the technique can be started with any similar small number—this pattern is naturally increasing.
- For a more open mesh, use 5 ch between “frames” (squares). For a denser look, use 3 ch and ch 3 for the turning edge.
- All increases happen on the edges.
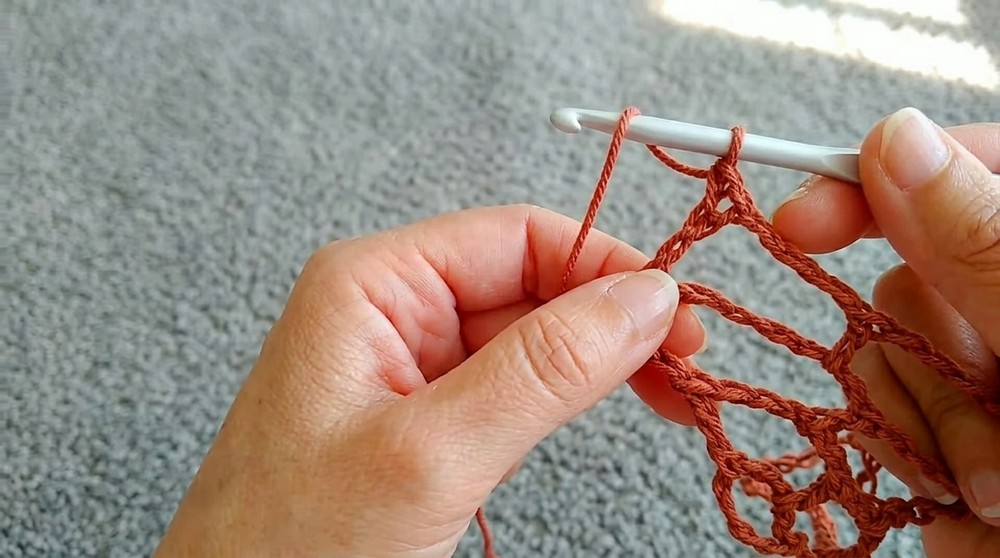
Pattern
Foundation
- Ch 10.
Row 1
- Sl st into 1st ch to form ring.
- Ch 4 (counts as 1 dc + ch 1).
- Ch 5 (for space), then dc into ring.
- [Ch 5, dc into ring] — rep [] until you have enough “frames” (usually just 1 for the first row in this triangle).
- Ch 5, final dc into ring, ch 4 (as at the start).
- End with dc into ring (or as described: dc into the base). You will have a single “square” in Row 1.

Row 2 (Triangle Start)
- Ch 4 (turning).
- Ch 5 (for space).
- Dc into ch-5 sp (of previous row).
- [Ch 5, dc into next ch-5 sp]—repeat as needed (number of “frames” increases by 1 per row).
- At final ch-5 sp: Ch 5, then dc with double yarn over (tall dc) into the 4th ch of the edge-ch (ensures triangle shape).
- Turn.
Row 3+
- Ch 4 (turn), ch 5 (space).
- Dc into first ch-5 sp.
- [Ch 5, dc into next ch-5 sp]; rep [] for each sp across.
- At end: Ch 5, dc with double yarn over into the 4th chain from the last row’s edge.
- The triangle increases one “square” each row (recognizable mesh structure).
- Repeat until desired width: approx. 150–160 cm for wrapping at the waist or hips.
If you prefer a denser mesh:
- Use ch 3 for the spaces instead of 5.
- Use a regular dc instead of double yarn over for row edges.
Final Row
- Work the last row as usual, ending with a dc edge.
- Fasten off.
OPTIONAL: Edging & Embellishments
Add Beads/Shells/Sequins:
- Attach as desired to the edges or center, using thread and tapestry needle. Secure with small knots, ensure they hang freely but are well attached.
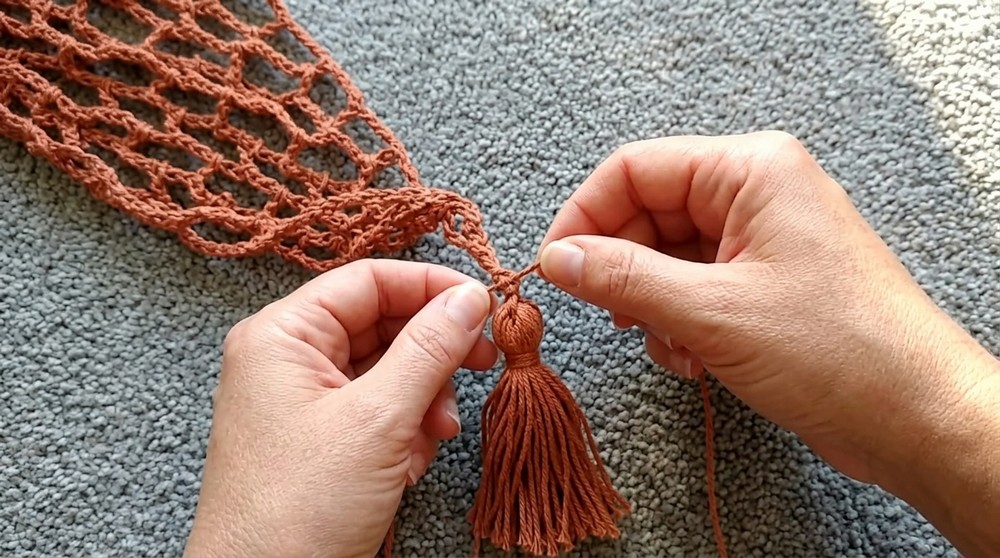
Tassels:
- Use a piece of cardboard, wrap yarn 20 times (or as thick as desired).
- Slide off, tie one end tightly to make the “top” of tassel.
- Cut through opposite end of loops.
- Tie another piece around the top, trim ends straight.
- Attach at each triangular end or at spaced intervals for a bohemian look.
Pattern Correction
- Count spaces each row. Each new row increases by one frame.
- For clean corners and symmetry, count chs carefully when turning.
- If the edges begin to curl or are uneven, block lightly and stretch while wet to even out.
Tips
- Try using contrasting colored yarn for tassels or beads for extra flair.
- This quick-growing triangle can easily become a shawl, beach skirt, or light wrap—customize the length as desired.
- Use blocking to open up mesh if very open effect is desired.
- Weave in ends firmly, especially if adding beads or heavy shells.
Conclusion
This chic and practical beach cover-up is the perfect last-minute or first crochet project, combining speed, minimal materials, and tons of styling options. With openwork mesh and endless ways to customize (tassels, beads, shells), you can create a garment that is both breezy and fashionable—ready for beach adventures, pool days, or relaxing at home.