Free Crochet Dinosaur Pattern with Simple Stitches for Beginners
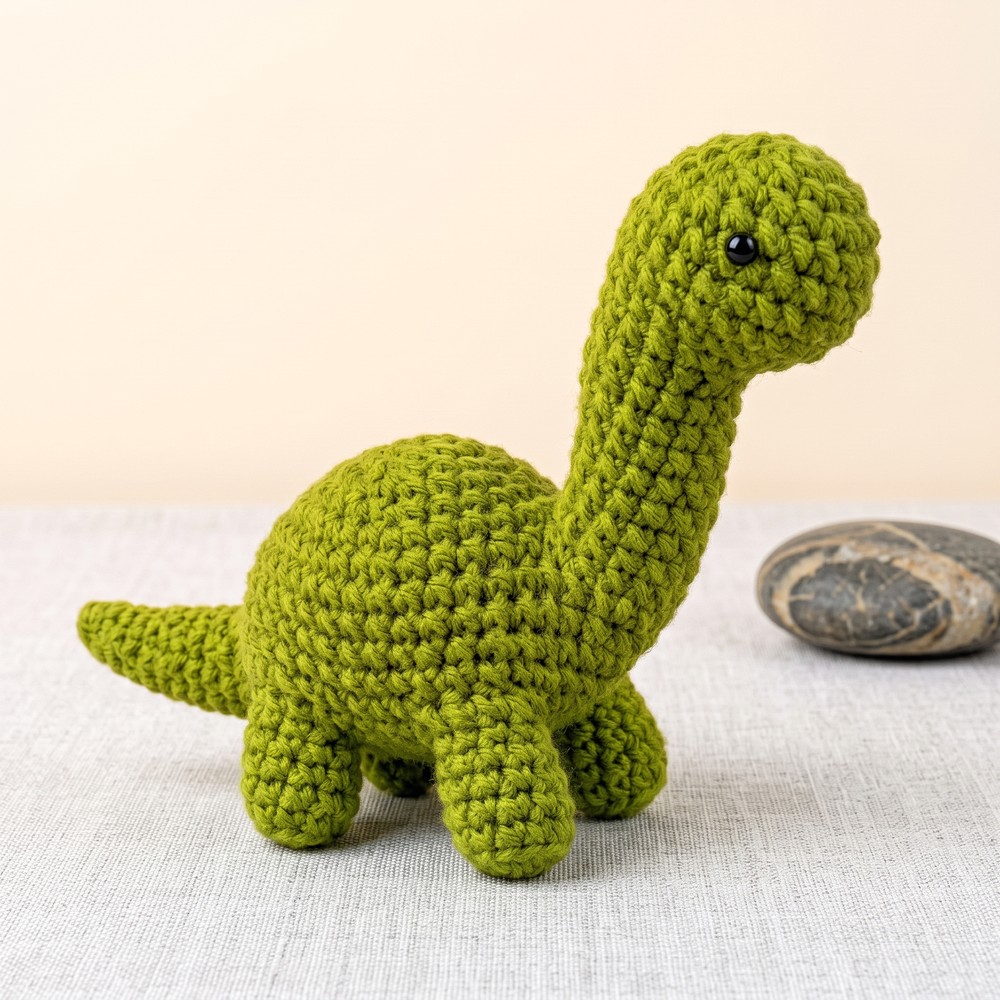
Open up your inner artist and create a unique crochet dinosaur using this free pattern designed for crafters seeking fun and whimsy.
Bringing a touch of prehistoric charm to your home or gift list is easier than ever with a delightful crochet toy that captures hearts with its cute form. The Free crochet Dinosaur Pattern, beautifully presented by the creative talent Veronika Lagutina, invites you to make a charming little dinosaur that stands out as a playful and cozy addition to any room.
How to Crochet a Free Dinosaur Pattern Easily at Home
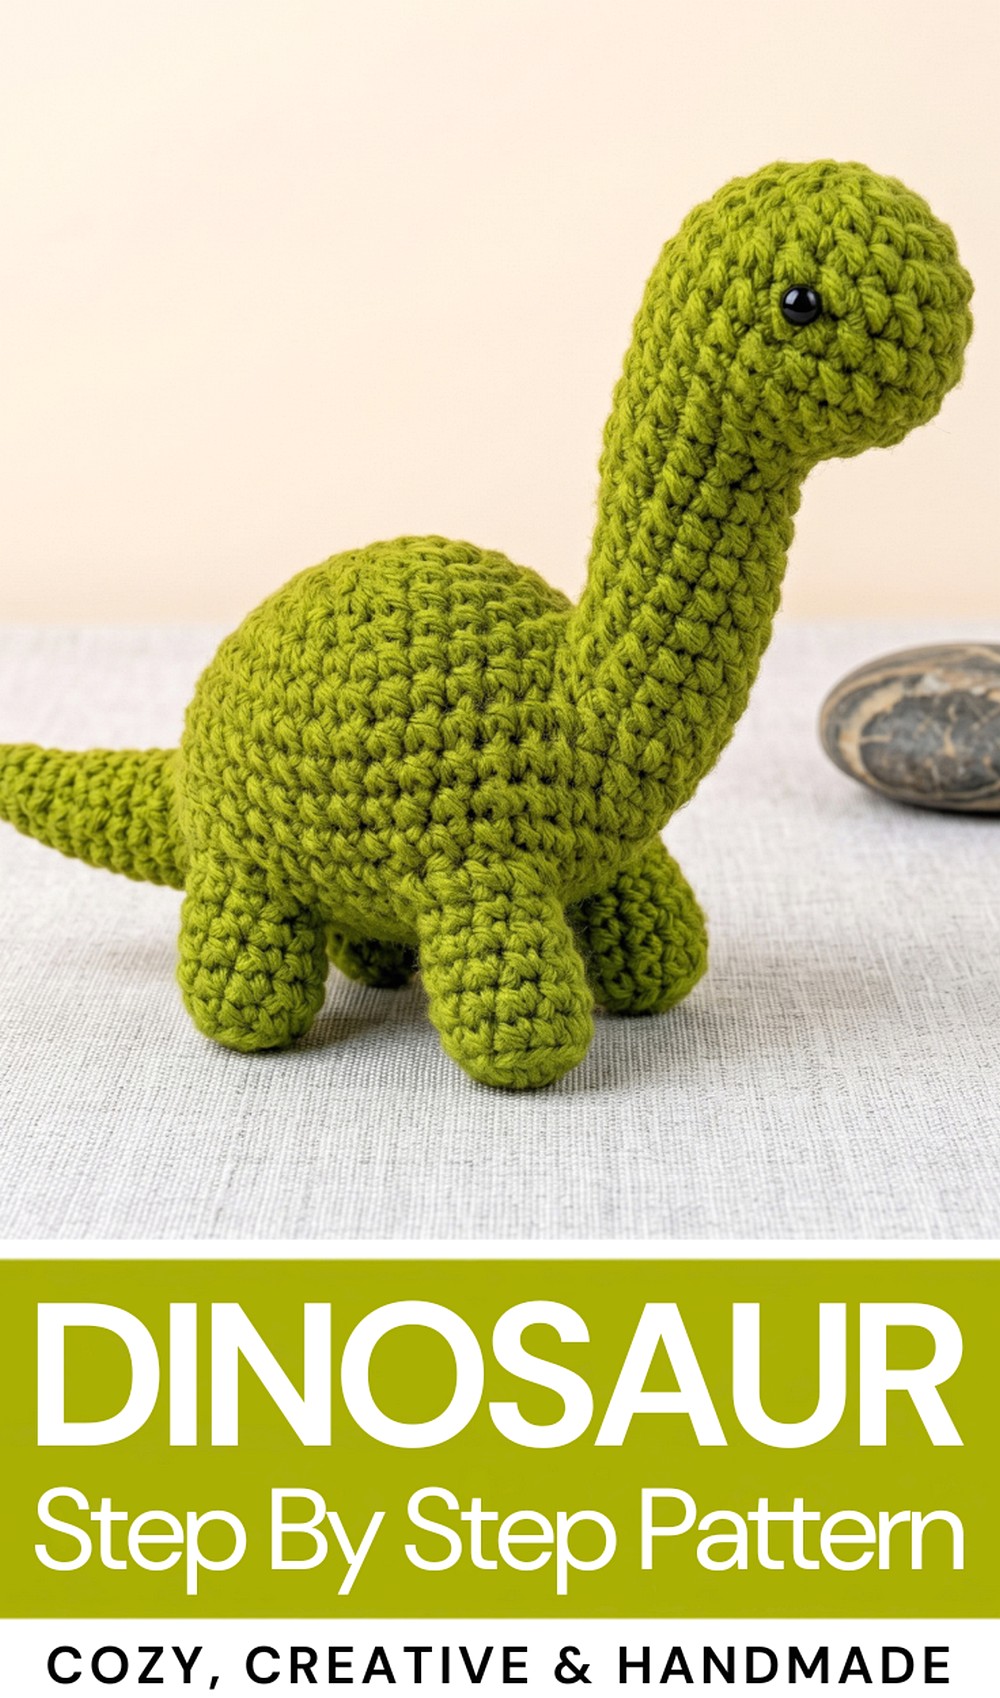
This adorable amigurumi-style dinosaur is perfect as a heartfelt gift for children or anyone who loves unique decorations. Its soft yarn texture offers a cuddly feel, while its small size makes it an ideal desktop companion or nursery buddy. The piece combines practical use with decorative appeal, brightening spaces with its cheerful and friendly appearance.
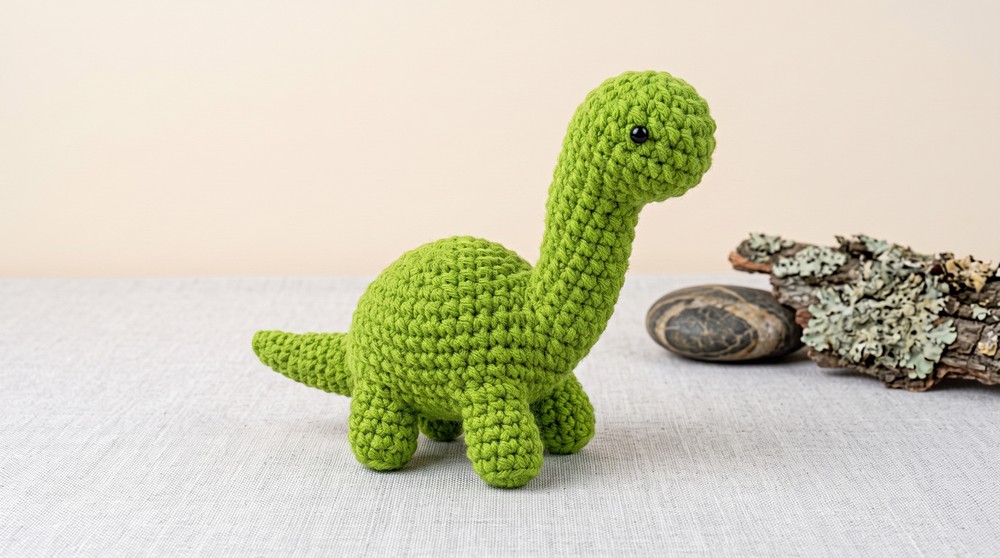
The design showcases a round, sturdy body complemented by four sturdy legs, a tail, and a carefully shaped head with bead eyes that add lively character. Created using smooth, tightly stitched rows of cotton yarn, the texture is soft yet firm enough to hold shape well. The pattern includes neat increases and decreases for shaping, creating a balanced structure that looks as good from every angle.
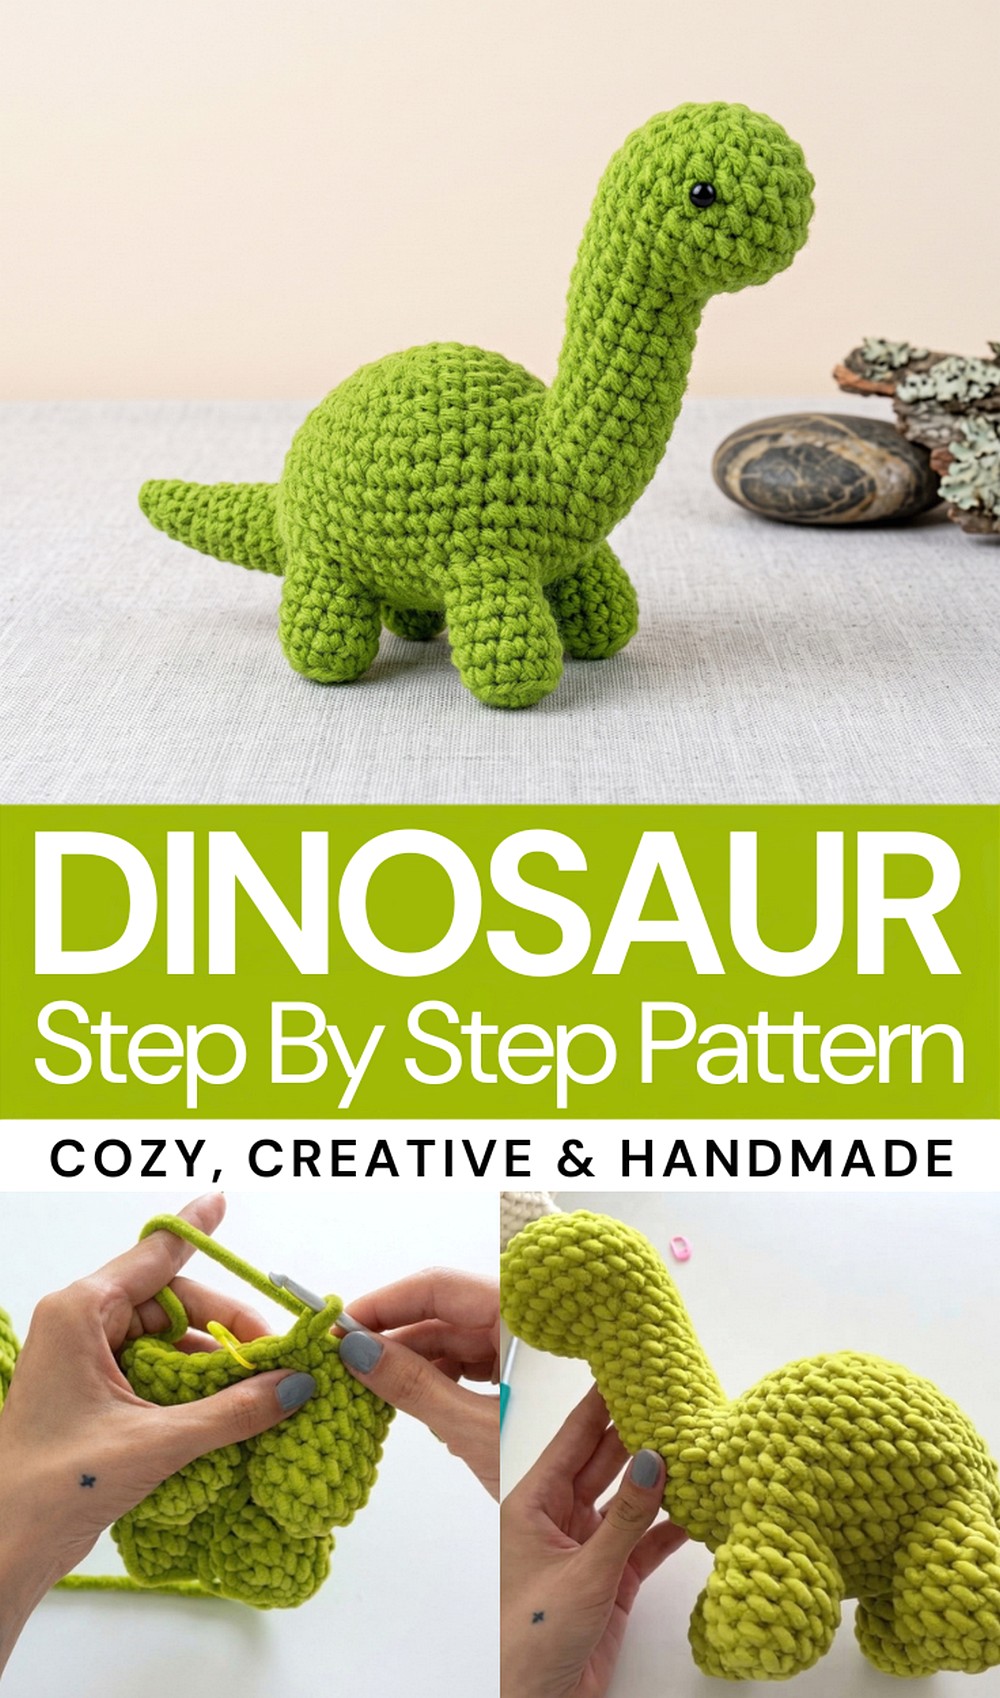
Crochet Pattern – Plush Dinosaur Amigurumi
This plush dinosaur amigurumi pattern is designed for crocheters with some experience crafting three-dimensional shapes through amigurumi techniques. The construction involves joining multiple components seamlessly, shaping the body for proportional balance, and using safety features like fiberfill stuffing and safety eyes. This adorable project makes an excellent toy or collectible.
Skill Level
Intermediate
The pattern requires knowledge of magic rings, single crochet, increases, decreases, and attaching multiple pieces during construction. Accuracy and attention to detail are necessary for shaping and assembling the dinosaur.
Materials Needed
- Yarn: YarnArt Dolce (Color 750 used in the video tutorial; plush chenille yarn ideal for soft toys).
- Crochet Hook: 4.0 mm (or 4.25 mm depending on your tension).
- Stuffing: Fiberfill for plush construction.
- Safety Accessories:
- 1 pair of safety eyes or beads.
- Stitch markers (2 recommended for keeping track of rounds).
- Tools: Large-eyed tapestry needle, scissors.
Special Stitches Used
- Magic Ring (MR): A circular foundation to start projects without a hole in the center.
- Wrap the yarn around your fingers to form a loop. Insert your hook into the loop, pull up a loop, and work the required number of stitches into the ring. Pull the tail tight to close the center.
- Invisible Decrease (Dec): Provides a smooth decrease in amigurumi.
- Insert the hook into the front loops of the next two stitches. Yarn over, pull through both front loops, yarn over again, and pull through the final two loops on your hook.
Stitch Abbreviations
| Abbreviation | Meaning |
|---|---|
| ch | Chain |
| sc | Single Crochet |
| inc | Increase (2 sc in one stitch) |
| dec | Decrease |
| MR | Magic Ring |
| sts | Stitches |
Useful Tips
- Consistent Stitch Markers: Use stitch markers to track the beginning of each round, especially for seamless rounds.
- Tension Control: Plush yarn may stretch; adjust hook size if your stitches appear too loose or uneven.
- Safety Eyes Placement: Attach the safety eyes between rounds as noted to avoid misplacement after stuffing.
- Neat Finishing: Sew each piece together securely using a tapestry needle. Avoid visible seams by pulling stitches tightly.
- Stuffing: Use small amounts of fiberfill at a time to avoid lumps, especially in smaller parts like the tail or legs.
Step-by-Step Plush Dinosaur Amigurumi Pattern
1. Legs (Make 4)
Round 1 (R1):
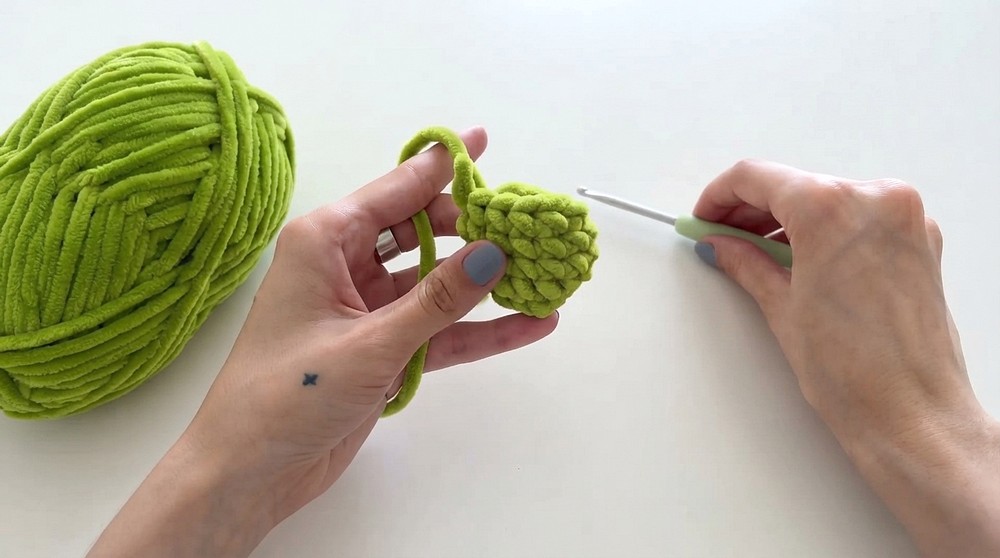
- Start with a Magic Ring. Work 6 sc into the ring. (Total: 6 stitches)
Round 2 (R2):
- Work 6 inc (2 sc in each stitch). (Total: 12 stitches)
Rounds 3–5 (R3–R5):
- Work 12 sc in each round with no increases. (Total: 12 stitches per round)
Round 6 (R6):
- (4 sc, 1 dec) Repeat 2 times around. (Total: 10 stitches)
- Leave a tail for sewing. Repeat these steps to make 4 legs.
2. Body/Belly
Round 1 (R1):
- Begin with a Magic Ring, work 7 sc into the ring. (Total: 7 stitches)
Round 2 (R2):
- Work 7 inc around. (Total: 14 stitches)
Round 3 (R3):
- (1 sc, 1 inc) Repeat 7 times. (Total: 21 stitches)
Round 4 (R4):
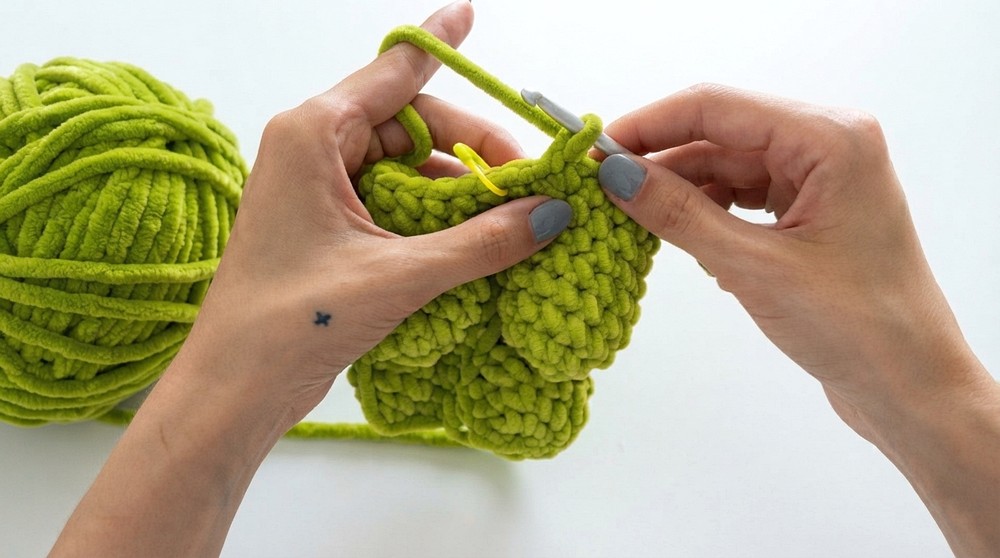
- Attach the 4 legs in this round:
- Carefully skip specific stitches and join each leg at appropriate points, then continue crocheting while maintaining tension. (Total: 21 stitches)
Round 5 (R5):
- Work 18 sc, followed by 2 inc. Then continue 19 sc, 1 inc, and finish with 1 sc. (Total: 44 stitches)
Round 6 (R6):
- Work 17 sc, ch 6 to create a hole for the tail, skip 6 sts, then work 20 sc to finish the round. (Total: 44 stitches)
Round 7 (R7):
- Shape the tail base: (4 sc, 1 dec) Repeat around, with additional increases as needed. (Total: 42 stitches)
Rounds 8–9:
- Continue shaping with increases and decreases to contour the torso. Stitch total progresses slightly (40–39 stitches).
Round 10 (R10):
- Work 9 sc, 1 dec, 9 sc, 1 dec, and 8 sc. Create the neck hole: ch 3, skip 12 stitches, rejoin and continue with single crochet. (Total: 28 stitches)
Rounds 11–15:
- Work continuous decreases across these rounds to gradually close the body/back. Progression: 24 sts → 20 sts → 16 sts → 12 sts → 6 sts. Fasten off and leave a tail.
3. Tail
Round 1 (R1):
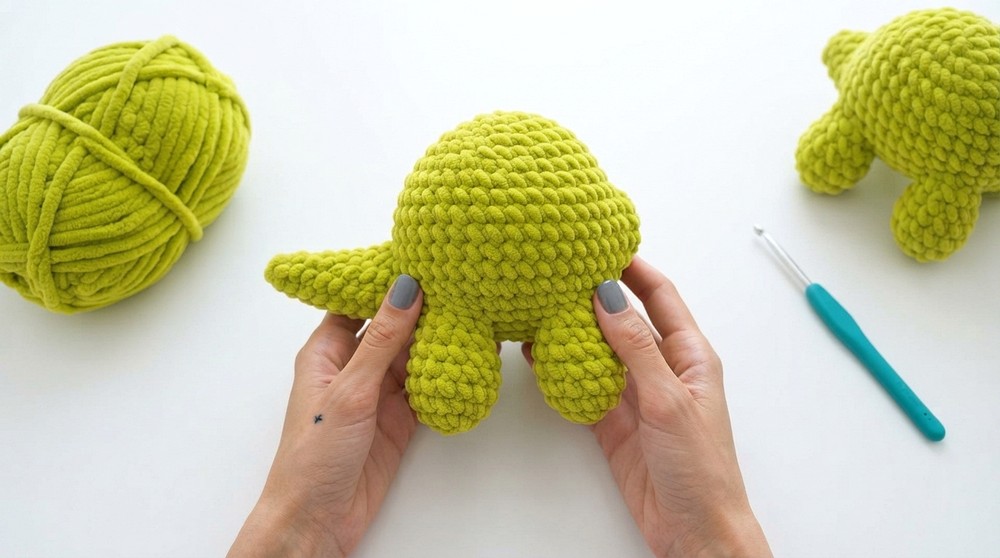
- Pick up 12 stitches around the chain-6 opening from R6.
Round 2 (R2):
- Work 12 sc around.
Rounds 3–End:
- Work 1 dec per round at the bottom center until 4 stitches remain. Fasten off and sew closed.
4. Neck & Head
Round 1 (R1):
- Attach yarn at the neck hole created in R10. Pick up 14 stitches.
Rounds 2–9:
- Work 14 sc per round for 9 continuous rows.
Rounds 10–11:
- Shape the head, adding 5 increases per row. (Total: 24 stitches)
Rounds 12–14:
- Work 24 sc per round, maintaining shape.
Rounds 15–17:
- Gradually decrease to close the head: Progression: 24 sts → 18 sts → 12 sts → 6 sts.
Eyes:
- Attach safety eyes during head construction at the suggested position before stuffing.
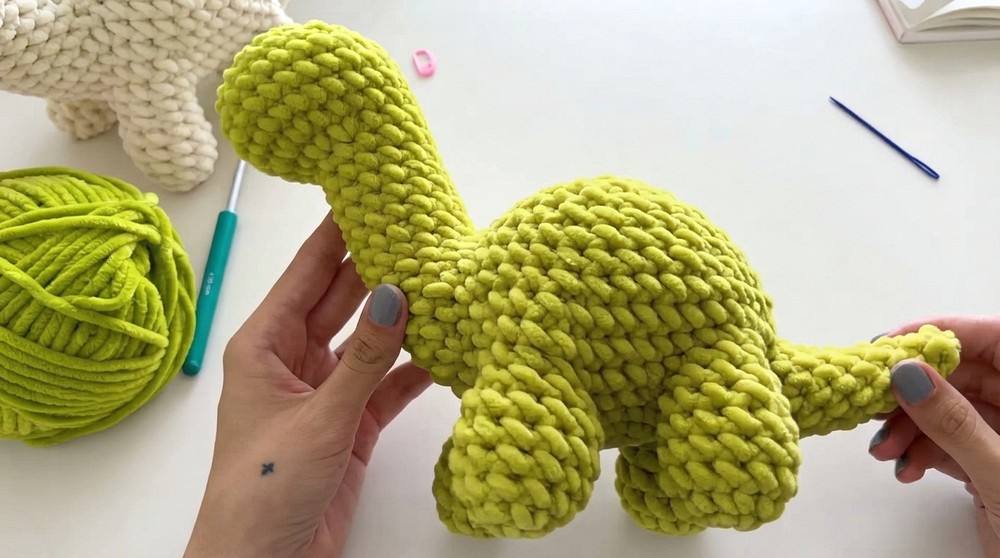
Final Assembly
- Stuff each piece firmly but evenly with fiberfill.
- Sew the tail and head securely to the body using the tapestry needle. Ensure edges are smooth and no gaps are visible.
- Adjust positions of legs and eyes if necessary before all final sewing.
Conclusion
The plush dinosaur amigurumi combines detailed construction and whimsical charm. This versatile pattern is ideal for creating memorable gifts or collectibles. By following the step-by-step guide, you can craft an adorable, durable dinosaur with a polished finish. Customize it by experimenting with colors or adding embellishments.
https://www.youtube.com/watch?v=LMl_KzoakZY