How to Crochet Free Hellokitty Pouch Pattern Easily at Home
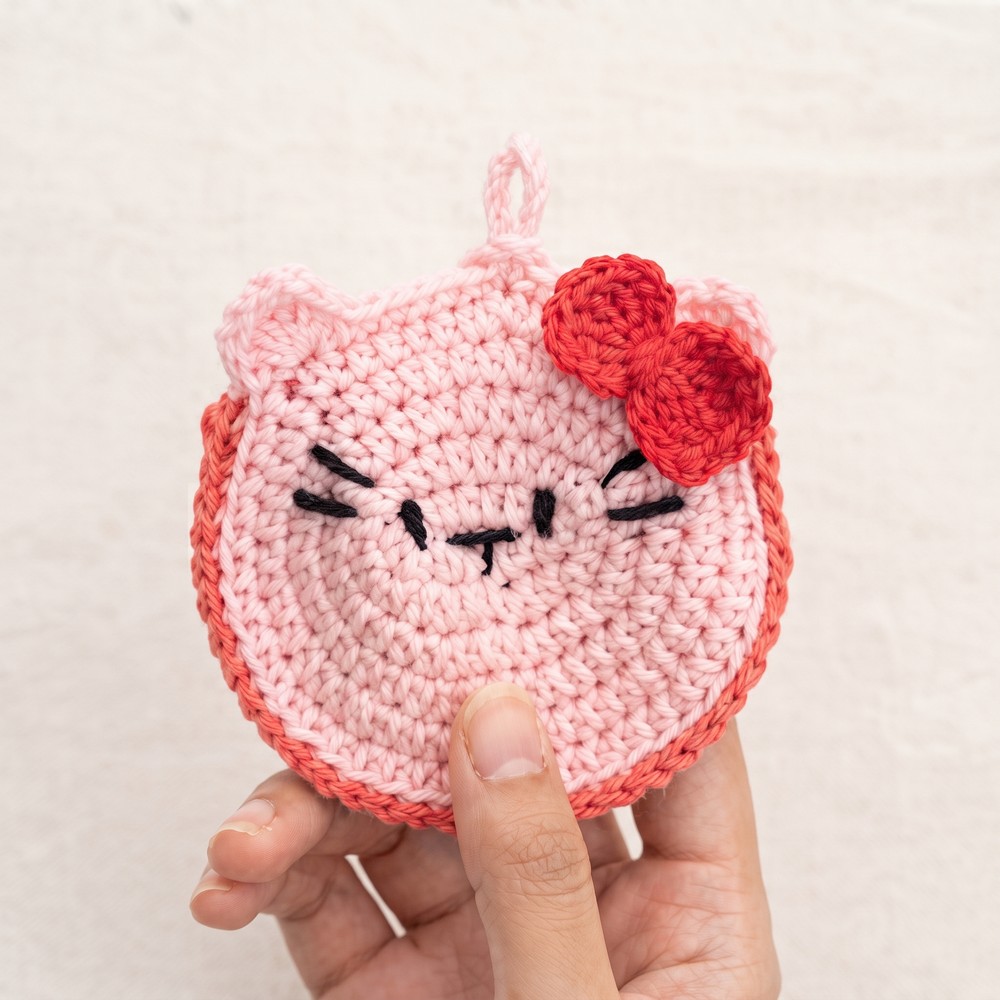
Make the iconic Hello Kitty even more special by crocheting this free pouch pattern that’s perfect for storing small treasures with a kawaii flair.
Adding a delightful and practical accessory to your daily routine can brighten up even the simplest moments. One charming option that perfectly blends function with fun is a small pouch designed to keep your essentials safe and stylish. The free crochet Hellokitty Pouch pattern, thoughtfully shared by Nozishandwork official, captures this idea beautifully, offering a playful yet useful item that’s sure to please.
Free Crochet Hellokitty Pouch Pattern to Brighten Your Day
This pouch is much more than just a storage piece, it makes a wonderful gift for friends and family who adore cute and unique items. Its adorable Hello Kitty face adds an element of whimsy, making it a perfect decorative piece to personalize your space or keep your belongings organized. Whether used to hold AirPods, makeup, or other small essentials, the pouch combines convenience with eye-catching charm.
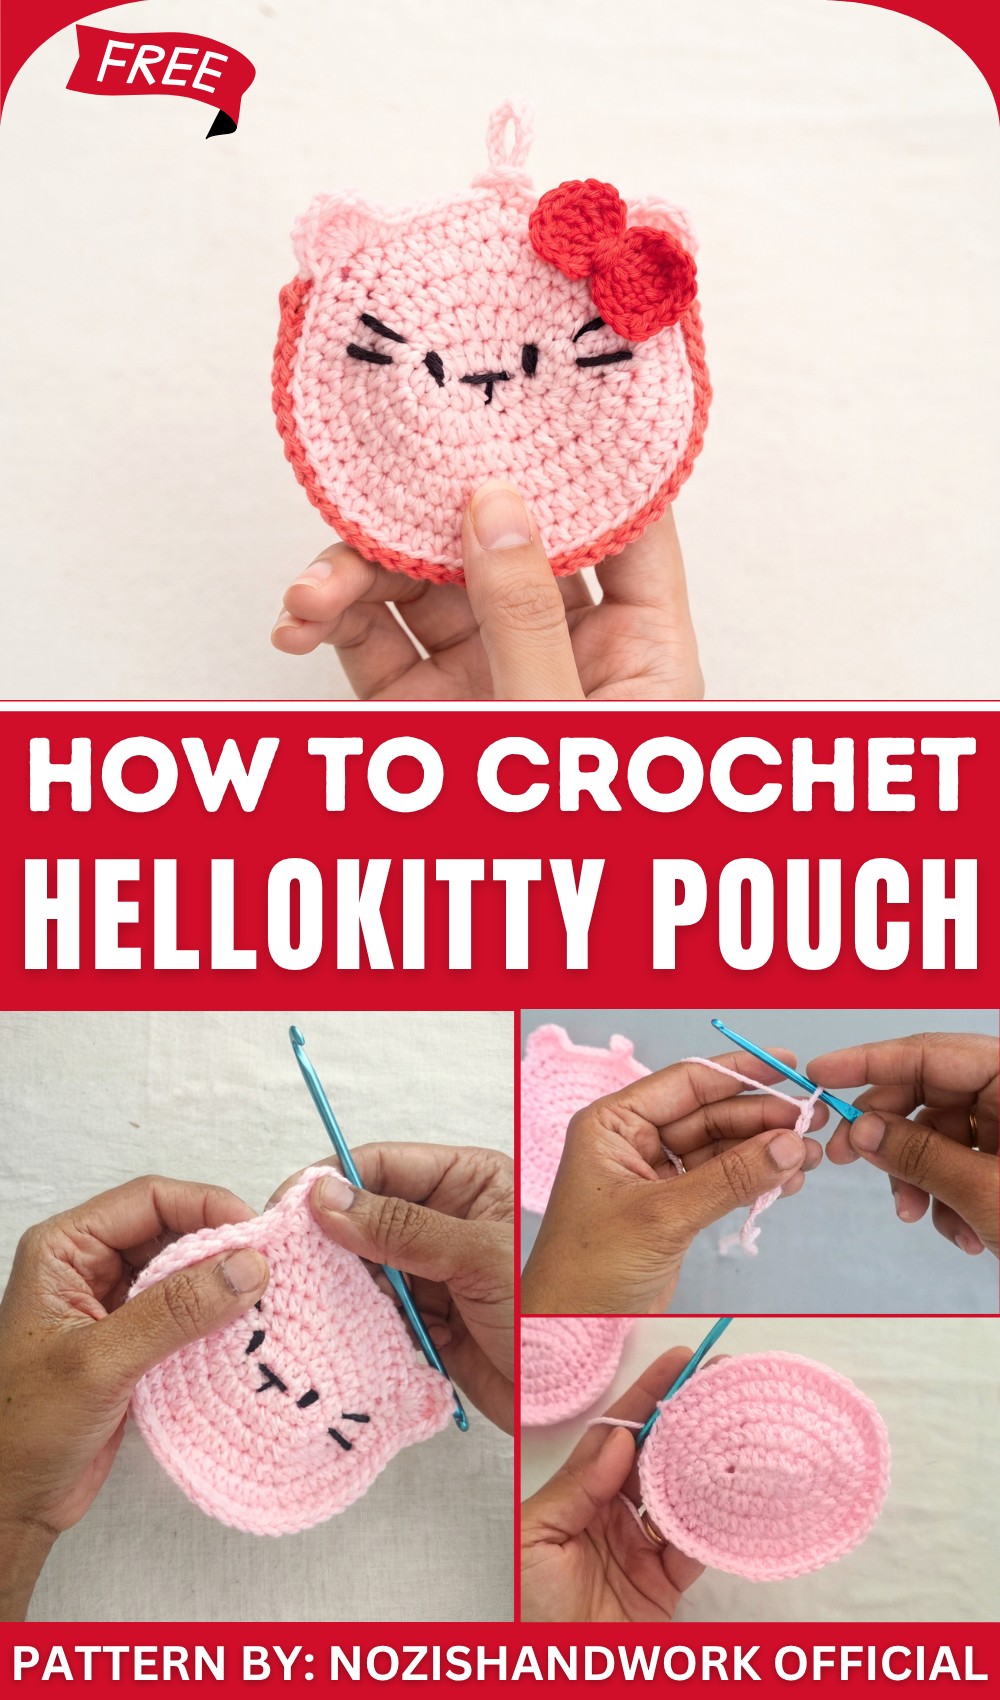
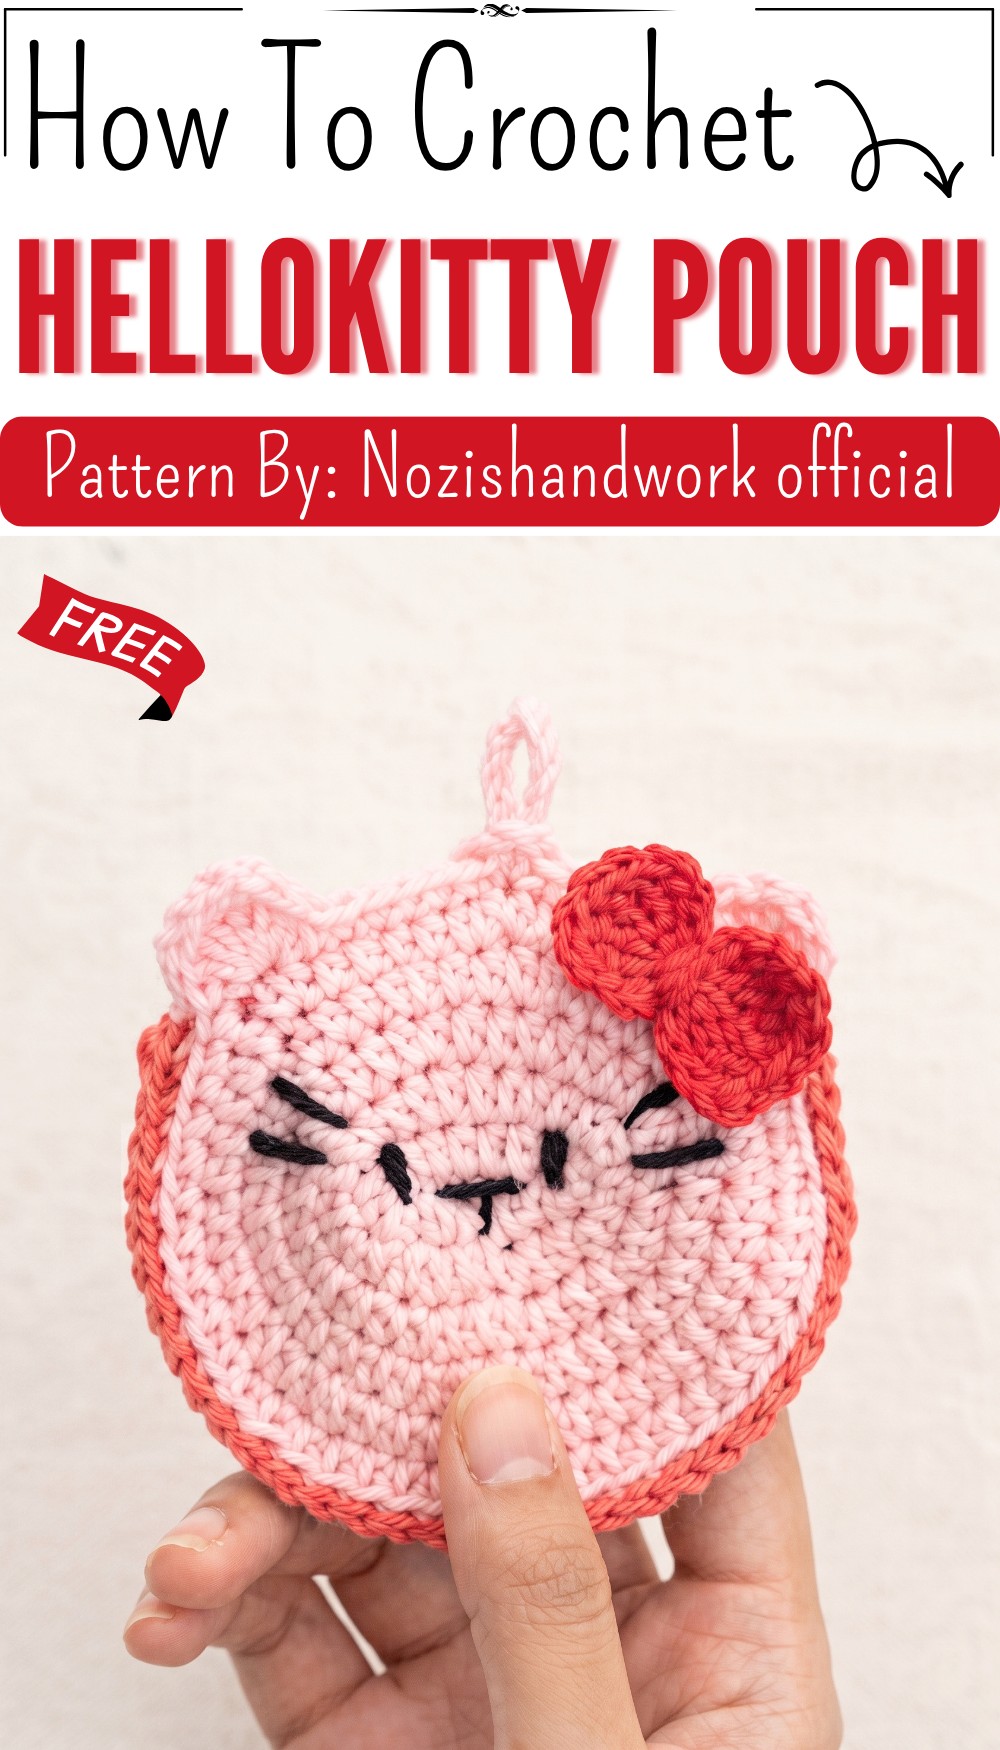
Featuring a soft and tactile texture, this pouch is crocheted with gentle yarns that create a cozy, inviting feel. The design showcases Hello Kitty’s iconic features, her round face, signature bow, and sweet expression, all rendered in vivid colors that pop. Its compact, rounded shape makes it easy to carry or tuck inside a larger bag, while the little loop and zipper closure add practical touches that keep items secure.
The style is playful and endearing, appealing to all ages who appreciate cute and functional accessories. The pouch’s neat finishing and charming details truly make it stand out as a lovely handmade treasure. With this free crochet Hellokitty Pouch pattern, creating a personalized and delightful item has never been easier.
Crochet Pattern – Hello Kitty-Themed Pouch
This Hello Kitty-themed pouch is a delightful and functional piece, perfect for storing small items or as a decorative accessory. The design features two identical crochet pieces joined together to create the pouch, with detailed facial features and a signature bow to complete the Kitty look.
Skill Level
Intermediate
The pattern involves creating a flat base foundation, shaping details like ears, and joining two identical pieces seamlessly. Some experience with embroidery is needed for facial details.
Materials Needed
- Yarn: 100% Acrylic Yarn (3-ply) in white for the base, black for facial features, and red for the bow.
- Hook: 3.5 mm crochet hook.
- Tools:
- Yarn needle (darning needle) for assembly and embroidery.
- Scissors.
- Glue to attach the bow.
- Stitch Marker: At least one stitch marker to track the beginning of rounds.
Special Stitches Used
- Half Double Crochet (HDC):
- Yarn over, insert the hook into the next stitch, yarn over again, pull through (3 loops on the hook), yarn over, and pull through all 3 loops.
- Single Crochet (SC):
- Insert the hook into the stitch, yarn over, pull up a loop, yarn over, and pull through both loops.
- Triple Crochet (Tr):
- Yarn over twice, insert the hook into the stitch, yarn over, pull up a loop (4 loops on the hook). Yarn over, pull through 2 loops, repeat 2 more times.
- Magic Ring:
- Form a loop with the yarn, insert the hook through the loop, yarn over, and pull up a loop. Chain to secure. Work the specified stitches into the ring.
Stitch Abbreviations
| Abbreviation | Meaning |
|---|---|
| ch | Chain |
| sc | Single Crochet |
| hdc | Half Double Crochet |
| dc | Double Crochet |
| tr | Triple Crochet |
| sl st | Slip Stitch |
| MR | Magic Ring |
| st(s) | Stitch(es) |
All terms follow US crochet terminology.
Useful Tips
- Use a Stitch Marker: Place a marker at the first stitch of each round to track the starting point.
- Tension Control: Work with consistent tension for symmetrical shaping of the base and details like the ears and loops.
- Glue Application: Use fabric glue sparingly to attach the bow, ensuring it doesn’t ruin the yarn’s texture.
- Secure Ends: Weave in loose ends carefully to maintain a clean finish, especially at the ears and bow.
- Practice Bow Making: Before attaching the bow, practice shaping it on a scrap piece of yarn to ensure the desired size and shape.
Step-by-Step Instructions
Part 1: Creating the Front and Back Panels
Base Foundation (Round 1)
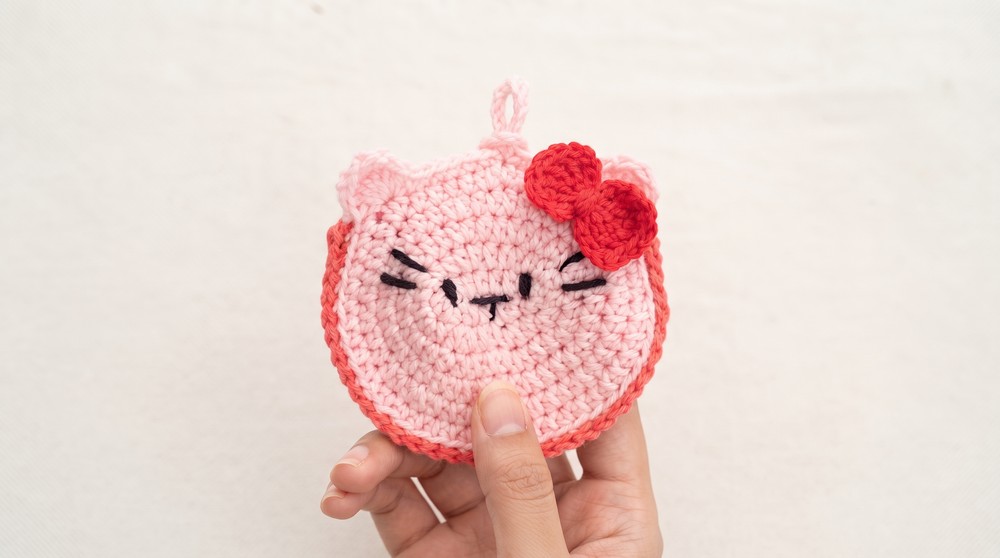
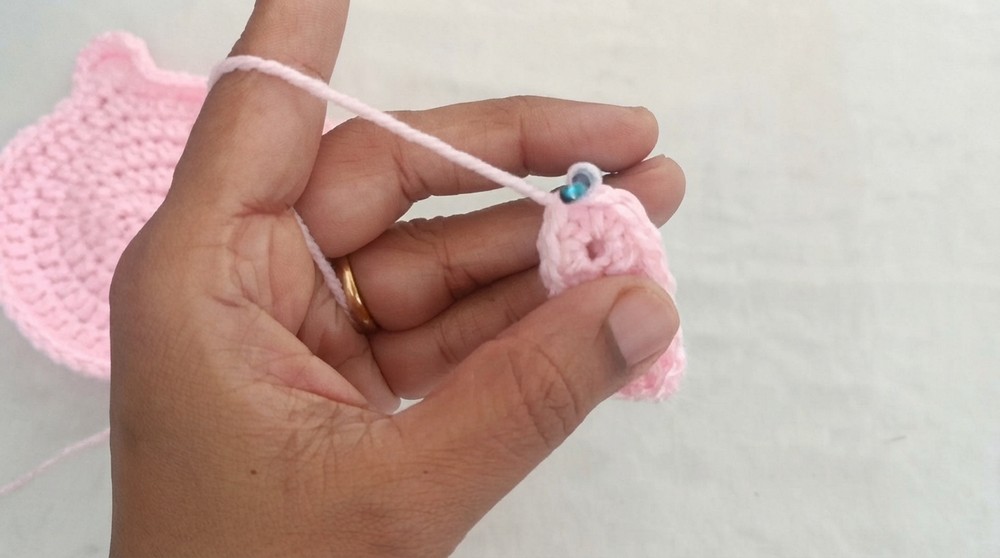
- Create a slip knot. Chain 8 stitches.
- In the 3rd chain from the hook, work 2 HDC. Place a stitch marker in the first HDC.
- Work 1 HDC in each of the next 4 chains.
- In the last chain, work 4 HDC.
- Rotate to work along the opposite side of the starting chain:
- Work 1 HDC in each of the next 4 stitches.
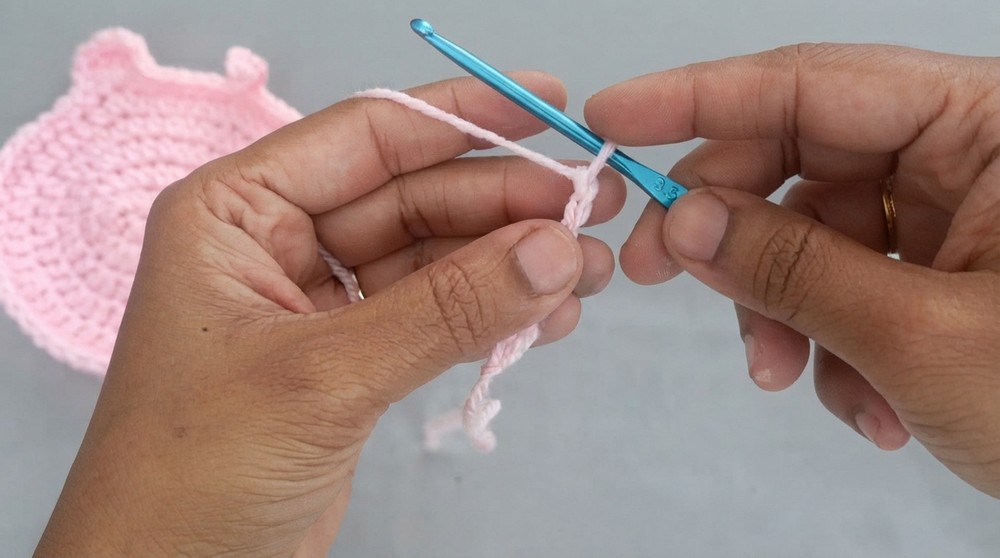
- In the final chain, work 2 HDC. Join to the first HDC with a slip stitch. (Total: 16 stitches)
Increasing Rounds
- Round 2:
- Chain 1. (1 HDC in the next stitch, 2 HDC in the following stitch) Repeat 7 times. Join with a slip stitch. (Total: 24 stitches)
- Round 3:
- Chain 1. (1 HDC, 1 HDC, 2 HDC) Repeat 8 times. Join with a slip stitch. (Total: 32 stitches)
- Round 4:
- Chain 1. (1 HDC in the next 3 stitches, 2 HDC in the 4th stitch) Repeat 8 times. Join with a slip stitch. (Total: 40 stitches)
- Round 5:
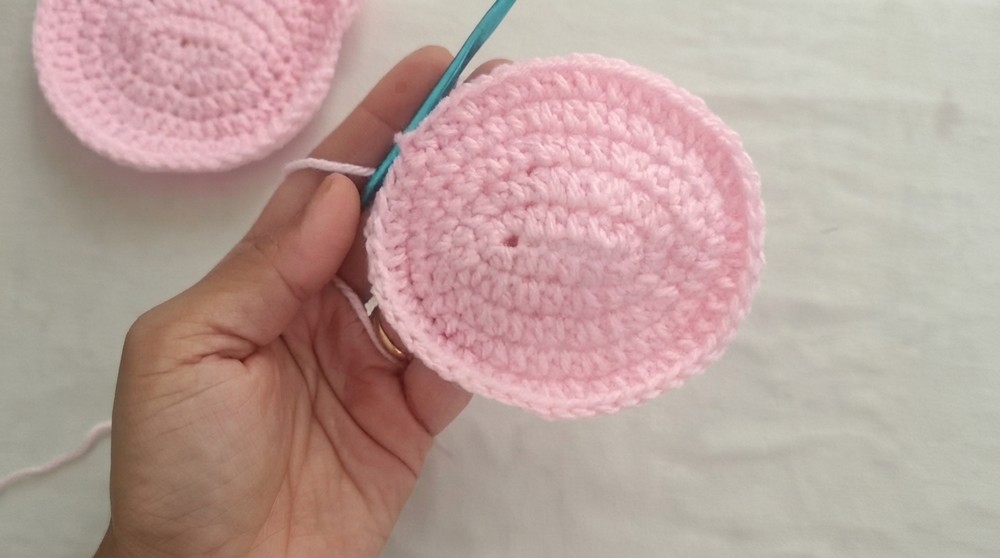
- Chain 1. (1 HDC in the next 4 stitches, 2 HDC in the 5th stitch) Repeat 8 times. Join with a slip stitch. (Total: 48 stitches)
Part 2: Shaping the Kitty
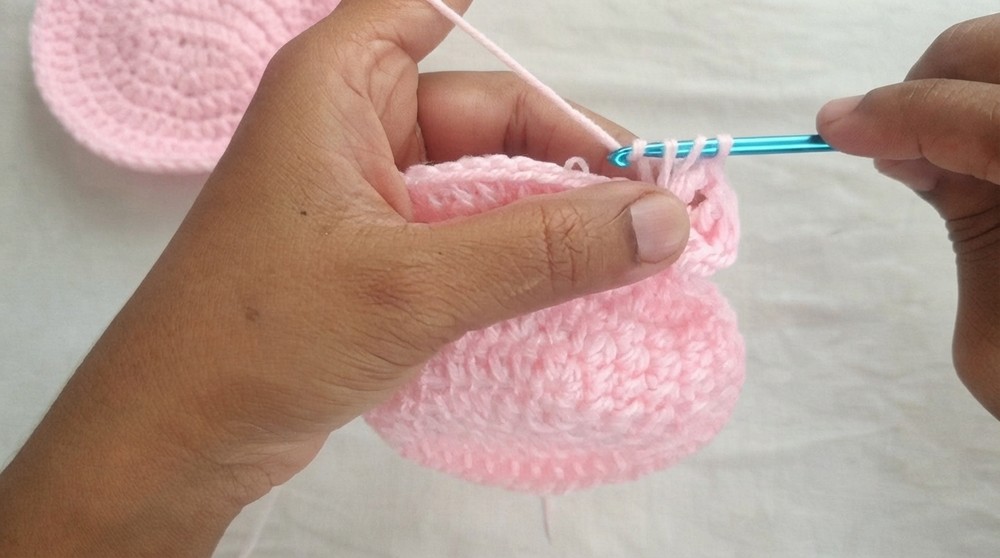
Round 6 (Shaping the Top and Ears):
- Chain 1. Work 1 SC in the first 2 stitches.
- Work 26 HDC across, then 4 SC.
- First Ear:
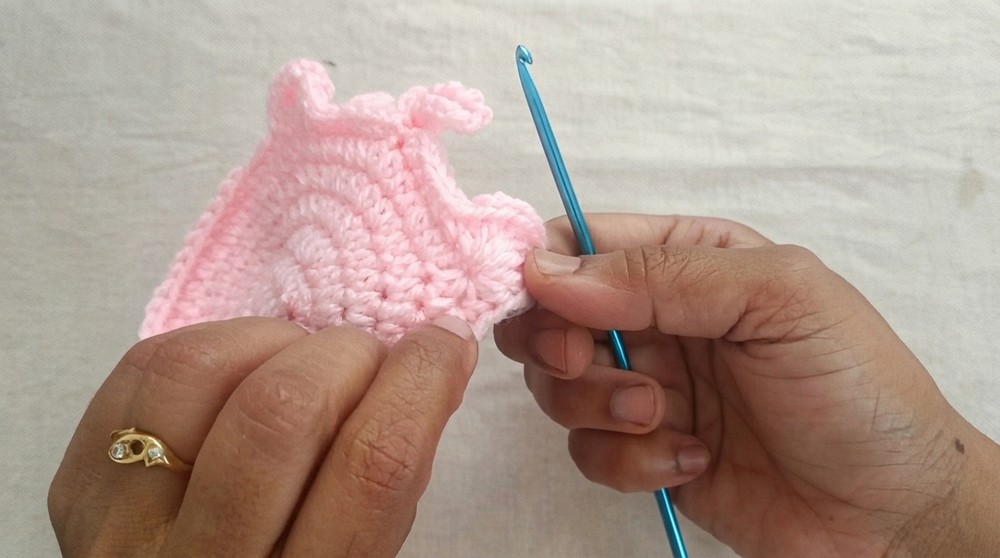
- In the next stitch, work: 1 HDC, 1 DC, 3 Tr, 1 DC, 1 HDC.
- Work 6 SC, then create the hanging loop:
- Chain 6 (or 12 for a larger loop) and slip stitch back into the same space.
- Work 6 SC to the opposite side and repeat for Ear 2:
- Work: 1 HDC, 1 DC, 3 Tr, 1 DC, 1 HDC.
- Finish with 2 SC and join with a slip stitch.
Part 3: Facial Features
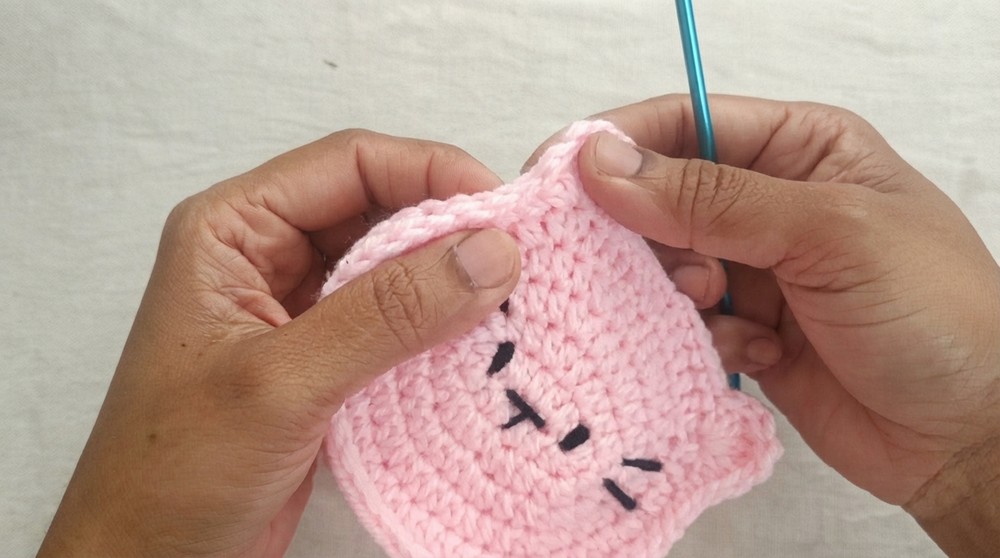
- Use black yarn or thread to embroider the eyes and nose following the classic Hello Kitty face.
- Position the facial features symmetrically on the front panel. Use a yarn needle to sew the pieces securely or embroider using a basic backstitch.
Part 4: Joining and Edging
- Align the two identical pieces (front and back) together.
- Use a single strand of yarn or a contrasting color.
- Work SC through the back loops only of both panels to join them:
- Insert hook through the back loop of one piece and the corresponding back loop of the other. Work SC.
- Continue around the entire edge until both panels are securely joined.
Part 5: Finishing the Bow
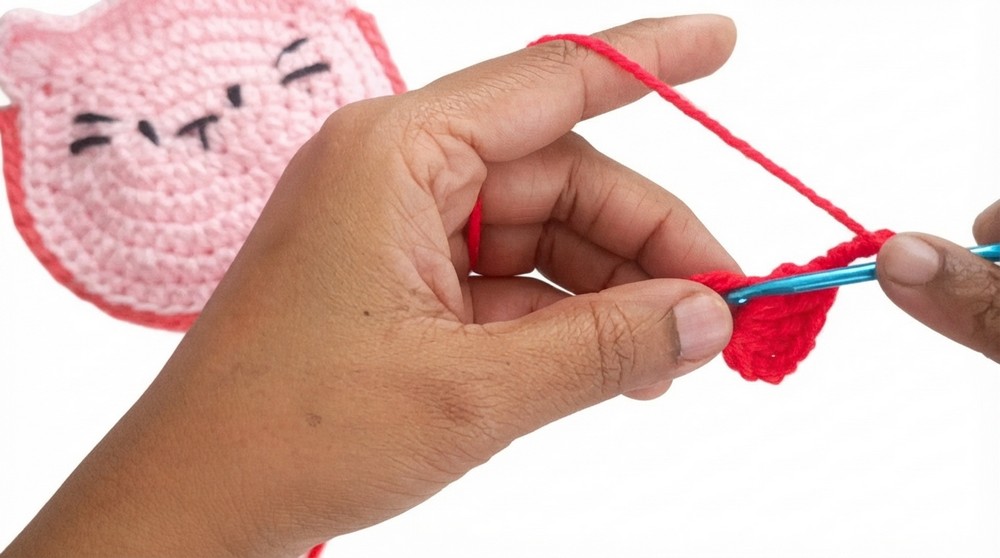
- Use red yarn to create the Hello Kitty bow.
- Step 1: Create a Magic Ring.
- Step 2: Chain 4, then work 4 Tr into the ring.
- Step 3: Chain 4 and slip stitch into the ring to form one side of the bow.
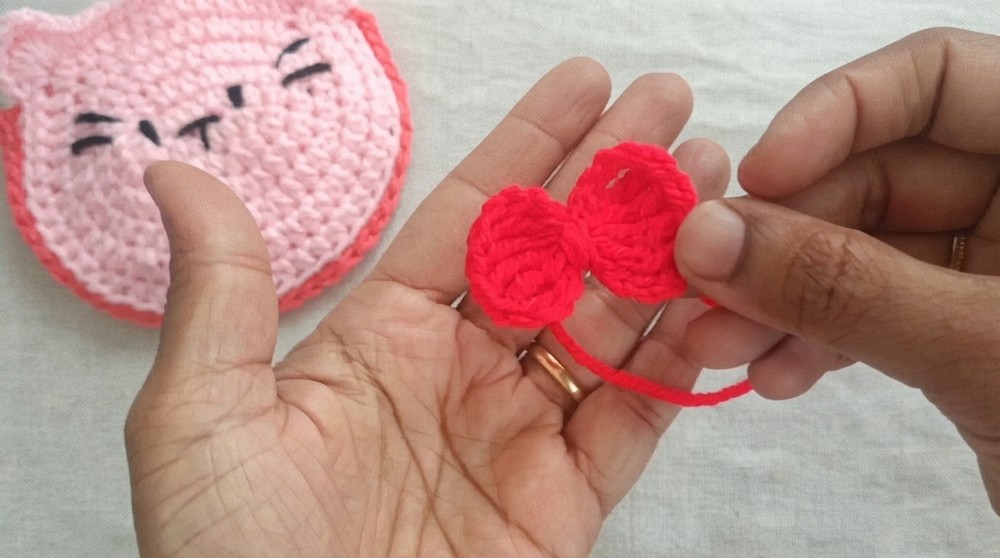
- Step 4: Repeat the same steps to form the second side of the bow.
- Step 5: Pull the magic ring closed and fasten off. Use yarn to wrap around the center of the bow a few times to give it definition.
- Step 6: Use hot glue or fabric glue to attach the completed bow to the top corner of the pouch.
Final Assembly and Touches
- Use a damp cloth and lightly block the pouch if necessary to smooth out any uneven stitches.
- Ensure all loose ends are securely woven in, particularly around seams and ears.
Conclusion
This Hello Kitty-themed pouch is a charming handmade item for fans of the iconic character. Its practical design allows for storage of small accessories, while the decorative bow and cute features give it a playful aesthetic. Experiment with different colors to create unique Hello Kitty-inspired looks for your pouch!