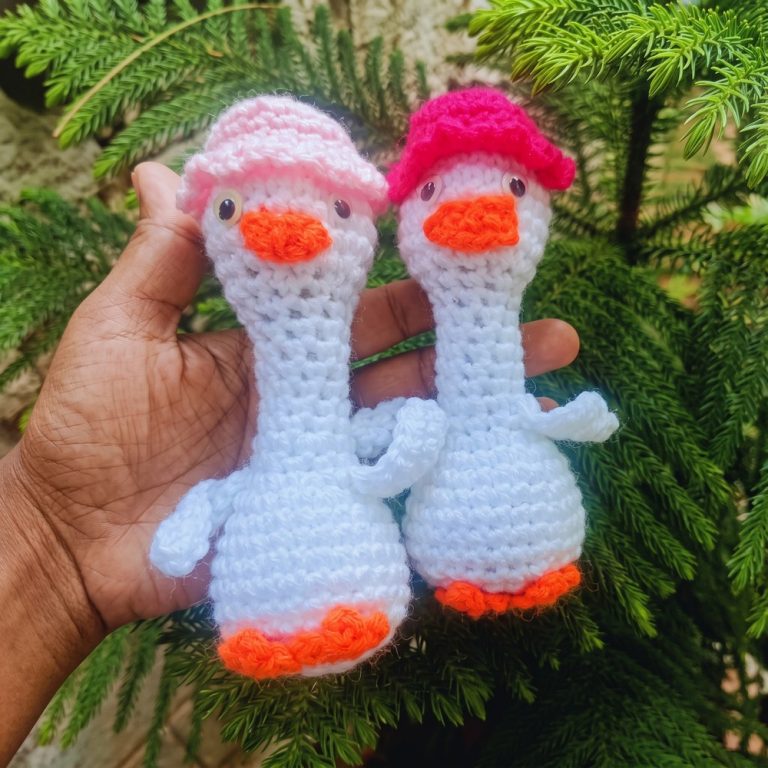
Adorable Free Crochet Duck Pattern for Handmade Gifts
Bring smiles with your handmade skills by creating a cute crochet duck using this free pattern that’s both simple and irresistibly sweet.
A cheerful handmade toy can instantly brighten up any room or gift-giving occasion. The free crochet Duck pattern is a delightful project that allows crafters to create a charming and cuddly duck amigurumi. This lovely design, available through Nozishandwork official, combines simplicity with adorable details, perfect for beginners and experienced crocheters alike.
How to Crochet a Free Duck Pattern with Simple Stitches

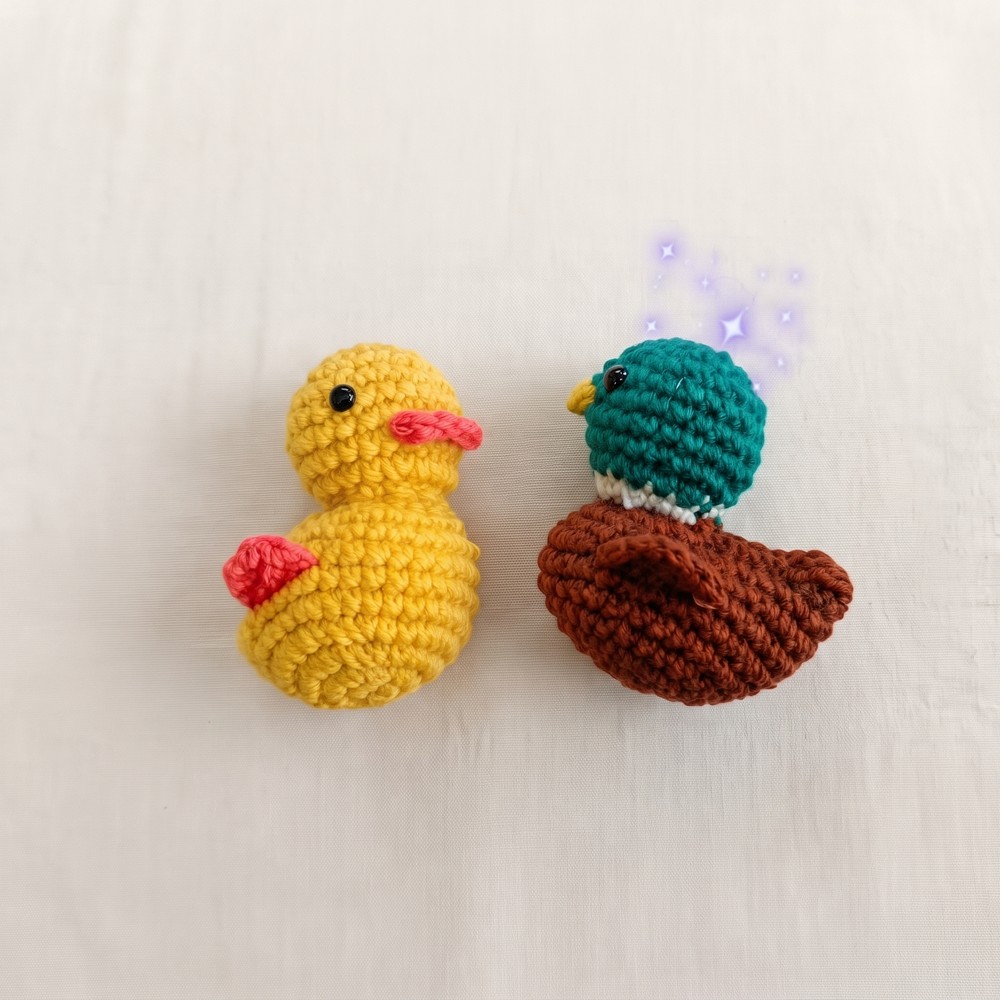
This duck features a smooth, rounded body in sunny yellow shades, complemented by an orange beak and soft wings that lend it a friendly and inviting appearance. Its compact size makes it ideal for little hands to hold or as a decorative accent on nursery shelves or cozy living spaces. The sweet, minimalistic style highlights the duck’s natural charm, making it a versatile piece that fits well in both playrooms and home décor.
Beyond its decorative appeal, this crochet duck serves as a thoughtful handmade gift, perfect for birthdays, baby showers, or as a comforting companion for children. Its cuddly texture and gentle curves invite hugs and snuggles, while the sturdy construction ensures it will last through many adventures.

Crochet Pattern – Mallard Duck Amigurumi
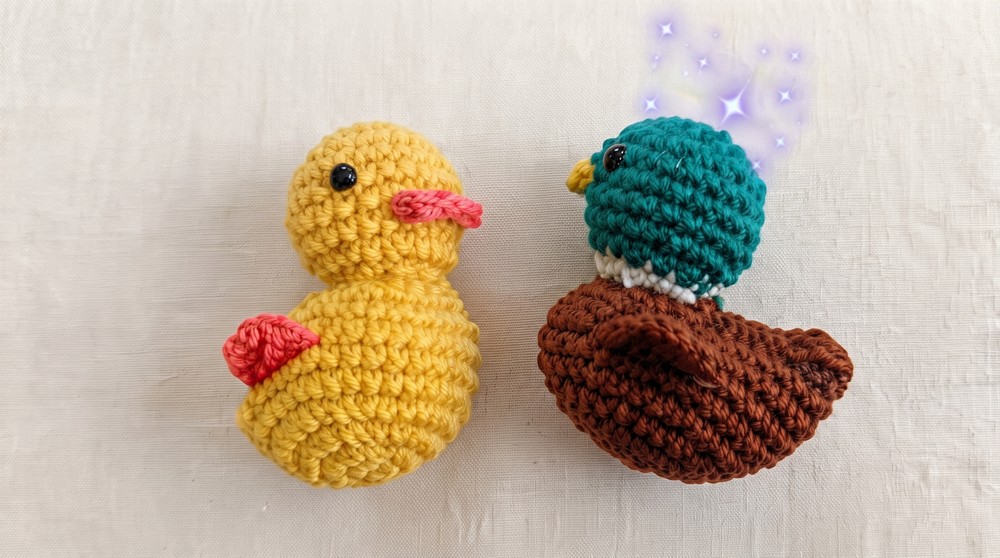
This Mallard Duck amigurumi is a charming project featuring a round body, a cute beak, and small wings. Perfect as a delightful gift, decoration, or toy, this pattern uses simple stitches and techniques to create a beautiful and functional design.
Skill Level
Intermediate
This pattern requires familiarity with amigurumi techniques such as working in the round, increasing, and decreasing stitches. It also involves constructing multiple parts and sewing them together for the finished product.
Materials Needed
- Yarn:
- White acrylic yarn (head and neck).
- Brown acrylic yarn (body and wings).
- Lemon Yellow acrylic yarn (beak).
- Hook: 3.5 mm crochet hook.
- Other Tools:
- 6 mm safety eyes.
- Fiberfill stuffing for shaping.
- Yarn needle for assembly and weaving in ends.
- Scissors.
- Stitch marker to track your rounds.
Special Stitches Used
- Magic Ring (MR):
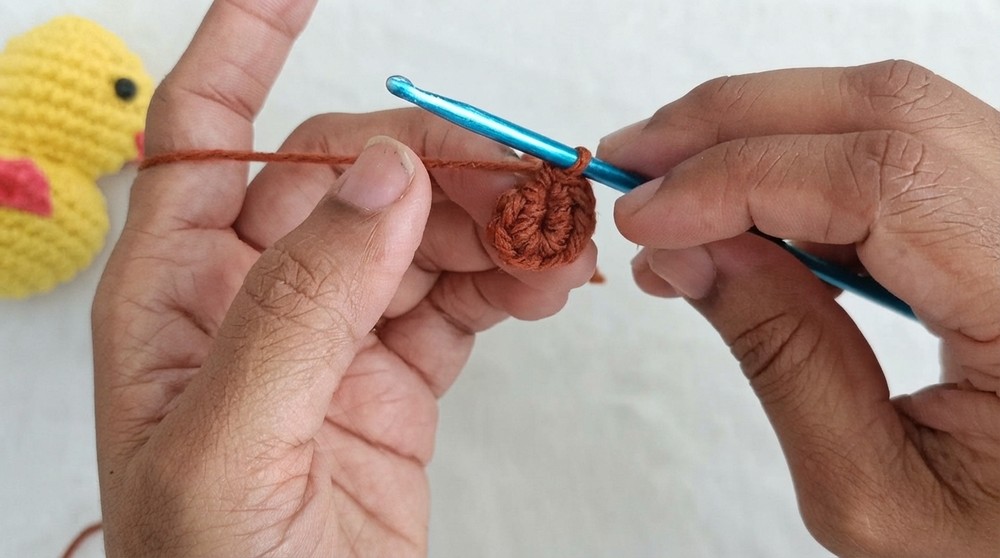
- Wrap your yarn around your fingers to form a loop. Insert your hook into the loop, yarn over, and pull through a loop. Chain 1 to secure the ring, then work the stated number of stitches into the center of the ring. Pull the tail end tight to close the ring.
- Single Crochet (sc):
- Insert hook into the next stitch, yarn over, and pull up a loop. Yarn over and pull through both loops on the hook.
- Half Double Crochet (hdc):
- Yarn over, insert hook into the stitch, yarn over again, pull through (3 loops on the hook), then yarn over and pull through all 3 loops.
- Invisible Decrease (sc dec):
- Insert the hook into the front loop of the next two stitches, yarn over and pull through the front loops. Yarn over again and pull through the two remaining loops.
Stitch Abbreviations
| Abbreviation | Meaning |
|---|---|
| MR | Magic Ring |
| sc | Single Crochet |
| hdc | Half Double Crochet |
| inc | Increase (2 sc in one st) |
| dec | Decrease (using sc dec) |
| sl st | Slip Stitch |
| ch | Chain |
(All terms follow US crochet terminology.)
Useful Tips
- Use a Stitch Marker: To avoid losing your place, mark the first stitch of every round.
- Stuff as You Go: Add stuffing gradually after a few rounds to maintain the shape of the amigurumi and prevent shifting.
- Tension Control: Be consistent with your tension to ensure that the stitches are tight to avoid any stuffing showing through. Adjust your hook size if the stitches are too loose.
- Be Precise with Placement: Attach the wings, eyes, and beak with care to maintain symmetry and balance in your finished duck.
Mallard Duck Amigurumi Pattern
Body Construction
Round 1:
- Begin with a magic ring and work 8 sc into the loop. Pull the tail tight to close the ring. (Total: 8 stitches)
Round 2:
- Work 2 sc in each stitch around. (Total: 16 stitches)
Round 3:
- (1 sc, 2 sc in next stitch) Repeat 8 times around. (Total: 24 stitches)
Round 4:
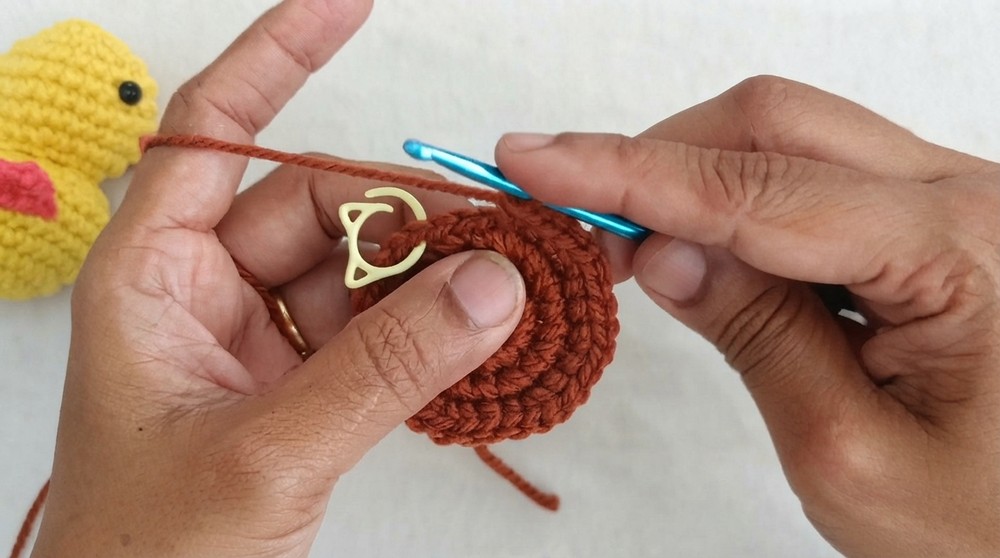
- (1 sc, 1 sc, 2 sc in next stitch) Repeat 8 times around. (Total: 32 stitches)
Rounds 5–8:
- Work 1 sc in each stitch around. Continue for 4 rounds. (Total: 32 stitches per round)
Round 9:
- (10 sc, 1 sc decrease) Repeat 4 times around. (Total: 28 stitches)
Round 10:
- (10 sc, 1 sc decrease) Repeat 4 times around. (Total: 24 stitches)
Closing the Body:
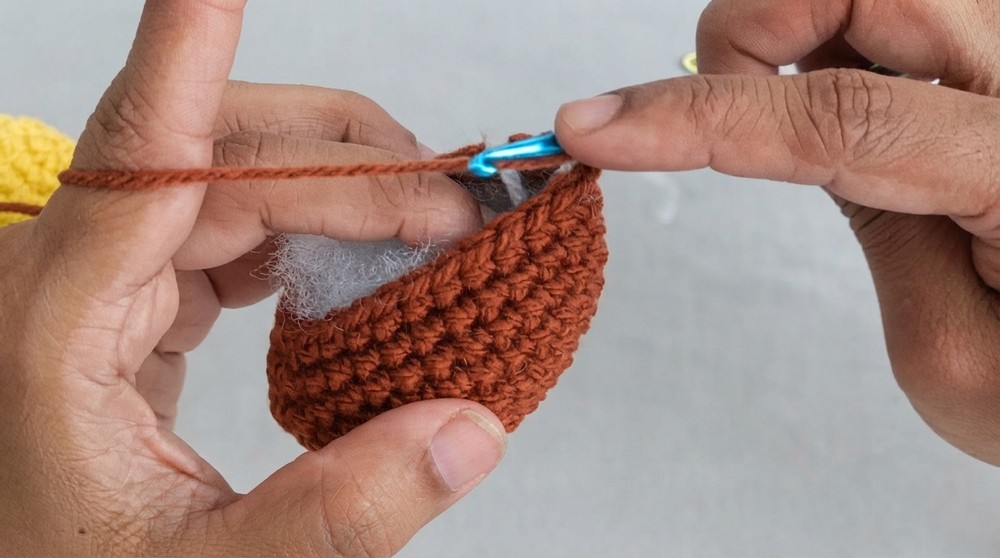
- Use a half-double crochet to join, then work 6 slip stitches around the edge to close the bottom of the body securely. Leave a tail for sewing if necessary.
Head Construction (Neck/Head)
Round 1:
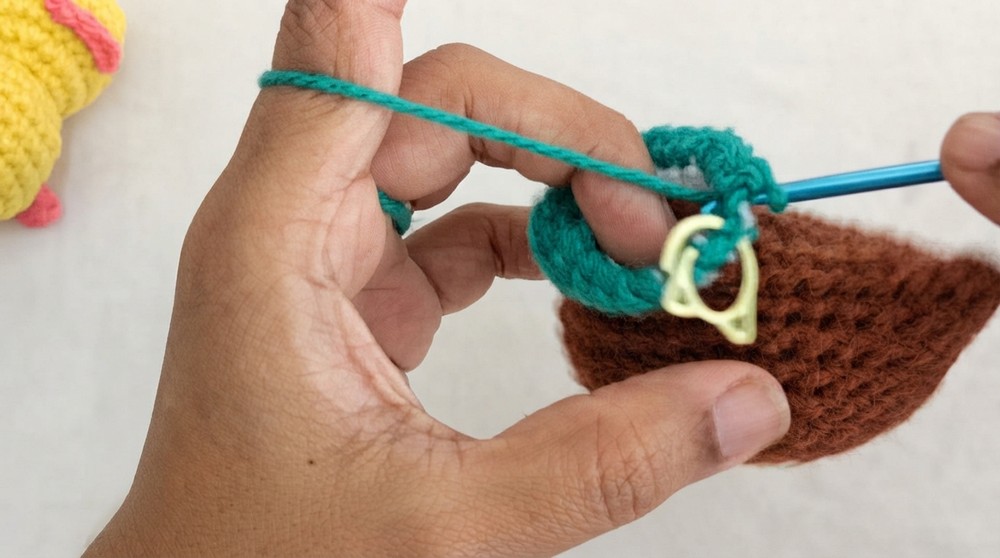
- Attach white yarn to the remaining front loops of the 8 stitches left after closing the body. Work 2 sc in each stitch. (Total: 16 stitches)
Round 2:
- (1 sc, 2 sc in next stitch) Repeat 8 times around. (Total: 24 stitches)
Rounds 3–6:
- Work 1 sc in each stitch. Continue for 4 rounds. (Total: 24 stitches per round)
Round 7:
- (1 sc, 1 sc decrease) Repeat 8 times around. (Total: 16 stitches)
Round 8 (Closing the Head):
- Decrease round: Work 8 sc decreases. Fasten off and use a yarn needle to sew the top shut.
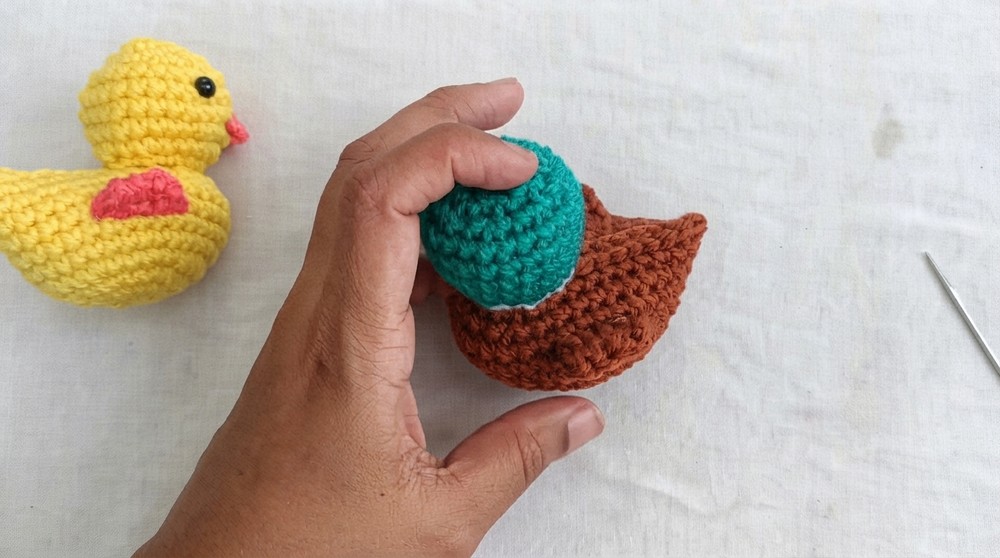
Adding Safety Eyes:
- Insert the safety eyes into the head between Rounds 3 and 4, with each eye evenly spaced around 4–5 stitches apart. Secure the eyes with their backings before stuffing the head.
Wings
- The wings are worked directly into the space between Rounds 7 and 8 of the body.
Wing Instructions (Make 2):
- Attach brown yarn in the specified space.
- Chain 1, then work 1 hdc in the starting stitch.
- Work 1 hdc in the next 4 stitches.
- Turn, chain 1, and work:
- 1 hdc decrease, 2 sc, 1 slip stitch to end the row.
Repeat the same process on the opposite side to create the second wing.
Beak Construction
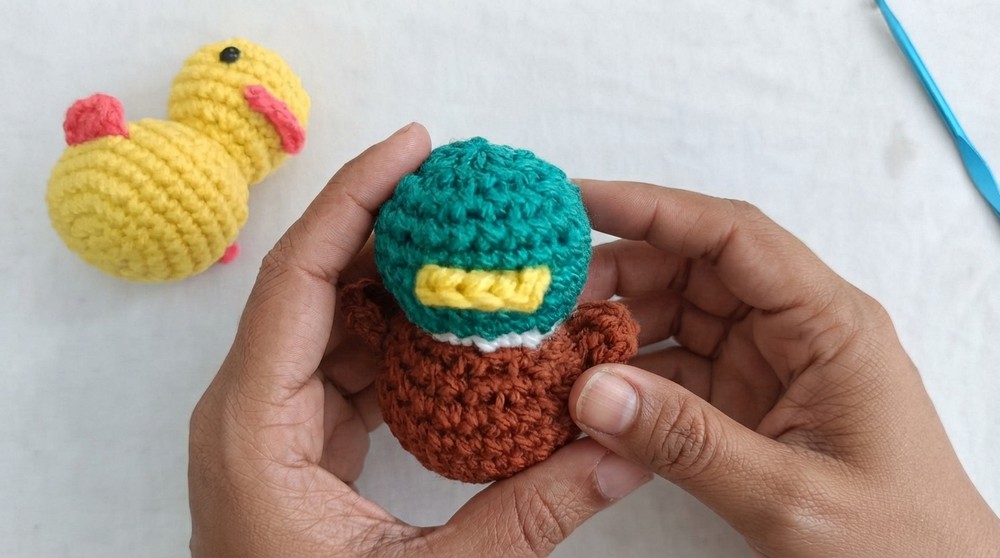
The beak is worked directly into the space between body Rounds 5 and 6 using yellow yarn.
- Attach yellow yarn to the specified area.
- Work in the following sequence directly into the body stitches:
- 1 sc, 3 hdc, 1 sc, 3 hdc, 1 slip stitch to fasten off.
Final Touches
- Stuff the duck’s body and head firmly but evenly to maintain a smooth, balanced appearance.
- Use a yarn needle to sew the head and body together.
- Weave in and secure all loose ends.
Conclusion
This Mallard Duck Amigurumi perfectly combines simple construction with adorable results. The detailed stitches create a lifelike yet playful appearance, making it a great project for gifting or adding to handmade collections. The addition of contrasting yarn colors for the head, body, and beak brings this charming project to life.