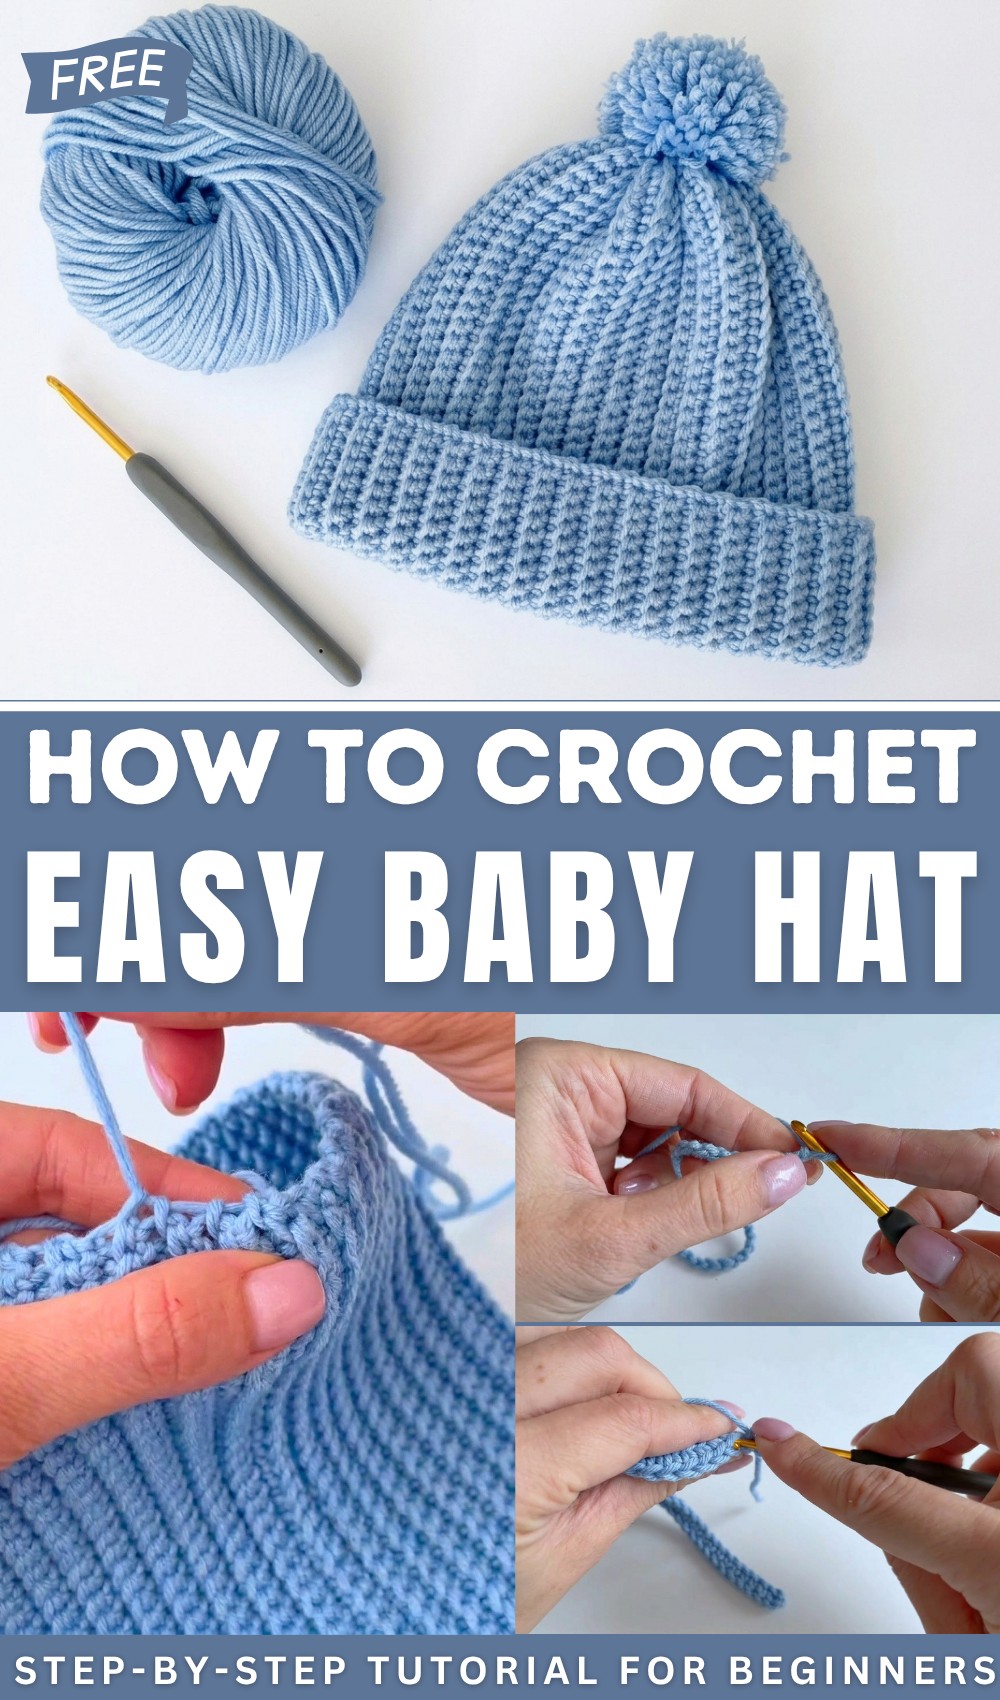
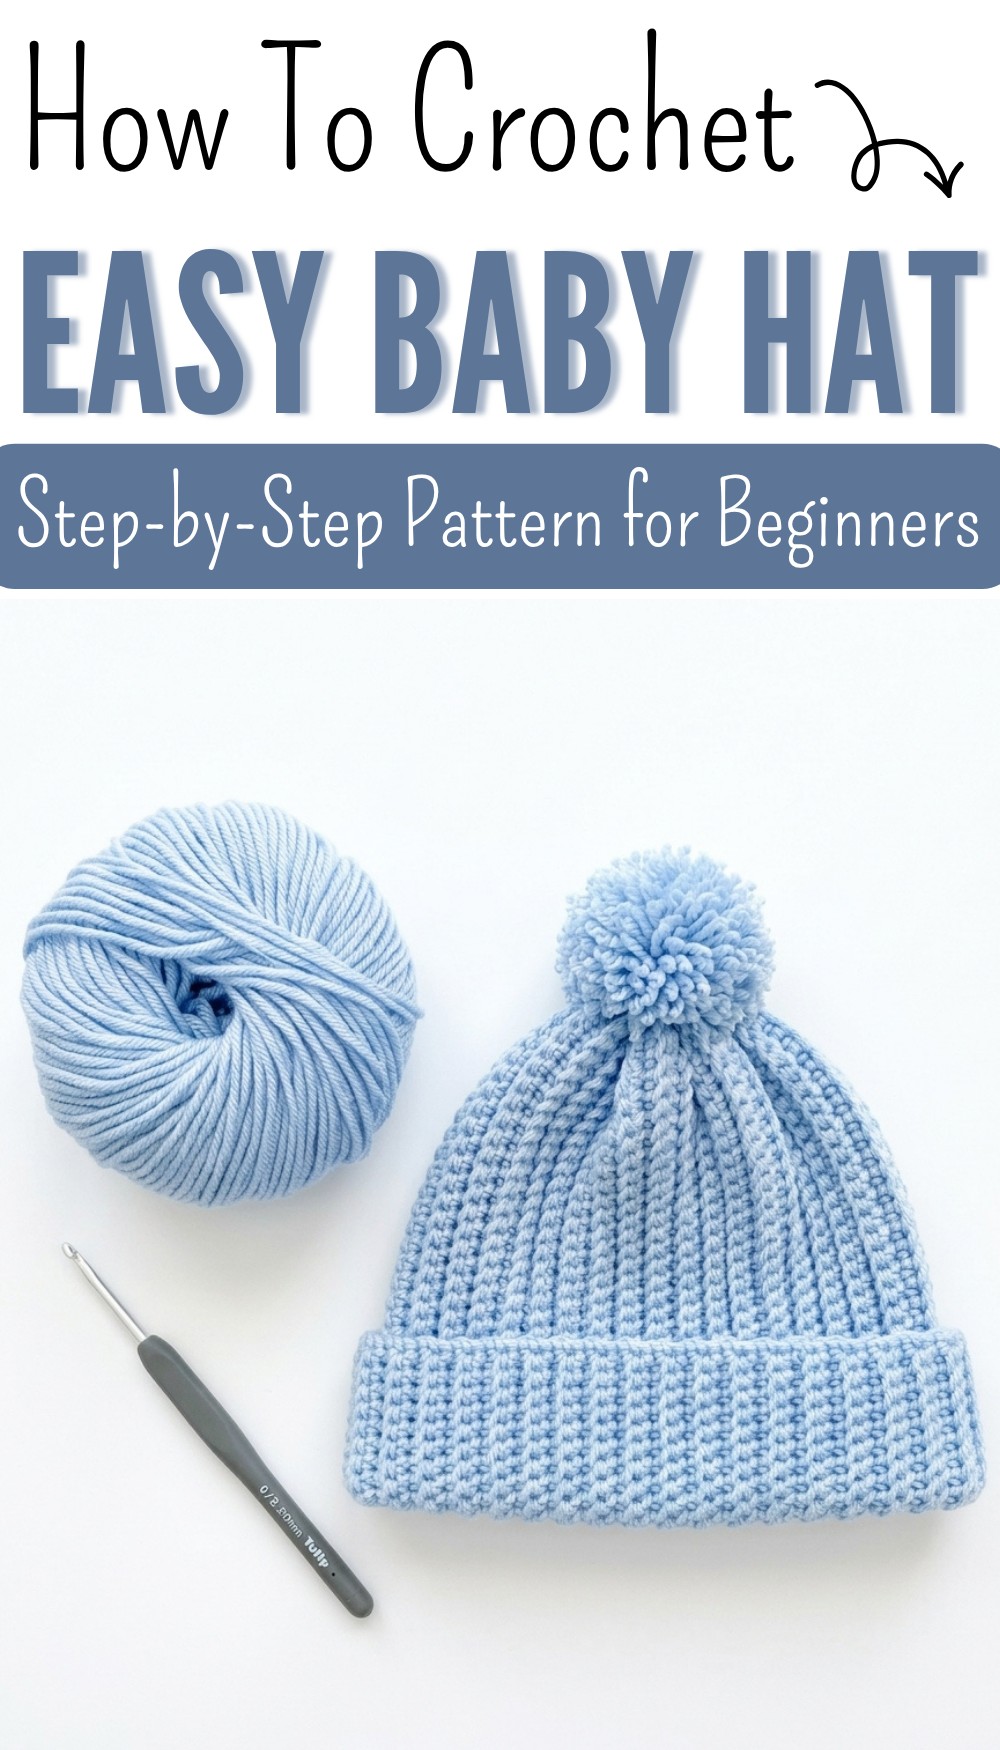
Crochet Baby Hat Free Pattern for Tiny Heads
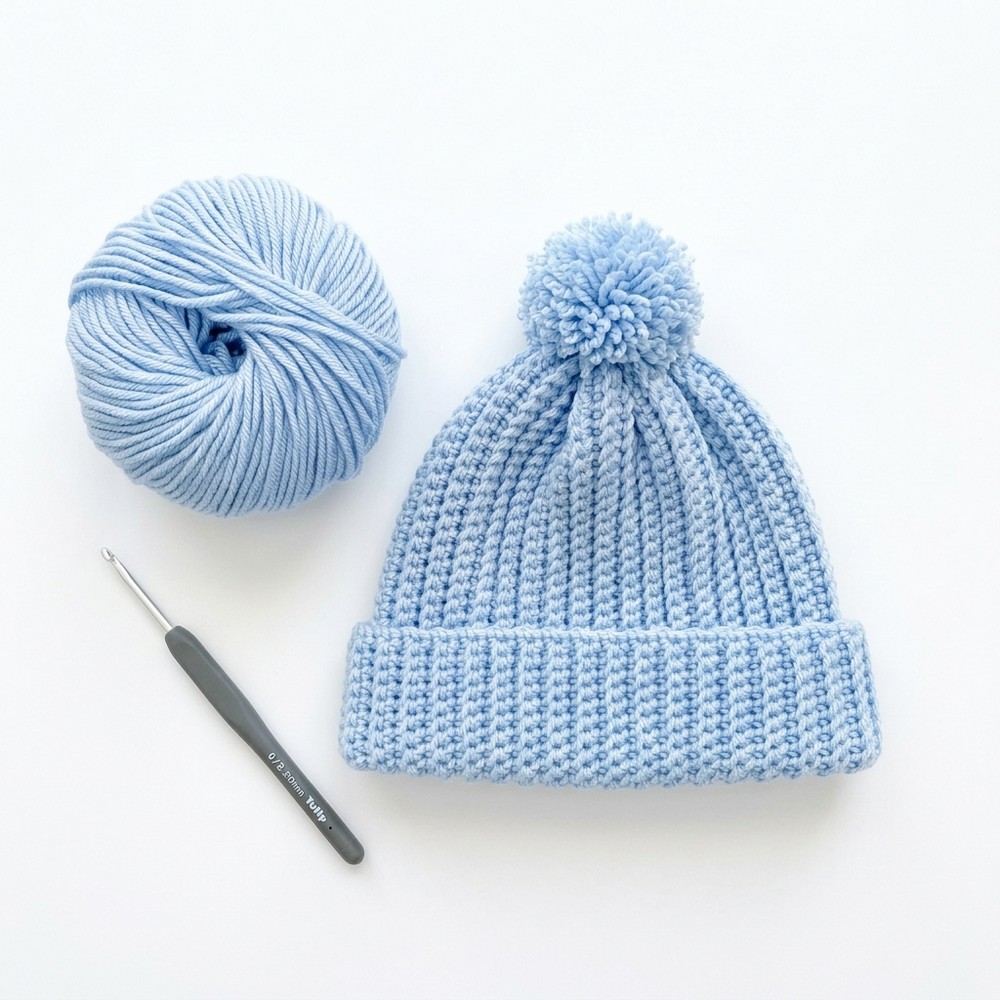
Turn ordinary yarn into charming baby hat featuring adorable details and cozy touches while enjoying a delightful and creative crochet experience.
Whipping up a tiny hat for a baby is one of the most charming crochet projects out there. It’s quick, beginner-friendly, and offers plenty of room to experiment with textures, colors, and playful accents like pom-poms or animal ears. This pattern is perfect for gifting, keeping a little noggin snug, or adding a personal touch to a baby’s wardrobe.
Free Crochet Baby Hat Pattern for Sweet Newborn
Working on a smaller item means you can finish a project faster and enjoy an immediate sense of accomplishment. From dainty lace styles for special occasions to ultra-cozy winter warmers, a baby hat combines practicality with endless creative opportunities. It’s a delightful way to use leftover yarn and celebrate the joy of handmade treasures, all while crafting something truly adorable and functional.
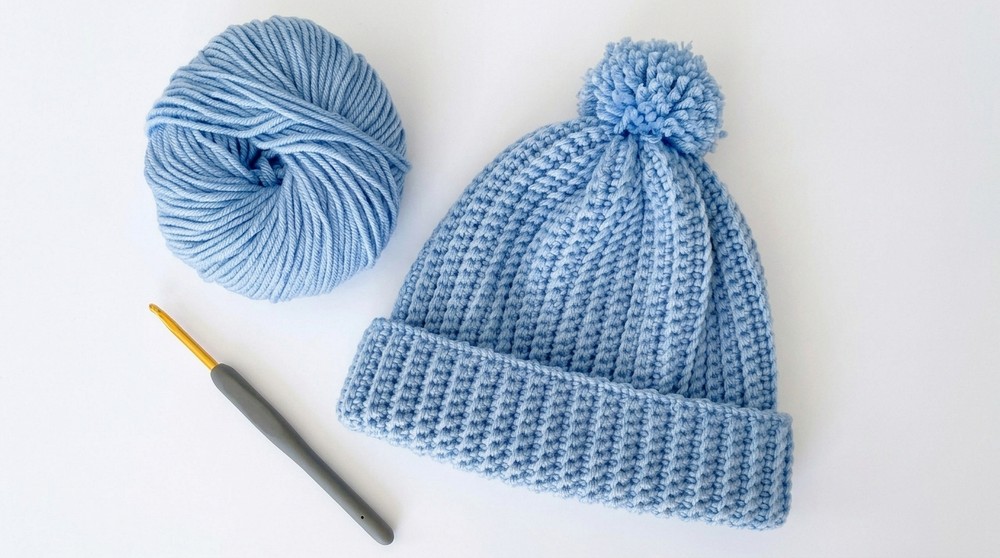
Simple Baby Hat Crochet Pattern
Materials
- Yarn:
- DK (Light #3) weight yarn. For a standard cap size (up to 3 months), approximately 50–70g is sufficient. Choose a soft, baby-friendly yarn for delicate skin.
- Alternative: Any lightweight yarn that matches the gauge.
- Hook:
- Size 4mm (US G/6) or appropriate size to achieve gauge.
- Notions:
- Scissors.
- Tapestry needle (for seaming and crown closure).
- Optional:
- Stitch markers to secure the end of rows (optional for beginners).
Gauge
- Gauge: 15 single crochet (worked in back loop only) = 4 inches (10cm).
- Check gauge before starting the project to ensure proper fitting.
Finished Size
- Cap Size: Fits up to 3 months.
- Circumference: Approximately 14 inches (36cm).
- Height: Approximately 6 inches (15cm).
To make a larger or smaller hat, adjust the initial chain length (height) and the number of rows (circumference).
Special Techniques
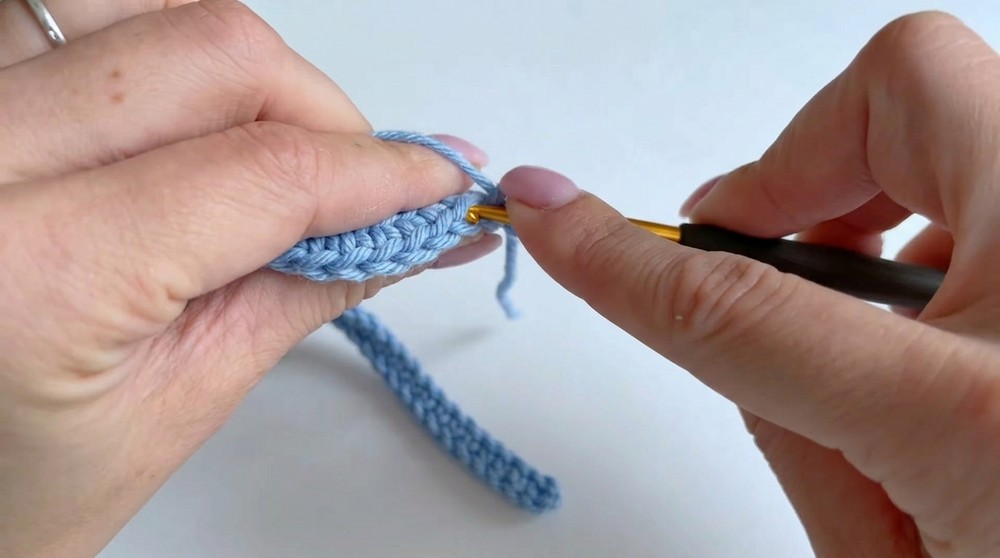
- Single Crochet Back Loop Only (sc-blo):
- Instead of inserting the hook under both top loops, insert it only into the back loop of the stitch. This creates a ribbed, stretchy fabric.
- Elastic Seaming:
- Seam the first and last rows using a tapestry needle while ensuring the seam remains flexible.
- Crown Gathering:
- Form the crown by gathering the stitches into a tight circle with a needle for a neat finish.
Pattern Instructions
Step 1: Foundation Chain
- Determine Height:
- Chain 39 for a cap size up to 3 months.
- Measure the chain to confirm the desired height (A + B) in the sizing chart or adjust the number of chains to customize the hat height.
- Row 1:
- Starting in the second chain from hook, work 1 single crochet (sc) into each chain across (39 sc total).
- Ch 1, turn your work.

Step 2: Create Ribbing
- Row 2:
- Work 1 sc-blo in each stitch across.
- Reminder: Insert your hook into the back loop of the stitch only to create the ribbing texture.
- Ch 1, turn.
- Repeat Row 2:
- Continue working sc-blo for the required number of rows.
- For a cap size up to 3 months, complete 84 rows (this forms the circumference of the hat).
Customization Tip: Adjust the number of rows for larger or smaller circumferences. The number of rows corresponds to the hat circumference in length.
Step 3: Seaming
- Finish Ribbed Fabric:
- After completing all rows, fasten off the yarn, leaving a long tail (approximately 12-18 inches).
- Joining Edges:
- Align the first and last rows of the ribbed rectangle.
- Thread the tapestry needle with the long tail.
- Use an elastic seam by sewing through the inner loops of both edges.
- Do not pull the thread too tightly—maintain elasticity in the seam for stretch.
- Inspect the Seam:
- Ensure the seam is clean and smooth. Flip the fabric inside out to hide the seam on the wrong side.
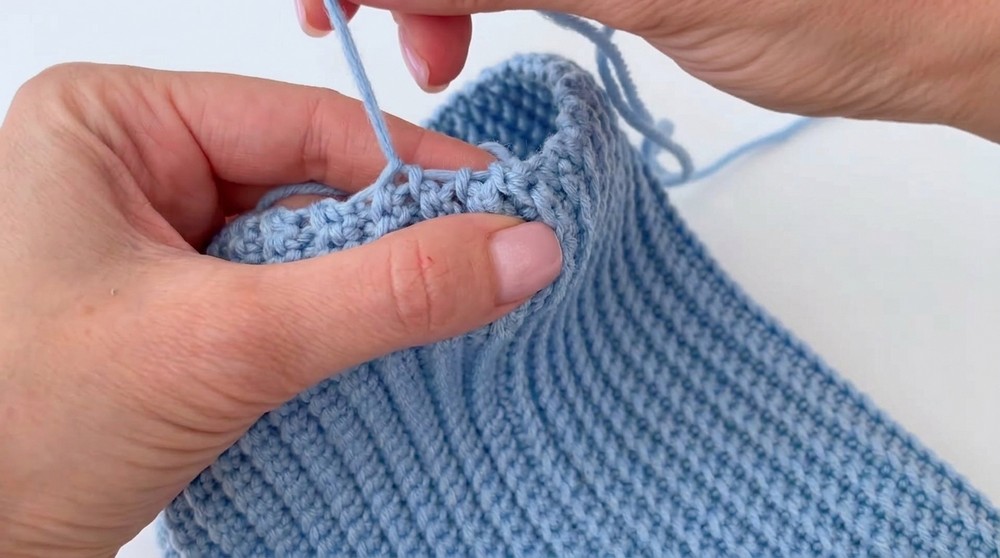
Step 4: Crown Formation
- Gathering the Crown:
- Using the remaining long tail, thread the tapestry needle.
- Pick up the rotary loops of the stitches from one side of the rectangle (one stitch per row).
- Pull the thread tightly to gather the fabric into a neat circle.
- Secure Crown Thoroughly:
- After pulling tightly, go around the crown a second time to ensure all gaps are closed.
- Secure the thread with a knot on the inside (wrong side).
Step 5: Hide Loose Ends
- Finishing:
- Fasten off the thread securely and weave in any remaining ends using a tapestry needle.
- Ensure the ends are placed on the wrong side and are fully hidden.

Tips for Success
- Sizing Adjustments: Use the following guidelines for resizing:
- Height: Modify the foundation chain.
- Circumference: Adjust the number of rows.
- Neat Seaming: Always sew with an elastic seam to allow the ribbed texture to stretch comfortably.
- Optional Decorations:
- Add a pom-pom to the top of the hat to enhance the design.
- Embellish with appliqués or embroidery for personalization.
- Blocking: Lightly steam block the finished hat to smooth stitches and ensure an even appearance.
Conclusion
This simple baby hat pattern combines elegance and practicality with its textured ribbing and soft crown. Perfect for little ones, this design is both stretchy and cozy while remaining beginner-friendly. The pattern allows for seamless customization by adjusting the foundation chain and rows.
Important Remarks
- This ribbed design is naturally elastic, ensuring the hat fits snugly yet comfortably.
- The final crown and seam are almost invisible, ensuring a polished end product.
- Experiment with yarn choices for distinctive textures, colors, and finishes.