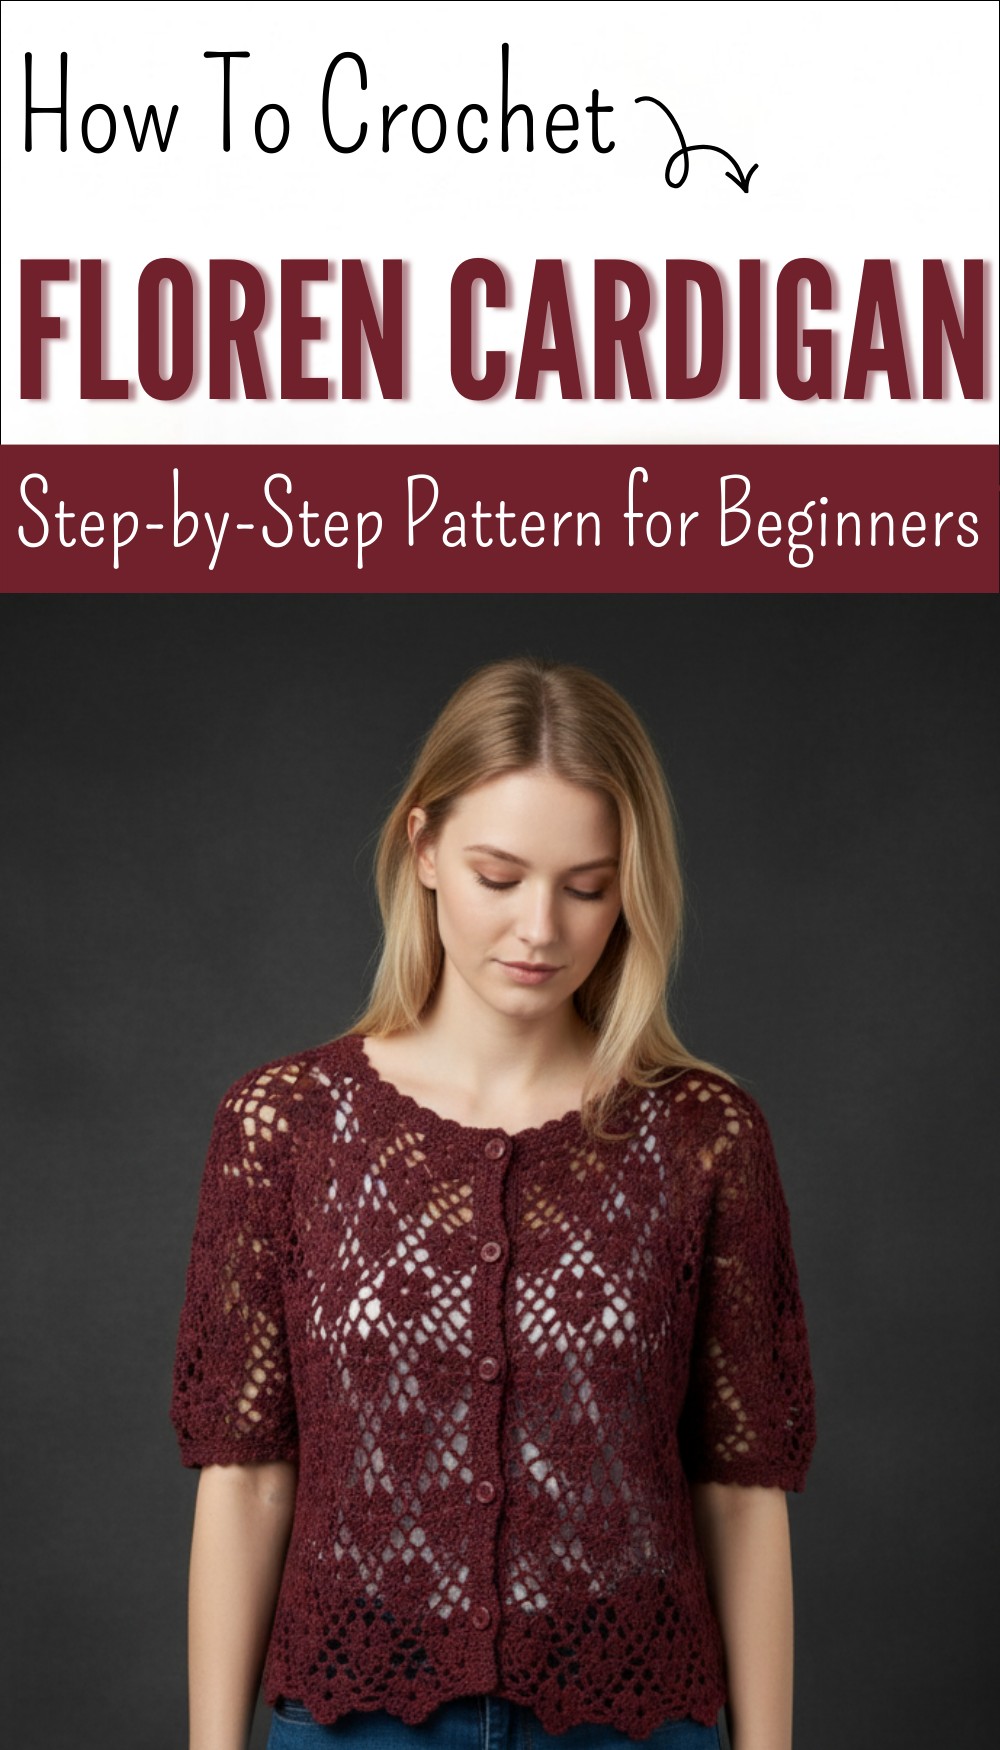
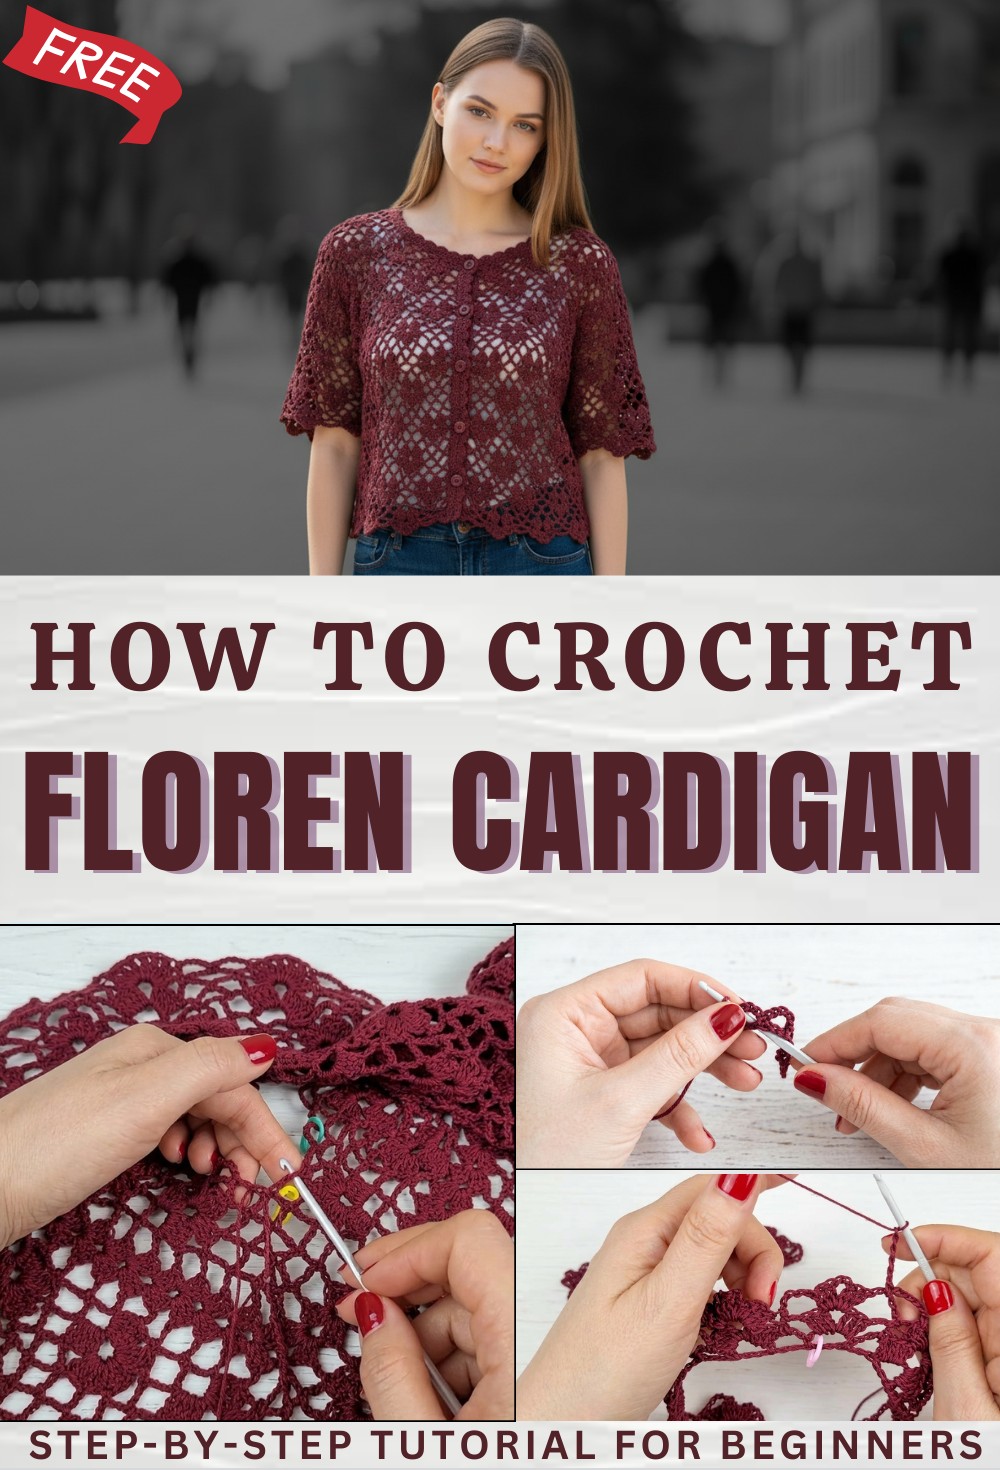
Free Crochet Floren Cardigan Pattern for Fashionistas
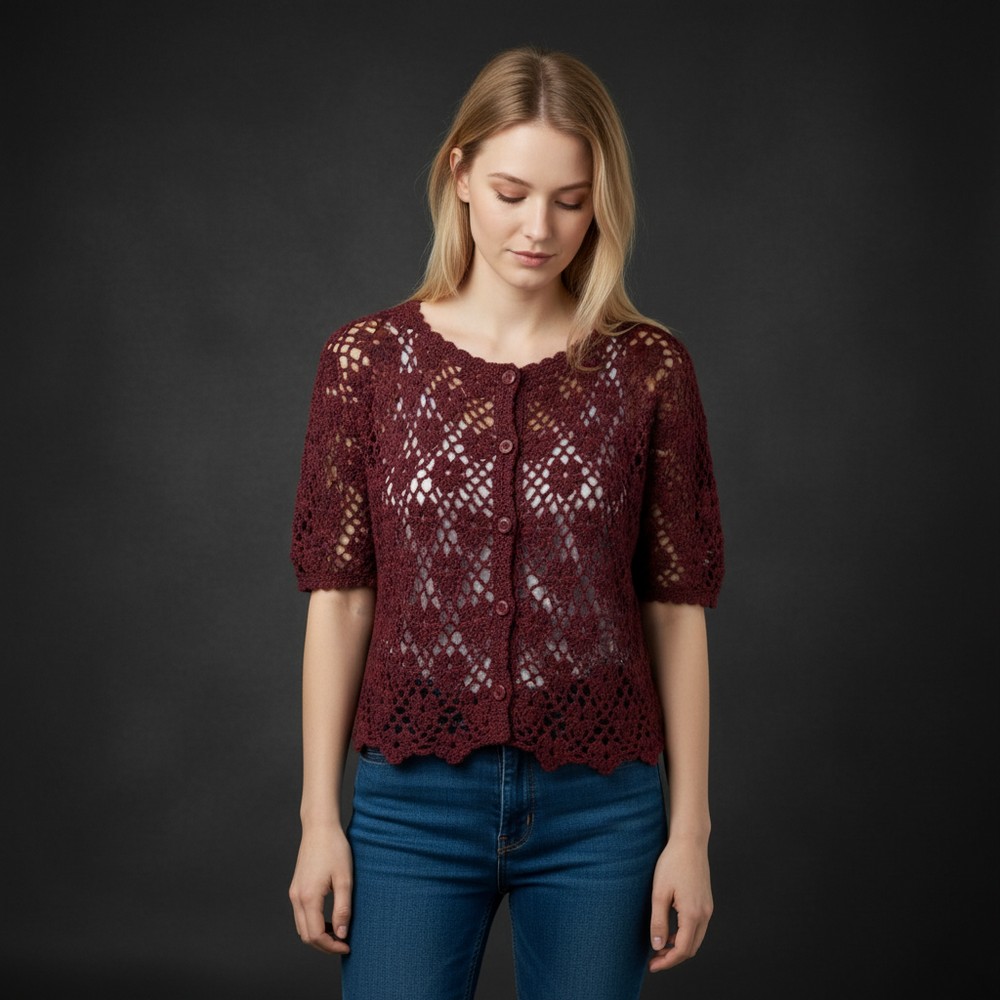
Show your unique style with a Free Crochet Floren Cardigan Pattern perfect for layering in every season and easy enough for anyone to enjoy.
Lovely petals and soft layers form a cardigan that looks gentle and graceful in every way. Using the Crochet Floren Cardigan pattern brings floral charm to any wardrobe and turns basic yarn into a standout stylish piece. This design shines with raised stitches that give the look of blooming flowers and special details you can feel with every touch. The cardigan is perfect for wearing over a simple shirt or dress and it works well for both warm and cool days making it useful all year round.
Free Crochet Floren Cardigan Pattern for Simple Elegance
With the Crochet Floren Cardigan pattern you can choose colors that show your personality and fit your mood so every piece becomes truly unique. The finished look is light and flowing making it easy to move and comfortable to wear for hours. People enjoy how this cardigan adds a beautiful touch to any outfit while also making them feel cozy and confident everywhere they go.

Crochet Flower Cardigan Pattern
Materials
- Yarn:
- Omega thread/yarn
- Short Sleeve: Approximately 270 g (4 balls)
- Long Sleeve: Approximately 380 g (5 balls)
- If you wish to size up, have an extra ball.
- Hook: 3 mm crochet hook
- Notions:
- Scissors
- Tapestry (darning) needle
- Stitch markers
- Ruler or measuring tape
- Buttons for closure (sample uses 18mm, five total)
Abbreviations (US Terms)
- ch – chain
- sc – single crochet
- dc – double crochet
- dc3,4tog – double crochet 3, 4 together (as per petal instructions)
- sl st – slip stitch
- sp – space
- puff st – puff stitch
- st – stitch
- rep – repeat
- tog – together
Special Notes
- Sizing: The pattern is modular. Increase the number of motifs for a larger size.
- Pattern math: Each main pattern repeat (flower motif) is large; adding/removing one changes the fit significantly.
- **You begin with a set number of patterns (rings) and can adjust by adding or subtracting rings if using different yarn.
- To check fit: The yoke (before sleeve split) should measure from neckline to armpit and across chest as needed.
- Make it as long or short as you like.
- **The sleeves and body are seamless, worked in the round after joining.
Flower Cardigan Construction
This lacy cardigan is worked top-down in rounds of rings and flowers, with increases at marked corners to create raglan shaping. After achieving desired yoke depth, sleeves are divided from the body and completed separately.
Step-by-Step Instructions
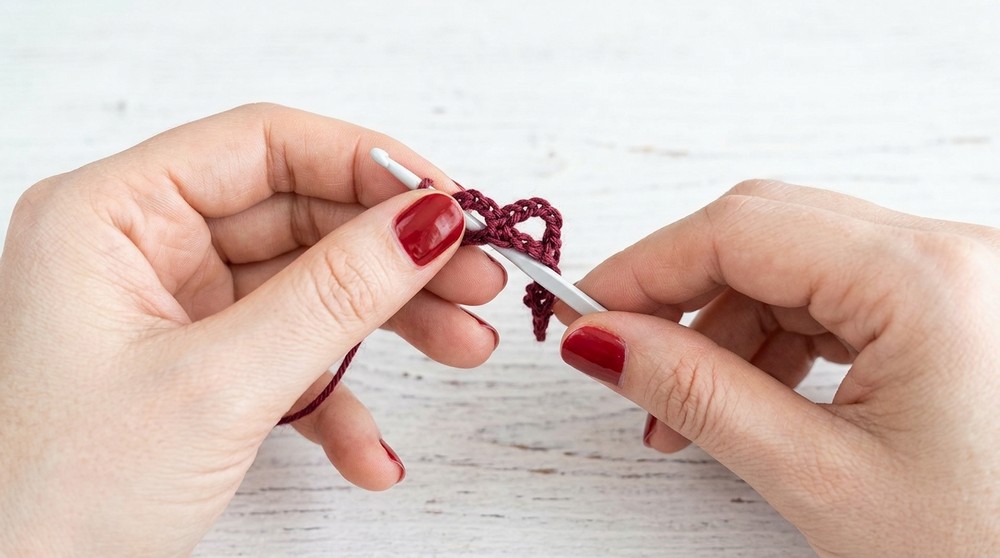
Foundation Chain & Ring Set-Up
- Calculate Foundation Chain:
- Each “ring” = 3 ch.
- Total rings: For Moony’s sample: 43 rings.
- Extra ch at end: Chain 130 (43 rings × 3 + 1).
- See fit note below for custom sizing.
- Work foundation ch, then ch 1, sc in first ch.
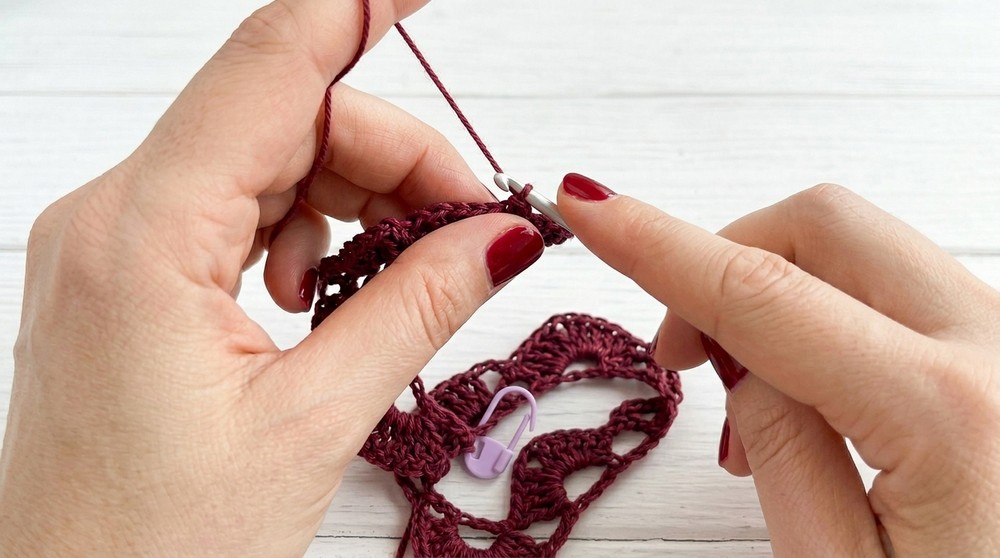
- Ring Set-Up Row:
- (ch 5, skip 2 ch, sc in next ch) across to form rings.
- Mark every important ring per construction as follows:
- After making 7 rings, mark the 8th ring (corner).
- After 7 more: mark 8th.
- Make 11 more, mark the next. (These are the four corners.)
- Follow pattern: 7 rings between each corner; center back is 11 rings.
- As you go, confirm the measurements: 7 rings ≈ 11 cm.
[Custom Sizing Tip:]
- If using other yarn, make foundation ch until it measures desired neckline (approx. 75 cm), then count rings as you work.
- Recalculate number of patterns (rings) as needed, but always keep in multiples of 4 + 3 + 4 corners.
Yoke – Set-Up
Row 1 (Base ring row, RS):
- Each “ring” = (ch 5, sc in third ch) (repeat as in set-up row).
- At the end, you should have all rings for yoke, separated and marked for front, sleeves, back, and corners.
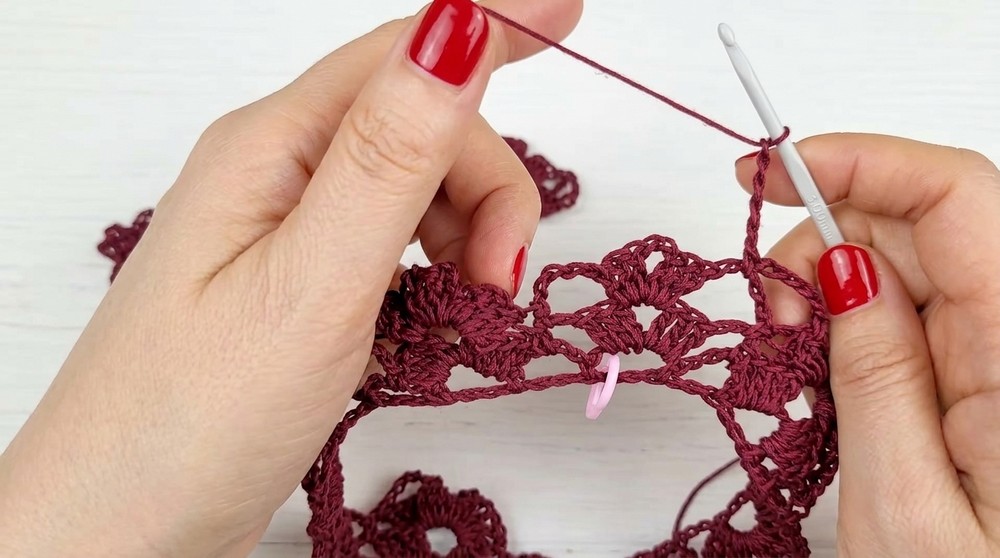
Row 2 (First Flower Motif Row):
- Ch 3, turn.
- Ch 2, sc in ring (forms an edge).
- In each marked corner: work (dc 4, ch 3, dc 4), sc in next ring (flower motif).
- In rings between motifs, (ch 5, sc in next ring) twice, then work flower motif in next marked ring.
- At corners: (dc 3, ch 2, dc 3) for raglan shape.
- Continue round.
Row 3 (2nd Flower Motif Row):
- Ch 1, turn, sc in first ring.
- In each motif: (dc3,4tog, ch 3, sc in next ring), (ch 3, dc3/4tog, ch 3, sc in next ring) as established.
- At corners: (ch 5, (dc 3, ch 2, dc 3) in ch sp, ch 5, sc in ring)
[General Yoke Increase Pattern:]
- Odd rows: Work petals/flowers, build clusters and chain arches.
- Even rows: Work ring/arch rows, reinforcing the lace effect.
- Corners: Always increase at corners to shape yoke (via motifs).
- Continue until yoke fits from neck to underarm, with corners lining up at armpits and the chest circumference fits your measurement.
Separate Body and Sleeves
- When the yoke reaches underarm, place markers to separate the sleeve stitches from body stitches.
- Work 2 more rows of arches/rings after last petal row for clean separation.
- Split sleeves from body by joining the underarm with sc or sl st, or sewing.
- Try on — the cardigan should fit!
Body
- After separation, continue the established pattern in rounds (alternating flower rows and arch rows) until desired length.
- End with a flower motif row (as in the beginning).
Edging
Neck and Front Bands:
- Work several rows (sample uses 3–4) of sc evenly along neckline and front edges.
- For button bands: Work sc, ch 2, skip two for buttonhole at desired intervals on one edge.
- Make as many rows as preferred for sturdy button band (sample: 4 rows).
- After sc rows, end off and weave in ends.
Bottom & Sleeve Hems:
- Optional puff stitch edge: (ch 3, puff st, sc in next/4th st) across.
- Alternatively, finish with a slip stitch cord or fancy border as shown.
Sleeves
- Rejoin yarn at underarm.
- Work in rounds, following established pattern.
- To taper for long sleeves, decrease by skipping arches as you go (for short sleeves, work up to desired length).
- Finish sleeve edge with sc, then puff stitch or border to match body hem.

Pattern Correction
- Flower Motif Groupings:
- The count for each section must work out to a multiple of 4 for patterns plus 3 for symmetry, plus 4 corners.
- For different yarn or gauge, always make a test ring set for fit.
- Corners and separation: Use stitch markers on first round, keep careful count of arches/rings to ensure symmetry.
- Edge Finishing: Adjust sc count for neck if you want to reduce width (example: sc3 vs sc4 in each ring).
Tips
- Use stitch markers at every corner and where motifs begin and end.
- Always check fit at armpit split before working the body.
- Try blocking at the end for best drape.
- Work buttonholes on the right front edge.
- Make border/final rows flexible; adjust for personal style.
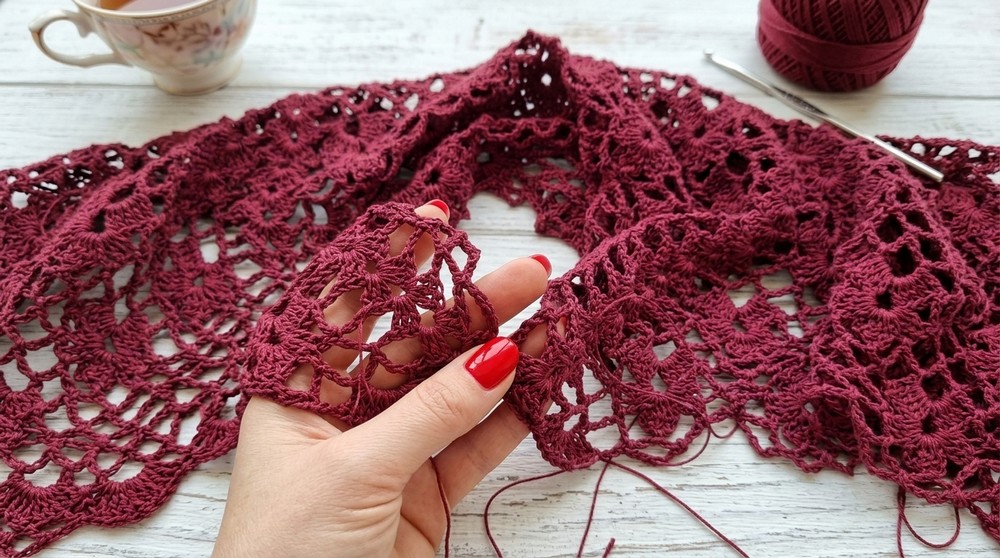
Conclusion
By following this top-down floral lace pattern, you create a beautifully draped, seamless cardigan with unique petal motifs. The modular pattern allows for easy resizing and numerous variations—make it cropped or hip-length, long or short sleeved. With detailed attention to stitch counts and motif placement, you’ll achieve a professional finish.